Introduction
Welcome to this step-by-step guide on how to hardwire your Ring Video Doorbell. If you’re tired of constantly changing batteries or running out of power at the most inconvenient times, hardwiring is the solution you’ve been looking for. By connecting your Ring Video Doorbell to your existing doorbell wiring, you’ll have a consistent and reliable power source, ensuring that your doorbell is always ready to capture important moments at your front door.
Hardwiring your Ring Video Doorbell offers several benefits. Firstly, it eliminates the need for battery replacement, saving you time and money in the long run. Secondly, it provides a reliable power source, ensuring uninterrupted functionality. Finally, hardwiring allows you to take advantage of additional features such as continuous video recording, which is not available when relying solely on battery power.
Whether you’re a beginner or have some experience with electrical work, this guide will walk you through the steps required to successfully hardwire your Ring Video Doorbell. By the end of this guide, you’ll have a fully functioning doorbell that is powered by your existing wiring. So, let’s get started by gathering the necessary tools and materials.
Step 1: Gather the necessary tools and materials
Before you begin the hardwiring process, it’s important to gather all the tools and materials you’ll need. By having everything ready, you can ensure a smooth and efficient installation. Here’s a list of what you’ll need:
- Screwdriver set: Make sure you have a screwdriver set with interchangeable heads. This will help you remove the existing doorbell and mount the Ring Video Doorbell.
- Wire strippers: You’ll need wire strippers to remove the insulation from the existing doorbell wires and prepare them for connection.
- Electrical tape: Electrical tape is essential to secure the connections and insulate the wires, preventing any shorts or exposed metal.
- Wire nuts: These connectors will be used to join the existing wiring with the Ring Video Doorbell’s power wires.
- Mounting screws and anchors: Depending on the type of installation surface, you may need screws and anchors to securely mount the Ring Video Doorbell.
- Power drill: If you’re mounting the doorbell on a hard surface, a power drill will be required to create the necessary holes.
- Measuring tape: Use a measuring tape to ensure accurate placement of the Ring Video Doorbell and the proper alignment with your front door.
Make sure to have all these tools and materials readily available before you proceed to the next steps. Being prepared will streamline the installation process and minimize any potential delays or frustrations. With everything at hand, you’re now ready to move on to the next step: turning off power to the existing doorbell.
Step 2: Turn off power to the existing doorbell
For your safety, it’s crucial to turn off the power supply to the existing doorbell before you begin any electrical work. This will protect you from the risk of electric shock. Follow these steps to safely turn off the power:
- Locate and switch off the circuit breaker: Refer to your home’s circuit breaker panel and find the breaker that controls the power to your doorbell. It is usually labeled as “Doorbell” or “Front Door.” Flip the corresponding switch to the “Off” position.
- Test the existing doorbell: Press the doorbell button to confirm that the power has been successfully turned off. If the doorbell does not ring or show any signs of power, then proceed to the next step. If the doorbell still rings, go back to the circuit breaker panel and double-check that you have switched off the correct breaker.
- Secure the breaker switch with tape: To prevent anyone from accidentally turning the power back on while you’re working, use electrical tape to secure the breaker switch in the “Off” position. This will serve as an extra precautionary measure.
By following these steps, you have effectively disabled the power supply to the existing doorbell. It’s important to double-check that the doorbell is no longer receiving any power before you proceed to the next steps. Remember, safety should always be your top priority when working with electrical components.
Step 3: Remove the existing doorbell
With the power turned off, you can now safely remove the existing doorbell to make way for your Ring Video Doorbell. Follow these steps to remove the old doorbell:
- Inspect the existing doorbell: Take a close look at the current doorbell setup. Identify any screws or fasteners that are securing it in place.
- Remove the faceplate: Most doorbells have a removable faceplate that covers the inner components. Gently pry off the faceplate using a screwdriver or by applying pressure to the sides, depending on the design.
- Disconnect the wiring: Carefully disconnect the wires from the terminals on the back of the doorbell. Remember which wire is connected to which terminal for later reference.
- Remove the mounting bracket: Some doorbells may be attached to a mounting bracket. Unscrew any screws or fasteners that are securing the bracket to the wall or door frame, and gently pull it out.
- Inspect the wiring: Once the doorbell and mounting bracket are removed, inspect the wiring to ensure there are no visible signs of damage or fraying. If you notice any issues, it’s best to consult a professional electrician before proceeding.
By following these steps, you have successfully removed the old doorbell and freed up the space for your Ring Video Doorbell installation. Make sure to keep the screws or fasteners in a safe place, as you may need them later. With the old doorbell out of the way, you’re now ready to prepare the wires for hardwiring.
Step 4: Prepare the wires for hardwiring
With the existing doorbell removed, it’s time to prepare the wires for the hardwiring process. Follow these steps to ensure that the wires are properly stripped and ready for connection:
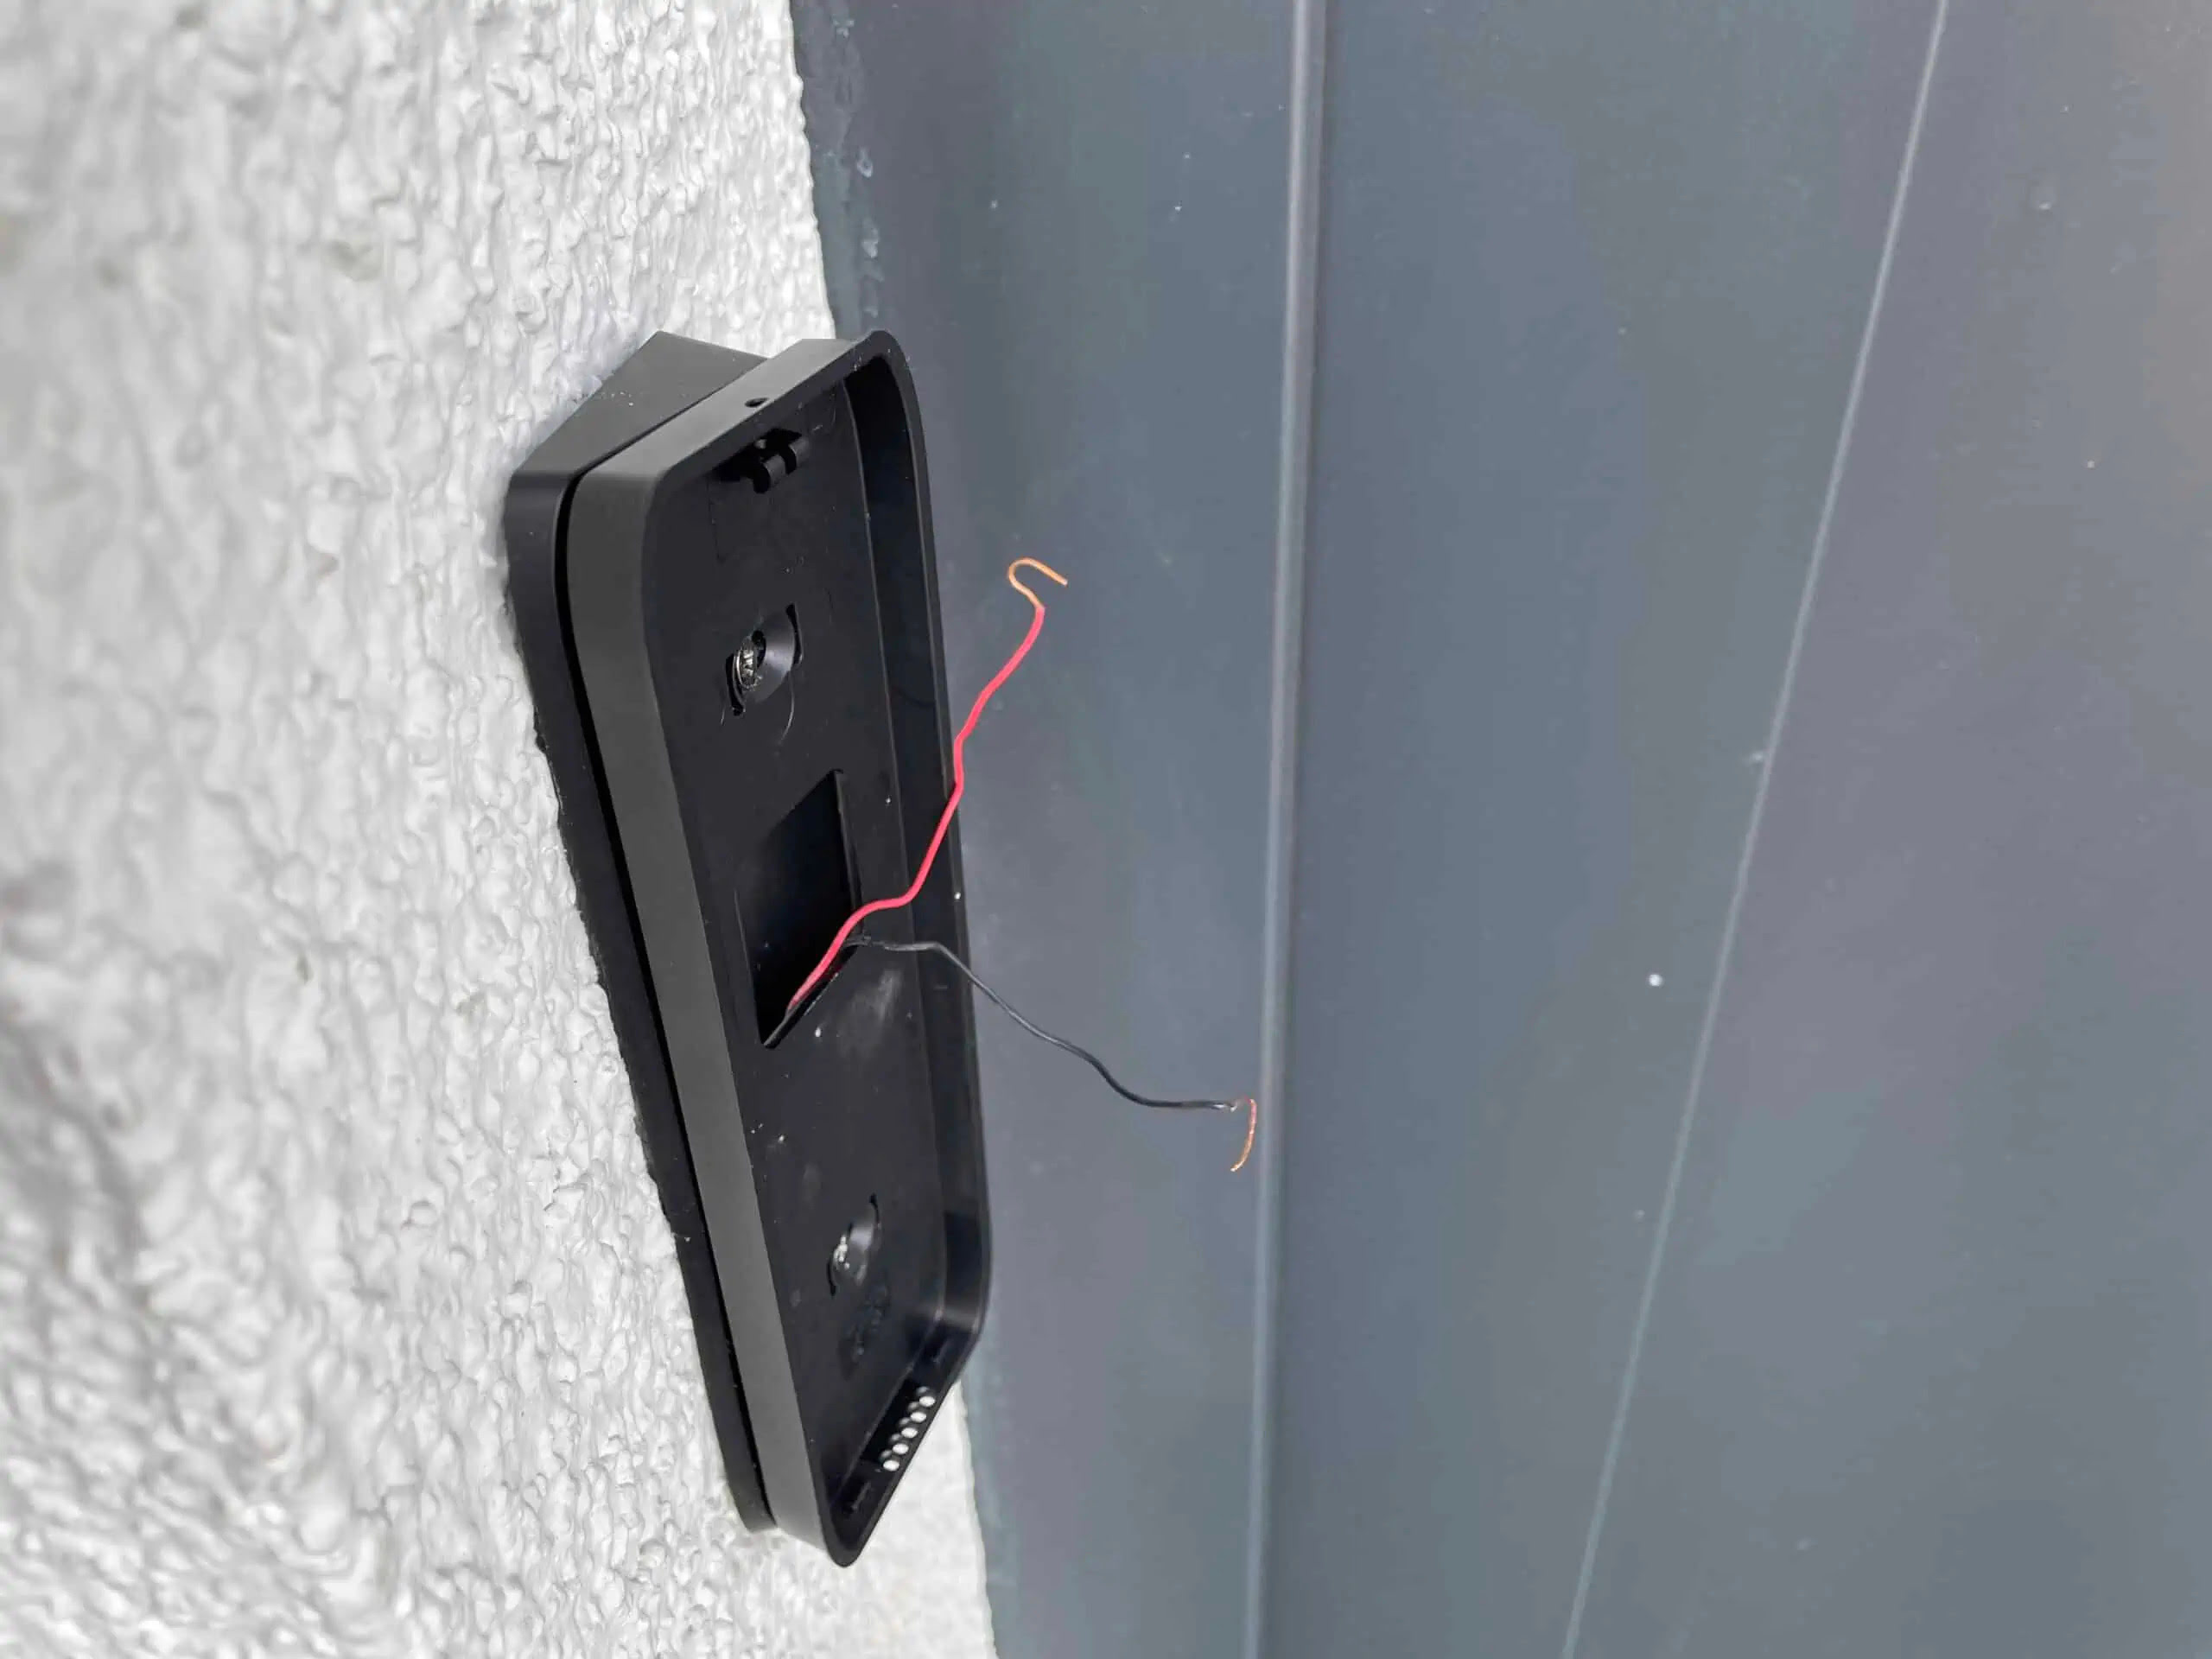
- Inspect the wires: Take a close look at the exposed ends of the wires. Trim off any frayed or damaged sections to ensure that you have a clean, solid wire length to work with.
- Strip the wires: Using a pair of wire strippers, carefully strip about 3/8 inch (9 mm) of insulation from the end of each wire. Be cautious not to cut or damage the copper conductor inside.
- Twist the exposed copper: Once the wires are stripped, twist the exposed copper strands together to ensure a secure and solid connection. This will make it easier to attach them to the Ring Video Doorbell terminals.
- Label the wires: If the wires are not already color-coded or labeled, it’s a good idea to use electrical tape or small labels to designate which wire is which. Labeling them as “Front” or “Transformer” will help you connect them correctly later on.
- Tape the wire ends: To prevent any accidental short circuits, wrap each exposed wire end with a small piece of electrical tape. This will insulate the wires and keep them from coming into contact with any metal surfaces during the installation.
By following these steps, you have successfully prepared the wires for hardwiring. Now, the wires are stripped, twisted, labeled, and securely covered with electrical tape. This ensures that you have a reliable and safe connection when you attach the wires to the Ring Video Doorbell in the next step. With the wires ready, it’s time to move on to connecting them to the Ring Video Doorbell.
Step 5: Connect the wires to the Ring Video Doorbell
Now that the wires are prepared, it’s time to connect them to the Ring Video Doorbell. Follow these steps to ensure a secure and proper connection:
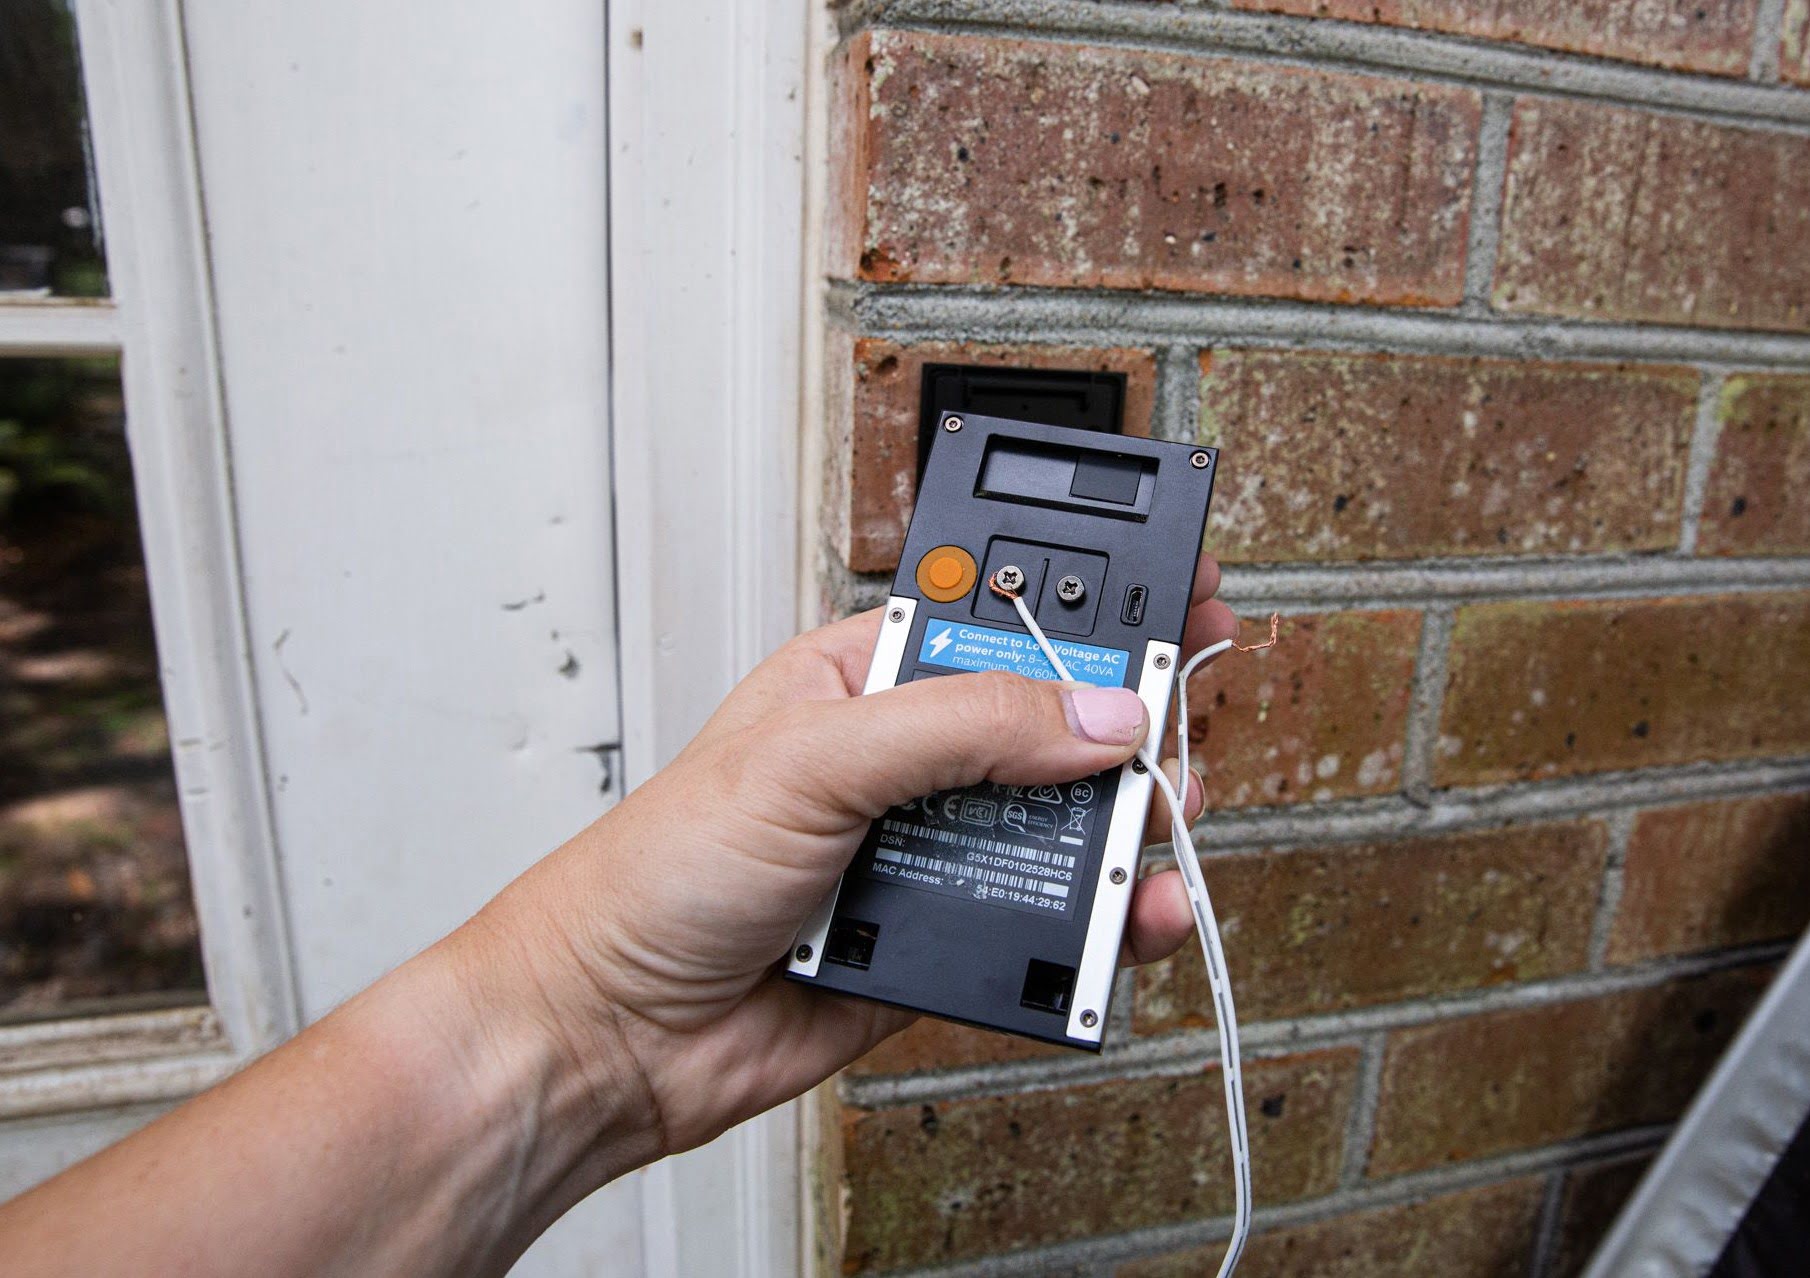
- Identify the terminals: Take a look at the back of the Ring Video Doorbell to locate the terminals. They are typically labeled “Front” and “Transformer” or marked with (+) and (-) symbols. Familiarize yourself with the terminal locations before proceeding.
- Insert the wires into the terminals: Gently insert the exposed wire ends into the appropriate terminals. The wire from the front door should go into the terminal labeled “Front,” and the wire from the transformer should go into the terminal labeled “Transformer.”
- Secure the connection: Once the wires are in the terminals, tighten the screws or clamps to secure the connection. Make sure the wires are held firmly in place and cannot be easily pulled out.
- Double-check the connections: Give the wires a gentle tug to ensure they are securely fastened. Ensure that there are no loose or frayed ends that could cause a weak connection or potential electrical issues.
It’s important to accurately connect the wires to their respective terminals to ensure the Ring Video Doorbell receives proper power from your existing doorbell wiring. Check that the connection is secure and that the wires are inserted fully into the terminals without any exposed copper showing. With the wires securely connected, you’re now ready to move on to the next step: mounting the Ring Video Doorbell.
Step 6: Mount the Ring Video Doorbell
With the wires connected, it’s time to mount the Ring Video Doorbell in its desired location. Follow these steps to ensure a secure and level installation:
- Select a suitable mounting location: Choose a location on or near your front door that provides a clear view of the area you want to monitor. Ensure that the location is within range of your Wi-Fi network for proper connectivity.
- Mark the holes: Hold the Ring Video Doorbell against the wall or door frame in the desired position. Use a pencil or marker to mark the spots where you will need to insert screws or anchors to secure the mounting bracket.
- Drill pilot holes (if necessary): If you are mounting the doorbell on a hard surface such as brick or concrete, you may need to drill pilot holes for the screws or anchors. Use a power drill and the appropriate size drill bit to create the holes.
- Attach the mounting bracket: Once the holes are prepared, attach the mounting bracket to the wall or door frame using the provided screws or anchors. Ensure that the bracket is level and firmly secured.
- Attach the Ring Video Doorbell: Align the back of the Ring Video Doorbell with the mounting bracket and slide it into place. Use the provided security screws or other attachment method to secure the doorbell to the bracket.
Take your time during the mounting process to ensure that the Ring Video Doorbell is level and securely attached. Double-check the alignment and make any necessary adjustments before tightening the screws or fasteners completely. Once the doorbell is mounted, give it a gentle tug to confirm that it is securely in place.
With the Ring Video Doorbell now mounted, you’re one step closer to enjoying the benefits of a hardwired doorbell. The next step is to restore power and test the hardwired Ring Video Doorbell to ensure everything is functioning correctly.
Step 7: Restore power and test the hardwired Ring Video Doorbell
Now that the Ring Video Doorbell is mounted, it’s time to restore power and test its functionality. By following these steps, you can ensure that the hardwired installation was successful:
- Double-check the circuit breaker: Return to your home’s circuit breaker panel and locate the breaker that controls the power to your doorbell. Remove the electrical tape securing the switch and flip it back to the “On” position.
- Verify power to the doorbell: Press the doorbell button to check if the Ring Video Doorbell receives power. You should see the device light up and hear a chime or sound indicating it is active.
- Check the Ring app: Open the Ring app on your smartphone or device and ensure that you can see the live video feed from the Ring Video Doorbell. Test the audio and motion detection features to verify their functionality.
- Perform a test call: Enlist the help of a friend or family member to stand outside the door and ring the doorbell. Confirm that you receive an instant notification on your smartphone or device and can establish a two-way communication with the visitor.
By restoring power and testing the hardwired Ring Video Doorbell, you can ensure that the installation was successful and that all features are functioning as intended. If you encounter any issues or notice any inconsistencies, double-check the connections, consult the user manual, or contact Ring support for further assistance.
Congratulations! You have successfully hardwired and tested your Ring Video Doorbell. Enjoy the convenience and peace of mind that come with having a reliable, always-powered doorbell camera. Now you can monitor your front door and stay connected with who comes and goes, all with the power of hardwiring.
Conclusion
Hardwiring your Ring Video Doorbell provides numerous benefits, from eliminating the need for battery replacement to enjoying uninterrupted power and additional features. Through this step-by-step guide, you have learned how to successfully hardwire your Ring Video Doorbell to your existing doorbell wiring.
We began by gathering the necessary tools and materials, including a screwdriver set, wire strippers, electrical tape, wire nuts, mounting screws and anchors, a power drill, and a measuring tape. With these items at hand, we then proceeded to turn off the power to the existing doorbell, ensuring our safety throughout the process.
Next, we removed the existing doorbell by disconnecting the wiring and carefully detaching the mounting bracket. We then prepared the wires by inspecting, stripping, and twisting the ends. With the wires ready, we connected them to the appropriate terminals on the Ring Video Doorbell.
After the wiring was complete, we mounted the Ring Video Doorbell in the desired location, ensuring the doorbell was securely fastened and level. Finally, we restored power, tested the hardwired Ring Video Doorbell through the Ring app, and confirmed its functionality by performing a test call.
By following these steps, you have successfully hardwired your Ring Video Doorbell, providing a reliable power source for your doorbell camera. Now, you can enhance your home security and monitor your front door seamlessly.
Remember, if you encounter any difficulties or have any questions during the installation process, do not hesitate to consult the user manual or reach out to Ring’s customer support for assistance. Enjoy the convenience and peace of mind that comes with a hardwired Ring Video Doorbell!