Introduction
The Ring Video Doorbell is a popular home security device that allows you to see and communicate with visitors at your doorstep, even when you’re not at home. Installing the doorbell on vinyl siding can be a bit challenging, but with the right tools and techniques, it can be done easily and securely.
In this step-by-step guide, we will walk you through the process of installing the Ring Video Doorbell on vinyl siding. We will cover everything from preparing the doorbell to connecting it to power and setting it up. By following these instructions, you’ll be able to enjoy the convenience and security of the Ring Video Doorbell on your vinyl-sided home.
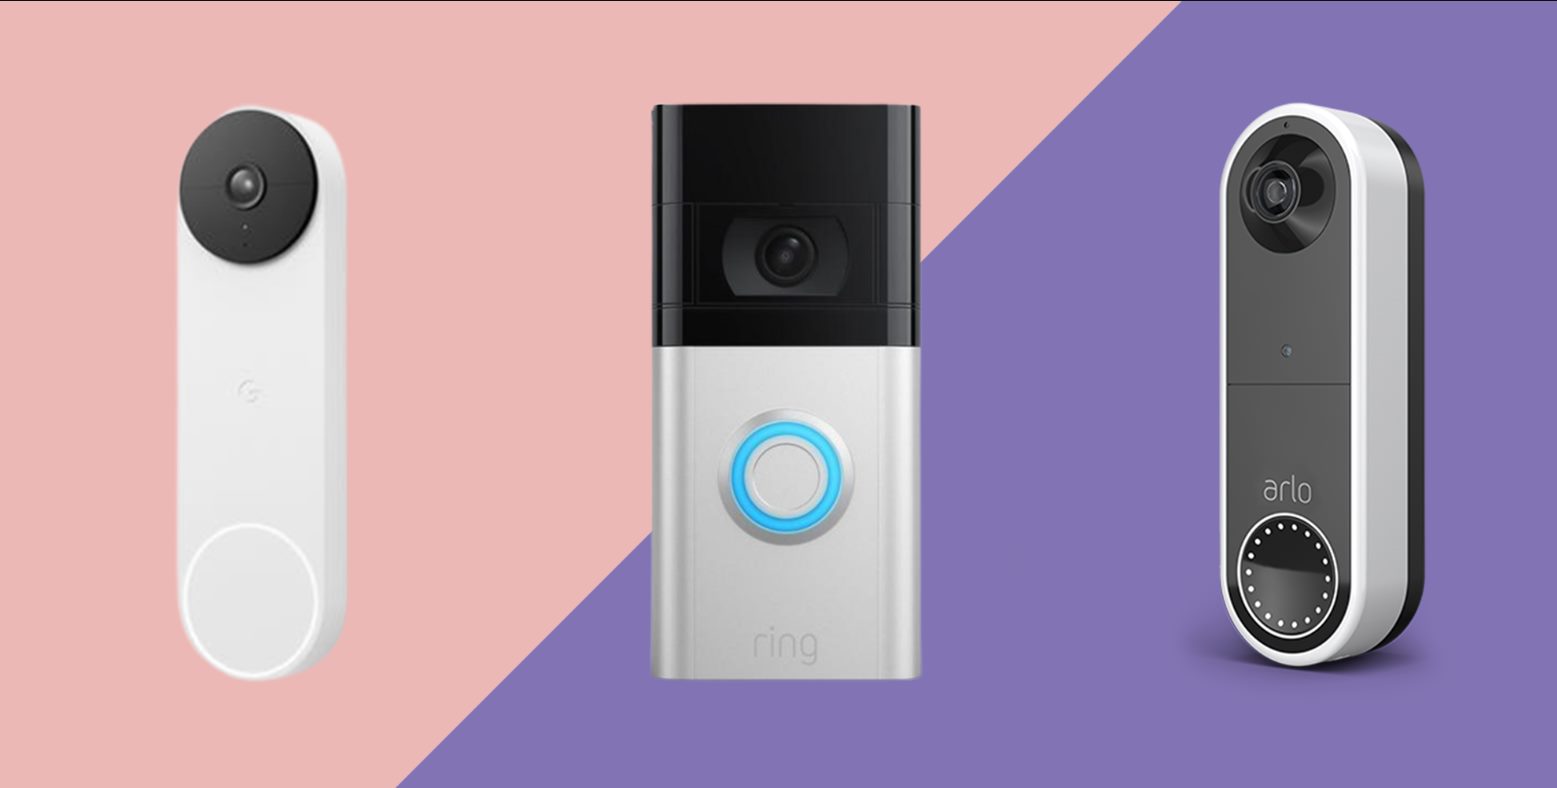
Before we get started, it’s important to note that this installation guide assumes you already have a Ring Video Doorbell and the necessary tools. If you haven’t purchased a Ring Video Doorbell yet, make sure to choose a model that is compatible with vinyl siding installation.
Now, let’s dive into the installation process and make sure your Ring Video Doorbell is properly mounted on your vinyl siding for optimal performance.
Tools and Materials Needed
Before you start installing the Ring Video Doorbell on your vinyl siding, gather the following tools and materials to ensure a smooth and successful installation:
- Ring Video Doorbell: Make sure you have the Ring Video Doorbell and any accompanying accessories, such as a mounting bracket and wiring.
- Drill: You’ll need a drill with a suitable drill bit to create holes for mounting screws.
- Screws: Depending on the mounting bracket provided, you may need to have screws of appropriate size and length to attach the doorbell securely to your vinyl siding.
- Screwdriver: A screwdriver will be necessary to tighten the screws and secure the doorbell in place.
- Level: To ensure the doorbell is perfectly straight and aligned, use a level during the installation process.
- Anchor Screws (optional): If the mounting location does not provide enough stability, you may need anchor screws to reinforce the attachment.
- Wire Cutters/Strippers: If you need to run or connect wires for the doorbell, wire cutters/strippers will be essential for proper wire management.
- Electrical Tape: Use electrical tape to secure and protect any exposed wires or connections.
- Measuring Tape: A measuring tape will help you accurately determine the placement of the mounting bracket and ensure a proper fit.
It’s always a good idea to read through the installation manual provided by Ring to ensure you have all the specific tools and materials recommended for the installation of your particular model of the Ring Video Doorbell.
With these tools and materials in hand, you’re ready to proceed with the installation process. Let’s move on to the next step and prepare the doorbell for mounting on your vinyl siding.
Step 1: Prepare the Doorbell
Before you begin the installation process, it’s important to properly prepare the Ring Video Doorbell for mounting on your vinyl siding. Follow these steps:
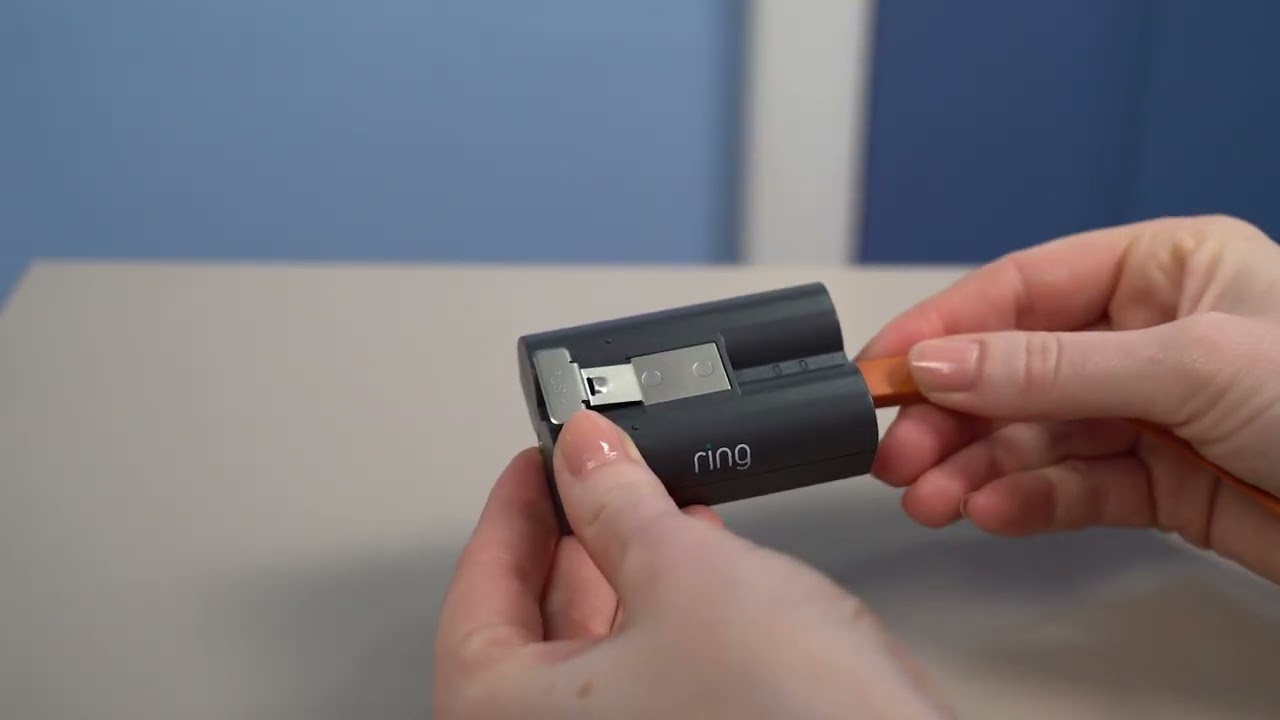
- Ensure that your Ring Video Doorbell is fully charged or has a charged battery pack installed. This will prevent any interruptions during the installation process.
- Inspect the doorbell and check for any damage or defects. If you notice any issues, contact Ring’s customer support for assistance.
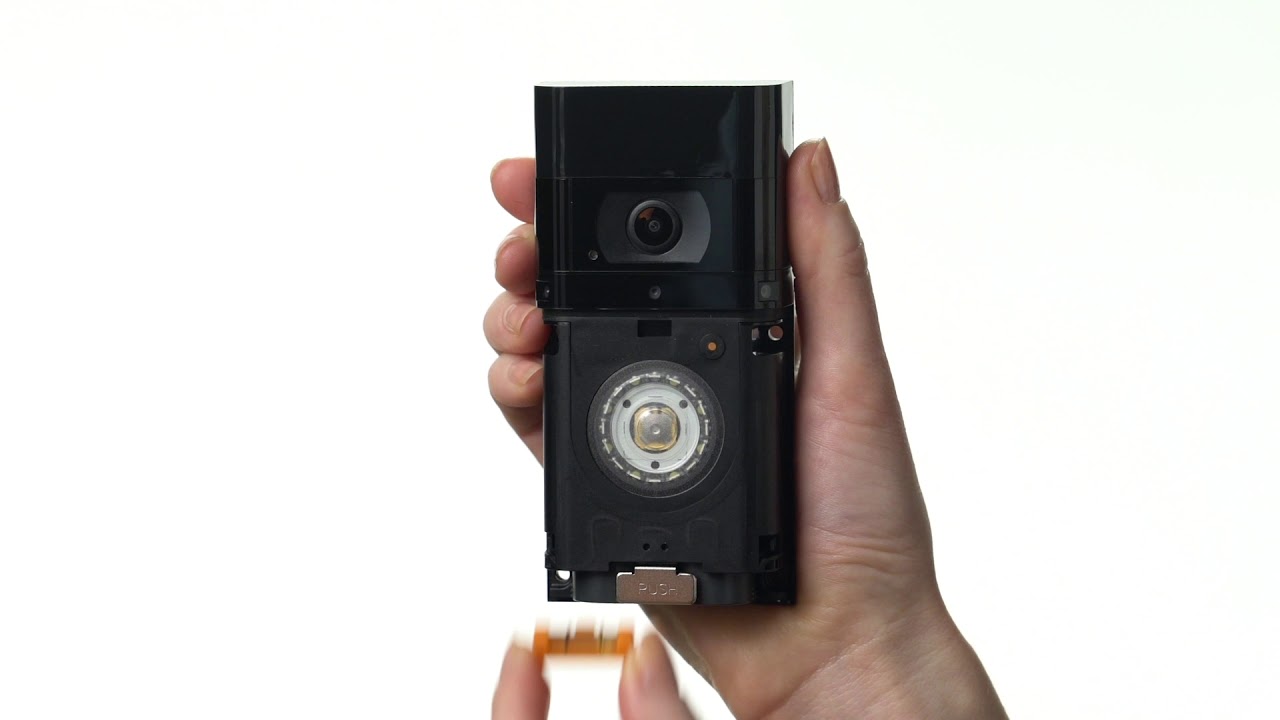
- If your Ring Video Doorbell comes with a removable faceplate, remove it to expose the mounting area.
- Take a moment to familiarize yourself with the various components and features of the doorbell, including the camera lens, microphone, speaker, and any buttons or sensors.
- If necessary, adjust any settings or preferences within the Ring app before proceeding with the installation.
- Choose the desired location for mounting the doorbell on your vinyl siding. Consider factors such as visibility, accessibility, and the best angle for capturing clear video footage.
- Hold the doorbell up against the chosen location to get a sense of how it will look and ensure it fits properly.
- Make sure the chosen location is within reach of a Wi-Fi signal. A stable Wi-Fi connection is essential for the proper functioning of the Ring Video Doorbell.
By taking the time to properly prepare the doorbell, you’ll ensure a smoother installation process and avoid any potential issues or setbacks. Once you have completed these steps, you’re ready to move on to the next phase of the installation: attaching the mounting bracket to your vinyl siding.
Step 2: Attach the Mounting Bracket
Attaching the mounting bracket to your vinyl siding is a crucial step in the installation process of the Ring Video Doorbell. Follow these steps to ensure a secure and sturdy attachment:
- Hold the mounting bracket against the chosen location on your vinyl siding. Ensure that it is level and aligned with the desired orientation for your doorbell.
- Using a pencil or marker, mark the screw hole locations on the vinyl siding through the holes in the mounting bracket. This will serve as a guide for drilling the holes.
- Set the mounting bracket aside and prepare your drill with a drill bit that matches the size of the screws you will be using.
- Slowly and carefully drill pilot holes on the marked locations. Take caution not to apply excessive force or drill too deep, as this may damage the vinyl siding.
- With the pilot holes drilled, place the mounting bracket back against the vinyl siding and align the holes in the bracket with the pilot holes.
- Insert screws through the holes in the mounting bracket and into the pilot holes in the vinyl siding. Use a screwdriver to tighten the screws until the bracket feels secure.
- Double-check the levelness and alignment of the mounting bracket before proceeding to the next step.
Attaching the mounting bracket properly will ensure the stability of your Ring Video Doorbell on the vinyl siding. Once you have completed this step, you’re ready to move on to running the wiring and preparing for the doorbell attachment in the next phase of the installation process.
Step 3: Run the Wiring
Running the wiring for your Ring Video Doorbell is an essential step to connect it to power and ensure its proper functionality. Follow these steps to run the wiring:
- If your Ring Video Doorbell requires wiring, measure the distance from the mounting bracket to the nearest power source, such as an existing doorbell transformer or an electrical outlet.
- Locate a suitable path to run the wiring from the mounting bracket to the power source. This may involve drilling small holes or using existing openings in the vinyl siding for cable management.
- Prepare your wiring by cutting it to the appropriate length, leaving some extra slack for easy installation. Use wire cutters/strippers to strip the ends of the wire if necessary.
- Feed the wiring through the designated holes or openings in the vinyl siding, ensuring it is hidden and protected from exposure to the elements.
- If needed, use electrical tape to secure and protect any exposed sections of the wiring.
- Safely route the wiring along the chosen path, ensuring it is not pinched, kinked, or stretched too tight.
- Once you’ve reached the power source, carefully connect the wiring to the appropriate terminals or connectors. Follow the manufacturer’s instructions or consult a professional if you are unsure about the correct wiring connections.
- Double-check that the wiring is securely connected and properly insulated to avoid any potential electrical hazards.
Running the wiring correctly is vital for powering your Ring Video Doorbell and ensuring a reliable and uninterrupted operation. Once you have completed this step, you’re ready to proceed with attaching the Ring Doorbell to the mounting bracket in the next phase of the installation process.
Step 4: Attach the Ring Doorbell
Now that the mounting bracket and wiring are in place, it’s time to attach the Ring Video Doorbell to the bracket securely. Follow these steps to ensure a proper attachment:
- Hold the Ring Video Doorbell above the mounting bracket, aligning the screw holes on the back of the doorbell with the holes in the bracket.
- Insert the provided screws into the screw holes and tighten them with a screwdriver. Ensure that the doorbell is flush against the mounting bracket.
- Double-check that the Ring Video Doorbell is level and aligned with your desired orientation. Make any necessary adjustments before fully tightening the screws.
- Take care not to over-tighten the screws, as this may damage the doorbell or the mounting bracket.
- Give the doorbell a gentle tug to ensure it is securely attached to the mounting bracket. It should not move or wobble.
- Inspect the attachment to ensure there are no visible gaps or misalignments between the doorbell and the mounting bracket.
By attaching the Ring Video Doorbell properly, you ensure its stability and reliability for everyday use. Once you have completed this step, you’re ready to move on to the next phase of the installation process: connecting the doorbell to power.
Step 5: Connect the Doorbell to Power
Connecting the Ring Video Doorbell to power is crucial for its functionality and continuous operation. Follow these steps to ensure a proper power connection:
- If your Ring Video Doorbell is battery-powered, insert the fully charged battery pack into the doorbell.
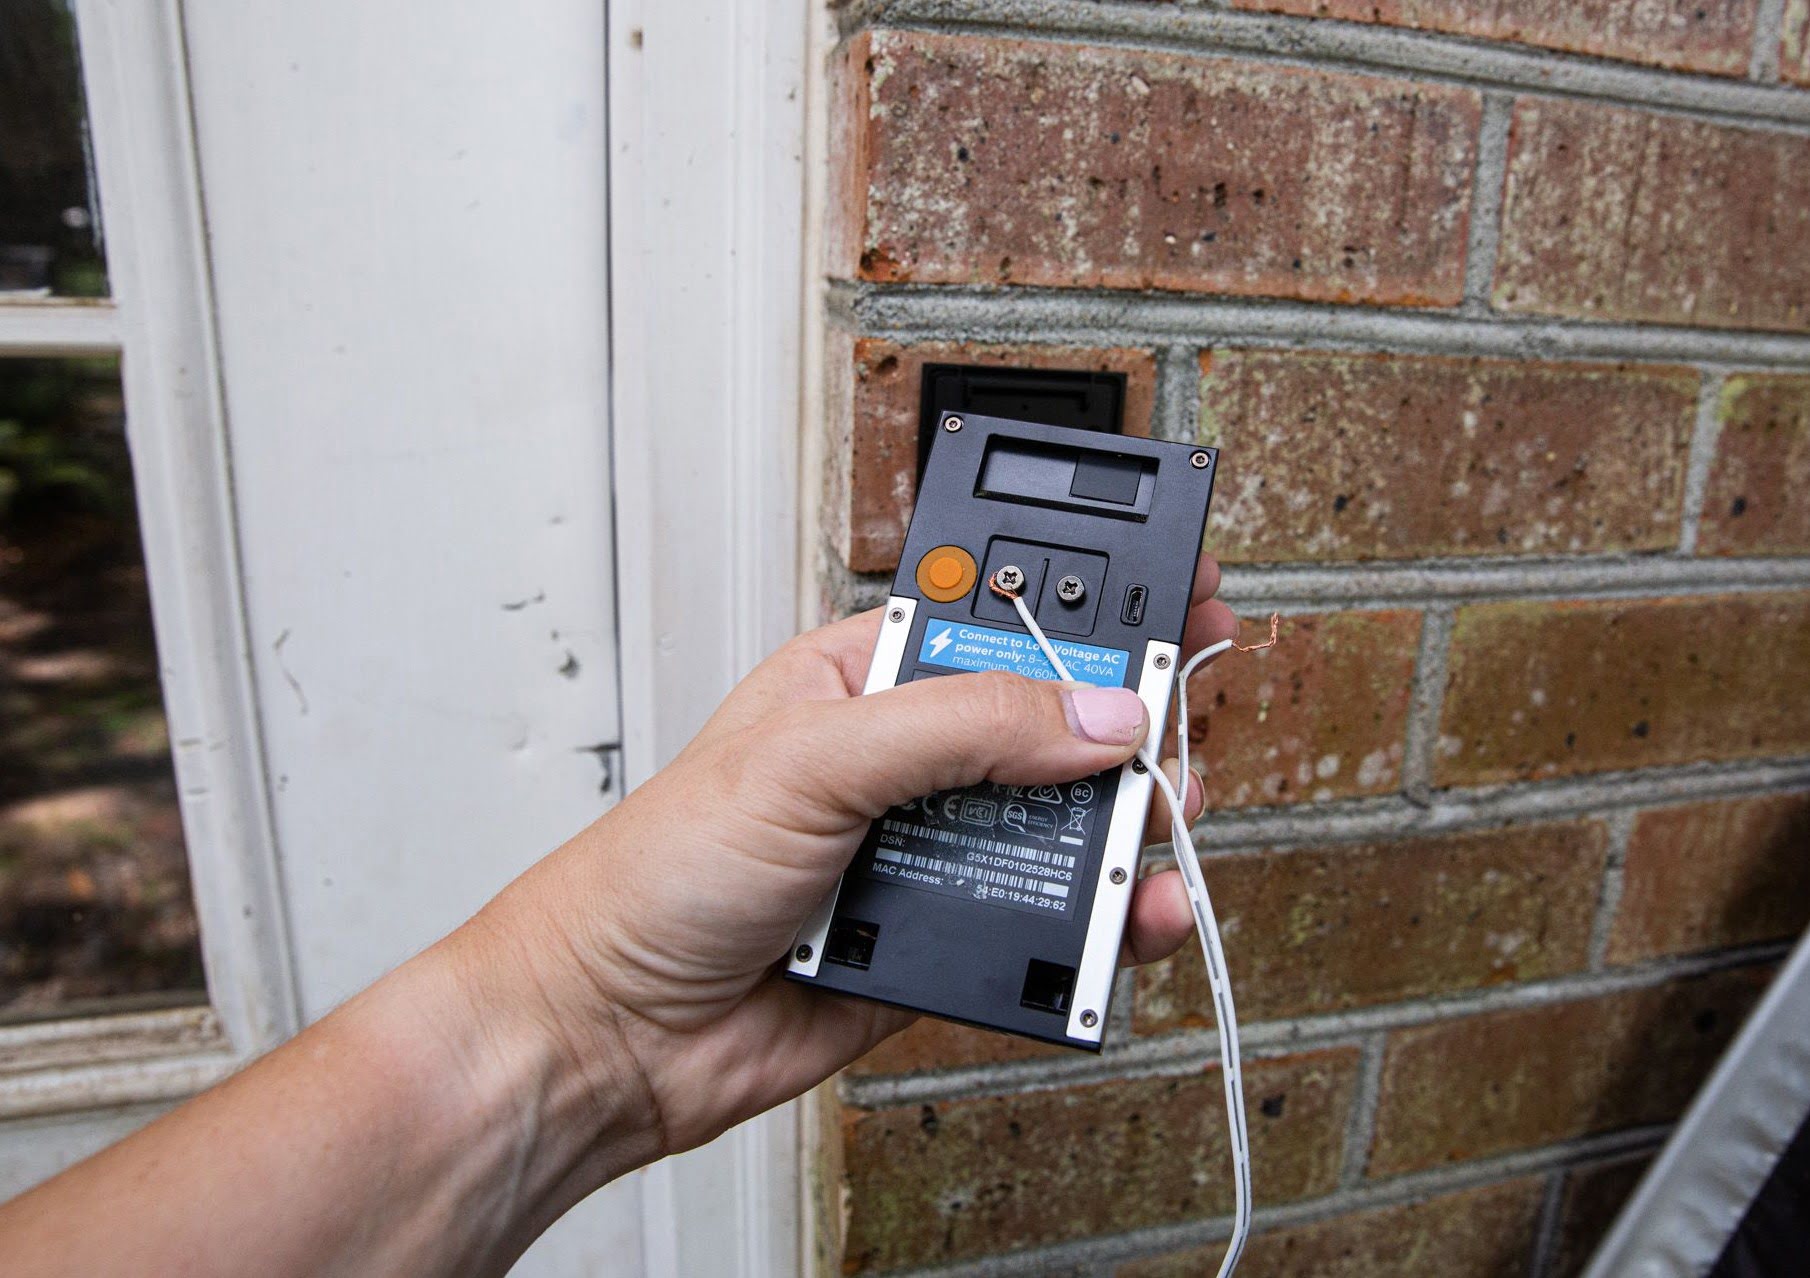
- If your Ring Video Doorbell is wired, ensure that the wiring is securely connected to the appropriate terminals or connectors at the power source.
- If your Ring Video Doorbell is connected to an existing doorbell transformer, make sure the transformer is providing the correct voltage and is compatible with the doorbell.
- If you’re using an electrical outlet to power the doorbell, ensure that the outlet is functioning properly and can handle the power requirements of the doorbell. Use a suitable adapter, if necessary.
- Once the power source is ready, gently slide the Ring Video Doorbell onto the mounting bracket until it clicks into place.
- Check the doorbell to ensure it has powered on. Look for any indicator lights or prompts that indicate it is receiving power.
- If your Ring Video Doorbell requires Wi-Fi connectivity, make sure it is within range of your home’s Wi-Fi network. Follow the on-screen instructions or refer to the manufacturer’s manual for guidance on connecting it to your network.
- Allow the doorbell a few moments to establish a stable connection with your network and complete the initial setup process.
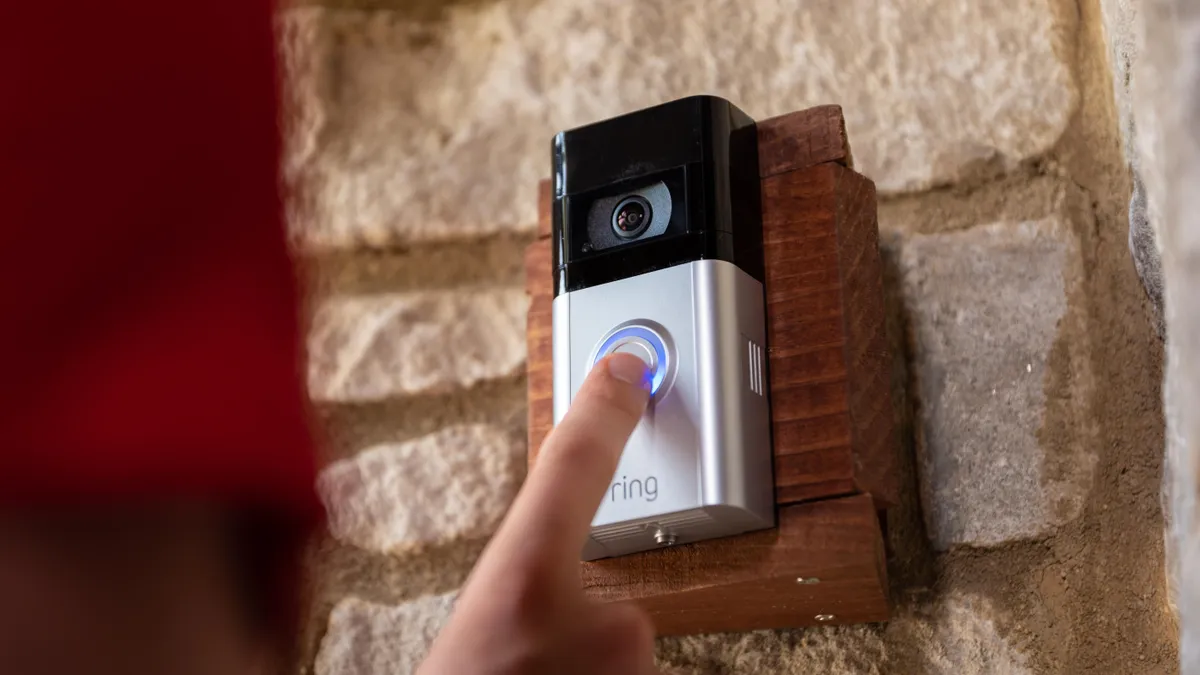
- Test the doorbell by pressing the doorbell button or triggering its motion sensor. Confirm that it alerts your mobile device or the designated receiver in your home.
By connecting the Ring Video Doorbell to power, you ensure its constant availability and functionality. Once you have completed this step, you’re ready to move on to the final phase of the installation process: setting up and configuring your Ring Video Doorbell.
Step 6: Set Up the Ring Doorbell
Setting up and configuring your Ring Video Doorbell is the final step in the installation process. Follow these steps to ensure a successful setup:
- Download the Ring app onto your mobile device from the App Store or Google Play Store, and create a Ring account if you haven’t already.
- Open the Ring app and follow the on-screen instructions to set up a new device.
- Allow the app to access the camera and microphone on your mobile device for the initial setup process.
- Scan the provided QR code or enter the serial number of your Ring Video Doorbell when prompted by the app.
- Follow the app instructions to connect your Ring Video Doorbell to your home’s Wi-Fi network. Make sure you enter the correct Wi-Fi credentials to ensure a successful connection.
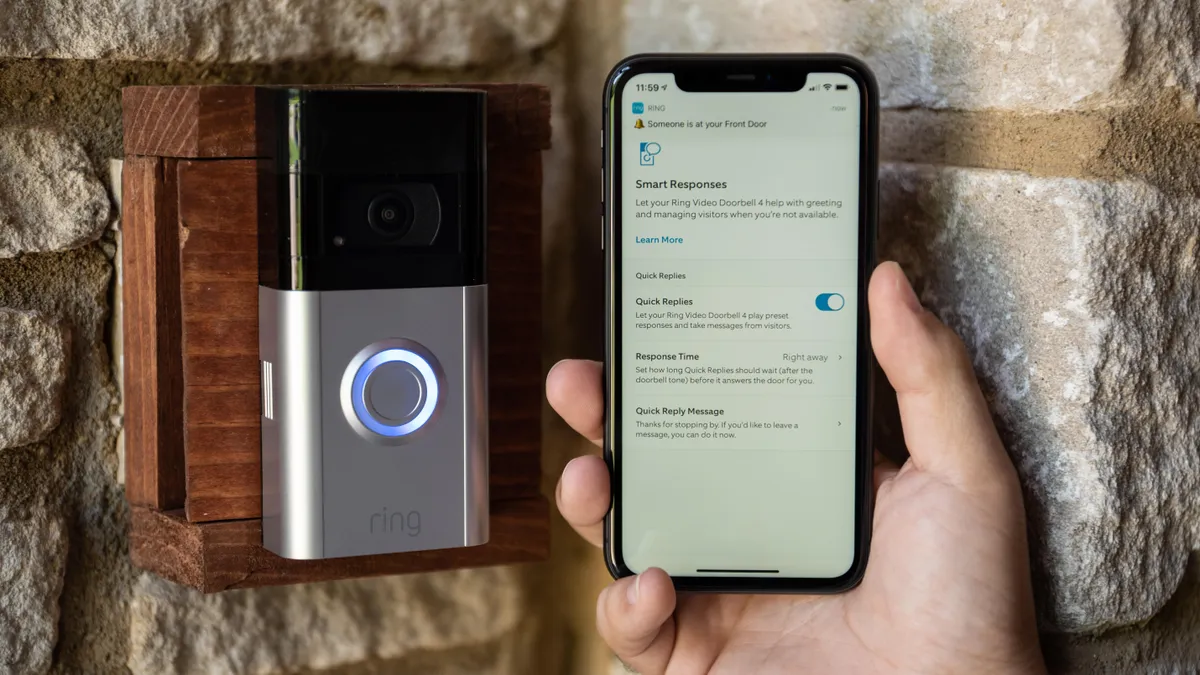
- Customize the settings and preferences for your Ring Video Doorbell within the app. This may include adjusting motion detection sensitivity, notification preferences, recording options, and more.
- Test the Ring Video Doorbell by pressing the doorbell button or triggering its motion sensor. Check if the notifications are being properly sent to your mobile device.
- Explore the additional features and functionalities of the Ring app, such as reviewing past recordings, managing access for family members or neighbors, and enabling integrations with other smart home devices.
- Take some time to familiarize yourself with the various settings and options available in the Ring app, as it allows you to customize the functionality and user experience of your Ring Video Doorbell.
Completing the setup process properly ensures that your Ring Video Doorbell is ready to monitor your doorstep and keep you connected to visitors even when you’re away. Congratulations, you’ve successfully installed and set up your Ring Video Doorbell on your vinyl siding!
Conclusion
Installing the Ring Video Doorbell on your vinyl siding may seem overwhelming at first, but by following the step-by-step guide provided, you can easily accomplish this task. By properly preparing the doorbell, attaching the mounting bracket securely, running the wiring correctly, attaching the doorbell to the bracket, connecting it to a power source, and setting it up through the Ring app, you can enjoy the convenience and security of the Ring Video Doorbell on your vinyl-sided home.
Remember to gather all the necessary tools and materials before beginning the installation process. Take your time to accurately measure, align, and level the mounting bracket for a secure attachment. Ensure that the wiring is properly connected and protected from exposure to the elements. Connect the Ring Video Doorbell to a suitable power source, whether it be a battery or an existing transformer or electrical outlet. Finally, complete the setup process through the Ring app to customize the functionality and settings according to your preferences.
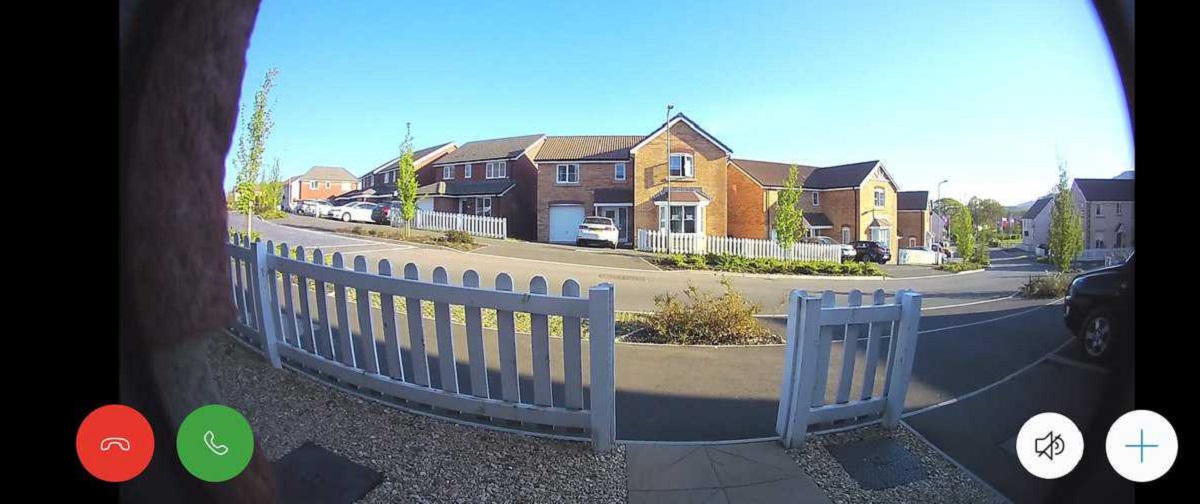
Once installed, the Ring Video Doorbell will provide you with a convenient and reliable way to monitor your doorstep, receive notifications, communicate with visitors, and enhance the security of your home. Take advantage of the additional features offered by the Ring app, such as reviewing past recordings and integrating with other smart home devices, to fully maximize the benefits of your Ring Video Doorbell.
With the proper installation and setup, you can have peace of mind, knowing that you have a reliable and robust home security solution in place. Get started with the installation process of your Ring Video Doorbell on your vinyl siding, and enjoy the added security and convenience it brings to your home.