Introduction
If you're looking to change the Wi-Fi connection on your Ring Video Doorbell, you've come to the right place. Whether you've upgraded your home network or moved to a new location, it's essential to keep your smart devices connected to the internet for seamless functionality. Fortunately, the process of updating the Wi-Fi connection on your Ring Video Doorbell is straightforward and can be accomplished with a few simple steps. By following the guidelines provided in this article, you'll learn how to navigate the device settings, select a new Wi-Fi network, and ensure a successful connection. Let's dive into the process of changing the Wi-Fi connection on your Ring Video Doorbell and get your device back online in no time.
Changing the Wi-Fi connection on your Ring Video Doorbell is a fundamental aspect of maintaining its functionality. Whether you're troubleshooting connectivity issues or setting up your device in a new location, understanding the process is crucial for seamless operation. By following the steps outlined in this guide, you'll be equipped with the knowledge to effortlessly update the Wi-Fi connection on your Ring Video Doorbell, ensuring that it remains an integral part of your smart home ecosystem. Let's explore the simple yet essential steps to achieve a successful Wi-Fi connection change for your Ring Video Doorbell.
Step 1: Accessing the Ring Video Doorbell Settings
Before you can change the Wi-Fi connection on your Ring Video Doorbell, you'll need to access the device settings. This initial step sets the stage for a seamless transition to a new Wi-Fi network. To begin, ensure that your mobile device is connected to the same Wi-Fi network that your Ring Video Doorbell is currently using. This ensures a smooth configuration process without interruptions.
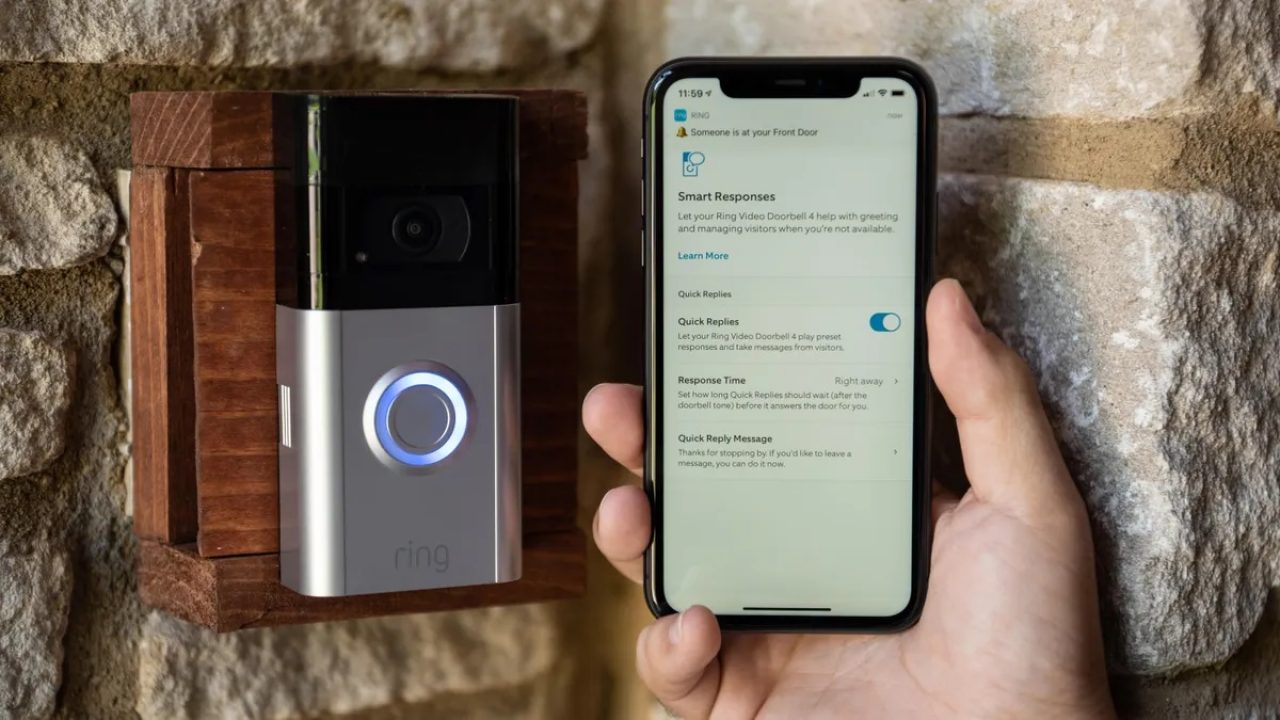
Next, open the Ring app on your mobile device and navigate to the "Devices" section. Here, you'll find a list of all the Ring devices associated with your account. Select your Ring Video Doorbell from the list to access its settings. Within the device settings, look for the "Device Health" or "Device Settings" option, where you can manage the Wi-Fi connection and other configurations specific to your Ring Video Doorbell.
Once you've located the appropriate settings, you may be prompted to enter your Ring account credentials to proceed. This added layer of security ensures that only authorized users can make changes to the device settings, enhancing the privacy and integrity of your Ring Video Doorbell. After authenticating your account, you'll gain access to the Wi-Fi configuration settings, allowing you to proceed with selecting the new Wi-Fi network for your device.
Accessing the Ring Video Doorbell settings is the crucial first step in the process of changing the Wi-Fi connection. By familiarizing yourself with the location of these settings within the Ring app, you'll streamline the overall transition to a new Wi-Fi network, setting the stage for a successful reconnection of your Ring Video Doorbell.
Step 2: Selecting the New Wi-Fi Network
Once you’ve accessed the settings of your Ring Video Doorbell, the next step is to select the new Wi-Fi network to which you want to connect the device. Within the device settings in the Ring app, look for the option specifically related to Wi-Fi network configuration. This may be labeled as “Change Wi-Fi Network” or “Wi-Fi Settings.”
Upon selecting the Wi-Fi network configuration option, the Ring app will prompt you to choose from the available Wi-Fi networks in your vicinity. Ensure that the new Wi-Fi network you intend to connect to is operational and within range of your Ring Video Doorbell. Select the appropriate network from the list provided, and if necessary, enter the network password to authenticate the connection.
It’s important to verify that the selected Wi-Fi network is compatible with your Ring Video Doorbell’s requirements. This includes ensuring that the network operates on a supported frequency (2.4GHz or 5GHz, depending on the device model) and meets any specific security protocols, such as WPA2 encryption, to guarantee a secure and stable connection.
During this step, it’s also advisable to double-check the signal strength of the chosen Wi-Fi network in the area where your Ring Video Doorbell is installed. A strong and consistent Wi-Fi signal is vital for optimal device performance and responsiveness. If necessary, consider repositioning your Wi-Fi router or installing a Wi-Fi range extender to enhance the signal coverage in the vicinity of your Ring Video Doorbell.
By selecting the new Wi-Fi network through the Ring app, you’re laying the groundwork for a successful transition to a different internet connection for your Ring Video Doorbell. This essential step paves the way for the subsequent configuration and testing of the new connection, ensuring that your device remains seamlessly integrated into your smart home ecosystem.
Step 3: Connecting to the New Wi-Fi Network
With the new Wi-Fi network selected in the Ring app, the next pivotal step is to establish a connection between your Ring Video Doorbell and the chosen network. Once you’ve confirmed the Wi-Fi network selection, the Ring app will initiate the process of reconfiguring the device to operate on the new network.
During this phase, your Ring Video Doorbell will disassociate from the current Wi-Fi network and begin the process of connecting to the newly selected network. This transition may take a few moments as the device establishes a secure and stable connection with the new network. It’s important to allow the device ample time to complete this transition without interruption.
As the device undergoes the connection process, it’s advisable to monitor the status indicators within the Ring app to ensure that the transition to the new Wi-Fi network progresses smoothly. These indicators may include visual cues or status messages that provide real-time updates on the connection process. Additionally, the Ring app may prompt you to confirm the successful establishment of the new connection before proceeding.
It’s essential to exercise patience during this phase, allowing the device sufficient time to complete the transition to the new Wi-Fi network. Avoid interrupting the process or attempting to expedite the connection establishment, as this could potentially disrupt the configuration and result in connectivity issues.
Once the Ring Video Doorbell has successfully connected to the new Wi-Fi network, you’ll be one step closer to restoring full functionality to your device. This crucial phase sets the stage for the final step of testing the new connection, ensuring that your Ring Video Doorbell seamlessly integrates with the updated Wi-Fi network for uninterrupted performance.
Step 4: Testing the New Connection
After the Ring Video Doorbell has successfully connected to the new Wi-Fi network, it’s vital to conduct thorough testing to ensure that the device is fully operational and seamlessly integrated with the updated connection. This step allows you to verify the stability of the new connection and address any potential issues that may arise during the transition.
Begin by testing the core functionalities of your Ring Video Doorbell, such as live video streaming, two-way audio communication, and motion detection. Use the Ring app to initiate a live video feed from your doorbell and confirm that the stream is clear, responsive, and free from any significant delays. Engage in a test conversation using the two-way audio feature to ensure that communication remains crisp and uninterrupted.
Furthermore, trigger a simulated motion event in front of the doorbell to assess the responsiveness of the motion detection feature. Verify that you receive timely notifications on your mobile device when motion is detected, indicating that the device is effectively communicating with the Ring servers over the new Wi-Fi network.
During the testing phase, pay close attention to any signs of connectivity issues, such as intermittent video feed disruptions, audio delays, or inconsistent motion detection. If you encounter any irregularities, it may be necessary to reposition your Wi-Fi router or address potential sources of interference to optimize the performance of your Ring Video Doorbell on the new network.
Additionally, consider testing the device’s responsiveness to remote commands, such as adjusting motion detection settings or initiating firmware updates. This comprehensive testing approach ensures that your Ring Video Doorbell is fully acclimated to the new Wi-Fi network and operates seamlessly within your smart home environment.
By rigorously testing the new connection, you’ll gain confidence in the stability and reliability of your Ring Video Doorbell’s functionality on the updated Wi-Fi network. This proactive approach allows you to address any potential challenges early on, ensuring that your device remains an integral component of your home security and automation setup.
Conclusion
Changing the Wi-Fi connection on your Ring Video Doorbell is a pivotal aspect of maintaining its seamless integration into your smart home ecosystem. By following the outlined steps, you’ve gained the knowledge and proficiency to navigate the device settings, select a new Wi-Fi network, establish a connection, and thoroughly test the updated configuration.
As technology continues to evolve, the ability to adapt and update the connectivity of smart devices such as the Ring Video Doorbell is essential for ensuring optimal performance and functionality. Whether you’ve relocated to a new home, upgraded your Wi-Fi network, or encountered connectivity issues, the process of changing the Wi-Fi connection empowers you to maintain a robust and reliable connection for your device.
It’s important to approach the Wi-Fi connection change process with patience and attention to detail, allowing ample time for the device to transition to the new network seamlessly. By leveraging the capabilities of the Ring app and adhering to best practices for Wi-Fi network selection and testing, you can ensure that your Ring Video Doorbell remains a dependable component of your home security and automation setup.
Moreover, the ability to troubleshoot and reconfigure the Wi-Fi connection underscores the adaptability and versatility of smart home devices, empowering users to overcome connectivity challenges and optimize their user experience. By staying informed and proactive in managing the connectivity of your Ring Video Doorbell, you can harness the full potential of this innovative device and enjoy enhanced peace of mind and convenience in your daily life.
As you continue to explore the capabilities of your Ring Video Doorbell and other smart home devices, remember that the process of changing the Wi-Fi connection is a valuable skill that enhances your ability to maintain and optimize the performance of these devices. Embrace the opportunity to adapt and refine the connectivity of your smart home ecosystem, ensuring that your devices remain seamlessly integrated and responsive to your needs.
With the knowledge and insights gained from this guide, you’re well-equipped to navigate the process of changing the Wi-Fi connection on your Ring Video Doorbell, empowering you to maintain a robust and reliable connection that enhances the overall functionality and utility of this essential smart home device.