Introduction
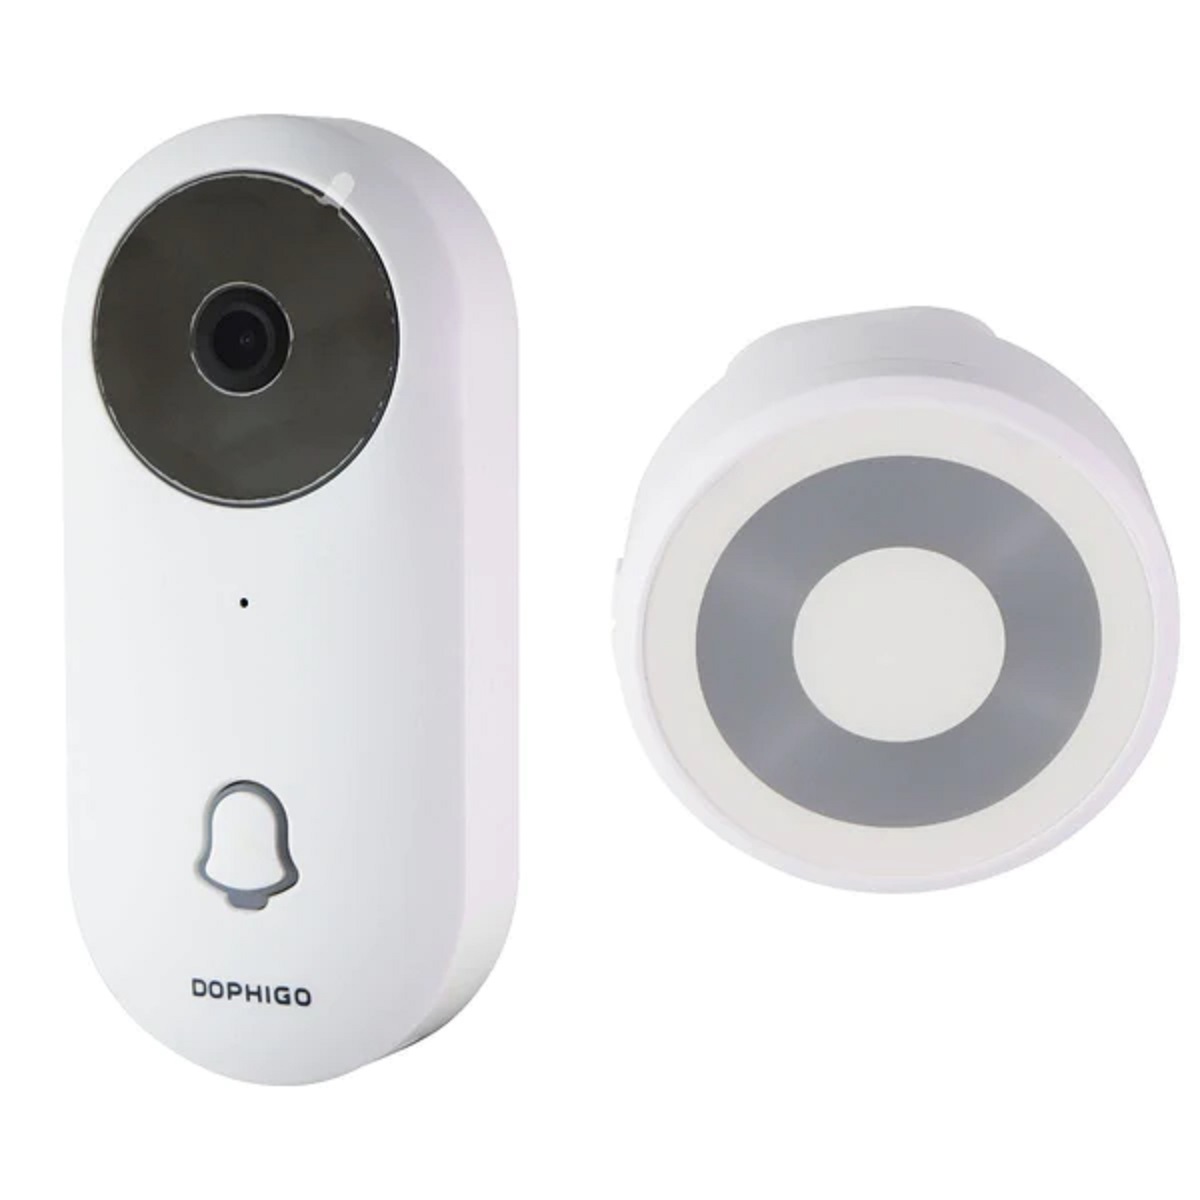
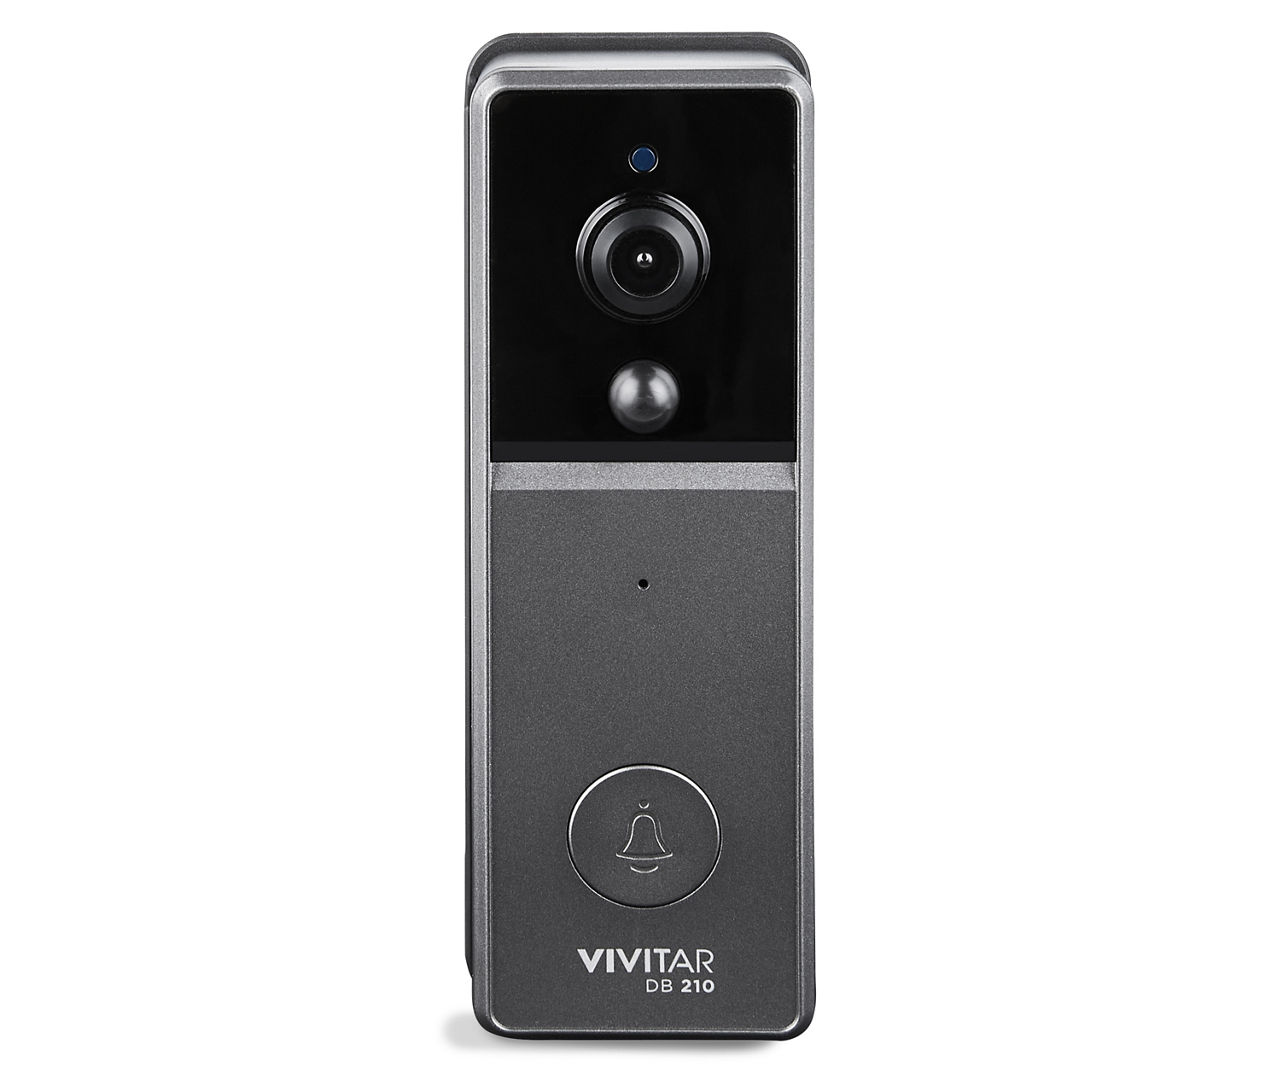
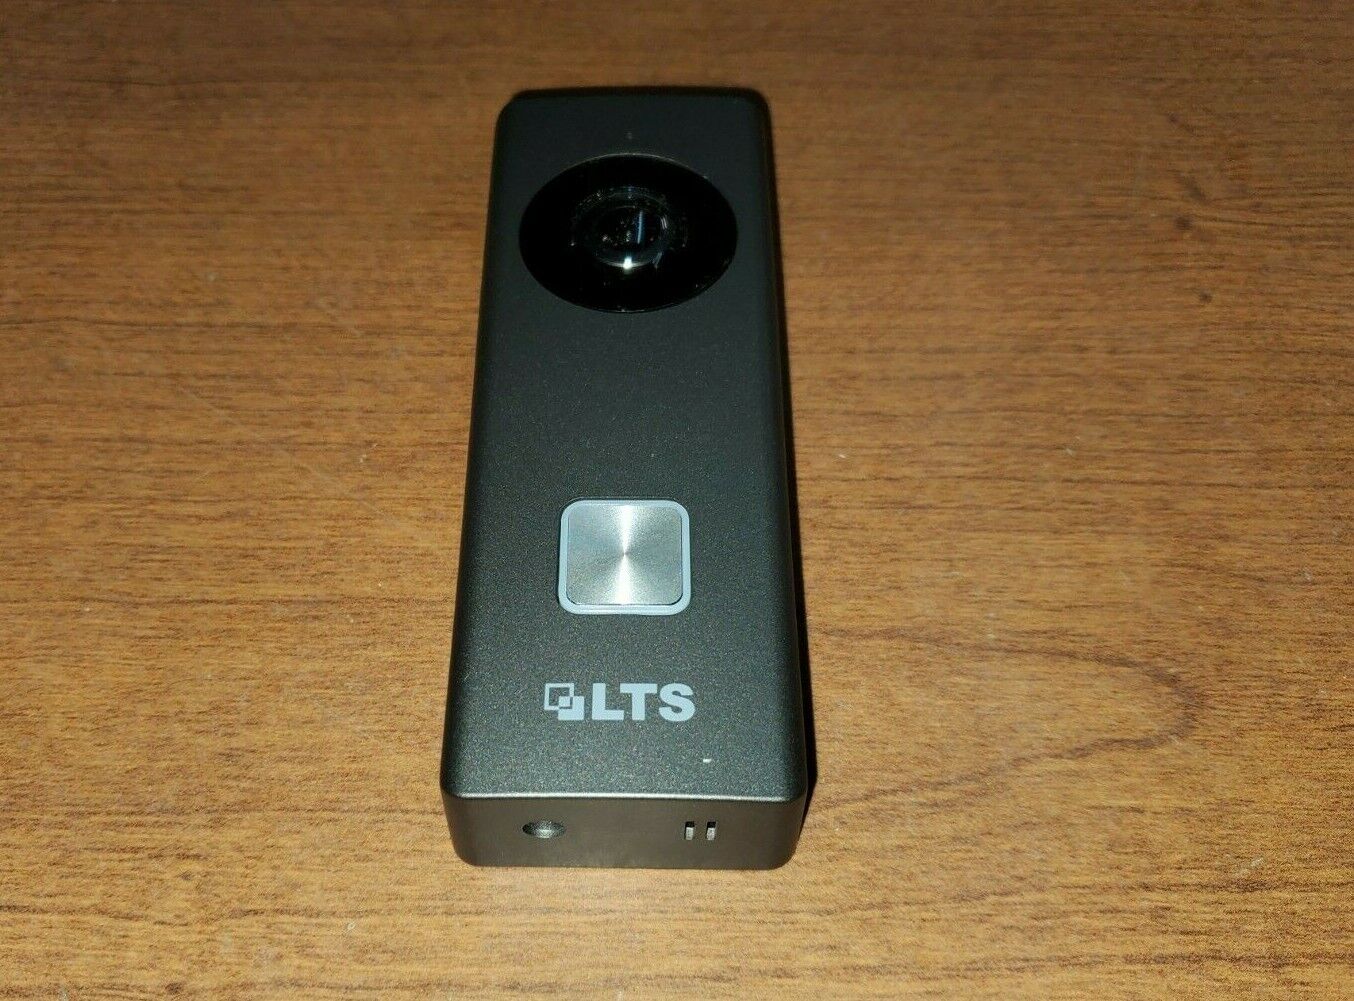
Welcome to the world of the Dophigo Video Doorbell – a smart device that provides an added layer of security to your home. With its advanced features and user-friendly app, the Dophigo Video Doorbell allows you to monitor and record visitors and activities around your front door. However, there may come a time when you need to delete a video recording for various reasons, such as freeing up storage space or removing footage that is no longer relevant. In this article, we will guide you through the steps to easily delete video recordings from your Dophigo Video Doorbell.
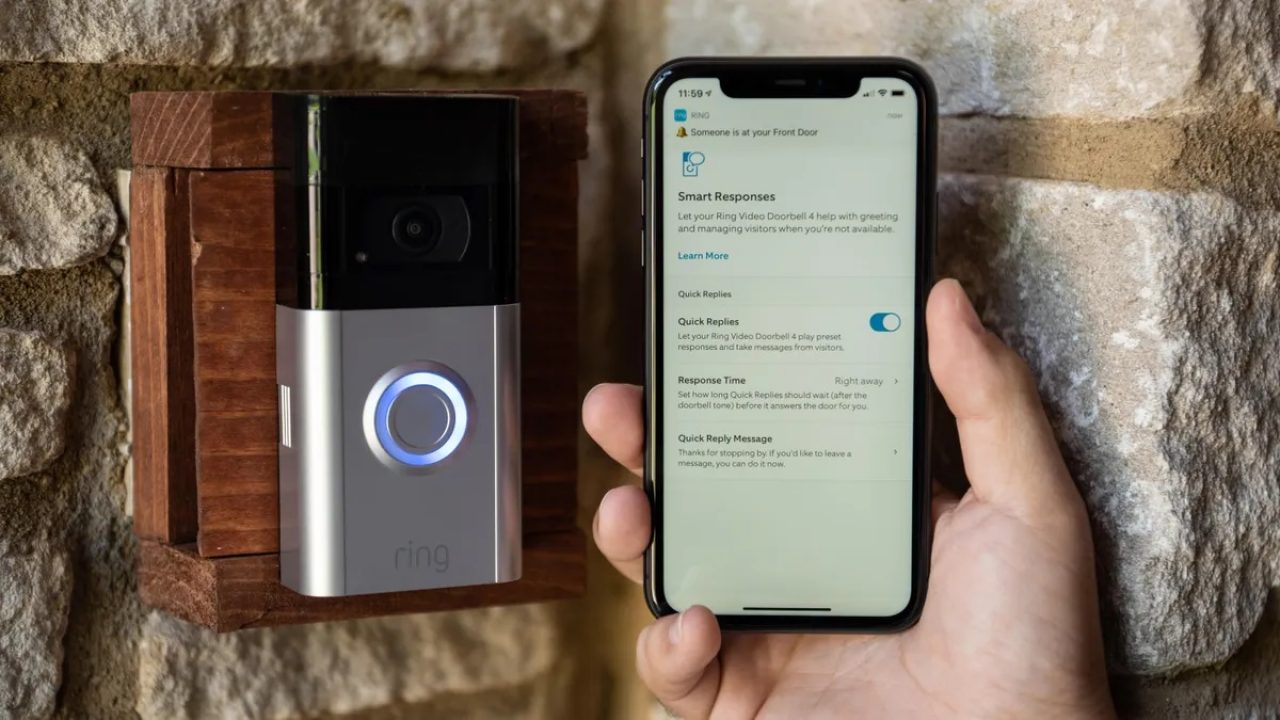
Deleting video recordings on your Dophigo Video Doorbell is a quick and straightforward process that can be done directly from the Dophigo app on your smartphone or tablet. Whether you want to delete a single video or multiple recordings, the app provides you with the necessary tools to manage your video library efficiently. By following a few simple steps, you can ensure that your video storage remains organized and clutter-free.
Before we proceed with the deletion process, make sure you have the Dophigo app installed and logged in to your device. If you haven’t set up your Dophigo Video Doorbell yet, please refer to the user manual or online documentation provided by Dophigo for instructions on how to get started. Once you have logged in to the app and accessed your account, you are ready to begin deleting video recordings from your Dophigo Video Doorbell.
Please note that once you delete a video recording, it cannot be recovered. Therefore, it is crucial to carefully review the footage before proceeding with deletion to avoid any accidental removal of important or valuable content. Now, let’s dive into the step-by-step process of deleting video recordings from your Dophigo Video Doorbell.
Step 1: Accessing the Dophigo Video Doorbell App
The first step in deleting video recordings from your Dophigo Video Doorbell is to access the Dophigo app on your smartphone or tablet. By opening the app, you will gain access to all the features and settings of your Dophigo Video Doorbell.
To access the app, locate the Dophigo app icon on your device’s home screen or in your app drawer. Tap on the icon to launch the app. If you haven’t already logged in, enter your login credentials, such as your username and password, to access your Dophigo Video Doorbell account.
Once you have successfully logged in, you will be presented with the app’s home screen. This screen serves as a hub for all the features and functions of the Dophigo Video Doorbell. From here, you can navigate to different sections of the app, including video recordings, live view, settings, and more.
If you are new to the Dophigo app or unsure of its layout, take a moment to familiarize yourself with the different menus and options available. This will help you navigate through the app more efficiently during the video deletion process.
It is worth noting that the steps provided in this guide may slightly vary depending on the version of the Dophigo app you’re using. However, the overall process of accessing and deleting video recordings should remain consistent.
In the next step, we will explore how to navigate to the videos tab within the Dophigo app, where all your recorded videos are stored.
Step 2: Navigating to the Videos tab
Once you have successfully accessed the Dophigo app, the next step is to navigate to the Videos tab. This is where all your recorded videos are stored and organized for easy access and management. Follow the steps below to find the Videos tab within the app:
- Look for a menu or navigation bar at the bottom or top of the app screen. This may include icons or labels for different sections.
- Search for an icon that represents videos, such as a film reel or a camera.
- Tap on the Videos icon to access the Videos tab.
Alternatively, if you are unable to find a dedicated Videos icon, you can explore other sections or menus in the app to locate the video recordings. Look for labels such as “Recordings,” “Library,” or “Stored Videos.”
Once you have found the Videos tab, tap on it to enter the video recordings section. You should now see a list or grid of your recorded videos, displaying details such as the date, time, and duration of each recording.
Take a moment to familiarize yourself with the layout and options available in the Videos tab. This will help you select and delete the desired video recordings more easily in the following steps.
Now that you have successfully navigated to the Videos tab, we can proceed to the next step, where you will learn how to select the specific video you want to delete.
Step 3: Selecting the video you want to delete
Now that you have accessed the Videos tab within the Dophigo app, it’s time to select the specific video recording that you want to delete. Follow the steps below to choose the video you wish to remove:
- Scroll through the list or grid of video recordings to find the one you want to delete. The videos are typically sorted in chronological order, with the newest recordings appearing at the top.
- Tap on the desired video to select it. You may need to tap on a thumbnail or a checkbox next to the video to initiate the selection.
- If you want to delete multiple videos, you can select them one by one by tapping on each video individually. Some apps may also offer a select-all option or a batch selection feature for more efficient deletion of multiple recordings.
As you browse through the video recordings, take note of the video details such as the date, time, and duration of each recording. This can help you identify and select the correct video to delete, especially if you have many recordings in your library.
It’s important to double-check your selection before proceeding to the deletion process. Once a video is deleted, it cannot be recovered, so make sure you are selecting the correct one.
After selecting the video recording you want to delete, we can move on to the next step, where you will learn how to remove the video from your Dophigo device.
Step 4: Deleting the video from your device
Once you have selected the specific video recording that you want to delete, it’s time to remove it from your Dophigo device. The process may vary slightly depending on the version of the Dophigo app you’re using, but the general steps remain the same:
- Look for a menu or options button, usually represented by three dots or lines, located either next to the selected video or at the top-right corner of the app screen.
- Tap on the menu or options button to reveal a drop-down or pop-up menu of actions you can perform on the video.
- Among the list of options, look for ones that indicate deleting, removing, or discarding the video. The wording or icon may vary, but it should be clear that it refers to deleting the selected video.
- Tap on the delete or remove option to initiate the deletion process. You may be prompted to confirm your decision before proceeding.
Some versions of the Dophigo app may provide an alternative method to delete videos, such as swiping left or right on the video thumbnail or using a specific gesture. If this is the case, follow the on-screen instructions to delete the selected video.
During the deletion process, the app may display a progress indicator or a confirmation message to signify that the video is being removed. Once the deletion is complete, the video should no longer appear in your video library.
It’s important to note that deleting a video recording from your device does not necessarily remove it from the cloud storage associated with your Dophigo account. If your videos are automatically backed up to the cloud, you may need to delete them from there as well to free up storage space completely. Refer to the documentation or settings in your Dophigo app for more information on cloud storage management.
Now that you have successfully deleted the desired video recording from your Dophigo device, let’s move on to the final step, where you will confirm the deletion and wrap up the process.
Step 5: Confirming the deletion
After deleting the video recording from your Dophigo device, it’s essential to confirm the deletion to ensure that the video is permanently removed from your system. Follow these steps to confirm the deletion:
- Check the video library or recordings folder to verify that the deleted video is no longer present. It should no longer be visible in the list or grid of video recordings.
- Double-check any filters or sorting options that may be applied to your video library. Ensure that the deleted video is not hidden or filtered out due to any specific criteria.
- If you have access to an external storage device, such as an SD card or a specific folder on your device, ensure that the deleted video is removed from there as well.
- Tap on the back button or navigate to a different section of the app to ensure that the video deletion is reflected throughout the app interface. This is important to confirm that the video removal is not a temporary display glitch.
By following these steps and confirming the deletion, you can ensure that the selected video recording is successfully removed from your Dophigo device.
It’s important to note that once a video recording is deleted, it cannot be recovered. Therefore, it’s crucial to double-check your selection and confirm the deletion only when you are certain that you no longer need the video.
Congratulations! You have successfully completed the process of deleting a video recording from your Dophigo Video Doorbell. By regularly managing your video library and removing any unnecessary recordings, you can free up storage space and keep your Dophigo device running smoothly.
Remember, always refer to the user manual or online documentation provided by Dophigo for specific instructions related to your device and app version. If you encounter any difficulties or have further questions, don’t hesitate to reach out to the Dophigo customer support for assistance.
Conclusion
Deleting video recordings from your Dophigo Video Doorbell is a straightforward process that can be done directly from the Dophigo app on your smartphone or tablet. By following the steps outlined in this guide, you can easily manage and remove video recordings to keep your storage organized and clutter-free.
Remember to always double-check your selection before deleting a video recording, as the deletion process is irreversible. Take the time to review the content and ensure that you are deleting the correct video.
Additionally, it’s important to note that deleting a video recording from your device does not necessarily remove it from the cloud storage associated with your Dophigo account. If your videos are automatically backed up to the cloud, you may need to delete them from there as well to free up storage space completely. Consult the documentation or settings in your Dophigo app for more information on cloud storage management.
Regularly deleting unnecessary video recordings not only helps you manage storage space but also ensures that you have a more streamlined and efficient video library. By keeping your Dophigo device optimized, you can continue to enjoy the benefits of enhanced security and peace of mind.
If you require further assistance or encounter any issues during the video deletion process, don’t hesitate to reach out to the Dophigo customer support team. They will be able to provide you with expert guidance and resolve any queries you may have.
Thank you for choosing the Dophigo Video Doorbell as your home security solution, and we hope that this guide has helped you in efficiently deleting video recordings from your device. Enjoy the peace of mind that comes with having control over your recorded videos and keeping your Dophigo Video Doorbell running smoothly.


