Introduction
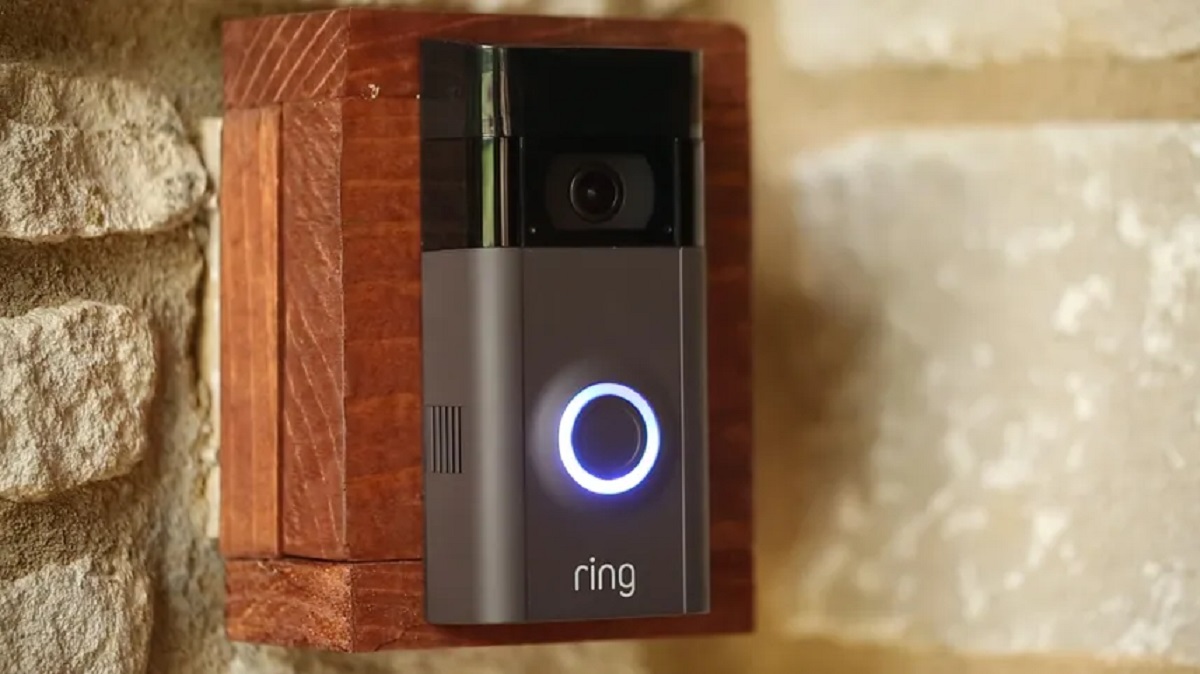
Welcome to this guide on how to open the cover of the Ring Video Doorbell 2 to recharge the battery. The Ring Video Doorbell 2 is a popular smart doorbell that allows you to see, hear, and speak to anyone at your front door using your smartphone or tablet. To ensure that your doorbell functions properly, it is important to keep the battery charged.
Over time, the battery of your Ring Video Doorbell 2 will naturally deplete, and you will need to recharge it. Opening the cover of the doorbell is a simple process that allows you to access the battery compartment and remove the battery for charging. By following the steps in this guide, you will be able to easily recharge the battery of your Ring Video Doorbell 2 and ensure that it continues to function effectively.
Before we begin, it’s important to note that these instructions are specifically for the Ring Video Doorbell 2 model. If you have a different model of the Ring Video Doorbell, the process may vary. Make sure you have the necessary tools handy and read through the steps thoroughly before proceeding.
Step 1: Gather the necessary tools
Before you begin opening the cover of the Ring Video Doorbell 2, it’s important to gather the necessary tools. Having these tools handy will make the process smoother and more efficient. Here’s what you’ll need:
- A small flat-head screwdriver
The small flat-head screwdriver will be used to remove the screw that holds the cover in place. Make sure the screwdriver is small enough to fit into the screw slot without causing any damage to the surrounding area.
It’s always a good idea to gather all the necessary tools before starting any repair or maintenance task. This way, you’ll avoid interruption and frustration caused by not having the right tools on hand.
Once you have the small flat-head screwdriver, you’re ready to move on to the next step: locating the cover of the Ring Video Doorbell 2.
Step 2: Locate the cover of the Ring Video Doorbell 2
Now that you have gathered the necessary tools, it’s time to locate the cover of the Ring Video Doorbell 2. The cover is where the battery is housed and opening it will give you access to the battery compartment.
To locate the cover, take a close look at the front of your Ring Video Doorbell 2. You will notice a small indentation or groove along the bottom edge of the device. This is where you will need to insert the screwdriver to remove the cover.
The cover of the Ring Video Doorbell 2 is designed to be easily removable, allowing for quick and convenient access to the battery. By locating the cover, you are one step closer to recharging the battery and ensuring the optimal performance of your doorbell.
Once you have found the cover, proceed to the next step: using a screwdriver to remove the screw.
Step 3: Use a screwdriver to remove the screw
Now that you have located the cover of your Ring Video Doorbell 2, it’s time to use a screwdriver to remove the screw that holds the cover in place. This screw secures the cover and ensures that it remains intact during normal operation.
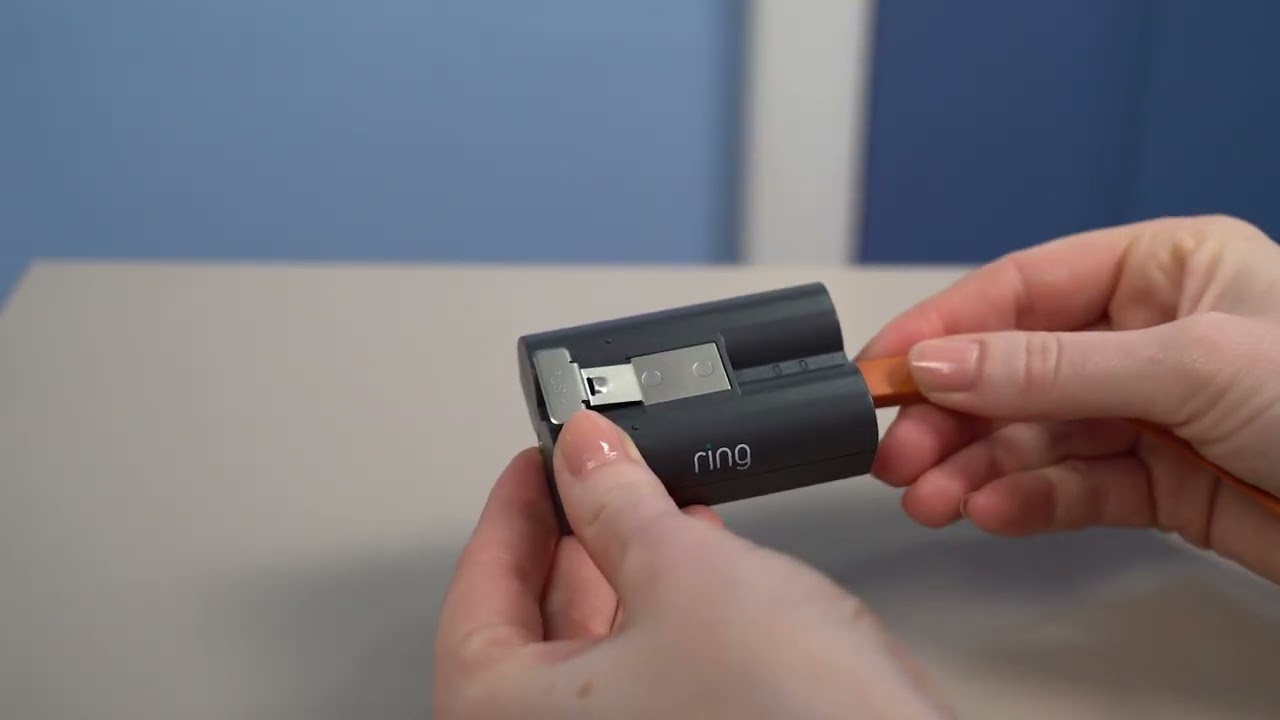
Take your small flat-head screwdriver and carefully insert it into the screw slot located at the bottom of the doorbell cover. Apply gentle pressure and turn the screwdriver counterclockwise to loosen the screw. Be cautious not to apply too much force, as you don’t want to strip or damage the screw or the surrounding area.
Continue turning the screwdriver counterclockwise until the screw is completely loose. Once the screw is loose, you can remove it from the cover and set it aside in a safe place. Keep track of the screw to avoid misplacing it during the process.
By removing the screw, you have successfully released the cover of your Ring Video Doorbell 2. Now, you’re ready to move on to the next step: sliding the cover upwards to access the battery compartment.
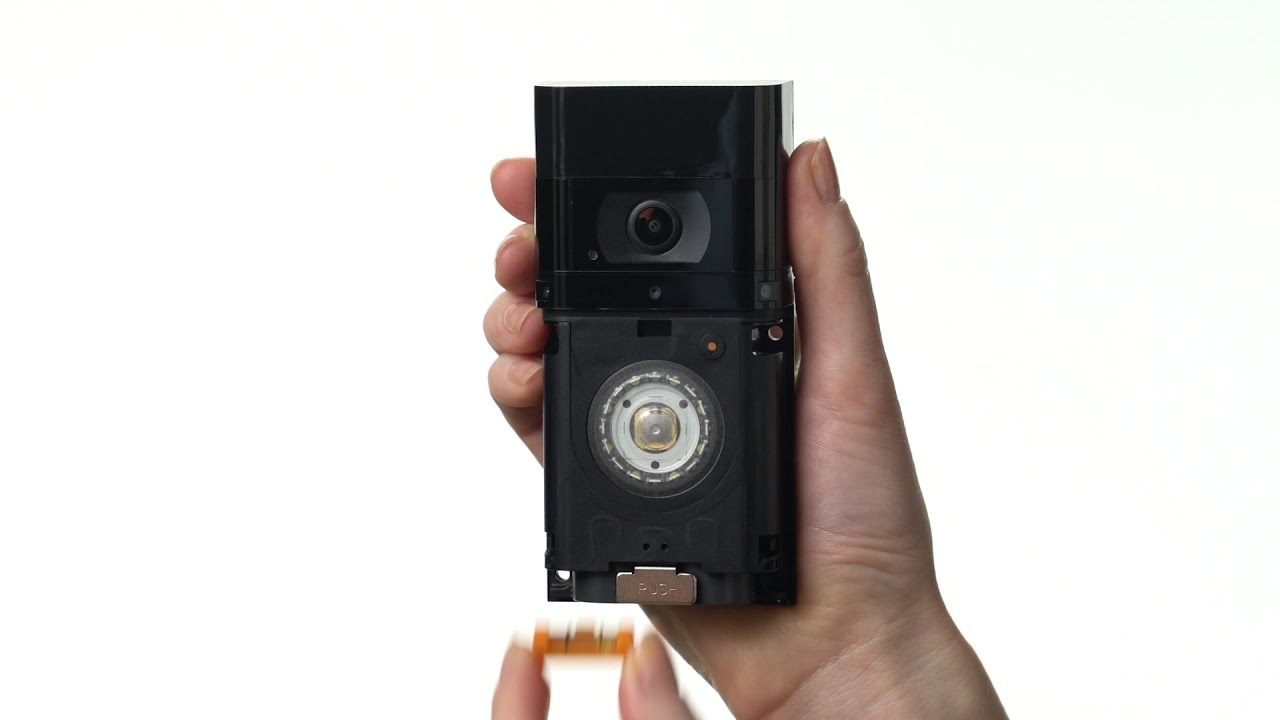
Step 4: Slide the cover upwards to access the battery
With the screw removed, you can now slide the cover of your Ring Video Doorbell 2 upwards to access the battery compartment. This step allows you to easily remove and recharge the battery to ensure optimal performance of your doorbell.
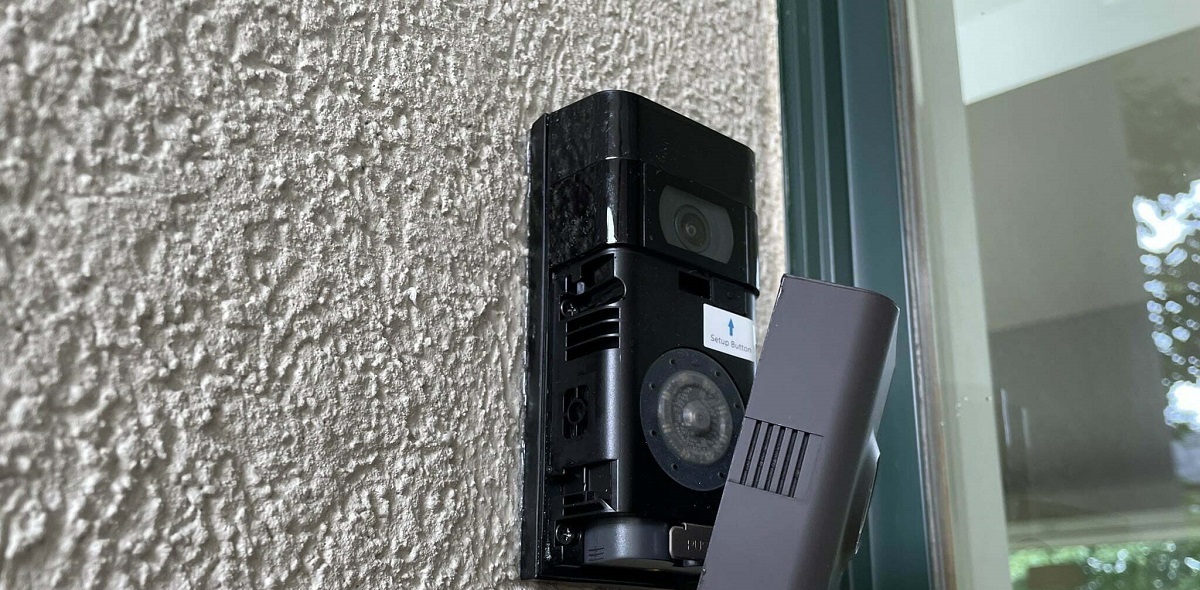
To slide the cover upwards, place your fingers on the bottom edge of the cover and gently pull it upwards. The cover is designed to be easily movable, so it should slide smoothly without much resistance.
As you slide the cover upwards, you will reveal the battery compartment. Take a moment to familiarize yourself with the battery and its placement in the compartment. This will make it easier for you to handle and remove the battery later on.
Be careful when sliding the cover upwards to avoid applying too much force or causing any damage to the device. Take your time and ensure that the cover moves freely and smoothly along the grooves.
Once you have successfully slid the cover upwards, you’re ready to proceed to the next step: carefully detaching the battery from the doorbell.
Step 5: Carefully detach the battery from the doorbell
Now that you have accessed the battery compartment by sliding the cover upwards, it’s time to carefully detach the battery from the Ring Video Doorbell 2. Removing the battery is essential for recharging and ensuring uninterrupted operation of your doorbell.
Before you proceed, it’s important to handle the battery with care. Ensure that your hands are clean and dry to avoid any damage or contamination. Also, make sure to follow any safety guidelines provided by the manufacturer.
To detach the battery, locate the connector on the back of the battery. This connector is where the battery is connected to the doorbell’s internal circuitry. Gently grasp the connector and carefully pull it straight out from the socket. Be cautious not to twist or bend the connector, as this can cause damage.
As you detach the battery, take note of its position and orientation. This will help you reattach the battery correctly later on. It’s a good idea to remember or document the orientation to ensure a smooth reconnection process.
Once the battery is fully detached, set it aside in a safe and dry place. Make sure to keep it away from any sources of heat or moisture. Now you’re ready to move on to the next step: recharging the battery.
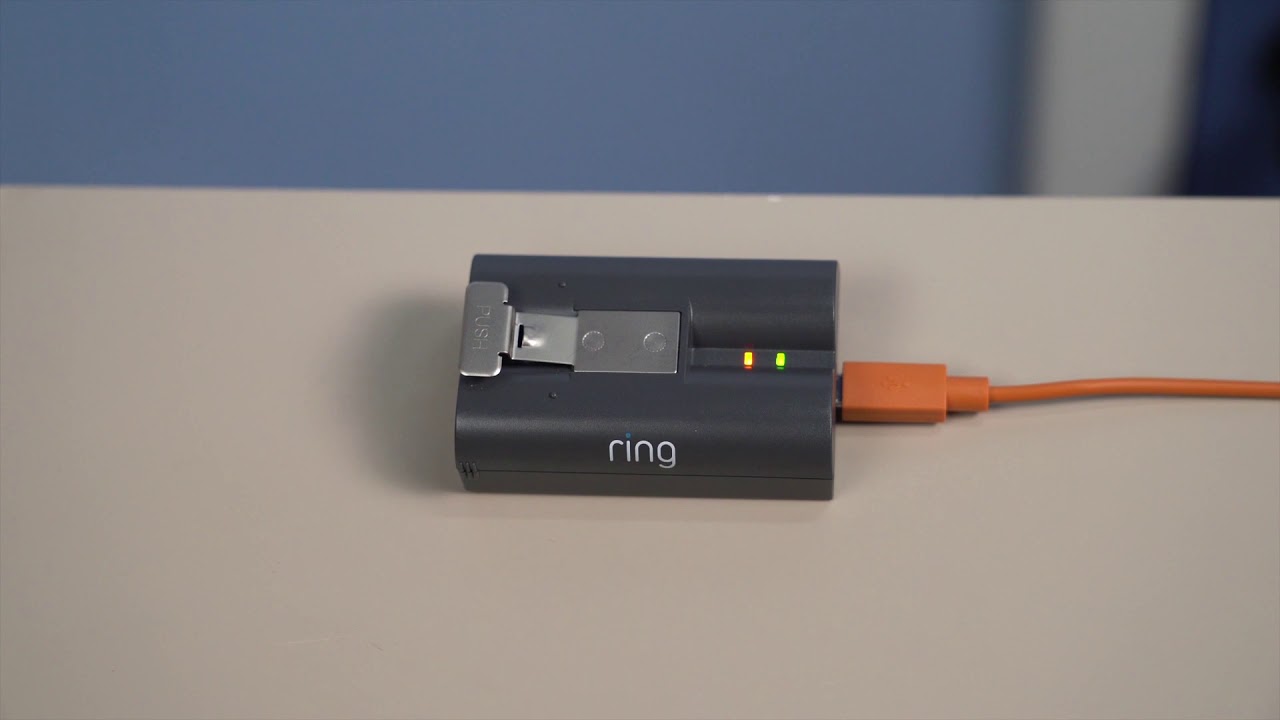
Step 6: Recharge the battery
Now that you have successfully detached the battery from your Ring Video Doorbell 2, it’s time to recharge it. Recharging the battery ensures that your doorbell will have a reliable power source for optimal performance.
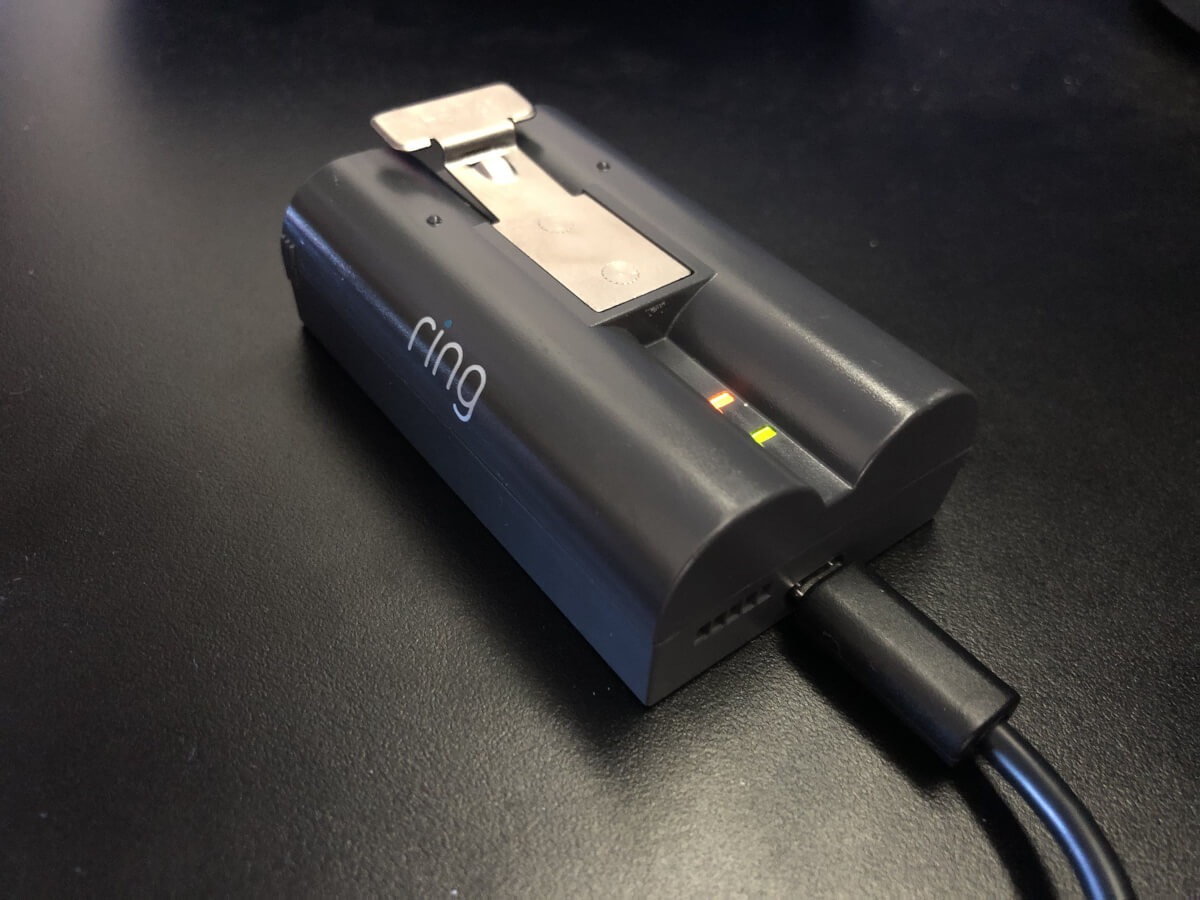
Start by locating the charging port on the battery. This is where you will connect the charger to replenish the battery’s power. Plug one end of the charger into the charging port and the other end into a power source. Ensure that the power source is compatible with the charger and provides a stable electrical supply.
Allow the battery to charge for the recommended amount of time. The charging time may vary depending on the battery’s current level and the charger’s specifications. Refer to the manufacturer’s instructions for the recommended charging duration.
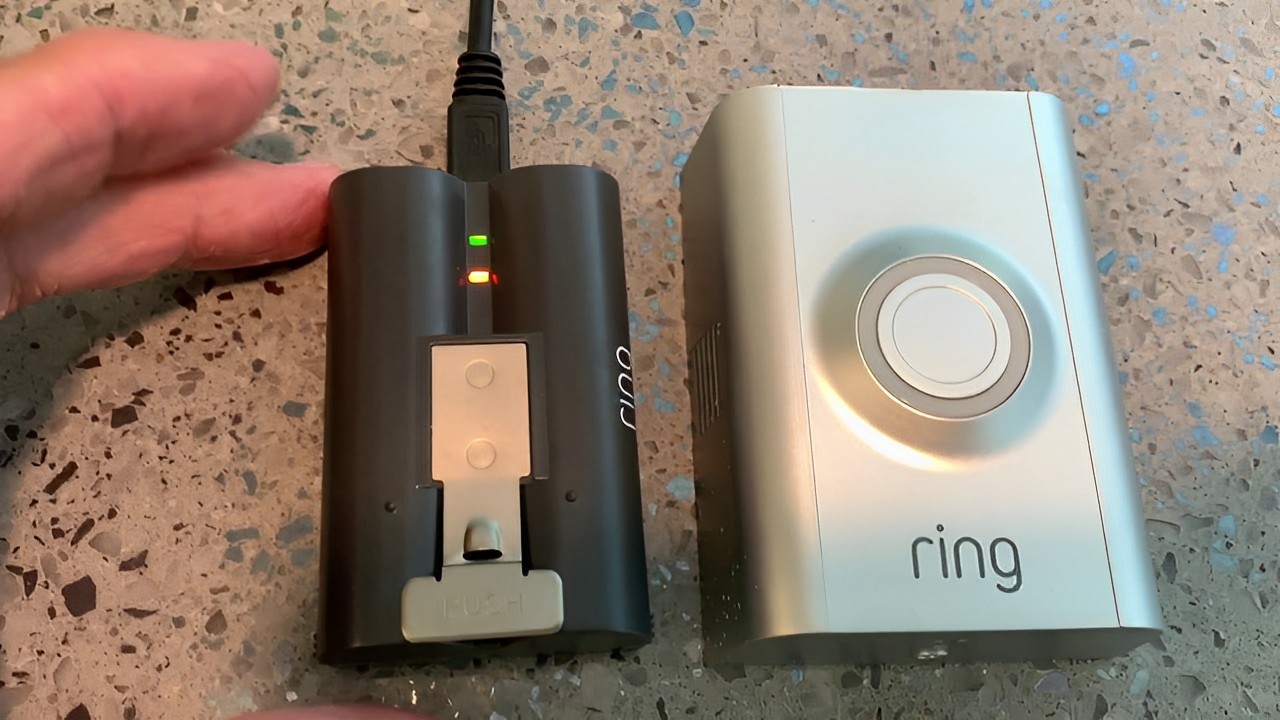
While the battery is charging, it’s a good idea to keep an eye on the charging progress. Some chargers may have indicator lights that show the charging status. Once the battery is fully charged, disconnect the charger from the battery and the power source.
Do not overcharge the battery, as it can lead to reduced battery life or potential damage. It’s important to follow the charging guidelines provided by the manufacturer to ensure the longevity and optimal performance of the battery.
With the battery fully charged, you’re ready to move on to the next step: reattaching the battery to the Ring Video Doorbell 2.
Step 7: Reattach the battery
Now that you have charged the battery of your Ring Video Doorbell 2, it’s time to reattach it. Reattaching the battery is a crucial step to ensure that your doorbell functions properly and continues to provide reliable performance.
Begin by carefully aligning the battery’s connector with the socket in the doorbell. Ensure that the orientation is correct, matching the way it was positioned when you detached it earlier. Gently push the connector into the socket until it clicks securely into place.
Be cautious while reattaching the battery to avoid applying excessive force or damaging the connector or socket. Take your time and ensure that the battery is securely and properly connected.
Once the battery is reattached, give it a slight tug to verify that it is firmly in place. It should not easily come loose or disconnect from the doorbell. Double-check that the battery’s connector is fully inserted and positioned correctly.
Now that the battery is successfully reattached, you’re ready to move on to the final step: sliding the cover back into place.
Step 8: Slide the cover back into place
After reattaching the battery to your Ring Video Doorbell 2, it’s time to slide the cover back into place. Properly securing the cover ensures the protection of the battery and the overall functionality of your doorbell.
To slide the cover back into place, align it with the grooves on the device. Start by aligning the top edge of the cover and gently slide it downwards. Make sure the cover is flush with the device’s edges and sits securely in place.
As you slide the cover back, be careful not to pinch any wires or cables that may be connected to the device. Take your time to ensure that the cover glides smoothly into position.
Once the cover is back in place, it should fit snugly and securely without any gaps or loose areas. Give it a gentle press to confirm that it is properly seated.
Now that you have successfully slid the cover back into place, your Ring Video Doorbell 2 is ready for use. The battery is recharged and securely housed, ensuring optimal performance and functionality.
Remember to periodically check the battery level and recharge it as needed to maintain smooth operation of your doorbell.
With the cover in place, you have completed the process of opening the cover of the Ring Video Doorbell 2 to recharge the battery.
Conclusion
Congratulations! You have successfully learned how to open the cover of the Ring Video Doorbell 2 to recharge the battery. By following the steps in this guide, you can ensure that your doorbell always has a fully charged battery, allowing it to function optimally and provide reliable security and convenience.
We started by gathering the necessary tools, including a small flat-head screwdriver. Then we located the cover of the Ring Video Doorbell 2 and used the screwdriver to remove the screw, allowing us to slide the cover upwards and access the battery compartment. Carefully detaching the battery, we proceeded to recharge it using the appropriate charger and power source.
After charging the battery, we reattached it to the doorbell, ensuring a secure connection. Finally, we slid the cover back into place, making sure it was properly aligned and snug.
Remember, regular maintenance and charging of the battery is essential to ensure the continuous operation of your Ring Video Doorbell 2. Regularly check the battery level and recharge it as needed to keep your doorbell functioning at its best.
Thank you for following this guide. We hope it has been helpful in guiding you through the process of opening the cover of your Ring Video Doorbell 2 to recharge the battery. Enjoy the convenience, security, and peace of mind that your Ring Video Doorbell 2 provides!