Introduction
Welcome to the world of smart home security! The Ring Video Doorbell 3 is a powerful device that allows you to see, hear, and speak to anyone at your doorstep, no matter where you are. Whether you’re concerned about package theft, want to monitor your home’s entrances, or simply want the convenience of remote door access, the Ring Video Doorbell 3 has got you covered.
In this guide, we will take you through the step-by-step process of installing the Ring Video Doorbell 3. From unboxing to connecting to your Wi-Fi, we’ll cover all the necessary steps to ensure a smooth installation. Even if you’re not the most tech-savvy person, don’t worry – we’ll break down each step in simple, easy-to-understand terms.
Before we dive into the installation process, be sure to have a few tools handy. You’ll need a screwdriver, a drill with a 3/16-inch drill bit, and a voltage tester. It’s also a good idea to have a smartphone or tablet with the Ring app installed, as this will be crucial for setting up and configuring your doorbell.
Installing the Ring Video Doorbell 3 not only provides an extra layer of security to your home but also offers the peace of mind that comes with increased connectivity and control. So let’s jump right in and get started with unboxing the Ring Video Doorbell 3!
Step 1: Unboxing the Ring Video Doorbell 3
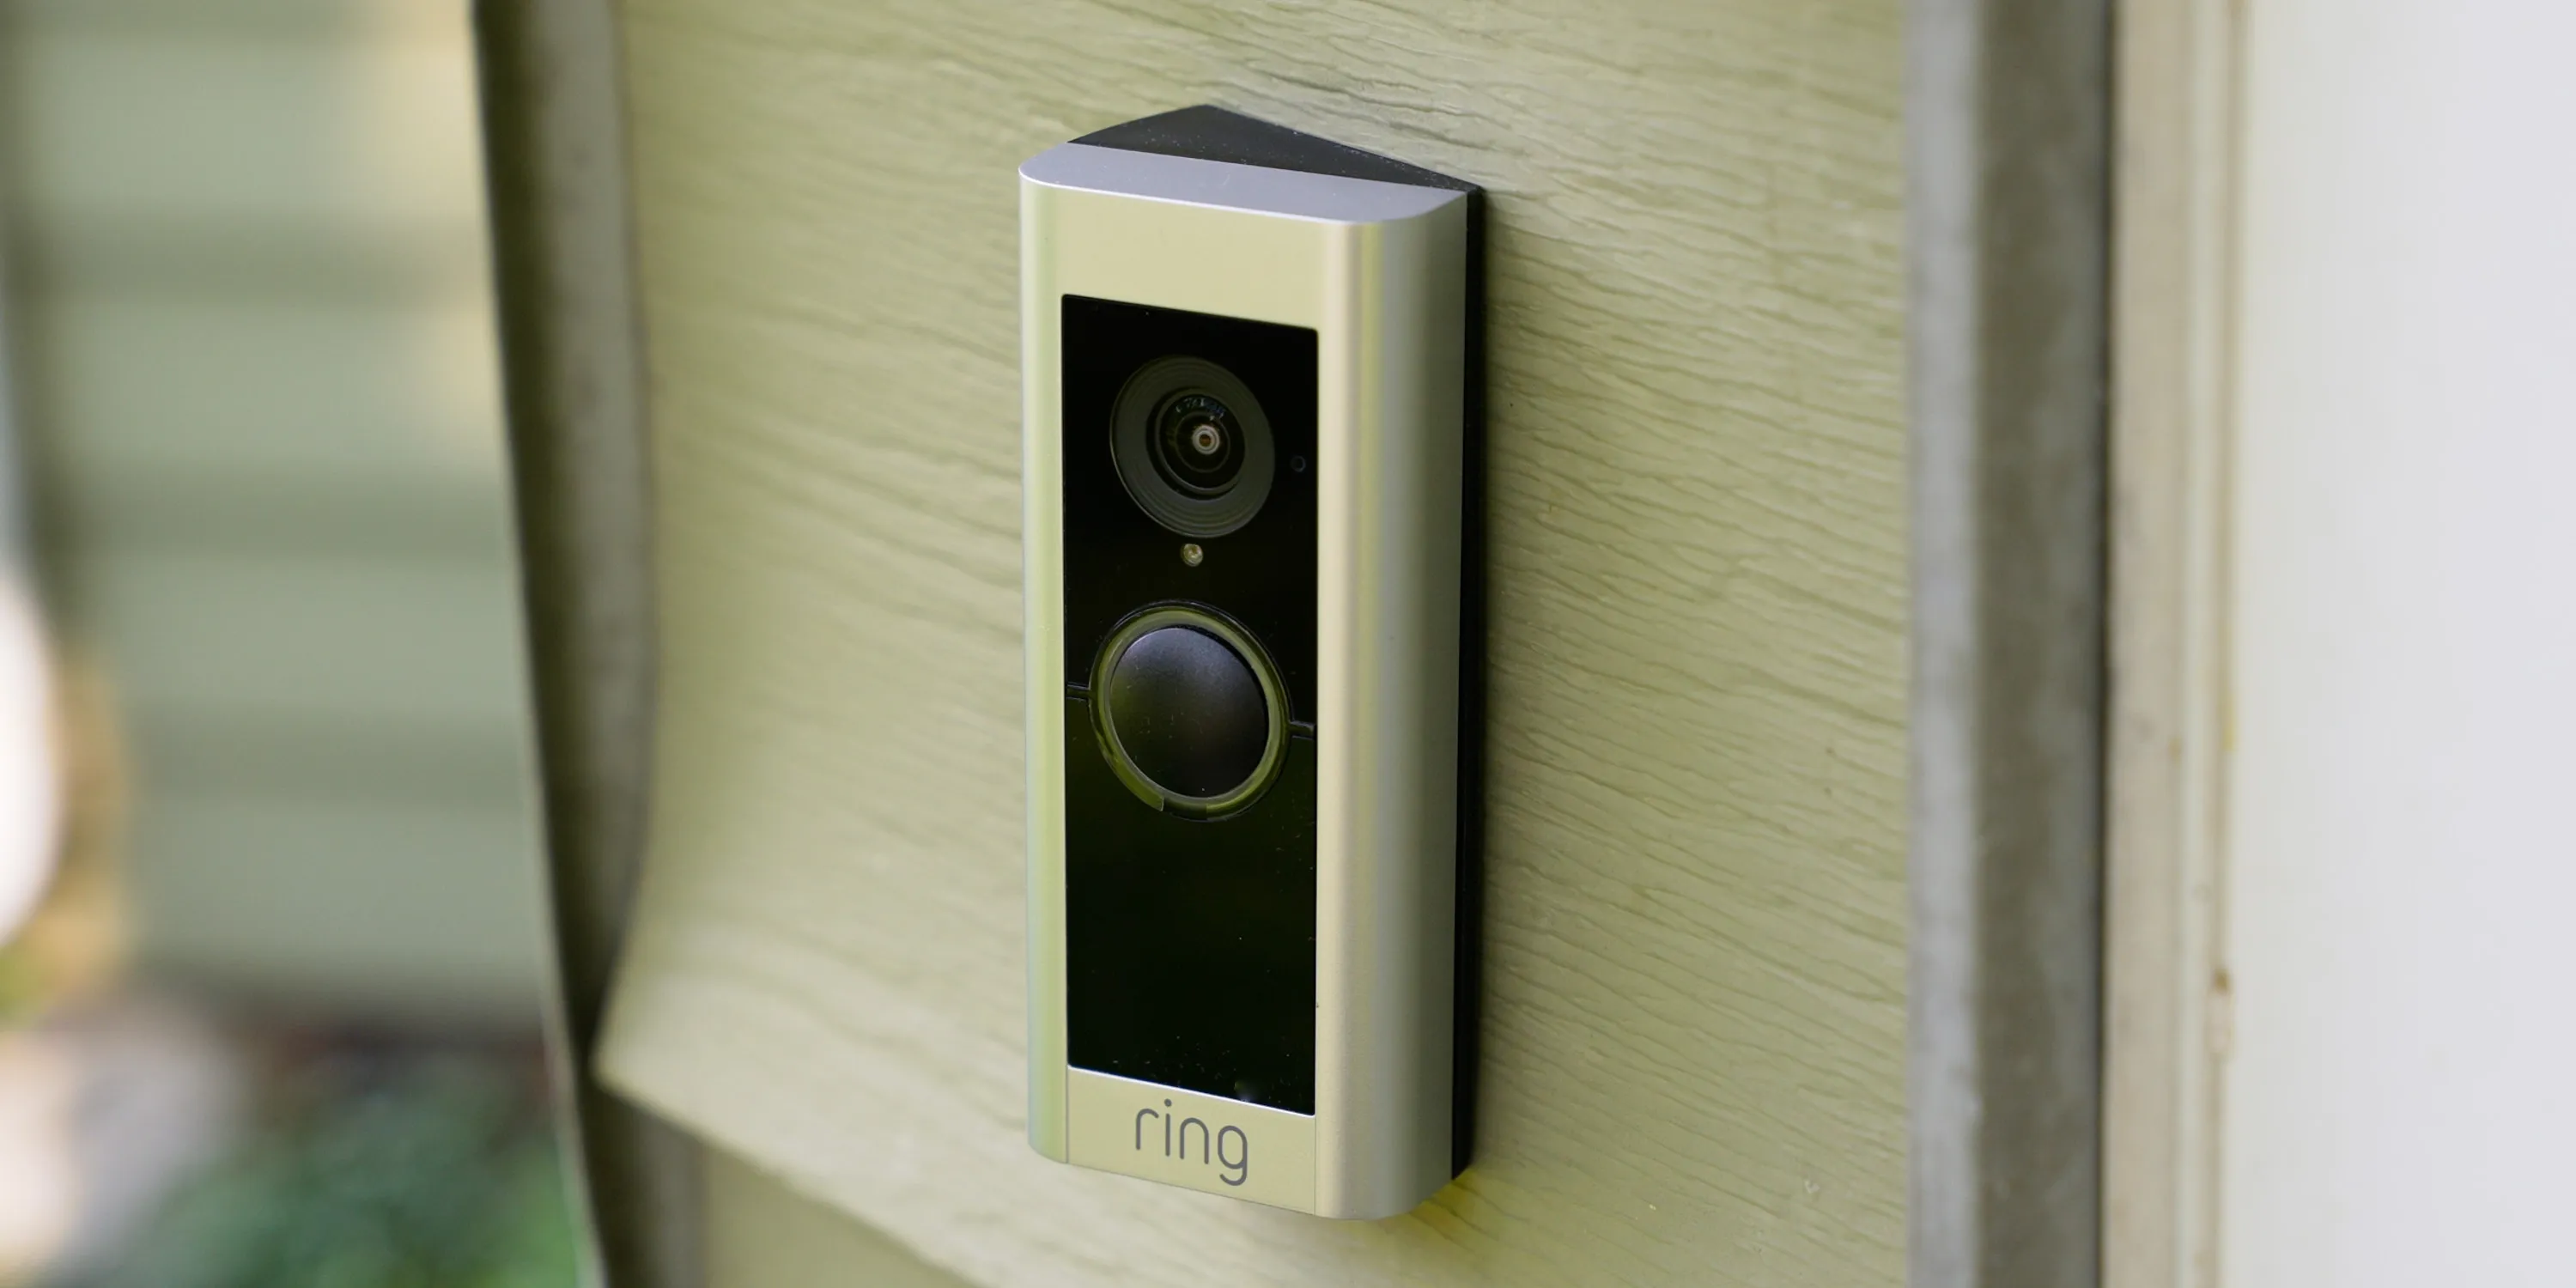
The first step in installing your Ring Video Doorbell 3 is to unbox the device and familiarize yourself with its components. When you open the box, you’ll find the following items:
- The Ring Video Doorbell 3
- A rechargeable battery pack
- A mounting bracket
- A user manual and installation guide
- A security screw
- A micro-USB charging cable
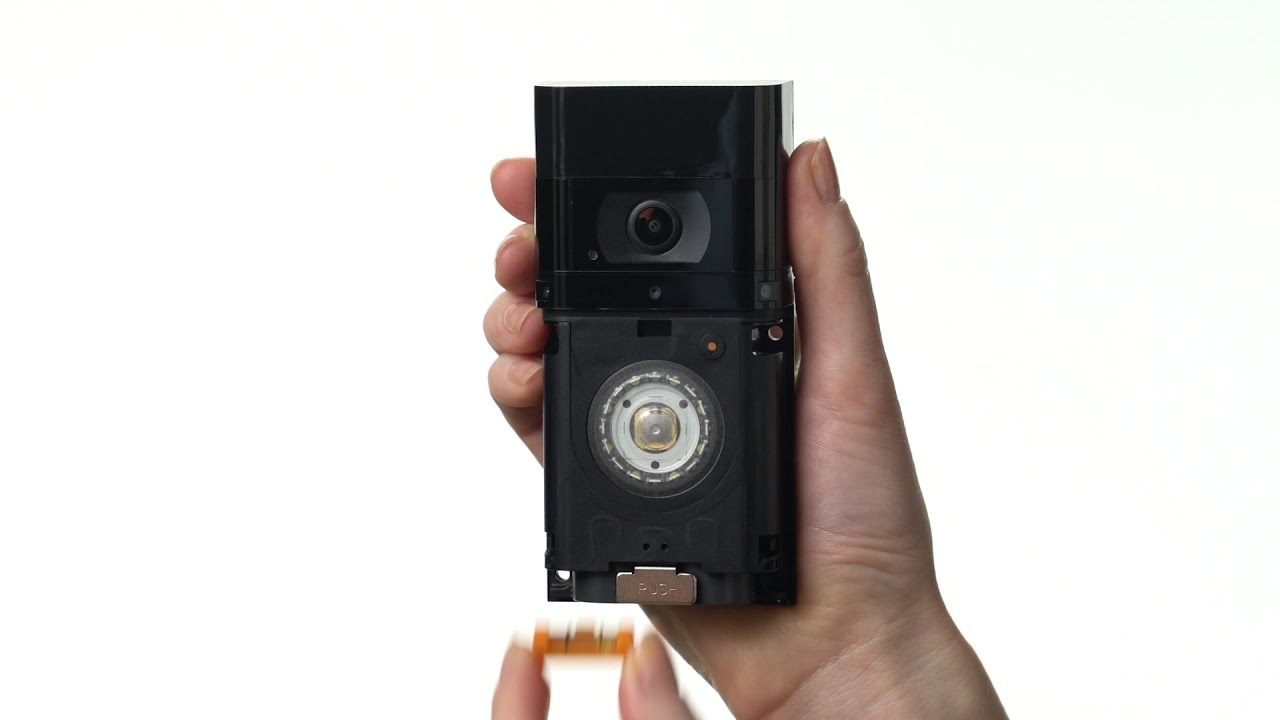
Before proceeding, make sure to fully charge the battery pack using the micro-USB charging cable. This will ensure that you have enough power to complete the installation process.
Once the battery pack is charged, you can insert it into the back of the Ring Video Doorbell 3. The battery pack has a release tab on the top-right corner, so simply press and slide the tab to open the battery compartment. Insert the battery pack carefully, ensuring that the connectors align properly, and then close the battery compartment.
With the battery pack securely in place, you can now move on to the next step – choosing the right spot for installation. Remember, it’s important to select a location that provides a clear view of your entryway and allows for easy installation and connection to Wi-Fi.
Now that you’re familiar with the components of the Ring Video Doorbell 3, let’s move on to finding the perfect spot for installation.
Step 2: Choosing the Right Spot for Installation
Choosing the optimal spot for installing your Ring Video Doorbell 3 is crucial for maximizing its effectiveness and ensuring a clear view of your doorstep. Here are some important considerations to keep in mind:
1. Height and Angle: The ideal height for mounting the doorbell is approximately 48 inches from the ground. This provides a comfortable viewing angle and makes it easier for visitors to interact with the doorbell. Additionally, make sure to angle the doorbell slightly downward to capture the best field of view.
2. Clear View: Select a location that offers an unobstructed view of your entryway. Avoid placing the doorbell behind any objects, such as plants or decorations, that may block the camera’s line of sight.
3. Wireless Connectivity: Ensure that the doorbell is within range of your Wi-Fi network for a reliable and stable connection. If the Wi-Fi signal in the desired location is weak, consider installing a Wi-Fi extender to boost the signal strength.
4. Power Accessibility: If you plan to hardwire the doorbell to your existing doorbell wiring, locate a spot near an existing doorbell transformer. This will make the installation process more convenient and efficient. Alternatively, if you choose to use the battery pack, ensure that the spot is easily accessible for replacing or recharging the battery.
Once you’ve considered these factors, take a moment to step outside and evaluate different locations around your front door. Look for a spot that meets the criteria mentioned above and offers a clear, unobstructed view of the entrance. It’s also a good idea to measure the dimensions of the mounting bracket to ensure it fits comfortably in your chosen location.
Now that you’ve chosen the perfect spot for your Ring Video Doorbell 3, it’s time to move on to the next step – mounting the doorbell bracket.
Step 3: Mounting the Doorbell Bracket
Now that you have chosen the ideal spot for your Ring Video Doorbell 3, it’s time to mount the doorbell bracket. The bracket serves as the base for attaching the doorbell and ensures stability and security.
Follow these steps to mount the doorbell bracket:
- Hold the doorbell bracket against the desired location on the wall or door frame. Use a level to ensure that it is straight.
- Using a pencil, mark the screw holes on the wall through the holes in the bracket.
- Remove the bracket and set it aside.
- Using a 3/16-inch drill bit, drill holes at the marked locations.
- Insert the provided wall anchors into the drilled holes, tapping them gently with a hammer until they are flush with the wall.
- Align the screw holes on the bracket with the wall anchors.
- Secure the bracket to the wall by inserting the provided screws into the wall anchors. Use a screwdriver to tighten them firmly.
Once the doorbell bracket is securely mounted, double-check its alignment and stability. Ensure that it is level and firmly attached to the wall or door frame. This will provide a solid foundation for the Ring Video Doorbell 3.
With the doorbell bracket in place, you’re one step closer to enjoying the added security and convenience of your Ring Video Doorbell 3. The next step involves wiring the doorbell to either your existing doorbell wiring or using the provided battery pack. We’ll cover both options to accommodate your specific needs.
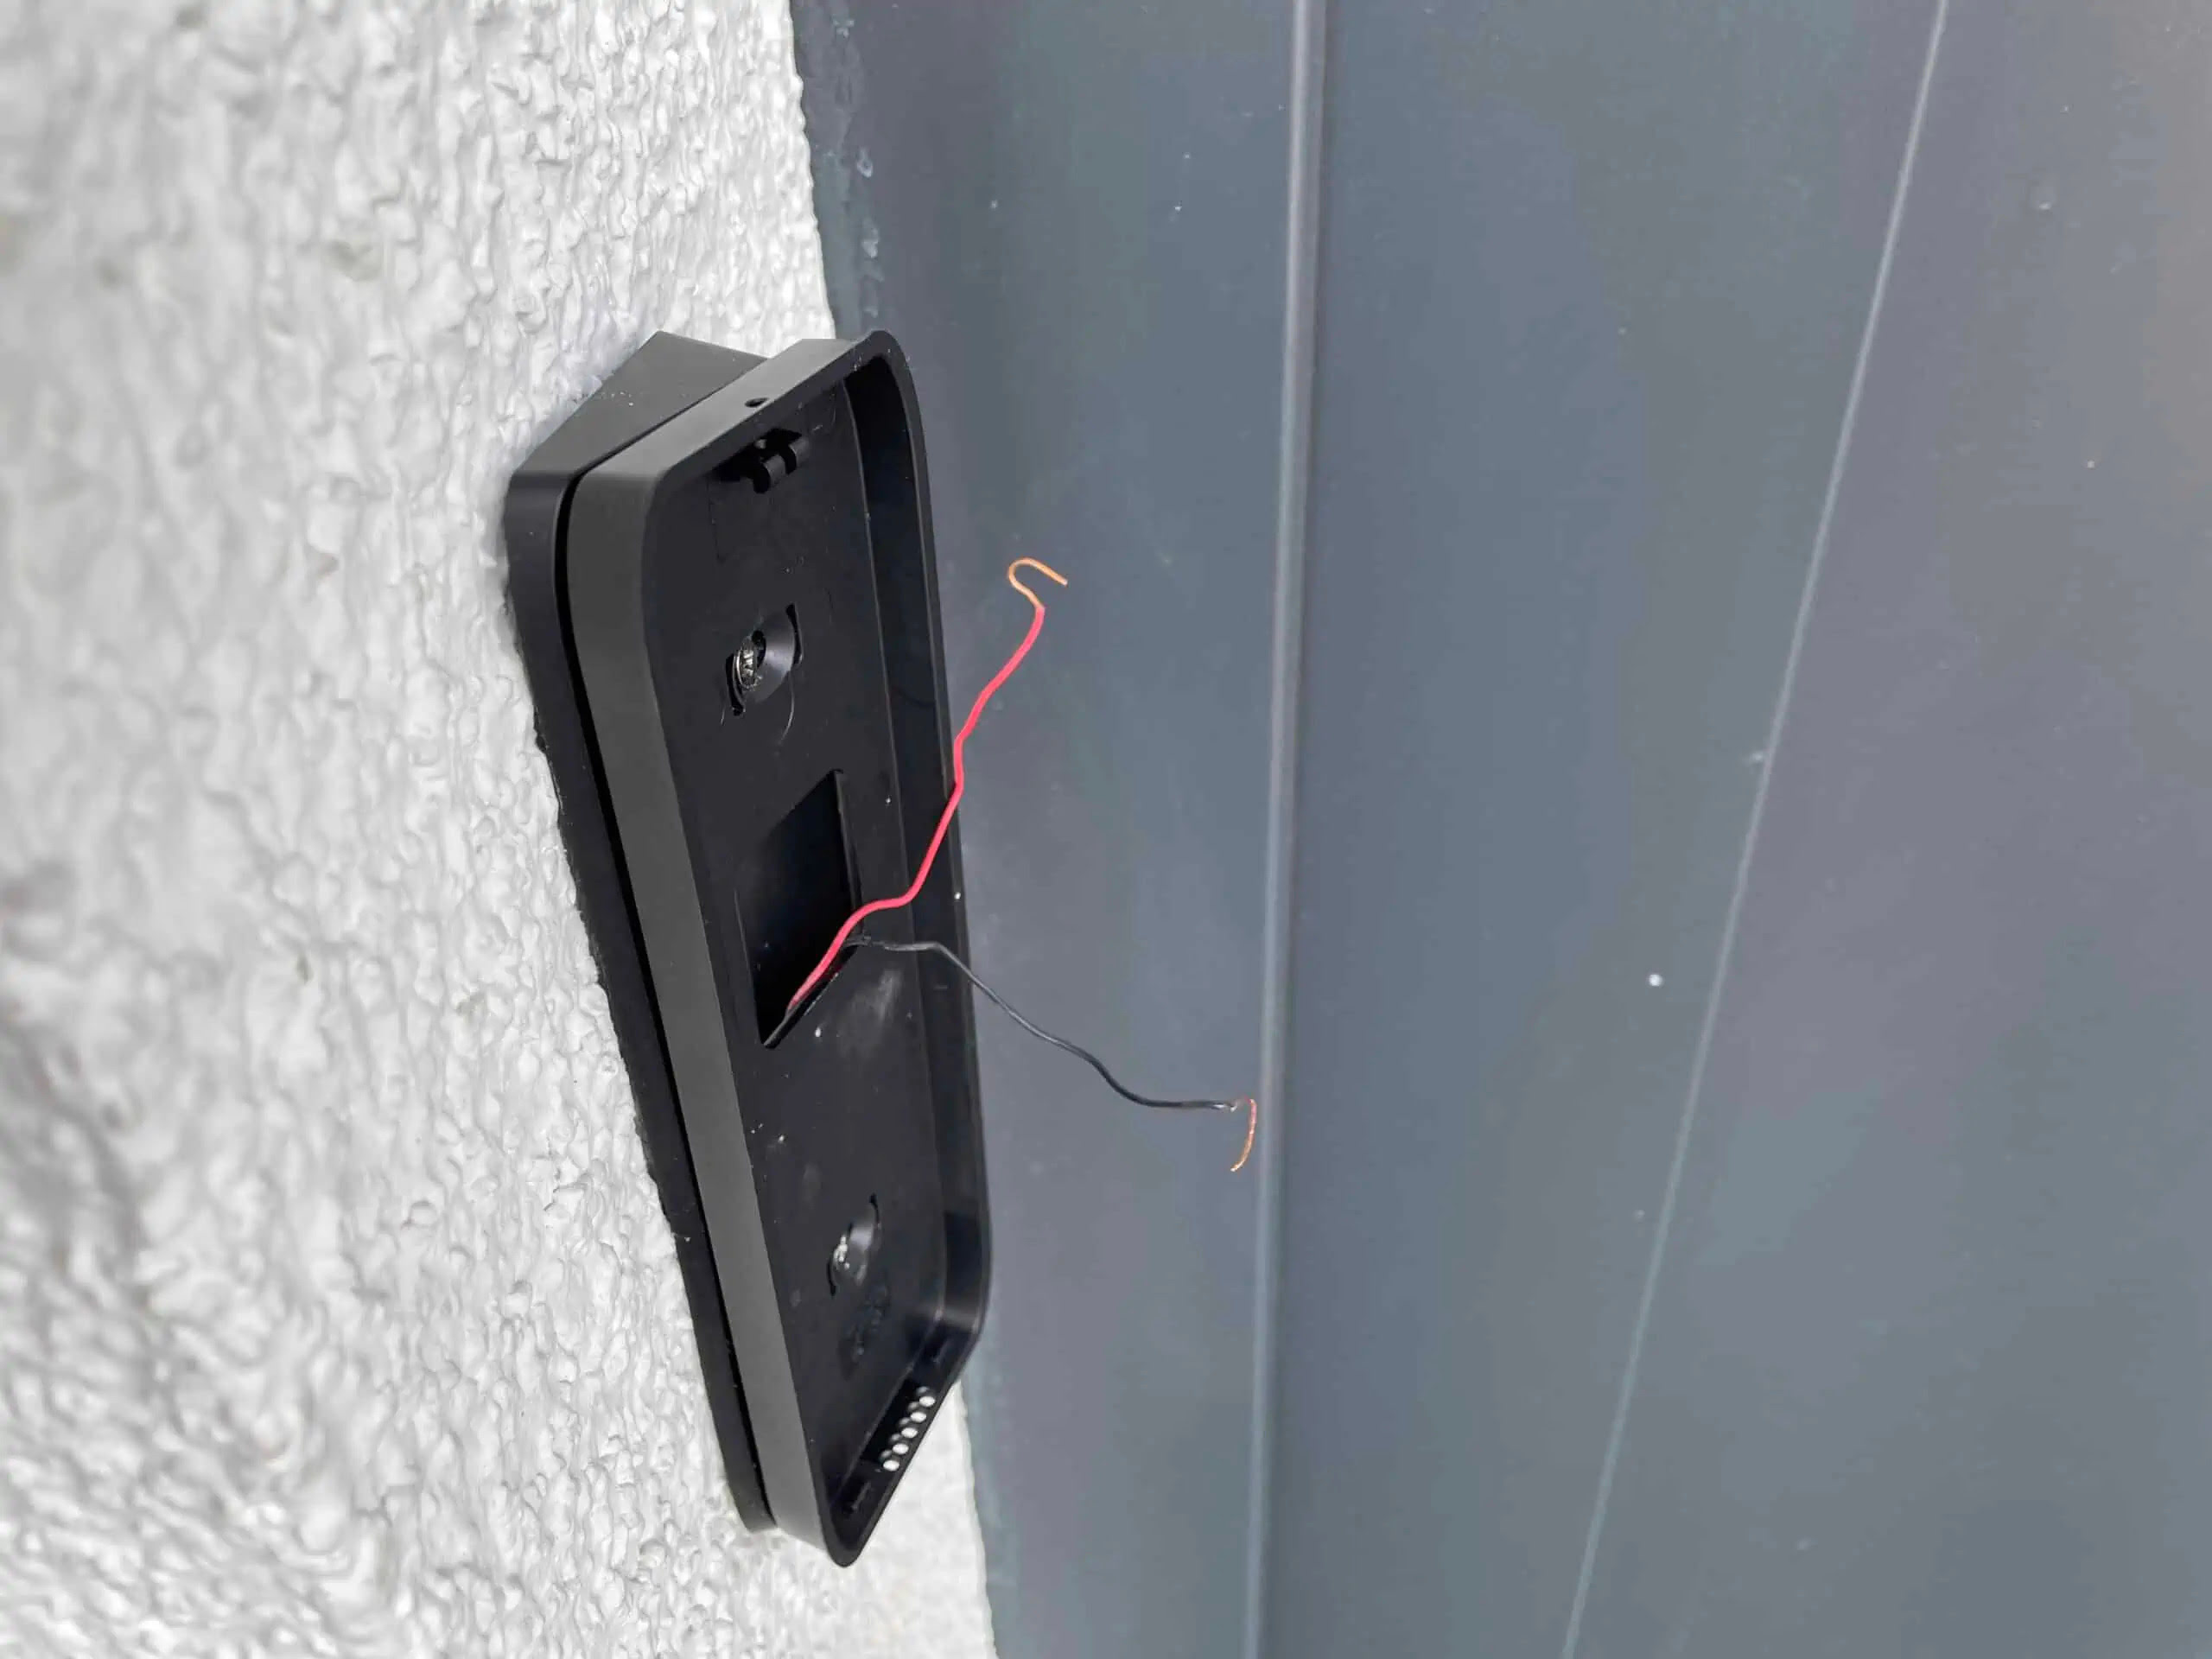
Step 4: Wiring the Doorbell
Wiring the Ring Video Doorbell 3 is an essential step that provides power to the device for continuous operation. There are two options for wiring the doorbell: using your existing doorbell wiring or utilizing the provided battery pack.
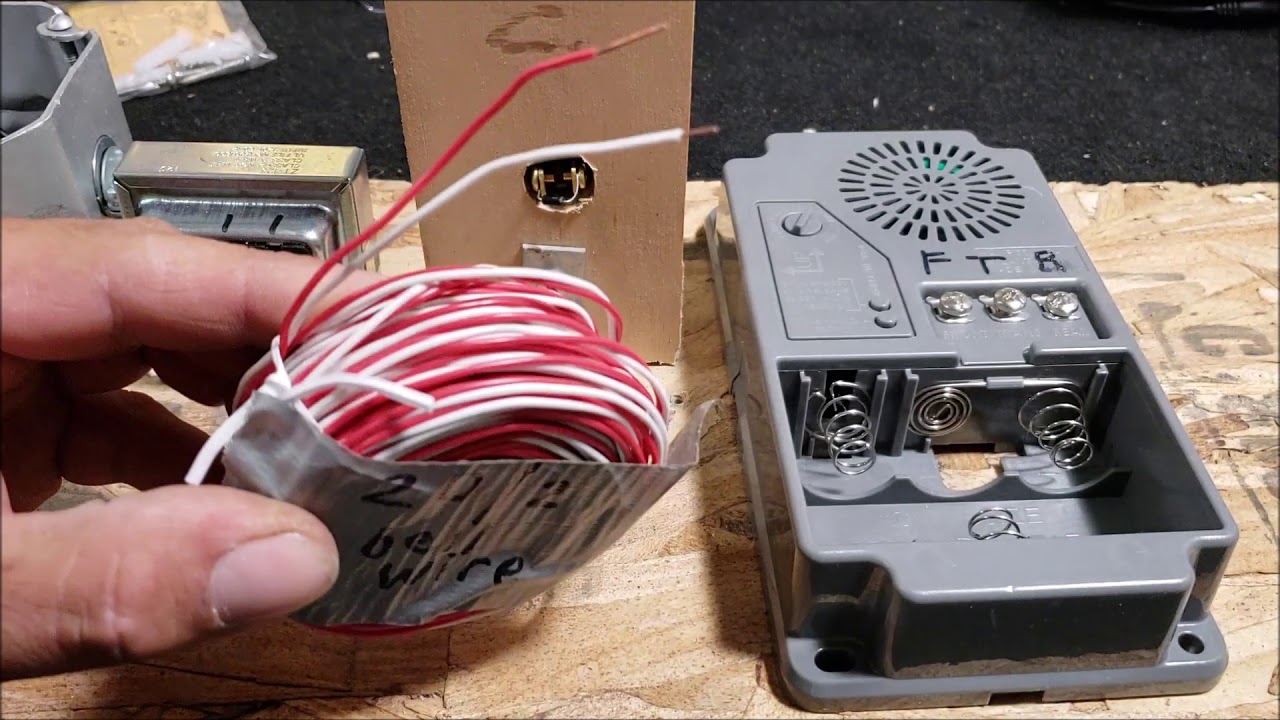
If you choose to utilize your existing doorbell wiring, follow these steps:
- Turn off the power to your existing doorbell at the circuit breaker.
- Remove your existing doorbell by unscrewing it from the wall or door frame.
- Identify the wires attached to your existing doorbell. Typically, there will be two wires: one labeled “Front” or “Front Door” and the other labeled “Trans” or “Transformer.”
- Using a voltage tester, check if there is any voltage present in the wires. If there is, recheck the circuit breaker to ensure that the power is turned off. Safety is important, so do not proceed unless there is no voltage detected.
- If your existing doorbell wiring has a connector, attach it to the corresponding connector on the doorbell. Otherwise, strip about 1/2 inch of insulation from the ends of the wires and connect them to the labeled screws on the back of the doorbell.
- Carefully tuck the connected wires into the wall or door frame and position the doorbell over the mounted bracket.
- Secure the doorbell by tightening the security screw using the provided screwdriver.
If you prefer to use the provided battery pack, follow these steps:
- Insert the fully charged battery pack into the back of the Ring Video Doorbell 3.
- Carefully tuck the wires into the wall or door frame.
- Position the doorbell over the mounted bracket and secure it with the security screw.
Once you have completed either the wiring or battery installation, you’re ready to move on to the next step: attaching the doorbell to the mounting bracket.
Step 5: Attaching the Doorbell to the Bracket
Now that you have wired the Ring Video Doorbell 3 or installed the battery pack, it’s time to attach the doorbell to the mounting bracket. This step ensures that the doorbell is securely in place and ready to be connected to your Wi-Fi network.
Follow these steps to attach the doorbell to the bracket:
- Ensure that the doorbell is properly aligned with the mounting bracket.
- Gently slide the doorbell onto the bracket, making sure that it sits flush against the wall or door frame.
- Give the doorbell a slight downward push to engage the connector pins with the corresponding slots on the bracket.
- Once the doorbell is securely in place, use the provided screwdriver to tighten the security screw on the bottom of the doorbell.
With the doorbell securely attached to the bracket, take a moment to ensure that it is level and aligned properly. This will ensure optimal performance and enhance the overall appearance of the installation.
Now that the doorbell is attached to the mounting bracket, it’s time to move on to the next step: connecting the doorbell to your Wi-Fi network. This step is crucial for accessing the doorbell’s features and functions remotely through the Ring app. Let’s dive into the Wi-Fi setup process!
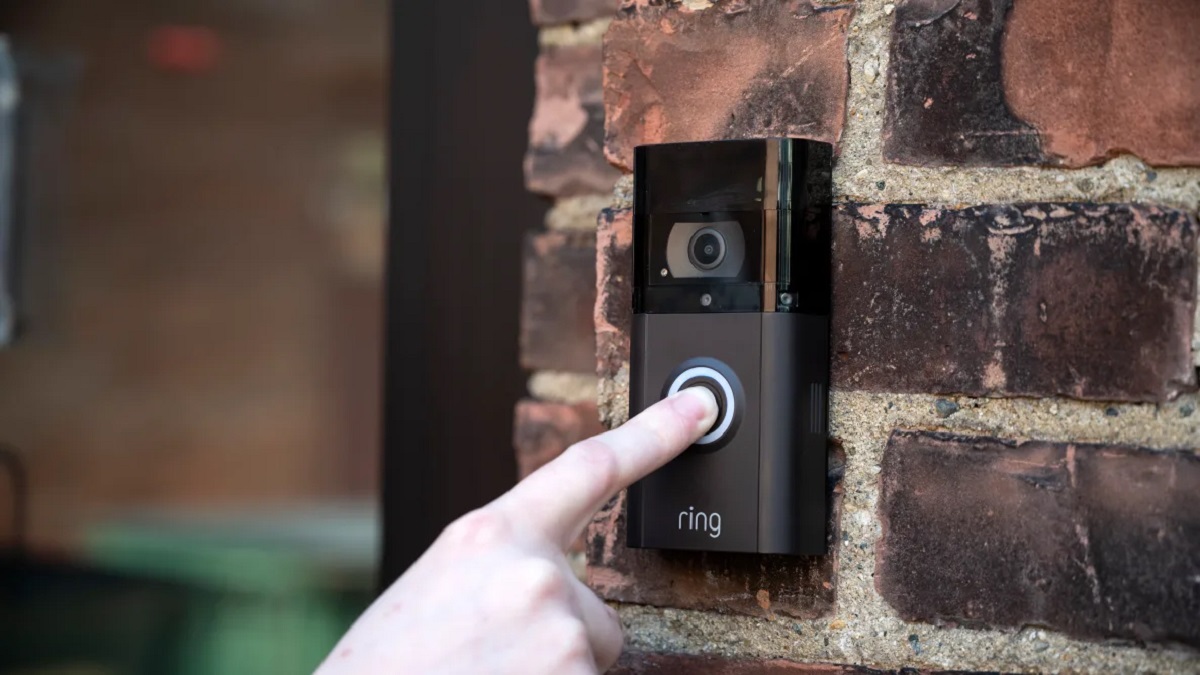
Step 6: Connecting the Doorbell to Wi-Fi
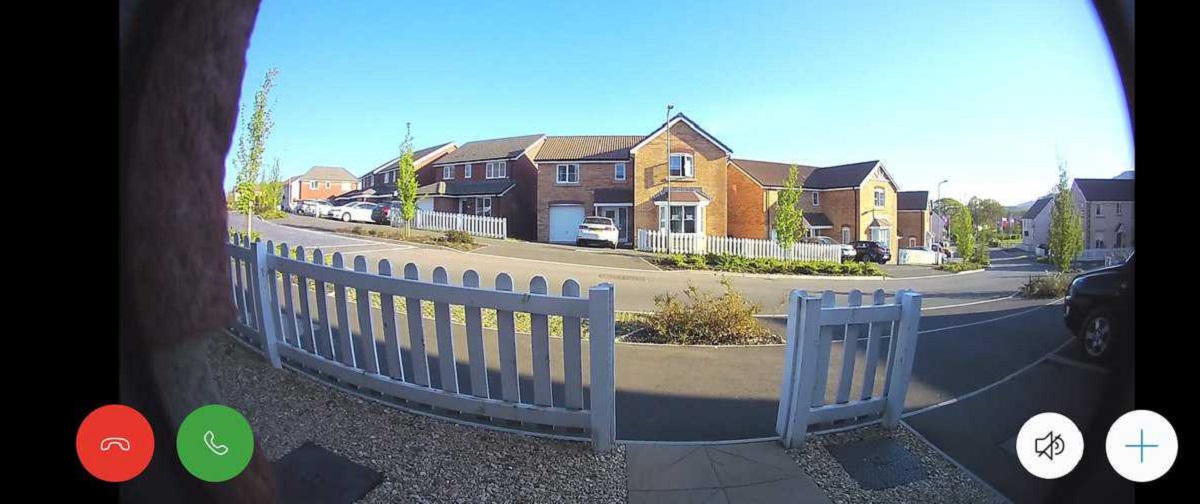
Connecting your Ring Video Doorbell 3 to your Wi-Fi network is an important step to ensure that you can access and control your doorbell remotely. By establishing a Wi-Fi connection, you’ll be able to receive notifications, view live video feeds, and interact with visitors from anywhere using the Ring app on your smartphone or tablet.
To connect your doorbell to Wi-Fi, follow these steps:
- Open the Ring app on your smartphone or tablet and sign in to your Ring account.
- Tap on the “+” button to add a new device.
- Select “Set up a device” and choose “Doorbells” from the list of available options.
- Follow the on-screen instructions to enter the necessary information, such as your doorbell’s serial number and your Wi-Fi network credentials.
- Once the app recognizes your doorbell, it will prompt you to select your Wi-Fi network and enter the network password.
- Make sure your smartphone or tablet is connected to the same Wi-Fi network that you want to connect your doorbell to.
- Wait for the doorbell to connect to Wi-Fi. This process may take a few moments.
- Once the doorbell is connected, you will receive a confirmation message in the Ring app.
It’s important to ensure that your Wi-Fi network signal is strong in the area where the Ring Video Doorbell 3 is installed. If you are experiencing connectivity issues, consider moving your wireless router closer to the doorbell or installing a Wi-Fi range extender to boost the signal.
With your Ring Video Doorbell 3 successfully connected to Wi-Fi, you can now move on to the next step: setting up the Ring app, which will allow you to customize your doorbell’s settings and receive important notifications.
Step 7: Setting Up the Ring App
Setting up the Ring app is essential for configuring your Ring Video Doorbell 3 and accessing its full range of features. The app allows you to customize settings, receive notifications, and interact with your doorbell from the convenience of your smartphone or tablet.
Follow these steps to set up the Ring app:
- Download the Ring app from the App Store or Google Play Store, depending on your device’s operating system.
- Open the Ring app and sign in to your Ring account. If you don’t have an account, you can create one using your email address and a secure password.
- Follow the on-screen instructions to set up your doorbell. The app will guide you through the process of connecting to the doorbell and configuring its settings.
- Customize your preferences and settings. This includes setting up motion detection zones, adjusting motion sensitivity, and configuring notifications to fit your preferences.
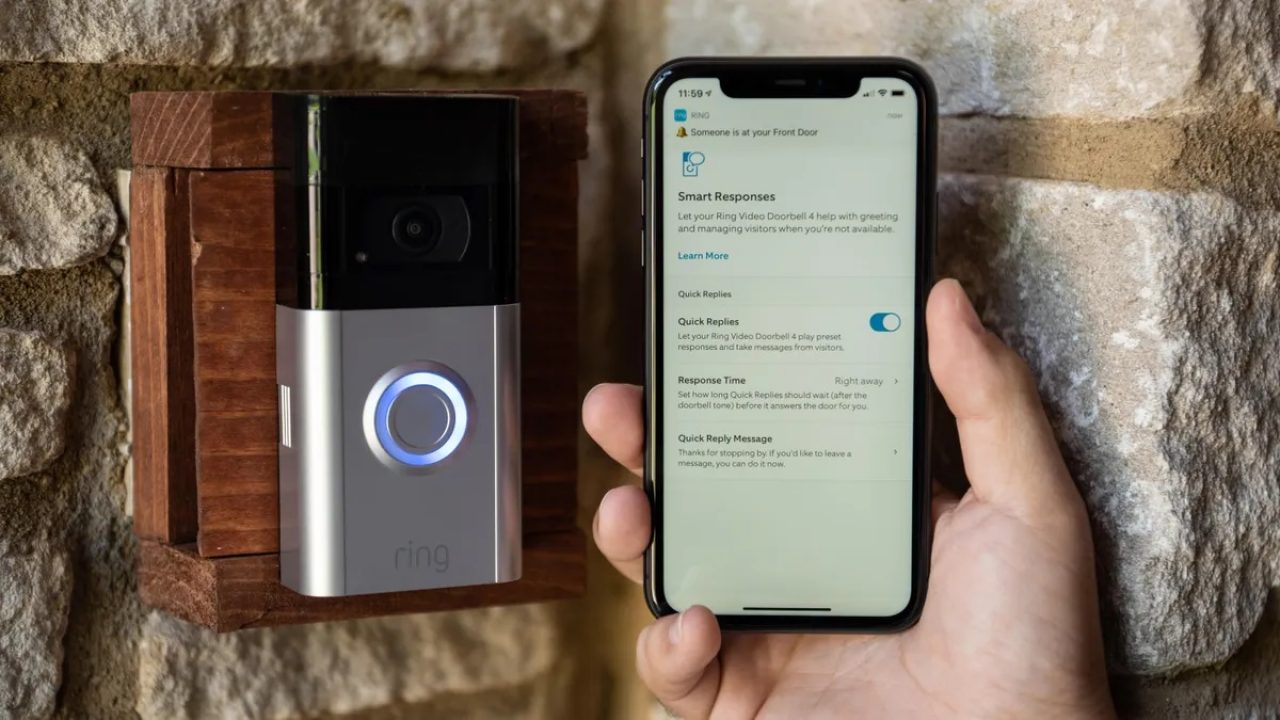
- Consider enabling additional features such as two-way talk, which allows you to communicate with visitors through the doorbell’s built-in microphone and speakers.
- Take a moment to familiarize yourself with the app’s interface and explore its various options and features. This will enable you to make the most of your Ring Video Doorbell 3.
The Ring app is designed to provide you with an intuitive and user-friendly experience. It allows you to easily monitor your doorstep, review past events, and access advanced features such as video recording and cloud storage.
Once you have successfully set up the Ring app, you can move on to the next step: adjusting the doorbell’s settings and notifications to suit your preferences. Let’s explore these customization options in the next step!
Step 8: Adjusting Doorbell Settings and Notifications
Adjusting the settings and notifications of your Ring Video Doorbell 3 allows you to customize its functionality to fit your specific needs and preferences. By fine-tuning these settings, you can ensure that you receive timely and relevant notifications while minimizing false alarms.
Here are some key settings you can adjust:
- Motion Detection: Use the Ring app to adjust the motion detection settings. You can define specific motion zones, adjust the motion sensitivity level, and set the distance at which motion is detected. This helps you avoid unnecessary notifications from irrelevant movements.
- Notification Preferences: Customize the type and frequency of notifications you receive. You can choose to receive push notifications, email alerts, or both. Additionally, you can set quiet hours during which notifications are muted, such as during your sleeping hours.
- Video Recording: Adjust the video recording settings based on your preferences. You can choose to enable or disable video recording, set the length of recorded clips, and even opt for a Ring Protect subscription to gain access to extended video storage and additional features.
- Two-Way Talk: Utilize the two-way talk feature to communicate with visitors through the doorbell’s built-in microphone and speakers. You can adjust the volume and activate or deactivate this feature as needed.
- Privacy Settings: Consider configuring privacy settings to control when and how your Ring Video Doorbell 3 operates. You can disable specific features, such as live view or motion detection, during certain hours or activities to ensure privacy when needed.
Take some time to familiarize yourself with the settings and options in the Ring app. Experiment with different configurations to find the setup that best suits your individual requirements.
Remember, the ability to customize these settings allows you to optimize the performance of your Ring Video Doorbell 3 and tailor it to your specific needs, ensuring a seamless and personalized user experience.
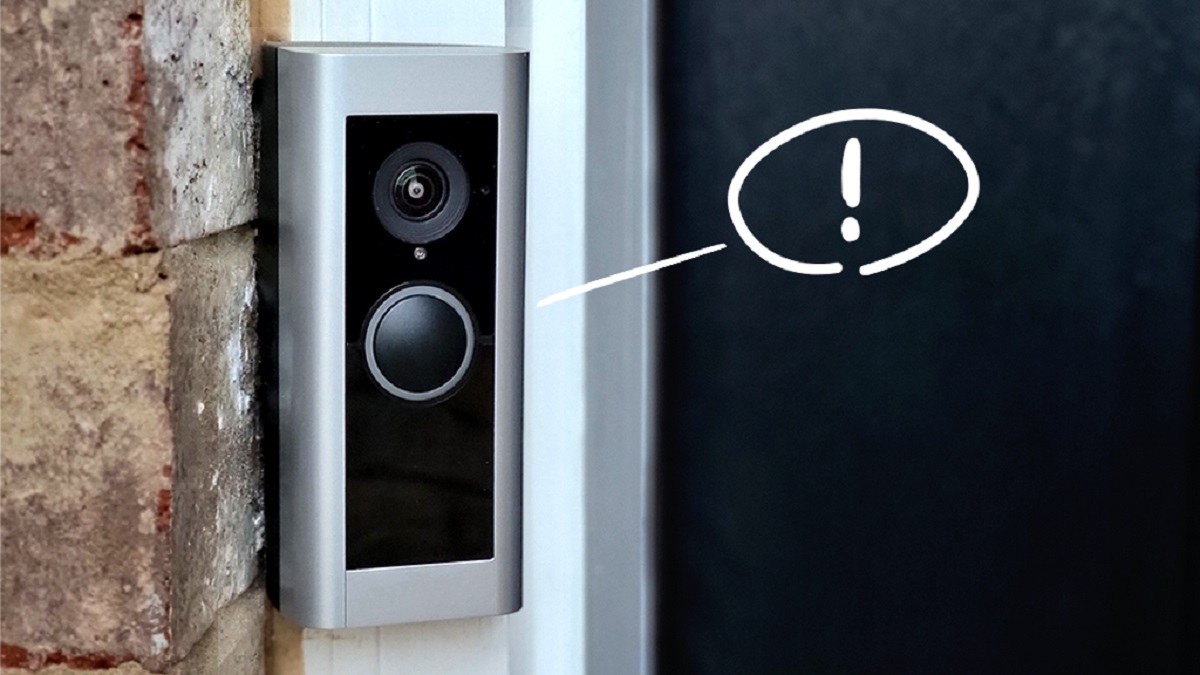
Now that you have adjusted the doorbell settings and notifications, you’re all set to enjoy the full benefits of your Ring Video Doorbell 3. However, before we conclude, let’s take a look at some troubleshooting tips that can help you resolve common issues that may arise during the installation or operation of your doorbell.
Step 9: Troubleshooting Tips
While the installation and setup process of the Ring Video Doorbell 3 is usually smooth, you may encounter some issues along the way. Here are some troubleshooting tips to help you resolve common problems and ensure that your doorbell functions optimally:
- Check Wi-Fi Connection: If you’re experiencing connection issues, check that your Wi-Fi network is stable and working properly. Make sure that your doorbell is within range of the Wi-Fi signal and try resetting your router if needed.
- Verify Power Supply: If you have hardwired your doorbell, ensure that the power supply is fully functional. Check the circuit breakers and transformers connected to the doorbell wiring to ensure they are not damaged or tripped.
- Reset the Doorbell: If you encounter any operational issues, try performing a factory reset of your doorbell. Refer to the user manual or the Ring website for instructions on how to reset the doorbell to its default settings.
- Adjust Motion Settings: If you’re receiving too many false motion alerts, adjust the motion sensitivity or redefine the motion zones in the Ring app. This can help reduce unnecessary notifications caused by insignificant movements.
- Recharge or Replace Battery: If you are using the battery pack, make sure to monitor its charge level. Recharge the battery when necessary or replace it with a fully charged battery. Also, ensure that the battery pack is securely connected to the doorbell.
- Check Device Compatibility: If you’re experiencing compatibility issues with your smartphone or tablet, ensure that your device meets the system requirements specified by the Ring app. Check for any app updates or try using a different compatible device.
- Contact Customer Support: If all else fails and you are still encountering issues, don’t hesitate to reach out to Ring’s customer support. They have a dedicated team that can provide assistance and further troubleshoot any persistent problems you may be facing.
Remember, troubleshooting is a normal part of the installation and operation process. Don’t get discouraged if you encounter any hiccups along the way. With these troubleshooting tips, you’ll be able to overcome challenges and ensure that your Ring Video Doorbell 3 is functioning as expected.
Congratulations on successfully installing and configuring your Ring Video Doorbell 3! Now you can enjoy the enhanced security, convenience, and peace of mind that it brings to your home.
Conclusion
Congratulations! You have successfully completed the installation and setup of your Ring Video Doorbell 3. By following the step-by-step instructions outlined in this guide, you have equipped your home with a powerful and convenient smart security device.
With the Ring Video Doorbell 3, you can now monitor your doorstep, receive notifications, and interact with visitors from anywhere using the Ring app on your smartphone or tablet. The doorbell’s advanced features, such as motion detection, two-way talk, and customizable settings, provide you with enhanced security and control over your home’s entrance.
Throughout the installation process, you learned how to unbox the doorbell, choose the best spot for installation, mount the bracket, wire the doorbell, connect it to your Wi-Fi network, and set it up through the Ring app. Troubleshooting tips were also provided to help you address any issues that may arise.
Remember to regularly check and update the doorbell’s settings according to your preferences. Fine-tune motion detection, adjust notification preferences, and explore other features to optimize your experience with the Ring Video Doorbell 3.
If you have any further questions or need additional support, don’t hesitate to reach out to Ring’s customer support team. They are available to assist you and address any concerns you may have.
Thank you for choosing the Ring Video Doorbell 3. Enjoy the peace of mind and convenience that this smart security device brings to your home!