Introduction
Welcome to the world of smart home security! The Ring Video Doorbell is a cutting-edge device that offers convenience, peace of mind, and enhanced security for your home. This innovative technology allows you to see, hear, and speak to anyone at your door from your smartphone, tablet, or PC.
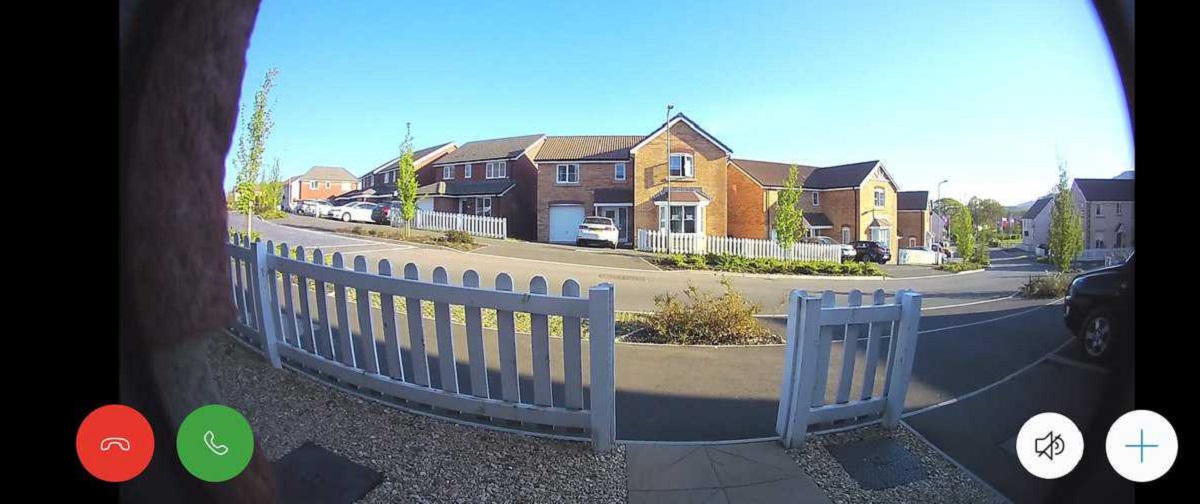
With the Ring Video Doorbell, you can monitor your doorstep in real-time, receive instant alerts when someone presses the doorbell or triggers the motion sensors, and even record video footage of any activity outside your home. Whether you're expecting a package delivery, greeting a visitor, or simply keeping an eye on your property, the Ring Video Doorbell empowers you to stay connected and in control, no matter where you are.
In this comprehensive guide, we'll walk you through the step-by-step process of installing your Ring Video Doorbell, from unboxing the device to setting it up and mounting it at your front door. By following these instructions, you'll be able to harness the full potential of this advanced home security solution and enjoy the added convenience and protection it brings to your daily life.
So, let's dive in and get started with unboxing your Ring Video Doorbell!
Step 1: Unboxing the Ring Video Doorbell
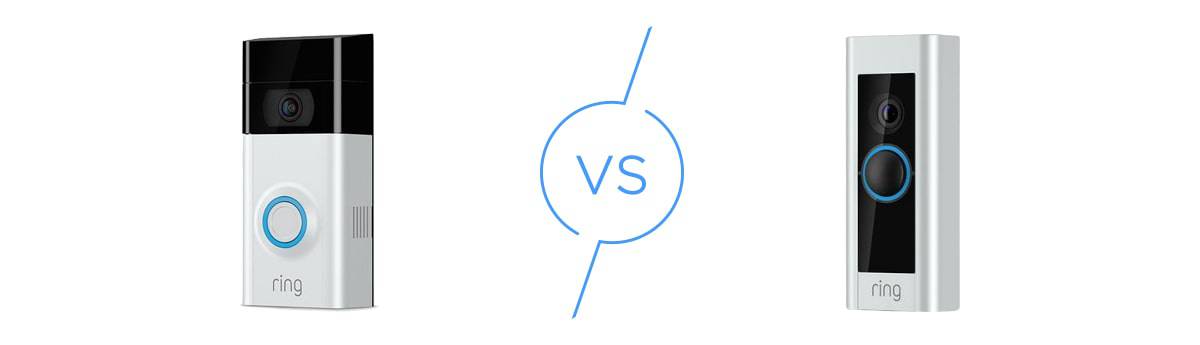
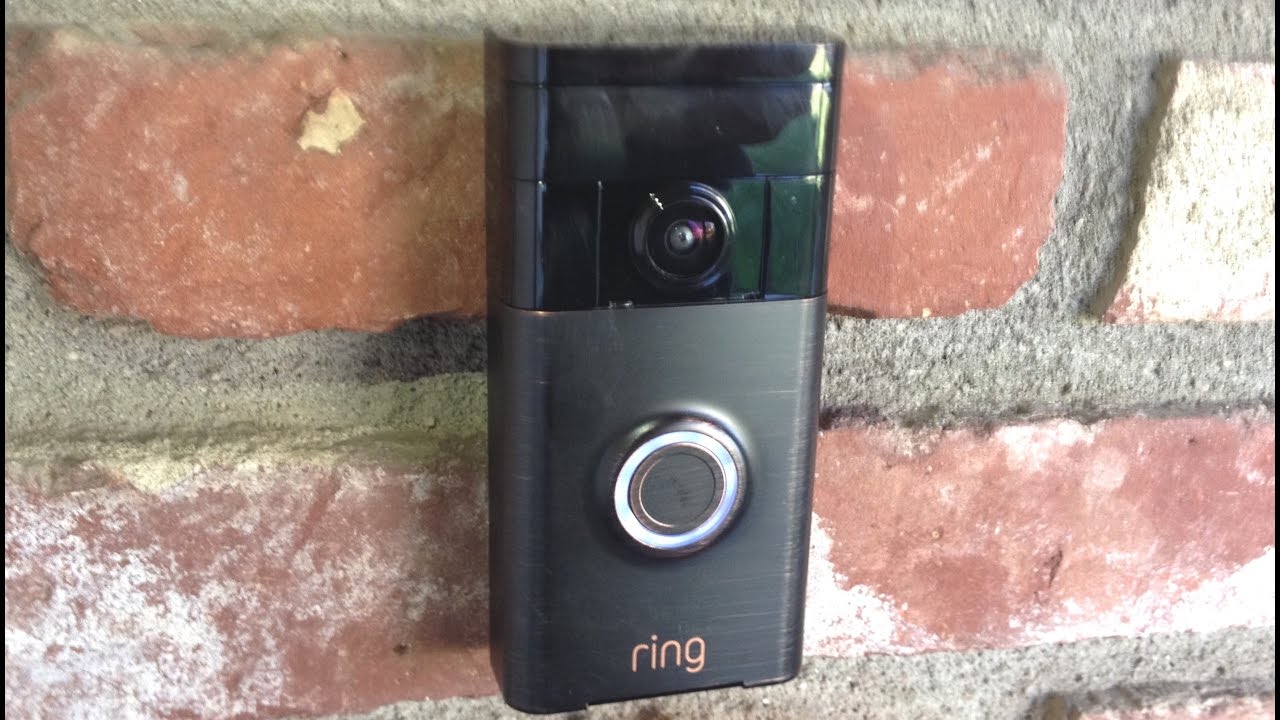
Before you begin the installation process, it’s essential to unbox your Ring Video Doorbell and familiarize yourself with its components. The contents of the package may vary slightly depending on the specific model you’ve purchased, but typically, you can expect to find the following items inside the box:
- The Ring Video Doorbell
- A mounting bracket
- A level
- A screwdriver
- A drill bit
- Screws and anchors
- A USB charging cable
- A user manual and setup guide
Once you’ve unpacked the Ring Video Doorbell and its accompanying accessories, take a moment to inspect each item for any signs of damage and ensure that everything is included as per the product specifications. It’s also a good idea to review the user manual and setup guide to familiarize yourself with the installation process and any specific instructions provided by the manufacturer.
By unboxing the Ring Video Doorbell carefully and methodically, you’ll set the stage for a smooth and successful installation experience. With the components laid out before you, you’ll be ready to move on to the next step: charging the Ring Video Doorbell.
Step 2: Charging the Ring Video Doorbell
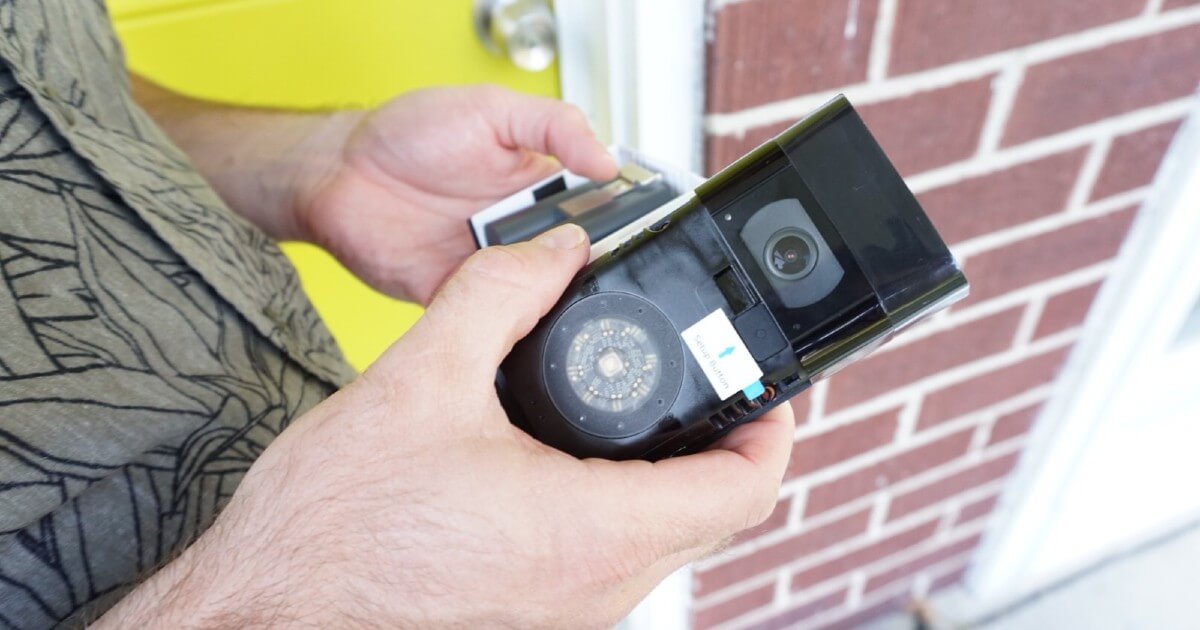
Before proceeding with the installation, it’s crucial to ensure that the Ring Video Doorbell is adequately charged. The initial charging process is essential for powering up the device and preparing it for setup. Here’s how to charge your Ring Video Doorbell:
- Locate the USB Charging Cable: The Ring Video Doorbell comes with a USB charging cable for powering up the device. Find the cable included in the package.
- Connect the USB Cable: Using the USB charging cable, connect the Ring Video Doorbell to a power source, such as a USB port on your computer, a USB wall adapter, or a portable power bank. Ensure that the power source is reliable and capable of providing a steady charge to the device.
- Monitor the Charging Status: Once connected, monitor the charging status of the Ring Video Doorbell. The device may have an indicator light that shows when it’s charging. Allow the device to charge fully before proceeding to the next step.
Charging the Ring Video Doorbell ensures that it has sufficient power to complete the setup process and operate effectively once installed. Depending on the model and initial battery level, the charging time may vary, so it’s essential to be patient and allow the device to charge fully.
Once the Ring Video Doorbell is fully charged, you’ll be ready to move on to the next step: downloading the Ring app, which is a crucial part of the setup process.
Step 3: Downloading the Ring App
Downloading the Ring app is a pivotal step in setting up your Ring Video Doorbell. The Ring app serves as the central hub for managing your Ring devices, accessing live video feeds, adjusting settings, and receiving notifications. Here’s how to download the Ring app and prepare for the setup process:
- Visit the App Store or Google Play Store: Depending on your mobile device’s operating system, navigate to the App Store (for iOS devices) or the Google Play Store (for Android devices).
- Search for the Ring App: In the app store’s search bar, enter “Ring” and look for the official Ring app developed by Ring.com.
- Download and Install the App: Once you’ve located the Ring app, download and install it on your mobile device. Ensure that you are downloading the official app to guarantee compatibility and access to the latest features.
- Open the Ring App: After the installation is complete, open the Ring app on your mobile device. You may be prompted to create a Ring account or log in if you already have one.
By downloading the Ring app onto your smartphone or tablet, you’ll gain access to a range of features that enhance the functionality of your Ring Video Doorbell. The app allows you to receive instant alerts, view recorded footage, customize motion detection settings, and communicate with visitors using two-way audio.
With the Ring app installed and ready to use, you’re now prepared to move on to the next step: setting up the Ring Video Doorbell and connecting it to your Ring account.
Step 4: Setting up the Ring Video Doorbell
Setting up your Ring Video Doorbell involves connecting it to your Wi-Fi network, configuring its settings, and integrating it with the Ring app. This process is crucial for ensuring that the device functions seamlessly and provides you with the full range of features it has to offer. Here’s a step-by-step guide to setting up your Ring Video Doorbell:
- Launch the Ring App: Open the Ring app on your mobile device and log in to your Ring account. If you don’t have an account, you’ll be prompted to create one.
- Add a New Device: In the Ring app, navigate to the “Set Up a Device” or “Add a Device” option, then select “Doorbells” and choose the specific model of your Ring Video Doorbell.
- Follow the On-Screen Instructions: The app will guide you through the setup process, which typically involves connecting the Ring Video Doorbell to your Wi-Fi network, configuring its preferences, and performing a test to ensure proper functionality.
- Customize Settings: Once the initial setup is complete, take the time to customize the settings according to your preferences. This may include adjusting motion detection zones, setting up motion alerts, and enabling additional security features.
During the setup process, it’s important to position the Ring Video Doorbell within the range of your Wi-Fi network to ensure a stable and reliable connection. Additionally, ensure that the device is securely mounted and aligned for optimal performance.
By successfully setting up your Ring Video Doorbell, you’ll gain the ability to monitor your doorstep, receive alerts, and interact with visitors from anywhere, providing enhanced security and convenience for your home.
With the Ring Video Doorbell now set up and integrated with the Ring app, you’re ready to proceed to the next step: mounting the device at your front door.
Step 5: Mounting the Ring Video Doorbell
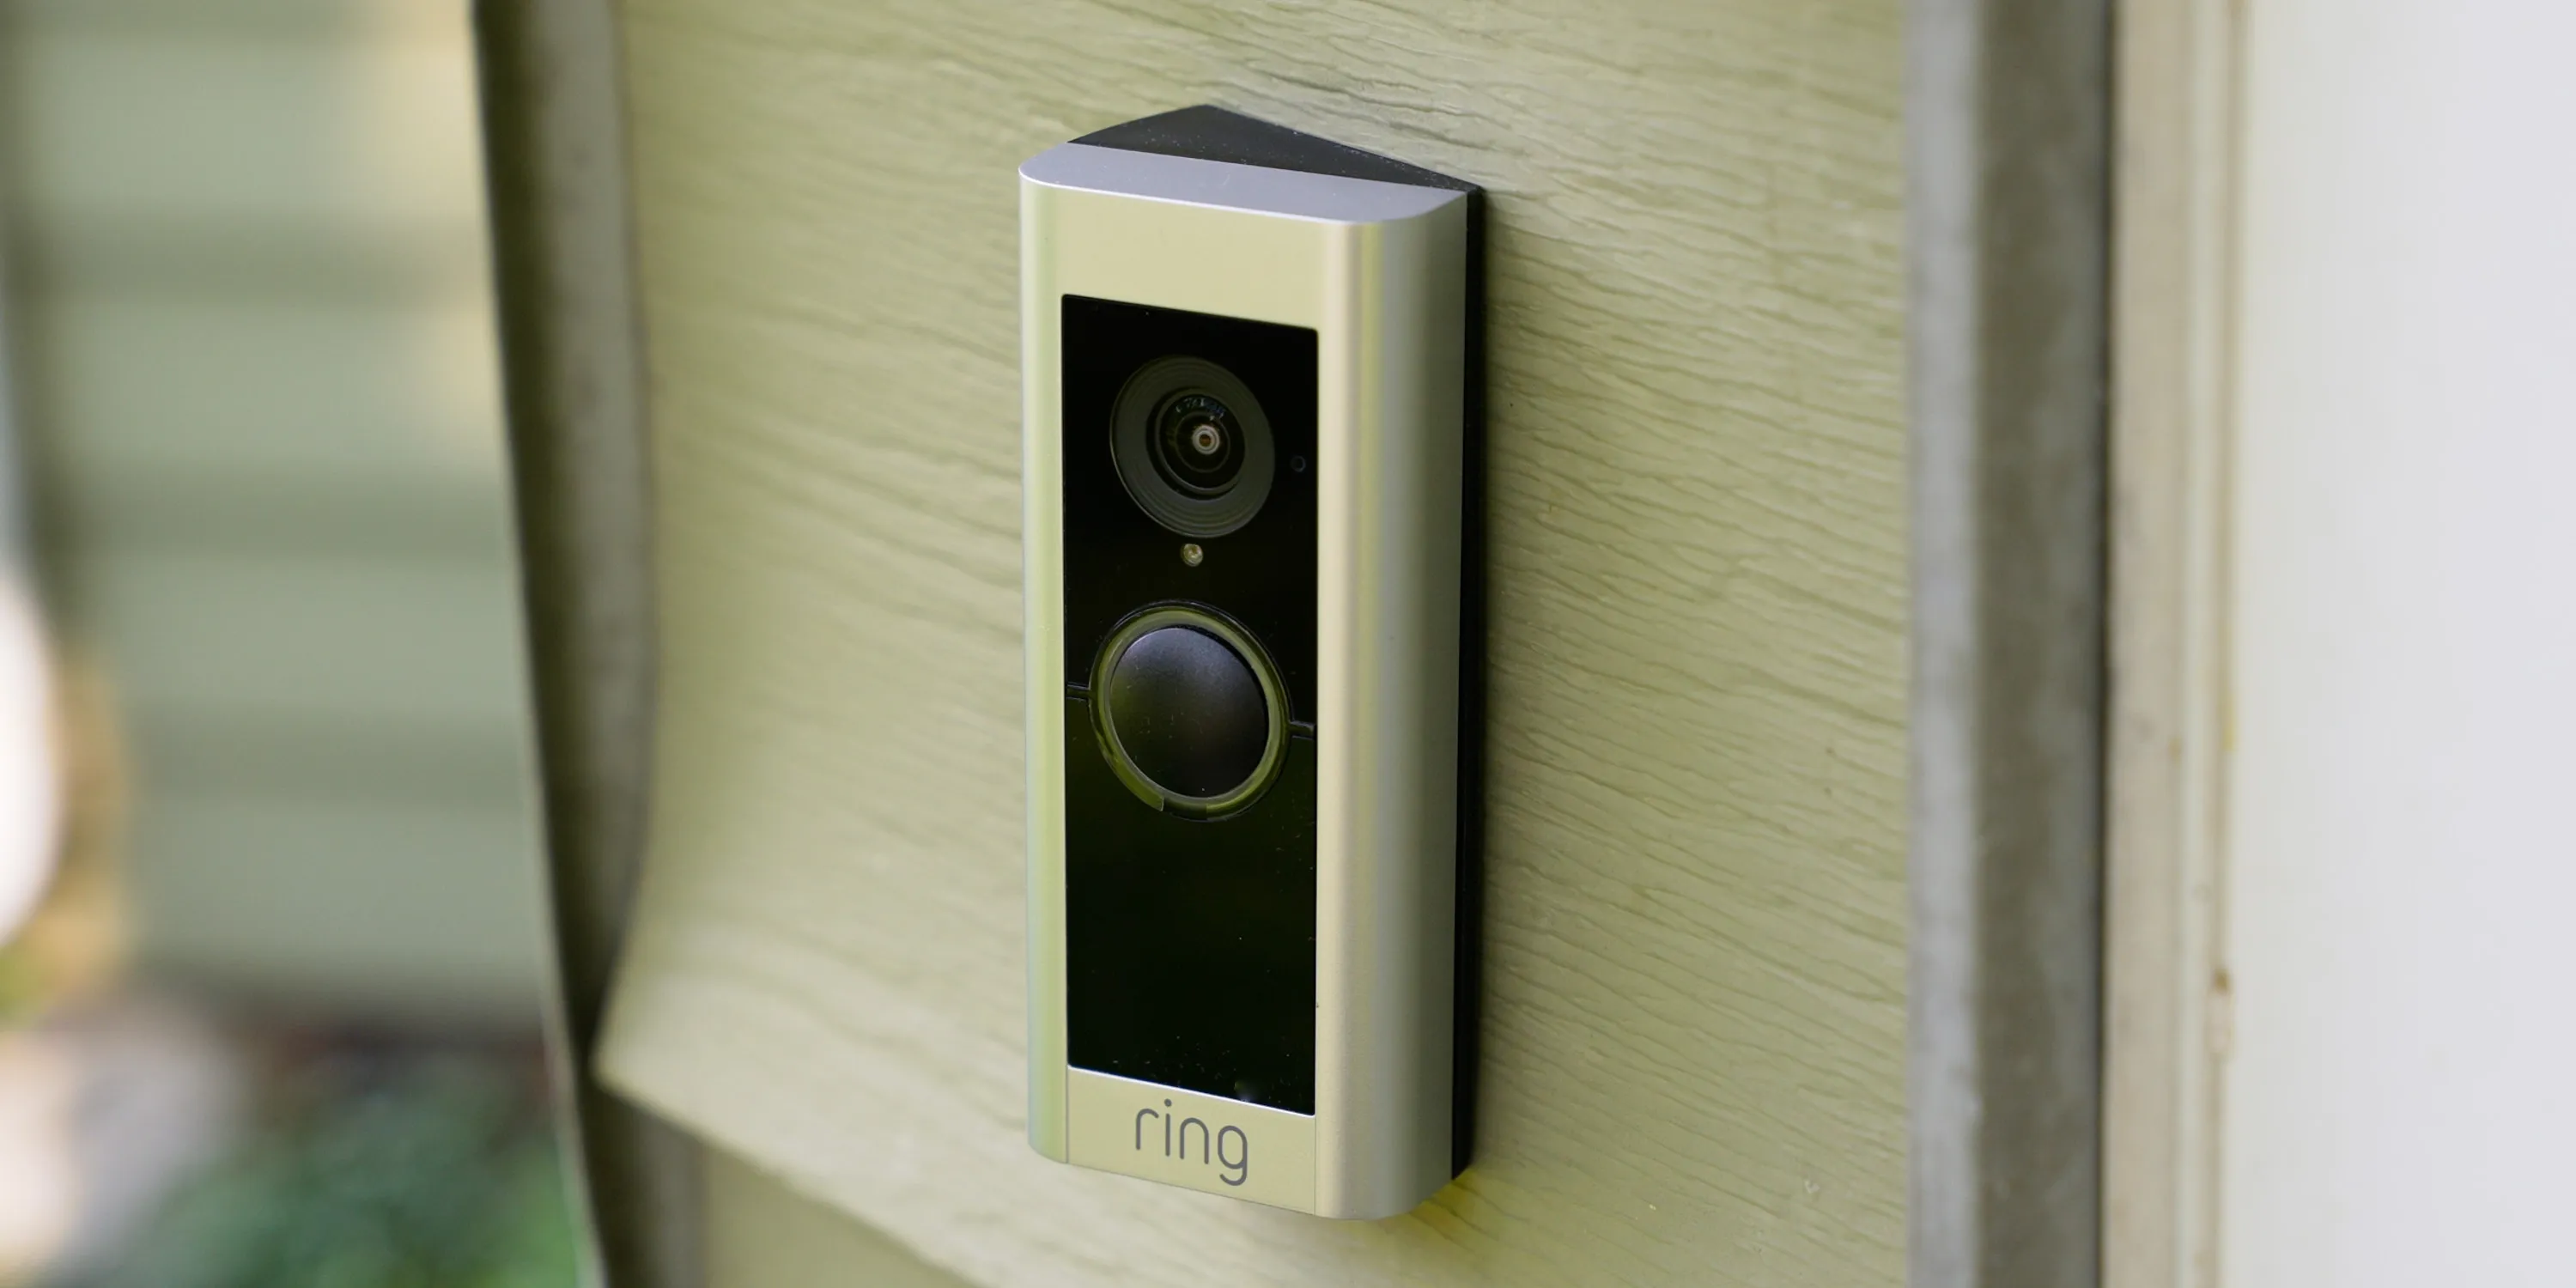
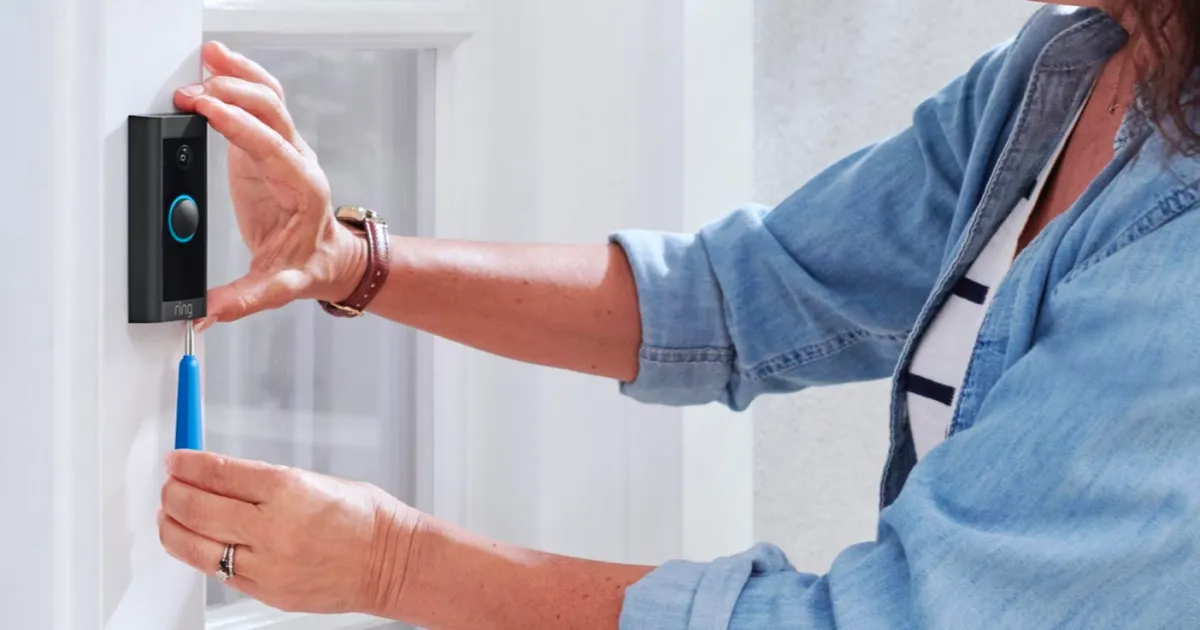
Mounting your Ring Video Doorbell at the front door is the final step in the installation process. Proper mounting ensures that the device is securely positioned, allowing it to capture clear video footage, detect motion effectively, and provide an unobstructed view of your entryway. Here’s a detailed guide to mounting your Ring Video Doorbell:
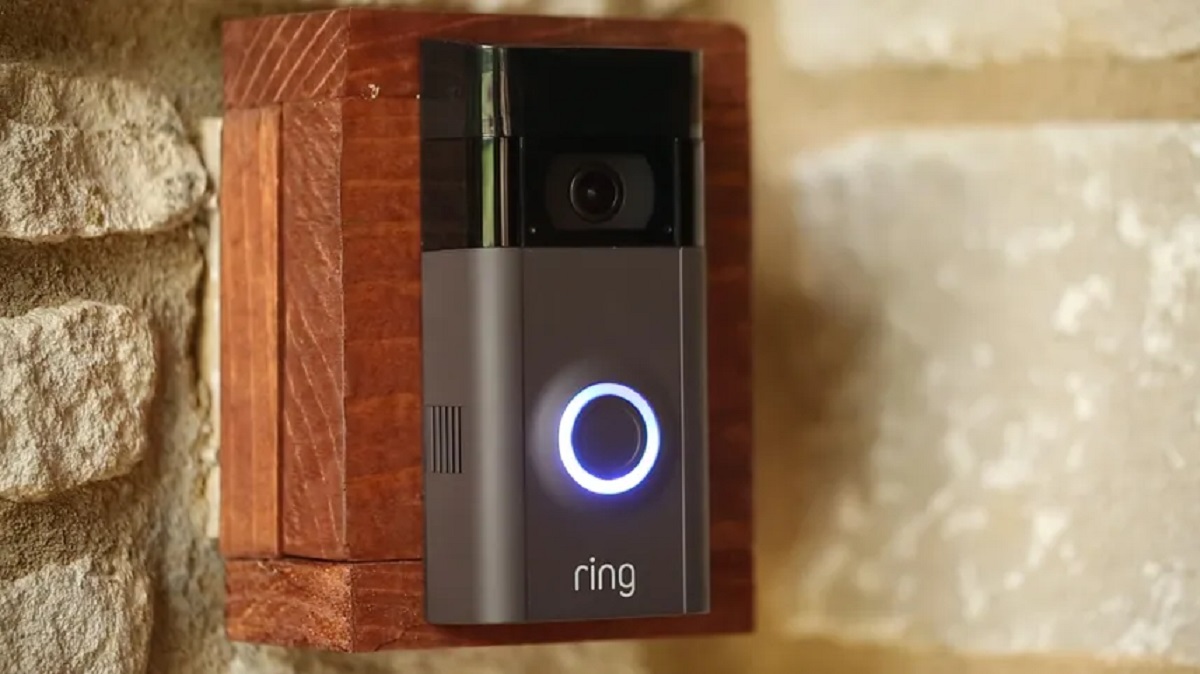
- Select the Mounting Location: Choose a suitable location near your front door where the Ring Video Doorbell will have a clear view of the entryway. Ensure that the mounting area is flat, stable, and within the range of your Wi-Fi network.
- Use the Mounting Bracket: If provided, use the mounting bracket included with the Ring Video Doorbell to facilitate the installation process. The bracket helps position the device at the desired angle and provides a secure mounting point.
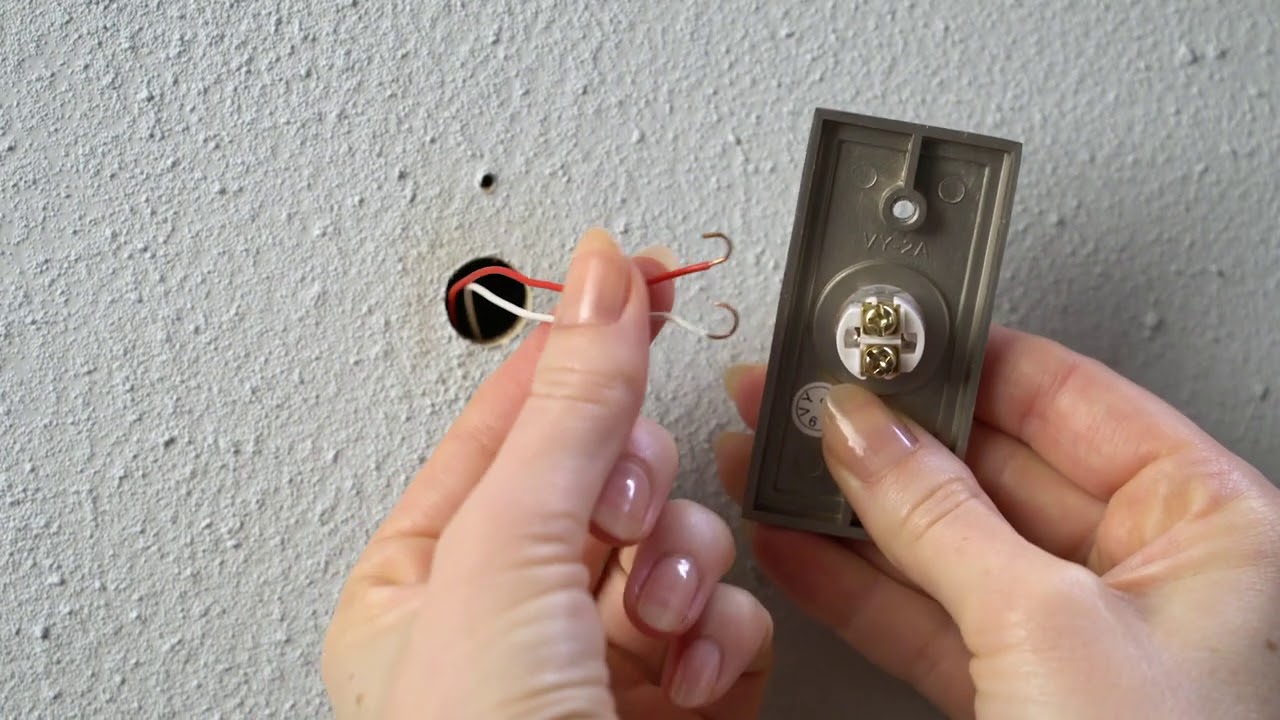
- Secure the Ring Video Doorbell: Using the appropriate screws and anchors, securely attach the Ring Video Doorbell to the mounting bracket. Ensure that the device is level and firmly fixed in place to prevent any movement or misalignment.
- Adjust the Position: Once the Ring Video Doorbell is mounted, make any necessary adjustments to its position and angle to ensure optimal coverage of the entryway and surrounding area. The device should be positioned to capture a clear view of visitors and any approaching motion.
Properly mounting the Ring Video Doorbell is essential for maximizing its effectiveness in monitoring your front door and enhancing your home’s security. By following the mounting instructions provided by the manufacturer and ensuring a secure installation, you can enjoy the full benefits of this advanced smart home device.
With the Ring Video Doorbell securely mounted at your front door, you’ve completed the installation process and can now enjoy the convenience, peace of mind, and added security it brings to your home.
Conclusion
Congratulations! You’ve successfully completed the installation of your Ring Video Doorbell, bringing advanced security and convenience to your home. By following the step-by-step process outlined in this guide, you’ve gained the ability to monitor your doorstep, receive real-time alerts, and interact with visitors from anywhere using your smartphone or tablet.
With the Ring Video Doorbell in place, you can now experience the following benefits:
- Enhanced Security: The Ring Video Doorbell provides a proactive approach to home security, allowing you to deter potential intruders, monitor activity, and maintain a watchful eye on your property.
- Convenient Monitoring: Whether you’re at home or away, the Ring Video Doorbell enables you to stay connected to your front door, ensuring that you never miss a visitor or important delivery.
- Two-Way Communication: The device’s two-way audio feature lets you communicate with visitors, delivery personnel, or unexpected guests, providing a seamless means of interaction.
- Customizable Settings: Through the Ring app, you can tailor the device’s settings to suit your preferences, including motion detection zones, notification preferences, and security features.
By unboxing, charging, setting up, and mounting your Ring Video Doorbell, you’ve harnessed the full potential of this innovative smart home device, contributing to a more secure and connected living environment.
As you continue to explore the features and capabilities of your Ring Video Doorbell, remember to stay informed about software updates, new features, and additional accessories that can further enhance its functionality.
Thank you for choosing the Ring Video Doorbell as part of your home security solution. We hope this guide has been instrumental in facilitating a smooth and successful installation process, allowing you to enjoy the peace of mind and convenience that the device offers.