Introduction
Detaching the mounting plate from an Oucca Video Doorbell is a necessary step when you need to move or replace your doorbell. Whether you’re upgrading to a newer model or simply relocating the doorbell to a different position, knowing how to remove the mounting plate is essential.
The Oucca Video Doorbell has gained popularity for its sleek design, advanced features, and easy installation process. However, once it’s securely mounted to your wall or door frame, removing it may seem like a challenging task. Fortunately, with the right tools and techniques, detaching the mounting plate can be a straightforward process.
In this guide, we will walk you through the step-by-step process of removing the Oucca Video Doorbell from the wall and detaching the mounting plate. We will also share some useful tips to make the process easier and minimize any potential damage to your doorbell or wall surface.
Before we dive into the details, make sure you have the necessary tools ready. Having them on hand will save you time and prevent any frustration during the process.
Tools Required
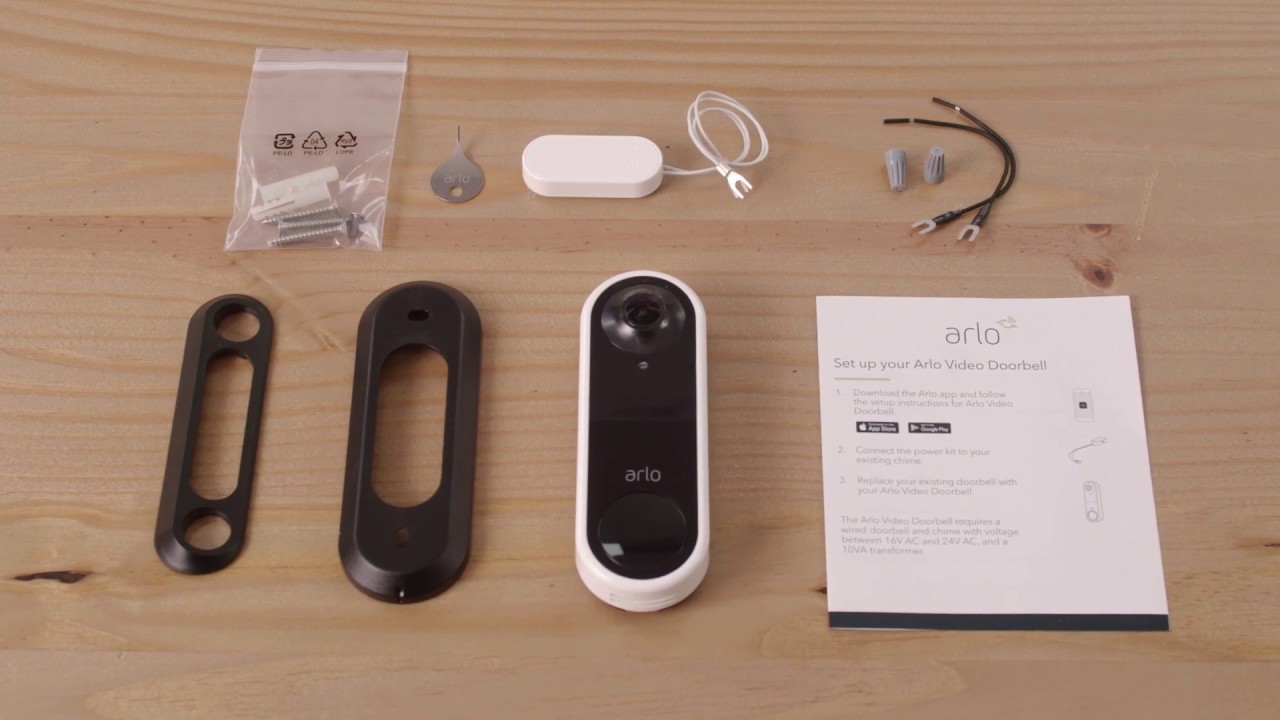
Before you begin the process of detaching the mounting plate from your Oucca Video Doorbell, gather the following tools:
- Flathead screwdriver
- Philips head screwdriver
- Needle-nose pliers
- Small wrench or adjustable pliers
- Masking tape or painter’s tape (optional)
The flathead screwdriver will be used to remove any screws or clips that may be securing the mounting plate to the wall or door frame. The Philips head screwdriver will often be necessary to remove the screws holding the doorbell unit onto the mounting plate.
The needle-nose pliers can help with gripping small screws or wire connections, making them easier to remove. A small wrench or adjustable pliers may come in handy if there are any nuts or bolts that need to be loosened or tightened.
Additionally, if you want to protect the wall or door frame from any accidental scratches or damage during the removal process, you can use masking tape or painter’s tape to cover the surrounding area before you begin.
Once you have all the necessary tools assembled, you’re ready to start removing the Oucca Video Doorbell from the wall and detaching the mounting plate.
Removing the Oucca Video Doorbell from the Wall
To begin the process of removing the Oucca Video Doorbell from the wall, follow these steps:
- Ensure that the power to the doorbell is turned off. You can do this by either turning off the breaker connected to the doorbell or removing the doorbell’s batteries if it is battery-operated. Safety should always be a priority when working with electrical devices.
- Inspect the doorbell unit for any screws or clips that may be securing it to the mounting plate. Use the appropriate screwdriver or pliers to remove these fasteners. Keep these screws or clips in a safe place, as you will need them later to reattach the doorbell.
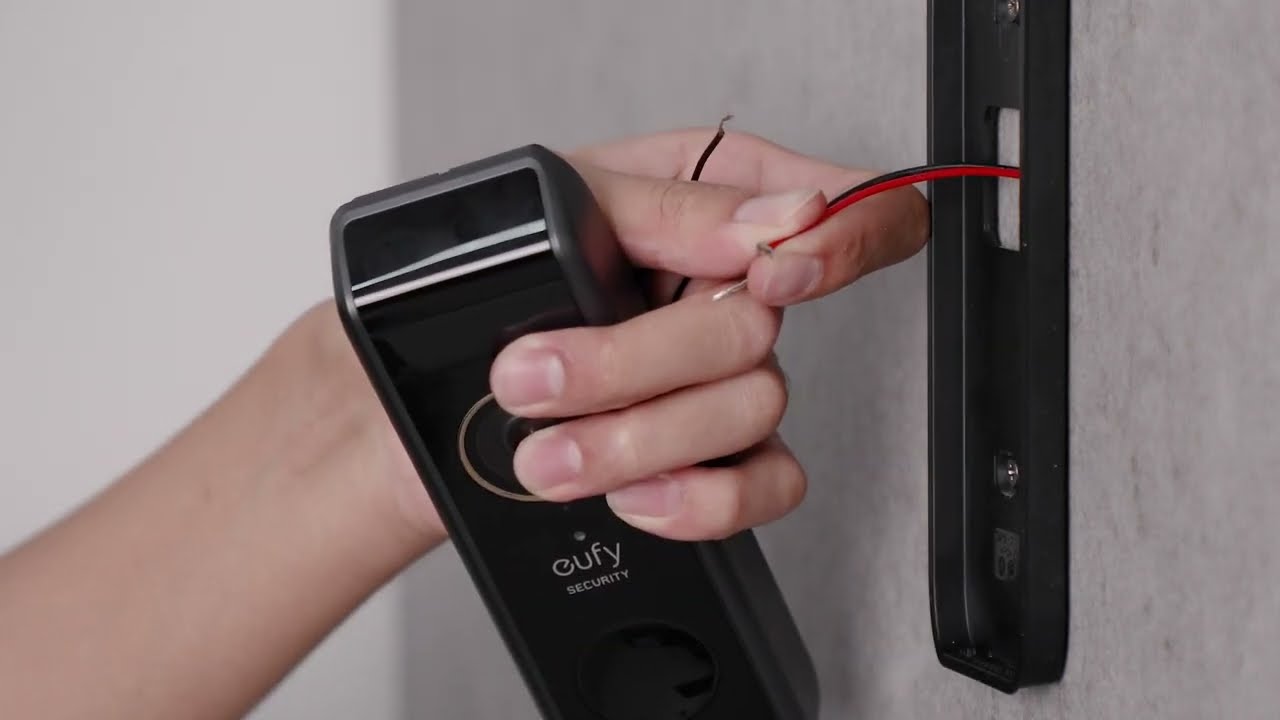
- Gently pull the doorbell unit away from the mounting plate. Be careful not to exert too much force, as there may be wires connecting the doorbell to the mounting plate.
- If there are wires attached to the doorbell, carefully disconnect them. Use the needle-nose pliers to grip the wire connectors and gently pull them apart. Take note of the wire connections so that you can reattach them in the correct order when reinstalling the doorbell.
- Set the doorbell unit aside in a safe place while you focus on removing the mounting plate.
With the doorbell unit removed, you are now ready to detach the mounting plate from the wall.
Detaching the Mounting Plate
Now that the Oucca Video Doorbell unit is removed, you can proceed with detaching the mounting plate from the wall. Here are the steps to follow:
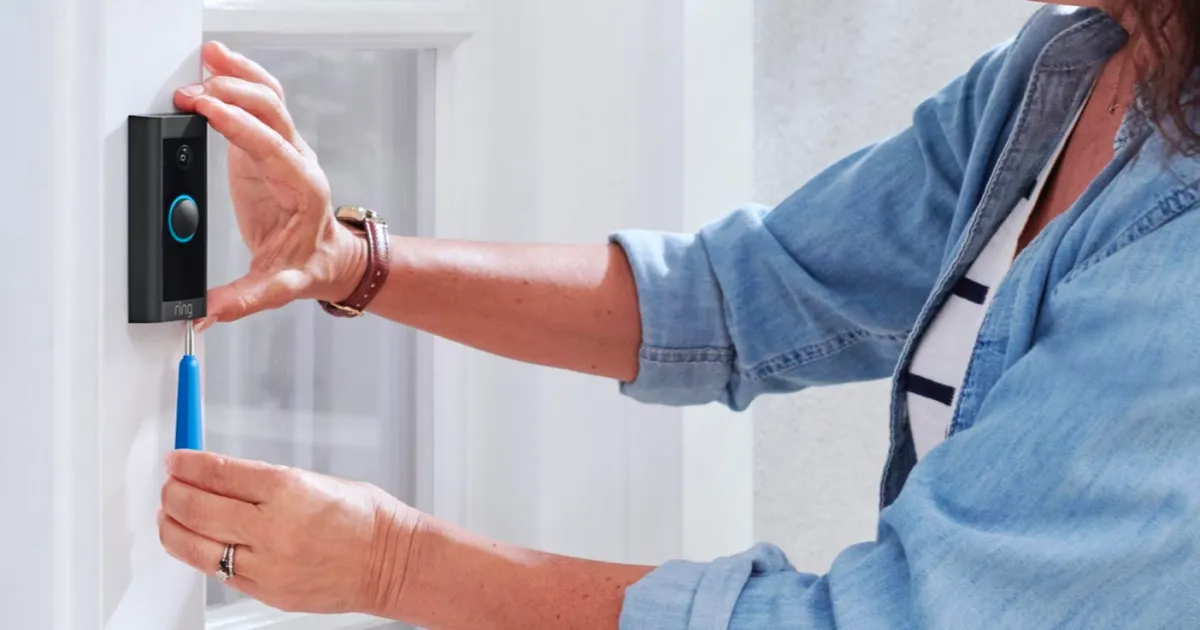
- Inspect the mounting plate to identify any screws or fasteners that are securing it to the wall. Depending on the specific model, the screws may be visible on the front or hidden behind a cover plate. Use a screwdriver or a small wrench to loosen and remove these screws.
- Once the screws are removed, gently pull the mounting plate away from the wall. It may be held in place by adhesive or additional clips. If necessary, use a flathead screwdriver to carefully pry the mounting plate away from the wall, applying gentle pressure to avoid any damage.
- If there is adhesive residue left on the wall after detaching the mounting plate, use a mild adhesive remover or rubbing alcohol to clean the area. Be sure to follow the manufacturer’s instructions for any cleaning products you use and take precautions to protect the surrounding surfaces.
- Inspect the wall for any damage or marks left by the mounting plate. Depending on the condition of the wall, you may need to patch or touch up the area before installing a new doorbell or covering it with a different mounting plate.
Once you have successfully detached the mounting plate from the wall and addressed any necessary repairs, you are ready to install a new doorbell unit or reattach the Oucca Video Doorbell with its original mounting plate.
Tips for Detaching the Mounting Plate Easily
Detaching the mounting plate from the wall can sometimes be a bit challenging, especially if there are tight screws or stubborn adhesive. To make this process easier, here are some helpful tips:
- Before you begin, make sure to read the manufacturer’s instructions or user manual for your specific Oucca Video Doorbell model. This will give you a clear understanding of the mounting plate design and any specific instructions or guidelines for removal.
- If the screws holding the mounting plate are difficult to turn, try applying some penetrating oil or lubricant to loosen them. This will make it easier to unscrew them and prevent any damage to the screw heads.
- If you encounter adhesive residue or stubborn clips holding the mounting plate in place, use a hairdryer to gently heat the area. The heat will help soften the adhesive, making it easier to remove. Take caution not to overheat the surface to avoid causing damage.
- If necessary, use a flathead screwdriver to carefully pry the mounting plate away from the wall, applying gentle pressure. However, exercise caution to avoid damaging the wall or door frame in the process. Take your time and work slowly to minimize any potential mishaps.
- Consider using a putty knife or plastic scraper to remove any adhesive residue from the wall after detaching the mounting plate. This will help ensure a clean surface for the installation of a new doorbell or a different mounting plate.
- If you plan to install a new doorbell or use a different mounting plate, take measurements of the existing mounting holes and compare them to the new device or plate. Ensuring compatibility will save you the hassle of re-drilling or making additional adjustments.
- It’s always a good idea to have an extra set of hands to assist you during the removal process. Having someone hold the doorbell unit while you remove the mounting plate can help prevent any accidental drops or damage.
By following these tips, you can effectively detach the mounting plate from the wall with ease and confidence.
Conclusion
Detaching the mounting plate from an Oucca Video Doorbell is a necessary step when you need to move or replace your doorbell. By following the steps outlined in this guide and utilizing the recommended tools and techniques, you can remove the mounting plate without any hassle.
Remember to always prioritize safety when working with electrical devices. Ensure that the power to the doorbell is turned off before starting the removal process. Additionally, take precautions to protect the wall or door frame from any accidental damage.
Having the right tools, such as screwdrivers, pliers, and tape, will make the removal process easier and more efficient. Take your time when detaching the mounting plate and be mindful of any adhesive or tight screws that may require additional effort.
Once the mounting plate is detached, take the necessary steps to clean the area and address any repairs or touch-ups on the wall or door frame. Following these guidelines will ensure a smooth transition when installing a new doorbell or using a different mounting plate.
By utilizing the tips provided, you can make the process of detaching the mounting plate from your Oucca Video Doorbell a stress-free experience. With a little patience and the right tools, you’ll have the mounting plate removed in no time.
Now that you have learned how to detach the mounting plate from an Oucca Video Doorbell, you can confidently move or replace your doorbell as needed. Whether you are upgrading your doorbell system or simply adjusting its placement, this knowledge will come in handy.
Remember to refer to the manufacturer’s instructions and guidelines specific to your Oucca Video Doorbell model for any additional information or recommendations. With proper care and attention to detail, you’ll be able to detach the mounting plate effortlessly and successfully complete your doorbell project.