Introduction
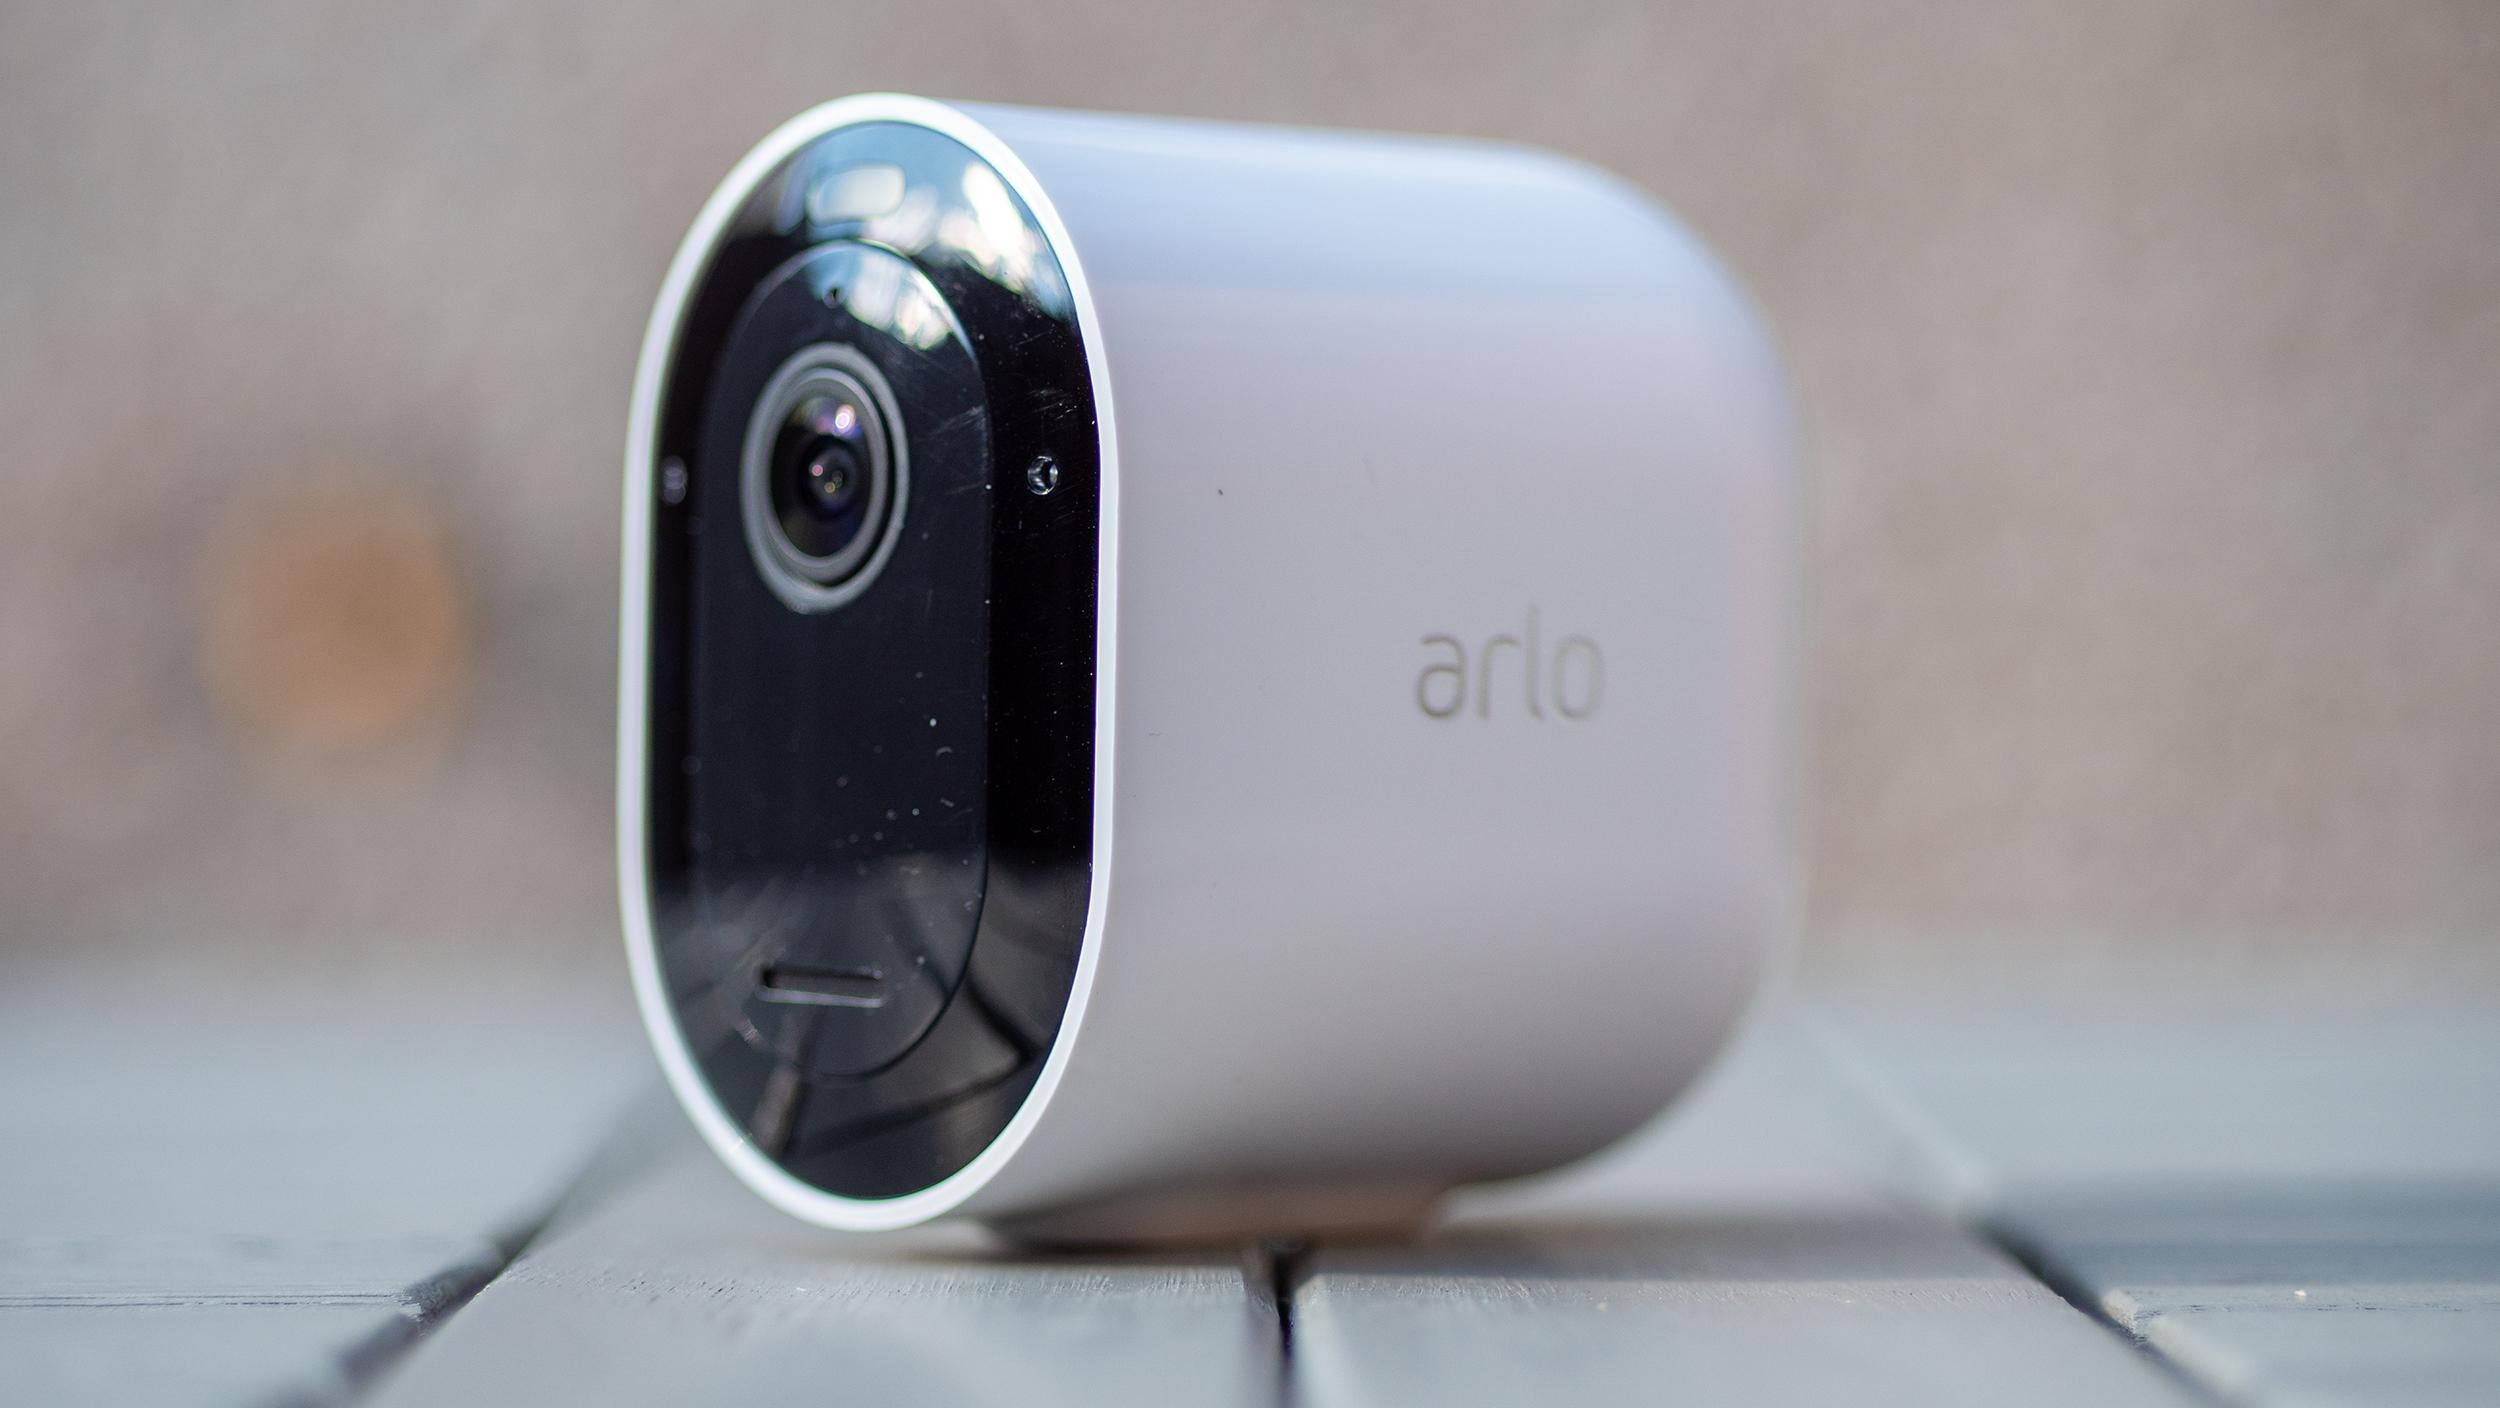
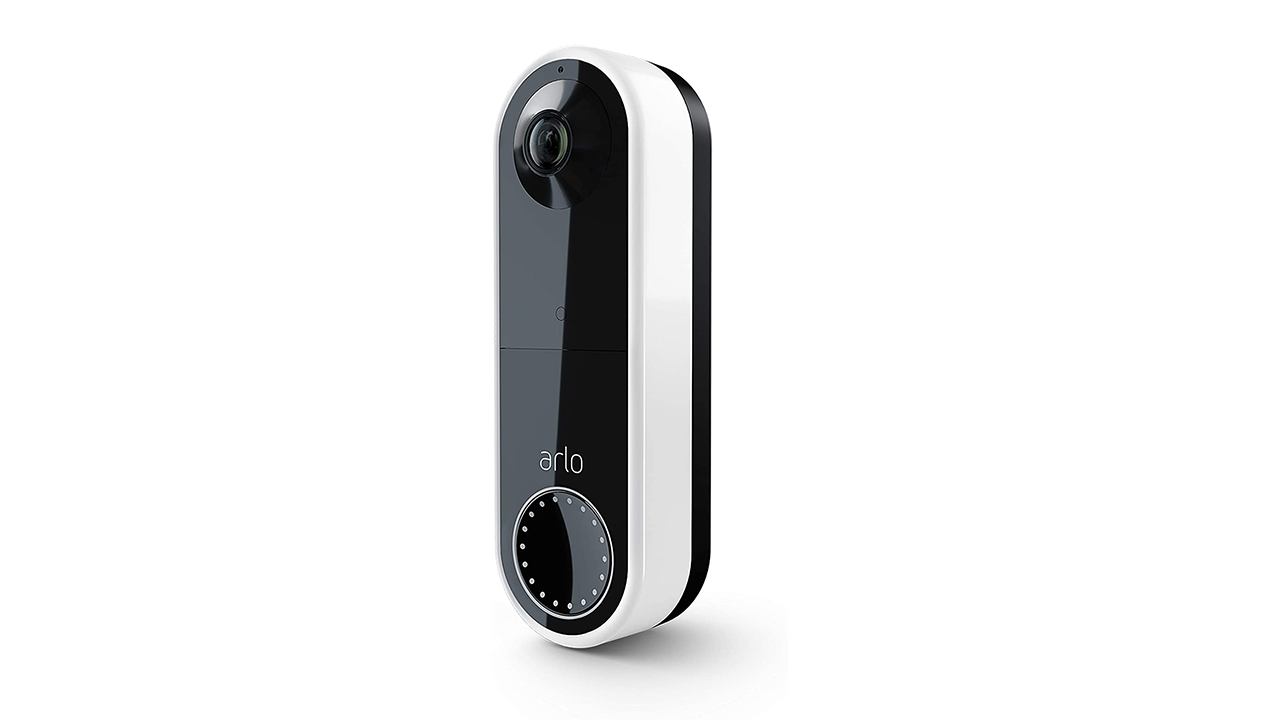
Welcome to this comprehensive guide on how to install the Arlo Video Doorbell wirelessly. The Arlo Video Doorbell is a cutting-edge device that allows you to monitor your front door and communicate with visitors from your smartphone or tablet. With its sleek design and advanced features, this doorbell is a great addition to any home security system. In this guide, we will walk you through the step-by-step process of setting up and installing your Arlo Video Doorbell wirelessly, so you can start enjoying the benefits of this innovative device in no time.
To ensure a smooth installation process, make sure you have all the necessary equipment on hand and follow the instructions carefully. Whether you are a DIY enthusiast or a first-time user, this guide will provide you with all the information you need to install your Arlo Video Doorbell confidently. So, let’s get started by downloading the Arlo app and setting up your doorbell.
Equipment Needed
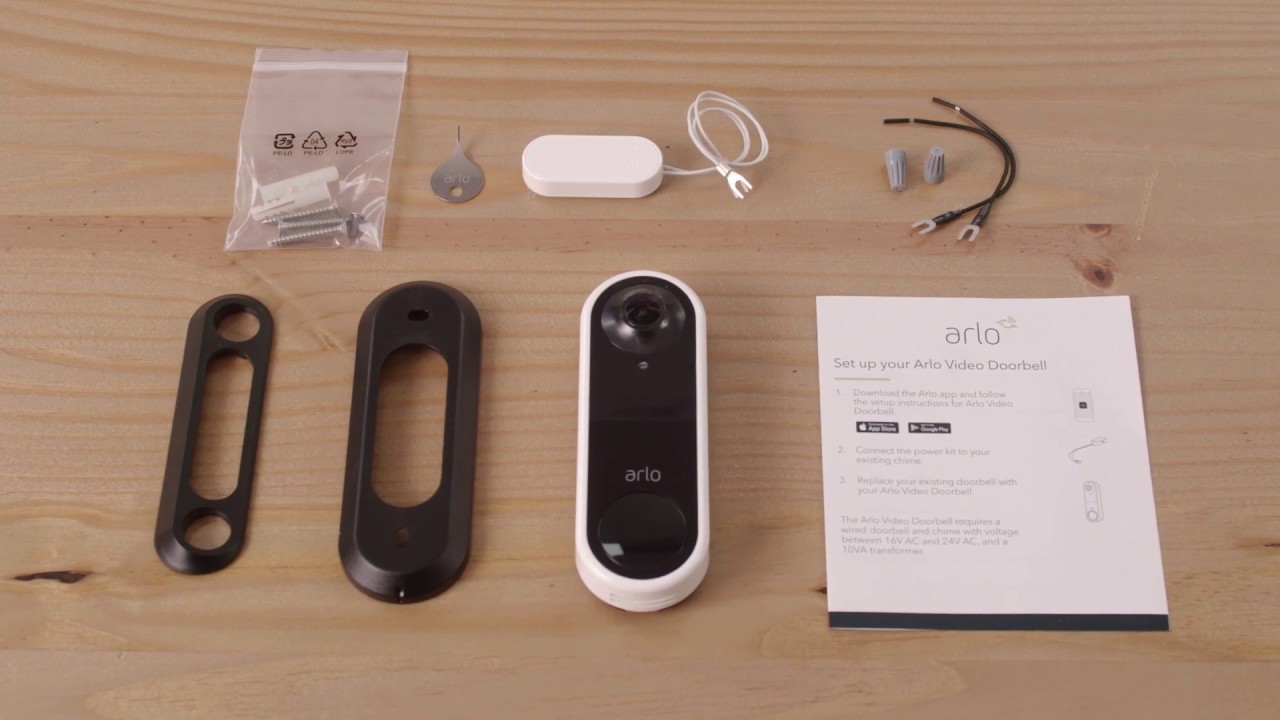
Before you begin the installation process, it is important to gather all the necessary equipment for setting up your Arlo Video Doorbell. Here is a list of items you will need:
- Arlo Video Doorbell
- Smartphone or tablet with the Arlo app installed
- Steady ladder or step ladder
- Power drill
- Drill bit compatible with the mounting screws
- Level
- Screwdriver
- Electrical tape (optional)
- Wire strippers (optional)
Ensure that you have these items readily available before you proceed with the installation process. It is important to have a stable and suitable ladder for accessing the installation area and a power drill with the appropriate drill bit to secure the mounting screws.
The Arlo Video Doorbell comes with a mounting plate, and depending on your preference, you may need additional tools like electrical tape and wire strippers if you choose to connect the doorbell to your existing doorbell wiring. While these tools are optional, they can be handy if you decide to utilize the wired installation option.
Once you have gathered all the necessary items, you can move on to the next step, which is downloading the Arlo app.
Step 1: Download the Arlo App
Before you can start the installation process, you need to download the Arlo app on your smartphone or tablet. The Arlo app is available for both iOS and Android devices, so make sure you have a compatible device and a stable internet connection.
To download the Arlo app, follow these simple steps:
- Go to the App Store if you are using an iOS device, or the Google Play Store if you are using an Android device.
- Search for “Arlo” in the search bar.
- Locate the official Arlo app developed by Arlo Technologies, Inc.
- Tap on the “Install” or “Get” button to begin the download process.
- Once the app is successfully downloaded and installed, launch it by tapping on the app icon.
- Sign in to your Arlo account if you already have one. If you are a new user, you will need to create a new account by following the on-screen instructions.
It is important to note that the Arlo app is required to set up and control your Arlo Video Doorbell. It allows you to receive notifications, view live video feed, and customize settings for your doorbell. Ensure that you have a stable internet connection throughout the installation process to ensure a seamless experience using the Arlo app.
Once you have downloaded and set up the Arlo app on your device, you are ready to proceed to the next step, which is setting up your Arlo Video Doorbell.
Step 2: Set up Your Arlo Video Doorbell
Now that you have downloaded the Arlo app, it’s time to set up your Arlo Video Doorbell. Follow these steps to get started:
- Open the Arlo app on your smartphone or tablet.
- Tap on the “Add Device” option in the app’s main menu.
- Select “Doorbells” from the list of available device types.
- Follow the on-screen instructions to put your Arlo Video Doorbell into setup mode.
- Once the doorbell is in setup mode, the LED light on the front of the device will begin to flash.
- In the Arlo app, select the specific doorbell model you are setting up and tap “Continue”.
- The app will begin searching for the doorbell. Once it is found, select it from the list of discovered devices.
- Confirm the doorbell’s serial number displayed on the app matches the one printed on the device.
- Tap “Continue” to proceed with the setup process.
- Connect your smartphone or tablet to the doorbell’s temporary Wi-Fi network, which will be displayed on the app.
- Return to the Arlo app after connecting to the doorbell’s Wi-Fi network.
Once you have completed these steps, your Arlo Video Doorbell will be successfully set up and connected to your smartphone or tablet. It is important to ensure that your device is connected to the temporary Wi-Fi network provided by the doorbell during the setup process.
The Arlo app will guide you through the remaining steps to complete the setup process, including connecting the doorbell to your home Wi-Fi network and customizing your preferences. Make sure to follow the on-screen instructions carefully to ensure a successful setup.
With your Arlo Video Doorbell set up, you can now move on to the next step, which involves choosing a location for your doorbell.
Step 3: Choose a Location for Your Doorbell
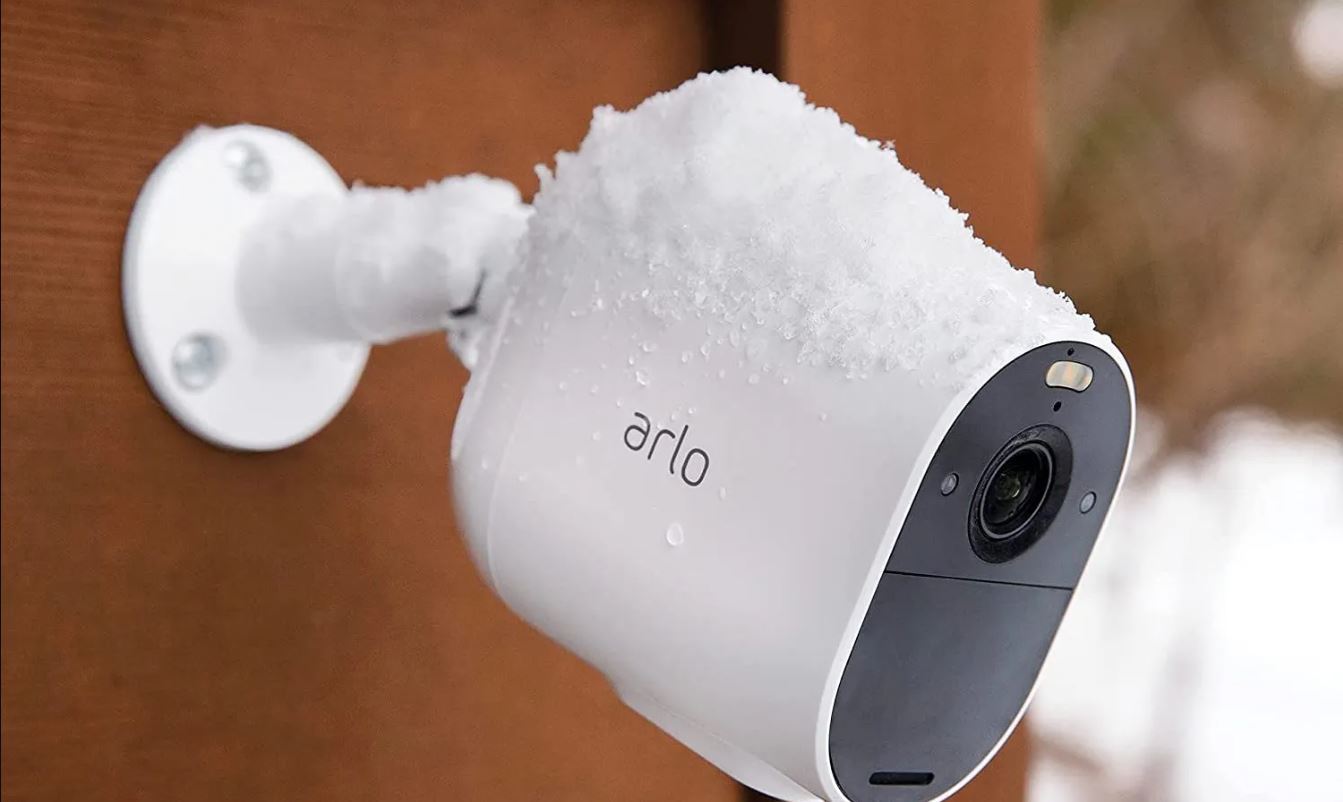
Choosing the right location for your Arlo Video Doorbell is crucial for optimal performance and security. Take the following factors into consideration when selecting the perfect spot:
- Visibility: Ensure that your doorbell has a clear line of sight to capture visitors’ faces and any activity happening at your front door. Avoid areas that are obstructed by trees, plants, or other objects that may hinder the camera’s view.
- Height: The recommended height for the doorbell is around 48 to 56 inches from the ground. This ensures that the camera captures visitors at eye level, providing you with a better view and enhancing security.
- Mounting Surface: Your Arlo Video Doorbell can be mounted on various surfaces such as wood, brick, or stucco. Make sure the chosen surface is sturdy and can support the weight of the doorbell.
- Wi-Fi Signal: Check the strength of your home’s Wi-Fi signal in the area where you plan to install the doorbell. A weak signal can impact the doorbell’s performance, so select a location with a strong and consistent Wi-Fi connection.
Once you have evaluated these factors, you can proceed to mount the doorbell in your chosen location. Mounting options include directly attaching it to the wall or mounting it on a compatible bracket or mounting plate. Follow the manufacturer’s instructions for secure installation.
After you have mounted the doorbell, step back and verify that it is positioned correctly and offers an optimal view of the front door area. You can use a level to ensure the doorbell is straight on the wall.
Now that you have chosen the perfect spot for your Arlo Video Doorbell and mounted it securely, you can move on to the next step, which involves attaching the mounting plate.
Step 4: Attach the Mounting Plate
In this step, you will attach the mounting plate to the chosen location for your Arlo Video Doorbell. The mounting plate provides a secure base for the doorbell and ensures proper alignment with your front door area. Follow these steps to attach the mounting plate:
- Hold the mounting plate against the wall or mounting surface in the desired location.
- Using a pencil or marker, mark the screw holes on the mounting plate onto the wall.
- Remove the mounting plate and set it aside.
- Using an appropriate drill bit, drill pilot holes at the marked locations on the wall.
- Align the mounting plate with the pilot holes and secure it to the wall using screws that are suitable for the mounting surface.
- Make sure the mounting plate is securely attached and levelled.
It is essential to ensure that the mounting plate is firmly attached to provide a stable base for the doorbell. Take your time to properly align the plate with the pilot holes to ensure a secure installation.
If you are mounting the doorbell on a different surface, such as wood or stucco, make sure to use appropriate screws and anchors that are suitable for that specific surface.
Once the mounting plate is securely attached, you can proceed to the next step, which involves connecting the wires (if applicable) and installing the battery.
Step 5: Connect the Wires (Optional)
If you prefer to connect your Arlo Video Doorbell to your existing doorbell wiring, you can do so in this step. Connecting the wires allows your doorbell to receive continuous power and eliminates the need to recharge the battery periodically. Follow these instructions to connect the wires:
- Locate your existing doorbell chime and transformer. Ensure that the power to these components is turned off at the circuit breaker to avoid any electrical mishaps.
- Remove the cover of your existing doorbell chime to expose the wiring terminals.
- If necessary, use wire strippers to strip the insulation off the ends of the existing doorbell wires.
- Identify the wires coming from the Arlo Video Doorbell. Typically, these wires are color-coded with red and white or black and white.
- Connect the wires from the doorbell to the appropriate terminals on your existing doorbell chime. The doorbell wire colors should match the terminal labels (e.g., red/positive to the front terminal and white/negative to the rear terminal).
- Secure the wires in place by tightening the terminals on the chime.
- If necessary, use electrical tape to cover the exposed wire connections for added protection.
- Restore the power to your doorbell chime and transformer by flipping the circuit breaker back on.
It is important to ensure that the wires are securely connected and insulated to avoid any electrical hazards. If you are unsure about the wiring process, it is advisable to seek professional assistance or consult the manufacturer’s instructions.
If you prefer not to connect the doorbell to your existing wiring, you can skip this step and proceed directly to the installation of the battery in the next step.
Now that you have completed the wiring process (if applicable) and the mounting plate is in place, you can move on to the next step, which involves installing the battery into your Arlo Video Doorbell.
Step 6: Install the Battery
In this step, you will install the battery into your Arlo Video Doorbell. The battery provides power to the doorbell in case you are not connecting it to your existing doorbell wiring. Follow these instructions to install the battery:
- Locate the battery compartment on the back of your Arlo Video Doorbell.
- Using a screwdriver, remove the screws securing the battery compartment cover.
- Open the battery compartment and remove any protective film or packaging from the battery.
- Insert the battery into the compartment following the correct polarity (+/-) indicated.
- Secure the battery compartment cover back in place and tighten the screws.
It is important to ensure that the battery is fully inserted and secured in the compartment. The correct polarity must be followed to avoid any damage to the doorbell or battery.
If you have connected your Arlo Video Doorbell to your existing doorbell wiring, the battery will act as a backup power source in case of power outages. However, if you are not using the wiring connection, the battery will be the primary power source for your doorbell.
Once the battery is installed, you can proceed to the next step, which involves securely mounting the doorbell onto the previously attached mounting plate.
Step 7: Mount the Doorbell
Now that you have the battery installed, it’s time to mount your Arlo Video Doorbell onto the previously attached mounting plate. Follow these steps to securely mount the doorbell:
- Align the back of the doorbell with the mounting plate, making sure the screw holes on the doorbell match those on the plate.
- Press the doorbell gently against the mounting plate, ensuring it is flush and level.
- Insert the provided screws into the screw holes on the doorbell and tighten them using a screwdriver.
- Ensure the doorbell is securely mounted and does not move or wobble.
It is crucial to align the doorbell properly with the mounting plate and tighten the screws securely. This ensures a stable and secure mount for the doorbell, preventing it from falling or shifting over time.
After mounting the doorbell, step back and verify that it is positioned correctly and aligned properly with your front door. Use a level to double-check that the doorbell is straight.
With the doorbell securely mounted and in place, you can move on to the next step, which involves pairing the doorbell with the Arlo app on your smartphone or tablet.
Step 8: Pair the Doorbell with the Arlo App
After mounting your Arlo Video Doorbell, the next step is to pair it with the Arlo app on your smartphone or tablet. This allows you to control and monitor your doorbell from the convenience of your mobile device. Follow these instructions to pair the doorbell with the app:
- Open the Arlo app on your smartphone or tablet.
- Tap on the device icon or tab that corresponds to your Arlo Video Doorbell.
- If prompted, enter the serial number of your doorbell. You can find this information on the back of the device or on the packaging.
- Follow the on-screen instructions to complete the pairing process.
- Once the pairing is successful, you will be able to access and control your Arlo Video Doorbell through the Arlo app.
During the pairing process, ensure that your smartphone or tablet is connected to a stable internet connection. This will facilitate a smooth and successful pairing between the doorbell and the app.
After the pairing is complete, take a moment to explore the various features and settings available in the Arlo app. You can customize settings such as motion detection sensitivity, push notifications, and video recording preferences to suit your specific needs.
Now that you have successfully paired your Arlo Video Doorbell with the Arlo app, you can proceed to customize your doorbell settings in the next step.
Step 9: Customize Your Doorbell Settings
Now that your Arlo Video Doorbell is paired with the Arlo app, you have the opportunity to customize various settings according to your preferences. Follow the steps below to personalize your doorbell settings:
- Open the Arlo app on your smartphone or tablet.
- Select your Arlo Video Doorbell from the device list or tab.
- Tap on “Settings” or the gear icon to access the doorbell settings.
- Explore the different options available, such as motion detection, video recording, and notification settings.
- Adjust the motion detection sensitivity to ensure optimal performance and reduce false alerts.
- Select your preferred video recording options, such as continuous recording or event-based recording.
- Enable or disable push notifications to receive alerts whenever someone approaches your door or rings the doorbell.
- Customize other settings, such as the doorbell’s chime sound or LED light behavior.
- Once you have made the desired changes, save the settings and exit the app.
Customizing your doorbell settings allows you to tailor the functionality of the Arlo Video Doorbell to your specific needs and preferences. You can fine-tune the motion detection settings to avoid unnecessary alerts or adjust the video recording options to maximize storage efficiency.
It is also a good idea to periodically review and update your doorbell settings to ensure that they align with your changing requirements. This way, you can make the most of your Arlo Video Doorbell’s features and enjoy a personalized and effective user experience.
Congratulations! You have successfully installed and customized your Arlo Video Doorbell. Now you can enjoy the enhanced security and convenience it brings to your home.
Conclusion
Congratulations on successfully installing your Arlo Video Doorbell wirelessly! By following this comprehensive guide and utilizing the Arlo app, you can now enjoy enhanced security, convenience, and peace of mind.
Throughout the installation process, you learned how to download the Arlo app and set up your doorbell. You also discovered the equipment needed, including the importance of choosing the right location for your doorbell. Whether you connected the doorbell to existing wiring or used the battery, you successfully mounted and paired the device with the Arlo app.
Additionally, you explored how to customize your doorbell settings, allowing you to fine-tune features like motion detection sensitivity, video recording preferences, and notifications. These personalized settings ensure that your Arlo Video Doorbell operates according to your specific needs and preferences.
Remember, as technology evolves, it is always a good idea to stay updated with the latest firmware and app versions for optimal performance and security. Check for updates regularly to ensure you are benefiting from all the features and enhancements Arlo offers.
With your Arlo Video Doorbell installed, paired, and customized, you can now enjoy a safer and smarter way to monitor and interact with visitors at your front door. Embrace the convenience and peace of mind that comes with knowing who is at your door, even when you’re not home.
Thank you for choosing Arlo, and we hope this guide has been helpful in your installation journey. If you have any further questions or need assistance, refer to the official Arlo documentation or reach out to their customer support team for additional guidance.