Introduction
Keeping your unfinished acoustic guitar clean is essential for maintaining its longevity and preserving its sound quality. Dust, dirt, and oils can buildup over time and negatively impact the instrument. A regular cleaning routine helps ensure that your guitar stays in optimal condition.
But cleaning an unfinished acoustic guitar requires a delicate approach to avoid damaging the wood or affecting its sound. In this article, we will guide you through the step-by-step process of safely and effectively cleaning your guitar.
Whether you’re a professional musician, an aspiring guitarist, or just a casual player, this guide will provide you with the necessary knowledge and techniques to keep your unfinished acoustic guitar looking and sounding great.
To clean your unfinished acoustic guitar, you will need a few basic materials, including a soft microfiber cloth, guitar cleaner, a small brush, and guitar polish. These materials are readily available at most music stores or online outlets.
It’s important to note that unfinished acoustic guitars have a porous surface and are more susceptible to damage from moisture than their finished counterparts. Therefore, it’s crucial to avoid excessive use of liquids during the cleaning process.
By following the steps outlined in this guide, you’ll be able to clean your unfinished acoustic guitar safely and effectively, prolonging its lifespan and ensuring that it continues to produce the rich, vibrant tones you love.
So, let’s get started with the first step: preparing the guitar for cleaning.
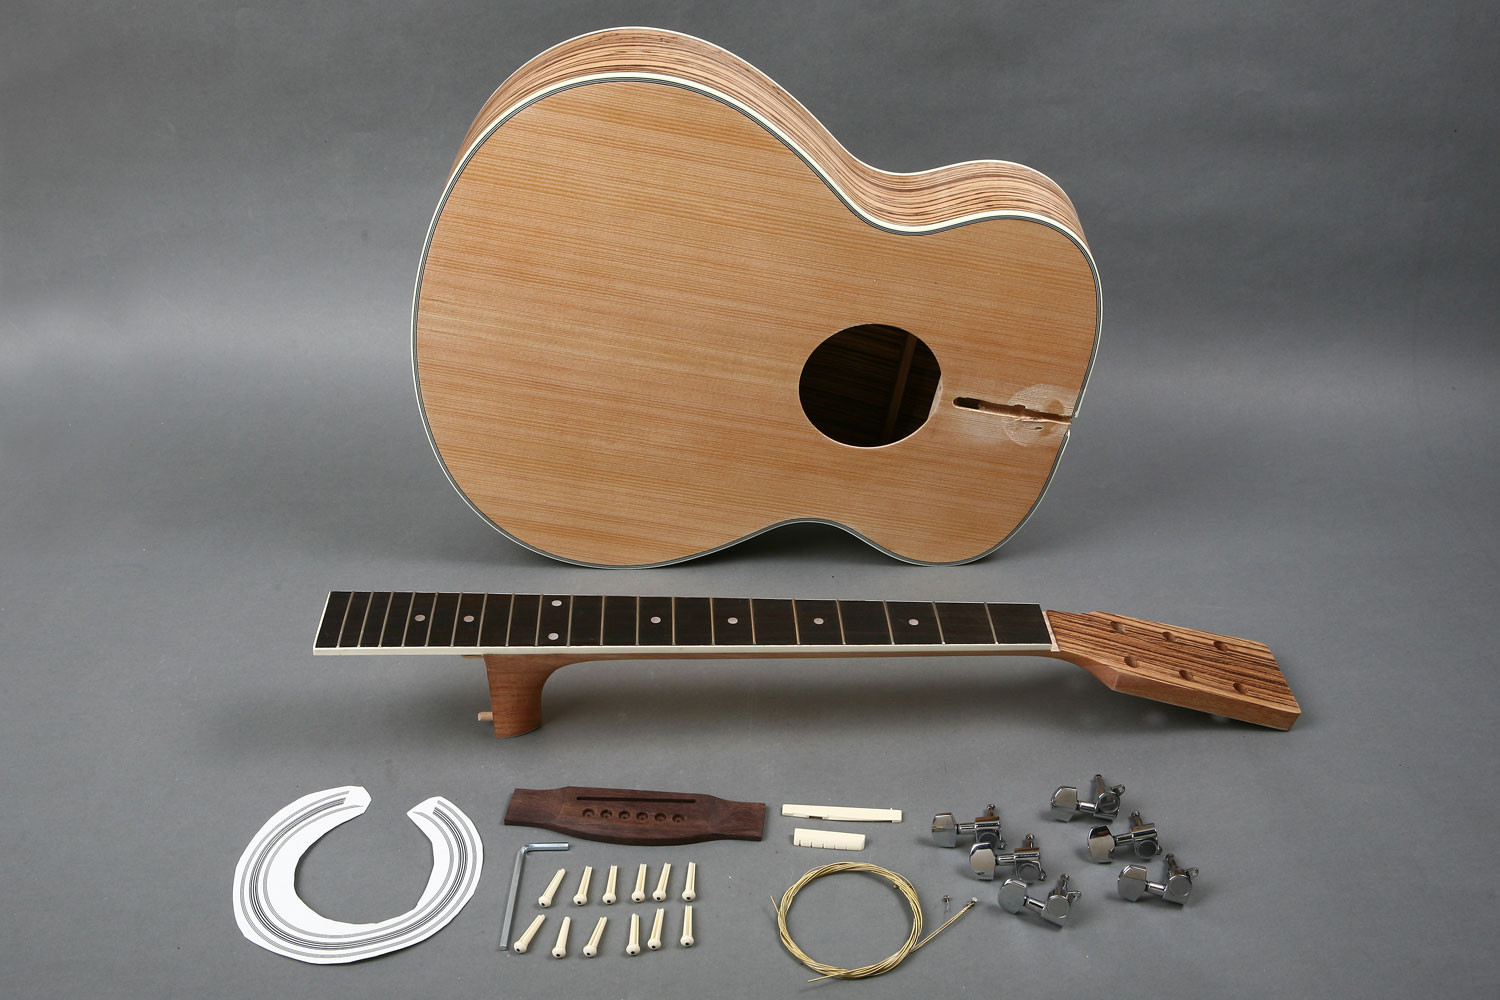
Materials Needed
Before you begin cleaning your unfinished acoustic guitar, gather the following materials:
- Soft microfiber cloth: This will be used to wipe away dust, smudges, and fingerprints without scratching the surface of the guitar.
- Guitar cleaner: Look for a high-quality guitar cleaner that is specifically formulated for use on unfinished wood. Avoid using household cleaning products, as they can potentially damage the guitar’s finish.
- Small brush: A soft-bristle brush, such as a toothbrush, can be used to remove dirt and debris from hard-to-reach areas, such as the bridge and around the soundhole.
- Guitar polish: Although optional, guitar polish can be used to restore shine to the guitar’s body and protect the wood from environmental factors. Choose a polish that is safe for use on unfinished wood.
- Lint-free cloth or paper towels: These will come in handy for applying guitar cleaner and polish, as well as wiping away excess product.
It’s crucial to use the right materials when cleaning your unfinished acoustic guitar. Using the wrong products or abrasive materials can cause irreversible damage to the wood and affect the guitar’s sound quality. Therefore, always opt for gentle and specially formulated products designed for use on unfinished wood.
By having these materials ready, you’ll be fully equipped to clean your guitar effectively and safely. Now, let’s move on to the first step: preparing the guitar for cleaning.
Step 1: Preparing the Guitar
Before you start cleaning your unfinished acoustic guitar, it’s crucial to prepare the instrument to ensure a safe and effective cleaning process. Follow these steps to properly prepare your guitar:
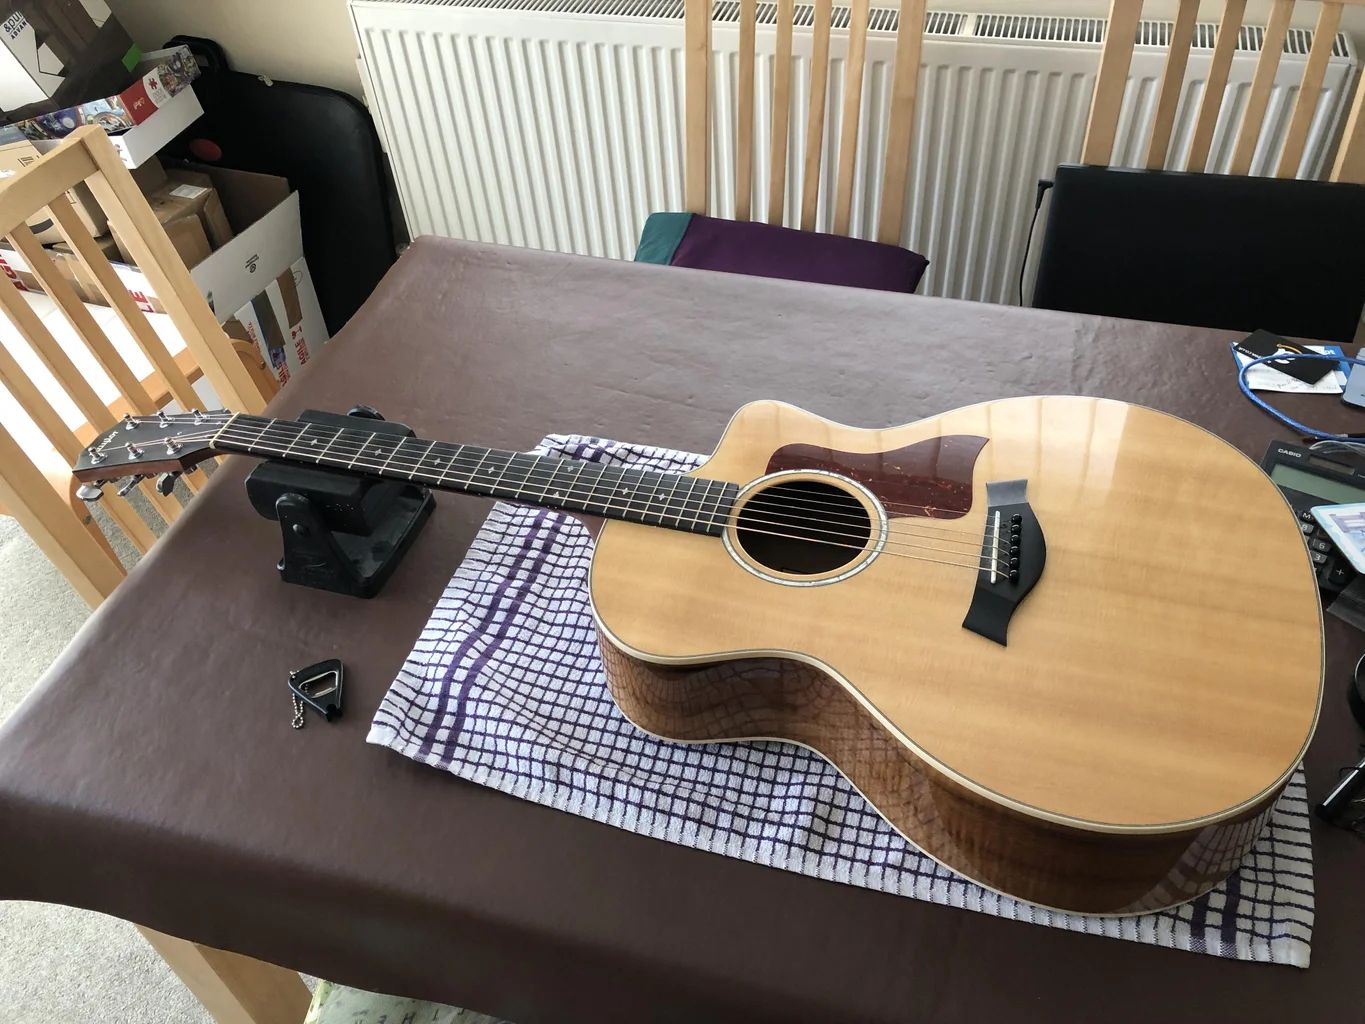
- Remove the strings: Loosen the tension of the strings and carefully remove them from the guitar. This step will allow you to access all parts of the instrument for cleaning without obstruction. Additionally, it helps prevent any cleaning products from getting on the strings, which could affect their performance.
- Secure the guitar: Find a stable surface such as a guitar stand or workbench where you can securely place your guitar during the cleaning process. Ensuring that the guitar is stable will prevent any accidents or damage from occurring while you work.
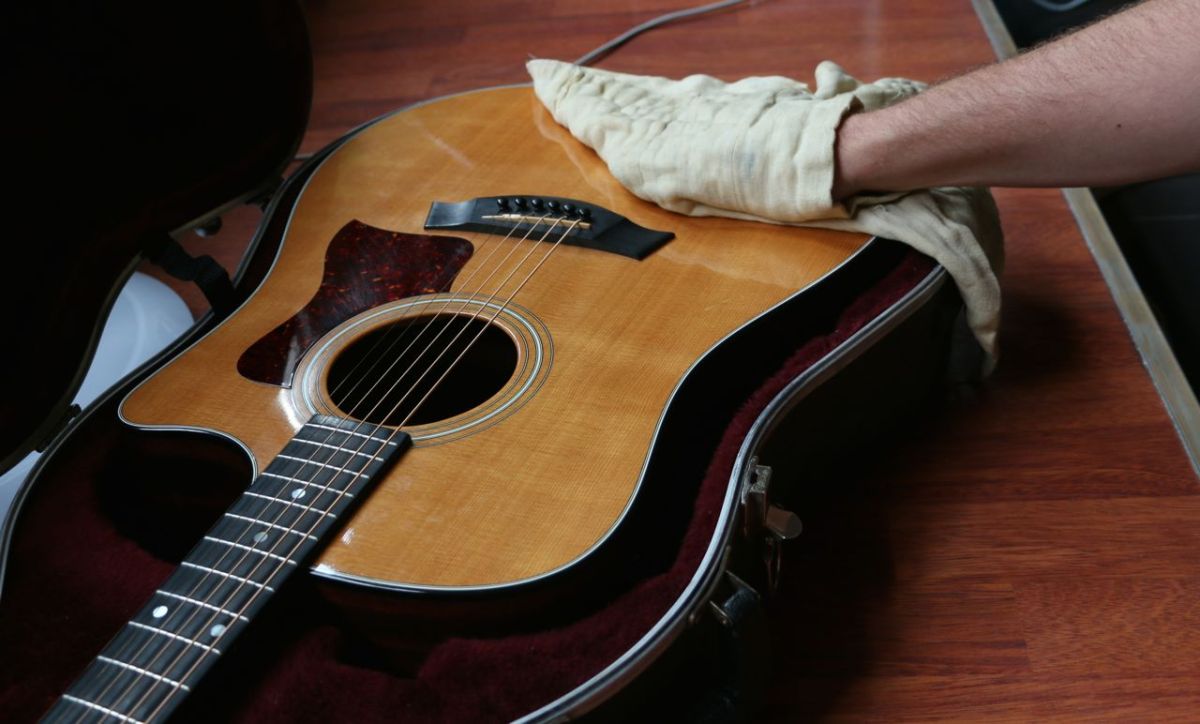
- Dust off the guitar: Use a soft microfiber cloth to gently wipe away any loose dust or debris from the guitar’s body, neck, and headstock. Take care not to apply excessive pressure or rub vigorously, as this could scratch the unfinished wood surface.
- Inspect for any damage: Take this opportunity to closely examine your guitar for any signs of damage or wear. Look for cracks, dents, or loose hardware. If you notice any significant issues, it’s advisable to consult a professional guitar technician for repairs.
By following these steps, you’ll ensure that your guitar is properly prepared for the cleaning process. Removing the strings, securing the guitar, dusting it off, and inspecting for damage are crucial steps to take before moving forward with the actual cleaning. Now, let’s move on to step two: cleaning the body of the guitar.
Step 2: Cleaning the Body
Now that you have prepared your unfinished acoustic guitar, it’s time to clean the body. Follow these steps to effectively clean the body of your guitar:
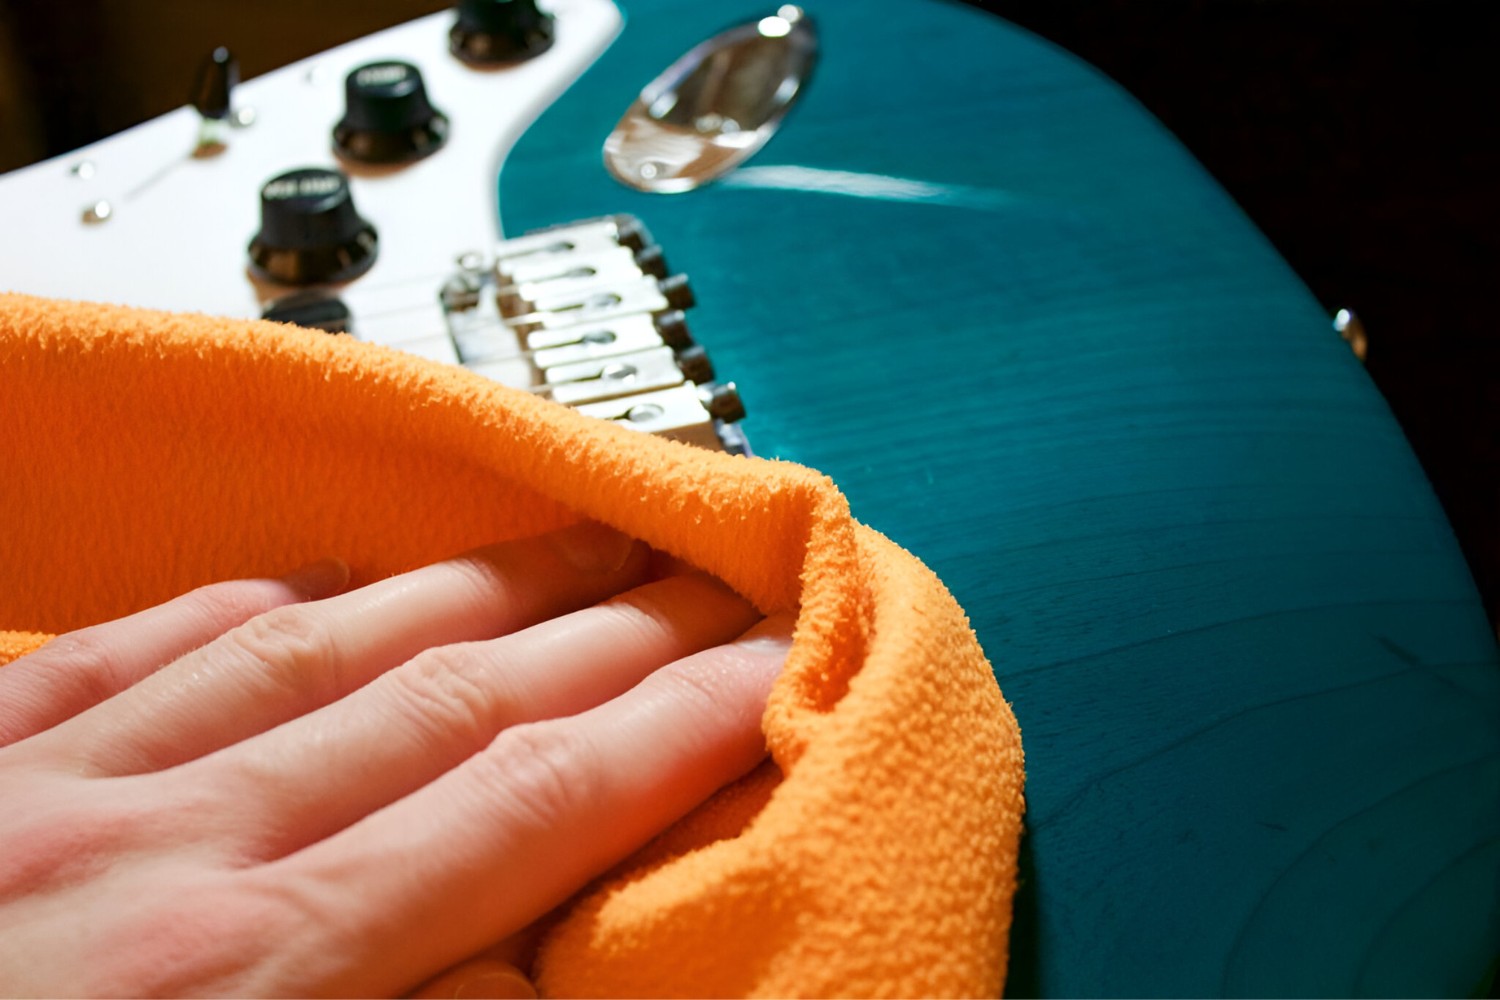
- Apply guitar cleaner: Spray a small amount of guitar cleaner on a lint-free cloth or paper towel. Gently wipe the entire body of the guitar, focusing on one section at a time. Use smooth, circular motions to remove any dirt, grime, or smudges from the surface. Take care to avoid excessive moisture, as it can seep into the wood and cause damage.
- Remove stubborn stains: For any stubborn stains or persistent grime, apply a bit of guitar cleaner directly to the stained area. Let it sit for a few seconds, then gently rub the area with a soft cloth or brush. Be gentle and avoid applying excessive pressure to prevent scratching the unfinished wood.
- Wipe off excess cleaner: Once you have cleaned the entire body of the guitar, use a clean, dry cloth or paper towel to wipe off any excess cleaner. This step ensures that there is no residual product left on the guitar that could dull the finish or attract more dust and dirt.
- Apply guitar polish (optional): If desired, you can apply a small amount of guitar polish to a clean, lint-free cloth and gently buff the body of the guitar to restore shine. Follow the instructions on the polish bottle and use sparingly, as excessive use of polish can affect the wood’s natural resonance.
Remember to be gentle when cleaning the body of your unfinished acoustic guitar. Avoid using abrasive materials or applying excessive pressure, as this can damage the delicate wood surface. Taking the time to properly clean the body of your guitar will not only enhance its appearance but also contribute to maintaining its overall condition. Now, let’s move on to step three: cleaning the neck and fretboard.
Step 3: Cleaning the Neck and Fretboard
As you continue cleaning your unfinished acoustic guitar, it’s essential to pay attention to the neck and fretboard. The neck and fretboard come into direct contact with your hands, making them prone to dirt, oils, and grime buildup. Here’s how you can effectively clean them:
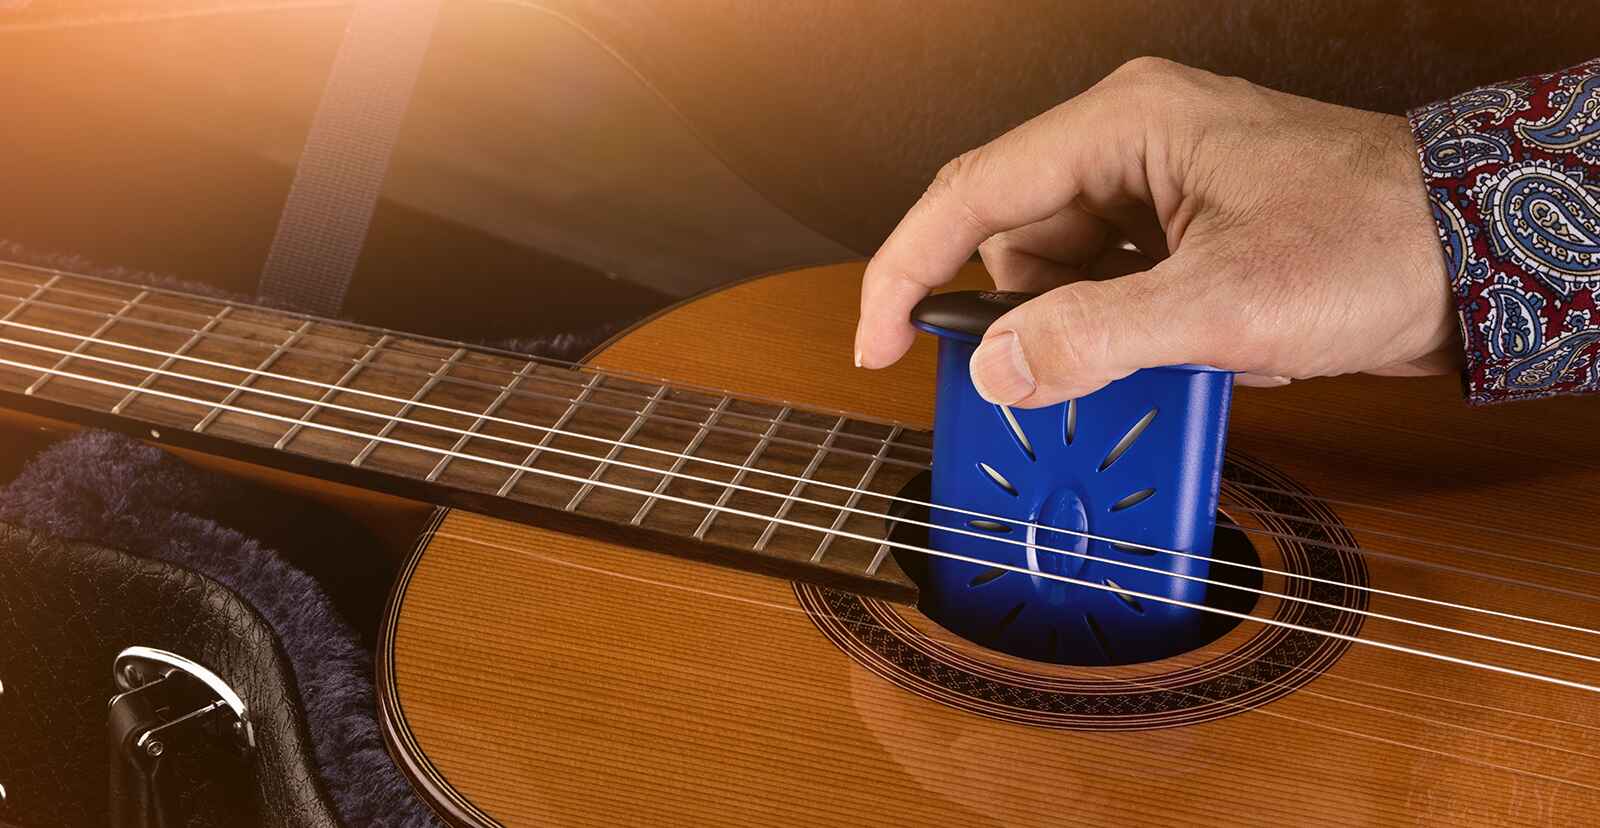
- Remove excess debris: Use a soft brush, such as a toothbrush or guitar brush, to gently remove any loose debris, dirt, or dust from the fretboard. Brush in the direction of the grain to avoid scratching the wood.
- Apply guitar cleaner: Dampen a lint-free cloth or paper towel with a small amount of guitar cleaner. Gently wipe down the fretboard, paying attention to each individual fret. This will help remove any buildup of oils and dirt that can affect playability.
- Hydrate the fretboard (optional): If your unfinished acoustic guitar’s fretboard feels dry or looks faded, you can choose to hydrate it with fretboard oil. Apply a few drops of oil onto a cloth and rub it into the wood. Let it sit for a few minutes, then wipe off any excess oil.
- Remove excess cleaner: Using a clean, dry cloth or paper towel, wipe off any excess guitar cleaner or oil from the fretboard. This step ensures that there are no residues left behind that could affect the playability or feel of the neck.
By following these steps, you can effectively clean the neck and fretboard of your unfinished acoustic guitar. Regular maintenance and cleaning of this area will not only keep your fretboard in good condition but also enhance the overall playability and feel of the instrument. Now, let’s move on to step four: cleaning the hardware.
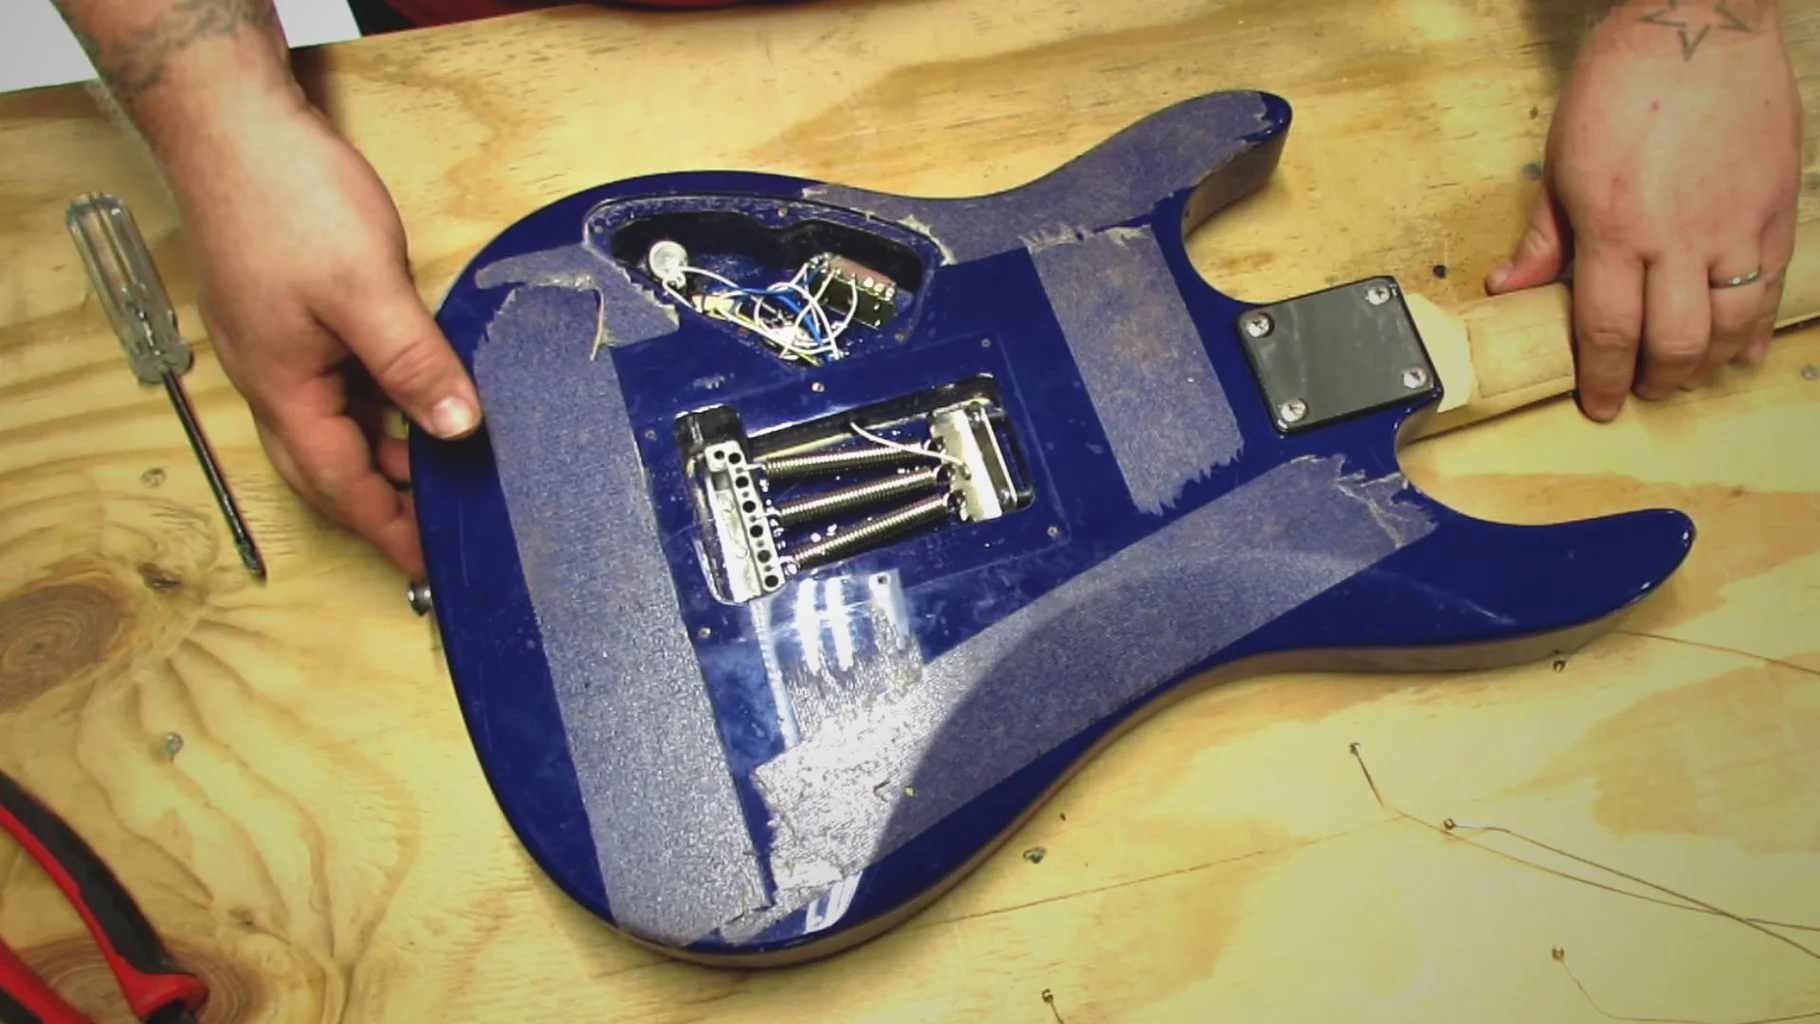
Step 4: Cleaning the Hardware
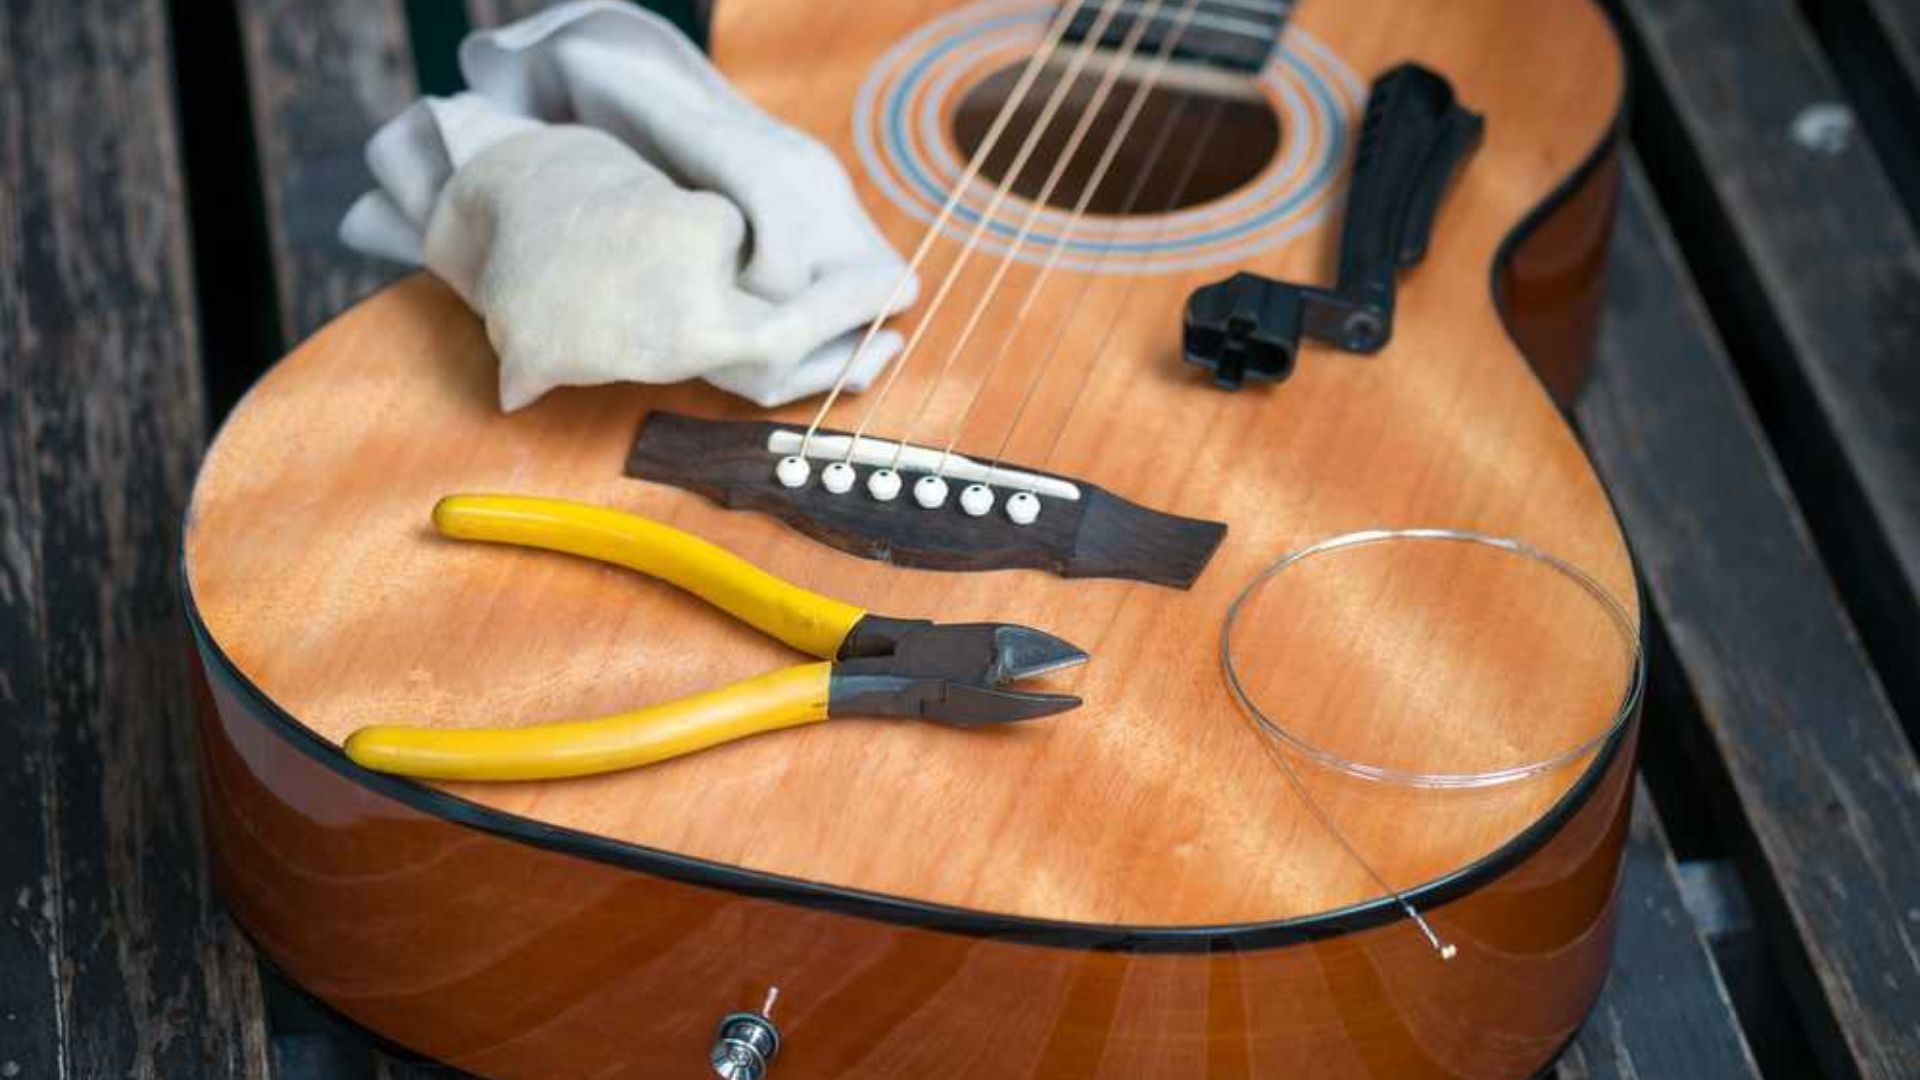
Properly cleaning the hardware of your unfinished acoustic guitar is an essential part of maintenance. Over time, hardware such as tuners, bridge pins, and tailpieces can gather dust and dirt, affecting their functionality. Follow these steps to effectively clean the hardware:
- Remove the hardware: If possible, remove any hardware that can be easily detached, such as bridge pins or pickguards. This step allows for thorough cleaning without the risk of damaging delicate components.
- Brush away debris: Use a small brush, such as a toothbrush or soft bristle brush, to gently brush away any dust, dirt, or grime from the hardware. Be thorough but gentle, ensuring not to scratch or damage any parts.
- Apply guitar cleaner: Dampen a cloth with a small amount of guitar cleaner and carefully wipe down each piece of hardware. Pay attention to hard-to-reach areas, such as tuner knobs or bridge saddles, using a cotton swab if necessary.
- Polish the hardware (optional): If your hardware has lost its luster, you can choose to polish it using a specialized metal polish. Apply a small amount of polish to a cloth and gently buff the hardware until it shines. Remember to follow the manufacturer’s instructions and use polish sparingly.
- Reinstall the hardware: Once the hardware is clean and dry, carefully reinstall it back onto the guitar. Take your time to ensure each piece is correctly fitted and tightened.
By following these steps, you can effectively clean and maintain the hardware of your unfinished acoustic guitar. Clean hardware not only improves the visual appeal of your instrument but also ensures optimal performance and functionality. Now, let’s move on to the final step: reassembling the guitar.
Step 5: Reassembling the Guitar
After thoroughly cleaning the various components of your unfinished acoustic guitar, it’s time to reassemble the instrument. Follow these steps to safely and correctly put your guitar back together:
- String installation: Begin by restringing your guitar with a fresh set of strings. Refer to the manufacturer’s instructions or seek guidance from a professional if you are unsure of the correct method for string installation.
- Tuning: Once you have installed the strings, tune your guitar to the desired pitch using a tuner. Take your time to ensure each string is properly tuned, achieving accurate pitch and tension.
- Bridge pins and other hardware: If you removed bridge pins or any other hardware during the cleaning process, carefully reinstall them back into their original positions. Ensure they are secure and snug, but avoid overtightening to prevent damage.
- Final inspection: After reassembling the guitar, give it a final inspection to ensure everything is in place and functioning correctly. Check the tuning stability, intonation, and general feel of the instrument. Make any necessary adjustments or seek professional assistance if needed.
By following these steps, you can confidently reassemble your unfinished acoustic guitar after cleaning. Taking the time to carefully restring and tune the instrument ensures a pleasant playing experience and allows you to fully enjoy the results of your cleaning efforts.
Now that you have successfully cleaned and reassembled your guitar, you can marvel at its refreshed appearance, improved performance, and maintained condition. Regularly cleaning and maintaining your unfinished acoustic guitar will help prolong its lifespan, preserve its sound quality, and ensure many years of musical enjoyment.
Conclusion
Cleaning an unfinished acoustic guitar is a vital maintenance task that not only enhances its appearance but also preserves its sound quality and overall condition. By following the step-by-step guide outlined in this article, you can ensure that your guitar remains in optimal shape, providing you with years of enjoyment.
Remember to prepare your guitar by removing the strings, securing it, and dusting off any loose debris. Take the time to inspect for any damage before proceeding with the cleaning process.
When cleaning the body of your guitar, use a gentle guitar cleaner and a soft cloth to remove dirt and grime. Avoid applying excessive moisture and be cautious when dealing with stubborn stains. Applying guitar polish is optional and can restore the shine to your guitar’s body.
For the neck and fretboard, use a soft brush to remove debris and apply a small amount of guitar cleaner. If necessary, you can hydrate the fretboard with fretboard oil to replenish its moisture. Lastly, wipe off any excess cleaner or oil to ensure the best playing experience.
When cleaning the hardware, be sure to remove any removable components, gently brush away debris, and use guitar cleaner to wipe down each piece. Polishing the hardware is optional but can help restore its shine.
Finally, reassemble the guitar by installing new strings, tuning the instrument correctly, and securing all hardware in its proper place. Take the time to inspect your guitar once more to ensure that everything is in order.
Regularly cleaning and maintaining your unfinished acoustic guitar will greatly extend its lifespan and keep it looking and sounding at its best. It’s important to remember to use the appropriate materials and gentle techniques to avoid causing any damage during the cleaning process.
By following these cleaning steps and dedicating some time to caring for your guitar, you can continue to enjoy the rich, resonant tones and the beauty of your unfinished acoustic guitar for years to come.