Introduction
Introduction
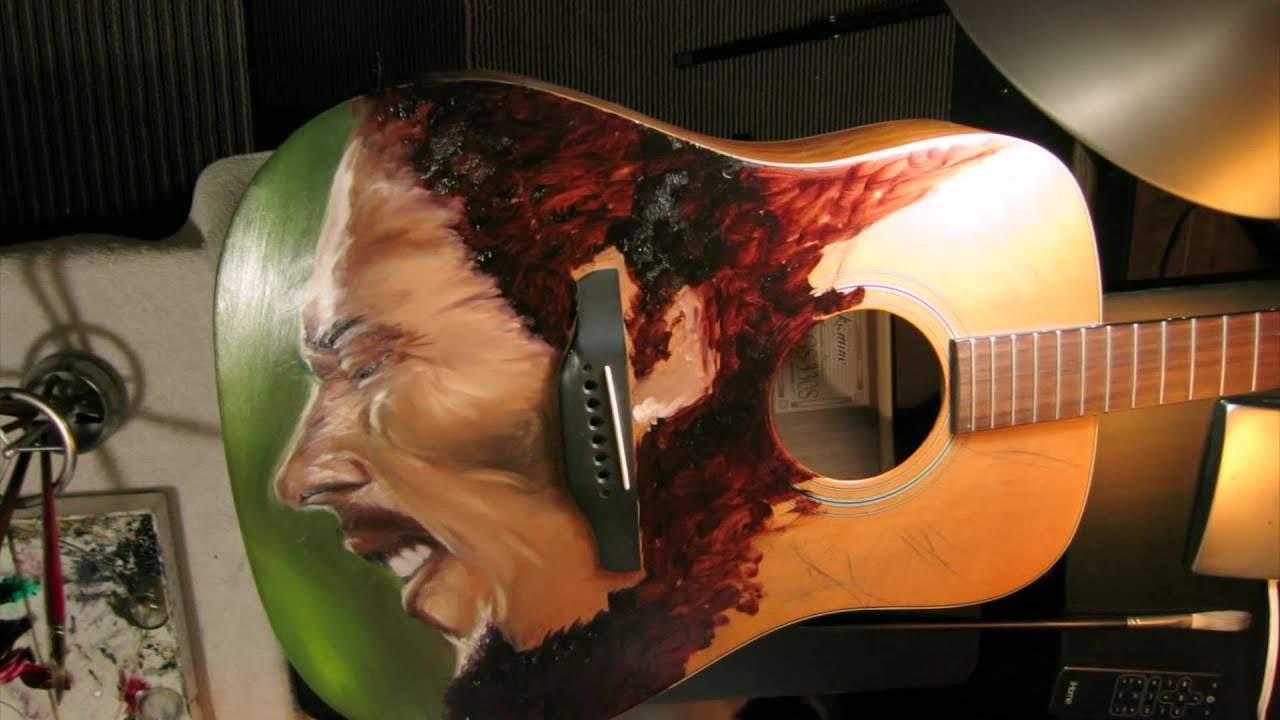
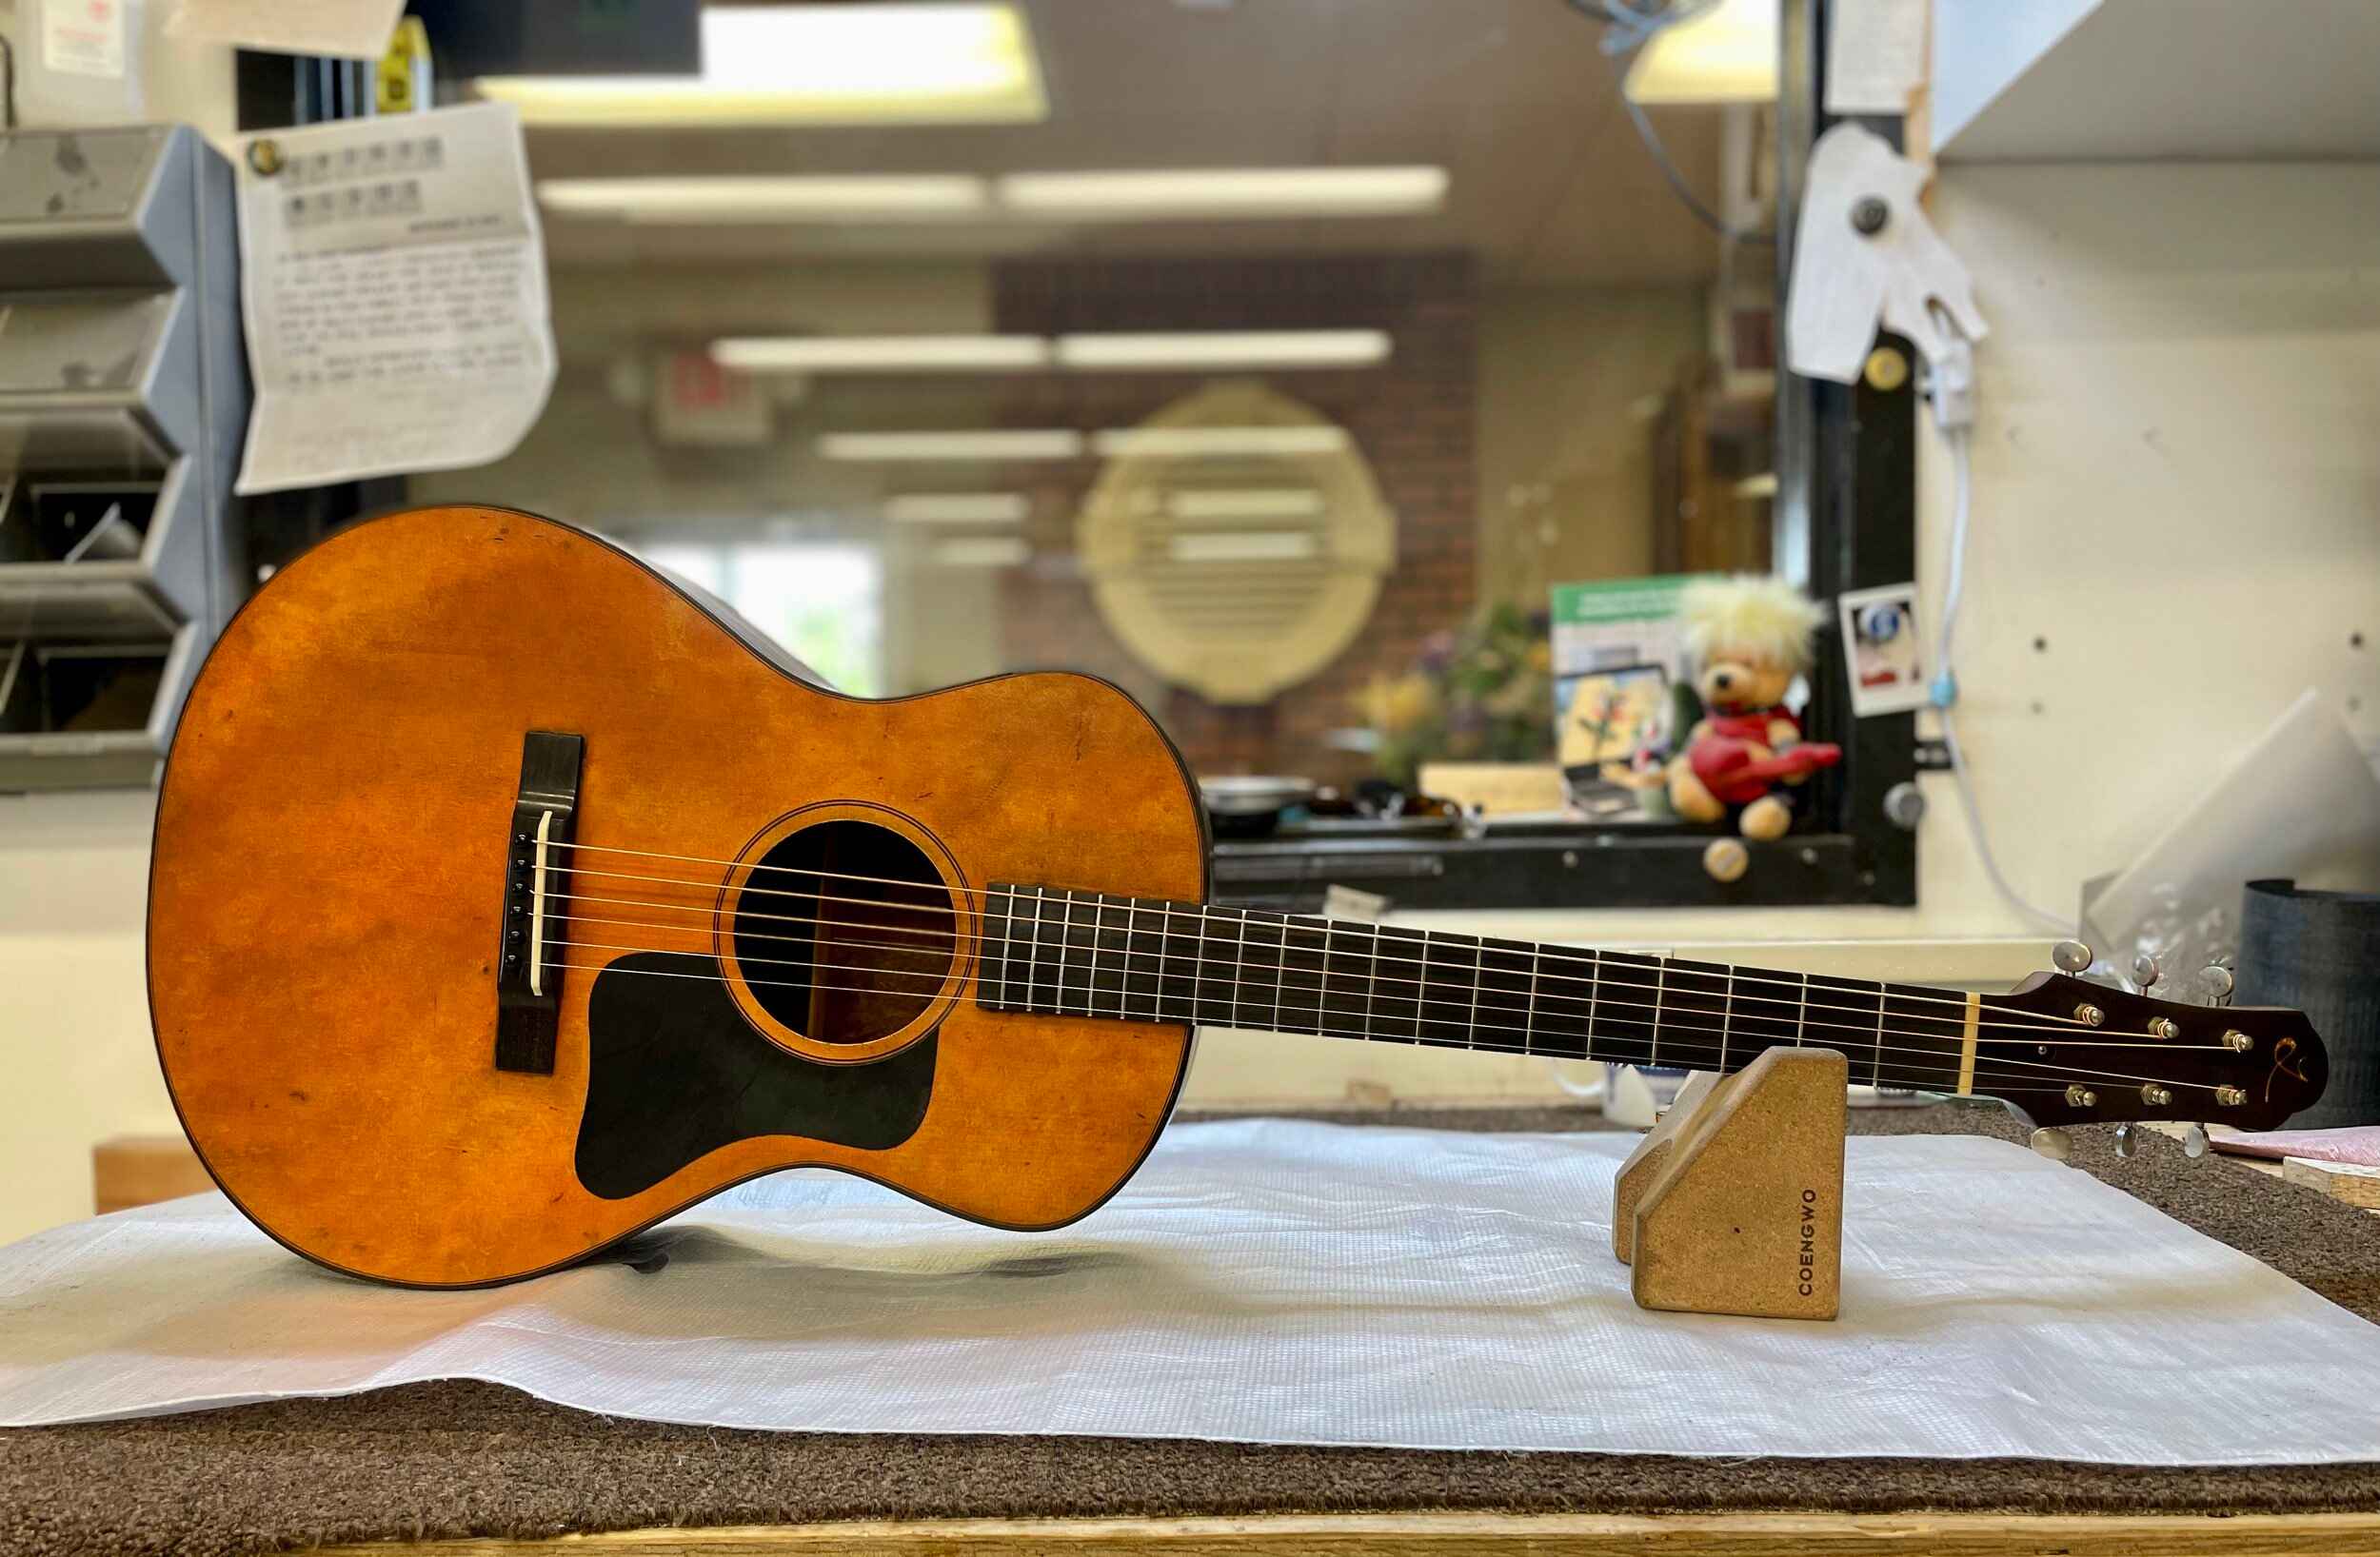
If you've recently acquired a secondhand acoustic guitar with a less-than-desirable paint job, or if you're simply looking to revamp your trusty instrument, the process of removing paint from an acoustic guitar can be both rewarding and transformative. Whether you're aiming for a natural wood finish or a fresh coat of paint, taking the time to properly strip the existing paint is crucial for achieving a professional-looking result.
The process of removing paint from an acoustic guitar involves careful consideration and a methodical approach to ensure that the instrument's integrity and aesthetics are preserved. With the right tools, techniques, and a bit of patience, you can breathe new life into your guitar and unleash its full potential.
In the following sections, we'll explore the supplies needed for this project, the step-by-step process of removing paint from an acoustic guitar, and the essential steps for sanding, cleaning, and polishing the guitar to achieve a pristine finish. With these insights and a willingness to dive into the world of guitar restoration, you'll be well-equipped to embark on this rewarding journey.
Supplies Needed
Supplies Needed
Before embarking on the paint removal process, it’s essential to gather the necessary supplies to ensure a smooth and effective operation. Here’s a comprehensive list of the items you’ll need:
- Protective Gear: Prioritize safety by obtaining protective gear, including gloves, safety goggles, and a respirator mask to shield yourself from harmful fumes and particles during the paint removal process.
- Chemical Paint Stripper: Invest in a high-quality chemical paint stripper designed for use on wooden surfaces. Look for a non-toxic, eco-friendly option for a safer working environment.
- Scraper and Putty Knife: Acquire a sturdy scraper and putty knife to assist in the removal of stubborn paint layers without damaging the guitar’s surface.
- Sandpaper and Sanding Block: Prepare a selection of sandpaper with varying grits, along with a sanding block, to smooth the guitar’s surface after the paint removal process.
- Clean Cloth and Mineral Spirits: Have clean, lint-free cloths on hand for wiping away excess paint and applying mineral spirits to clean the guitar’s surface.
- Masking Tape and Plastic Sheeting: Use masking tape and plastic sheeting to protect the guitar’s fretboard, soundhole, and other non-painted areas from accidental damage during the paint removal process.
- Wood Filler and Putty: If necessary, obtain wood filler and putty to repair any dents, scratches, or imperfections on the guitar’s body before refinishing.
- Primer and Paint (Optional): If you plan to repaint the guitar, select high-quality primer and paint suitable for musical instruments, ensuring a durable and professional finish.
By assembling these essential supplies, you’ll be well-prepared to commence the paint removal process and achieve outstanding results while safeguarding the guitar’s structural integrity.
Removing Paint from Acoustic Guitar
Removing Paint from Acoustic Guitar
The process of removing paint from an acoustic guitar demands precision and care to preserve the instrument’s natural beauty and structural integrity. Follow these steps to effectively strip the paint from your guitar:
- Prepare the Work Area: Begin by setting up a well-ventilated workspace and placing the guitar on a stable work surface. Cover the surrounding area with plastic sheeting to protect it from paint stripper and debris.
- Apply the Paint Stripper: Put on your protective gear and carefully apply the chemical paint stripper to the guitar’s body, following the manufacturer’s instructions. Allow the stripper to penetrate the paint layers, typically for the recommended duration specified on the product label.
- Scrape Off the Paint: Once the paint stripper has loosened the paint, use a scraper and putty knife to gently remove the softened paint layers. Exercise caution to avoid gouging or scratching the wood beneath the paint.
- Repeat if Necessary: For stubborn or multiple layers of paint, you may need to repeat the paint stripping process until the guitar’s surface is free of paint. Take your time and work methodically to achieve the desired results.
- Clean the Surface: After removing the paint, wipe the guitar’s body with a clean cloth dampened with mineral spirits to eliminate any remaining paint residue and prepare the surface for sanding.
By meticulously following these steps, you can effectively remove the paint from your acoustic guitar, laying the groundwork for the subsequent refinishing process. Patience and attention to detail are key as you work to reveal the guitar’s natural beauty beneath the layers of paint.
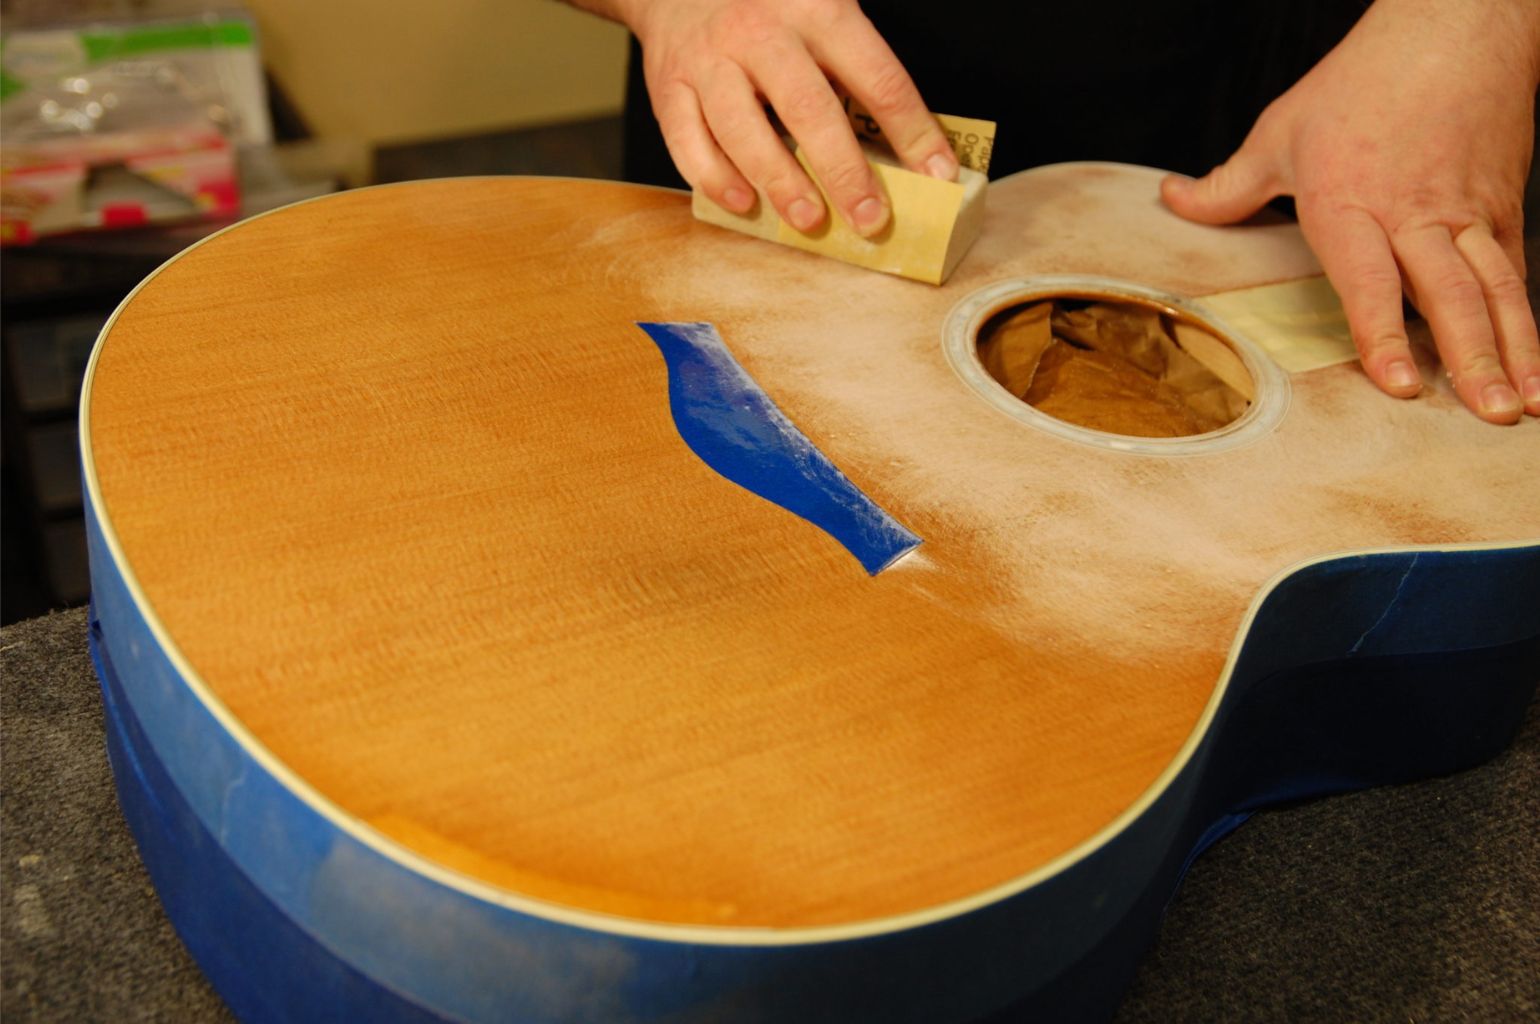
Sanding the Surface
Sanding the Surface
Once the paint has been successfully removed from the acoustic guitar, the next crucial step involves sanding the surface to achieve a smooth and pristine finish. Follow these essential guidelines to effectively sand the guitar’s body:
- Select the Right Grit: Begin by choosing the appropriate grit of sandpaper based on the condition of the guitar’s body. Coarse grits, such as 80 or 120, are ideal for initial sanding to eliminate any remaining paint and smooth out imperfections, while finer grits, such as 220 or 320, can be used for a final, polished finish.
- Sand in Stages: Work methodically in stages, starting with the coarsest sandpaper and gradually progressing to finer grits. This approach ensures that the guitar’s surface is gradually refined and any scratches or blemishes are minimized.
- Use a Sanding Block: Employ a sanding block to maintain a level and uniform surface while sanding. This tool helps distribute pressure evenly, preventing uneven sanding and ensuring a consistent finish across the guitar’s body.
- Focus on Detailing: Pay close attention to intricate areas, such as curves, edges, and contours, to achieve a seamless and professional-looking result. Take your time to address these details, as they contribute to the overall aesthetic appeal of the guitar.
- Inspect and Refine: After sanding the entire surface, carefully inspect the guitar for any remaining imperfections or rough spots. Address these areas by lightly sanding them with a finer grit to achieve a flawlessly smooth finish.
By adhering to these sanding guidelines, you can effectively prepare the guitar’s surface for the subsequent refinishing process, ensuring that the instrument exudes a renewed vibrancy and visual allure.
Cleaning and Polishing the Guitar
Cleaning and Polishing the Guitar
After removing the paint and sanding the surface of your acoustic guitar, the final steps involve thorough cleaning and polishing to enhance the instrument’s appearance and ensure a professional, lustrous finish. Follow these essential procedures to elevate the visual appeal of your guitar:
- Remove Sanding Residue: Begin by wiping the guitar’s body with a clean, dry cloth to eliminate any residual sanding dust and debris. This step prepares the surface for the subsequent cleaning and polishing process.
- Clean with Mineral Spirits: Dampen a lint-free cloth with mineral spirits and gently wipe the guitar’s body to remove any remaining contaminants and prepare the surface for polishing. Exercise caution and ensure adequate ventilation during this process.
- Apply Guitar Polish: Using a soft, clean cloth, apply a small amount of high-quality guitar polish to the guitar’s body, following the product’s instructions. Work the polish into the wood using circular motions, covering the entire surface evenly.
- Buff to a Lustrous Shine: After applying the polish, use a separate clean cloth to buff the guitar’s body to a radiant shine. This process enhances the natural luster of the wood and accentuates the beauty of the guitar’s grain.
- Inspect and Final Touches: Carefully inspect the guitar for any remaining smudges or uneven polish application. Address any imperfections by gently buffing the affected areas until the surface achieves a uniform, gleaming finish.
By meticulously following these cleaning and polishing procedures, you can elevate the visual appeal of your acoustic guitar, showcasing its natural beauty and revitalized aesthetic. The culmination of these efforts results in a stunning instrument that is ready to inspire and captivate with its renewed allure.