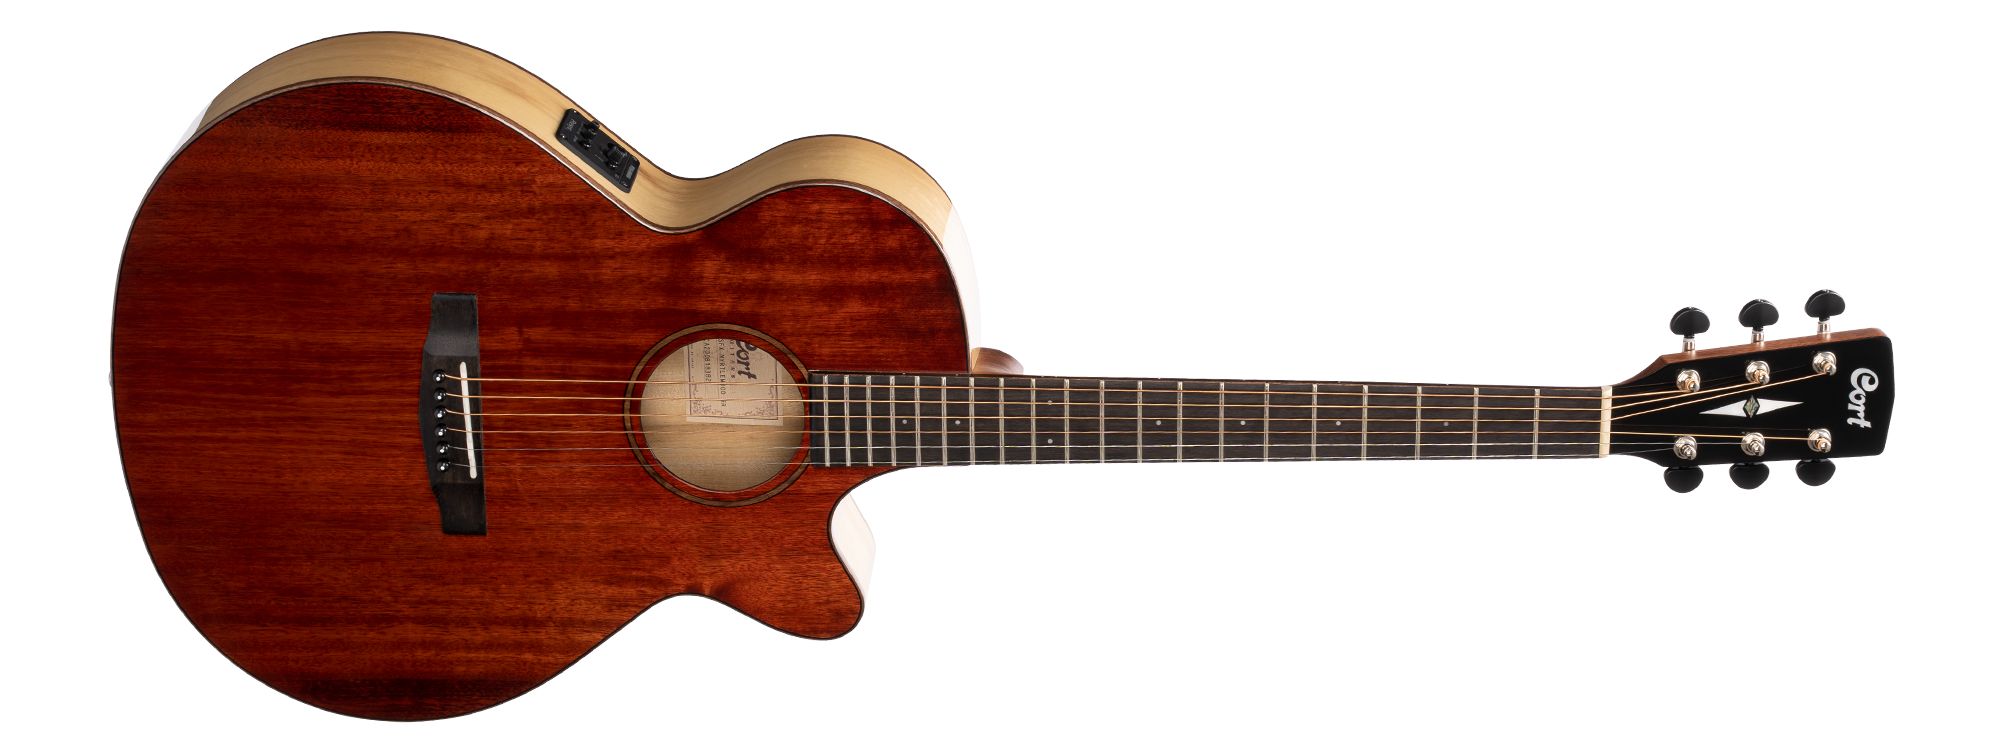
Introduction
Finishing an acoustic guitar body is a crucial step in the guitar building process. Not only does it provide the guitar with protection against wear and tear, but it also enhances the overall appearance and tone of the instrument. Whether you’re a seasoned luthier or a novice builder, knowing how to properly finish an acoustic guitar body is essential for achieving professional-level results.
The finishing process involves several steps, including preparing the guitar body, filling any imperfections, sanding, applying grain filler, staining or painting, and finally, applying a clear coat to protect the wood and bring out its natural beauty. Each step requires attention to detail and careful execution to ensure a flawless finish.
Before diving into the process, it’s important to consider the type of finish you desire. Do you prefer a natural wood look, or do you want to experiment with different colors and finishes? The choice is yours, and each finish offers its own unique aesthetic and protective qualities.
In this guide, we will take you through the step-by-step process of finishing an acoustic guitar body. From preparing the guitar body to the final buffing and polishing, we will provide you with valuable insights and expert tips along the way. Whether you’re a DIY enthusiast, a hobbyist, or a professional luthier, this guide will equip you with the knowledge and skills needed to achieve a stunning finish on your acoustic guitar body.
Preparing the Guitar Body
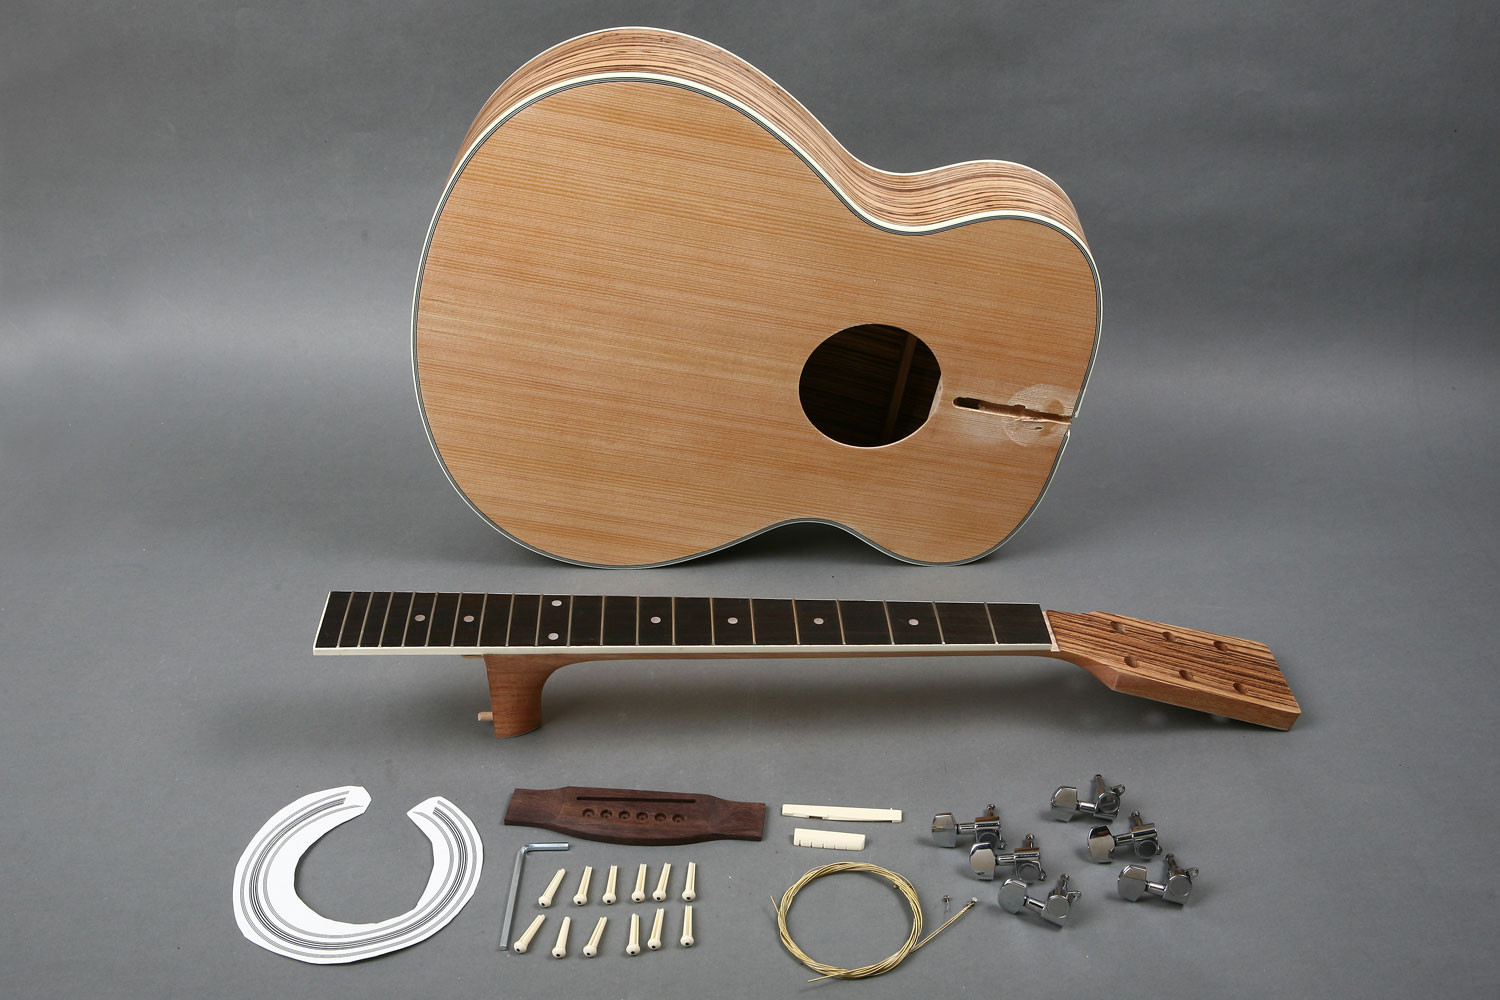
Before you begin the finishing process, it’s important to properly prepare the guitar body. This involves thoroughly cleaning the body to remove any debris, oils, or residues that could affect the adhesion of the finish. Start by removing any hardware, such as the bridge, pickguard, and pickups, if applicable.
Next, use a clean cloth dampened with a mild cleaning solution to wipe down the entire surface of the body. Be sure to reach into all the nooks and crannies, including the neck pocket and control cavities. Rinse the cloth frequently to avoid spreading dirt or grime. Once the body is clean, allow it to dry completely before moving on to the next step.
After the body is dry, inspect it for any imperfections, such as dents, scratches, or uneven surfaces. Depending on the severity of the imperfections, you may need to take corrective measures. Minor dents or scratches can often be sanded out, while deeper ones may require filling.
To fill any imperfections, use a wood filler that matches the color of the guitar body. Apply the filler to the affected area with a putty knife, ensuring that it is level with the surrounding surface. Allow the filler to dry completely, and then sand it smooth using fine-grit sandpaper. Repeat this process if necessary until the surface is smooth and free of any noticeable imperfections.
Once the body is clean and any imperfections have been addressed, it’s time to sand the entire surface to promote adhesion and create a smooth foundation for the finish. Start with a lower grit sandpaper, such as 120 or 180, and gradually work your way up to higher grits, such as 220 or 320. Be sure to sand in the direction of the wood grain to prevent scratches and maintain a uniform appearance.
Remember to wear a dust mask and protective eyewear while sanding to avoid breathing in any particles or getting them in your eyes. It’s also a good idea to periodically wipe away dust with a clean cloth to keep the surface clean and free from debris.
Once the entire body has been sanded, inspect it to ensure that it is smooth and free of any blemishes. This step is crucial, as any imperfections left behind will be magnified once the finish is applied. Take the time to touch up any areas that require additional sanding and ensure that the body is ready for the next stage of the finishing process.
Filling any Imperfections
Even with careful preparation, it’s common to come across imperfections on the guitar body that need to be addressed before proceeding with the finishing process. These imperfections can include dents, cracks, or deep scratches that can affect the final appearance and durability of the finish. Filling these imperfections is an important step to ensure a smooth and flawless finish.
To begin, assess the severity of the imperfections. Small dents or scratches can often be easily fixed with a wood filler or epoxy paste. For larger cracks or areas of significant damage, you may need to consider more extensive repair methods, such as using wood splines or binding.
For minor imperfections, start by cleaning the affected area and ensuring it is free from any dust or debris. Then, carefully apply the wood filler or epoxy paste to the damaged area, using a putty knife or a small brush. Make sure to fill the imperfection completely and level it with the surrounding surface. Follow the instructions provided by the manufacturer to determine the curing time for the filler or paste.
Once the filler is dry, use fine-grit sandpaper to smooth the repaired area. Start with a lower grit sandpaper and gradually work your way up to a higher grit, ensuring a seamless transition between the filled area and the surrounding wood. This helps to create a smooth and even surface for the finish to adhere to.
If the imperfection is more extensive and requires a different approach, such as using wood splines or binding, it’s advisable to seek guidance from a professional or experienced luthier. These methods involve additional steps and may require specialized tools or materials.
After filling and sanding the imperfections, thoroughly clean the body to remove any dust or debris. A tack cloth or a clean, lint-free cloth dampened with a mild cleaning solution can be used for this purpose. Ensure that the body is completely dry before proceeding to the next step of the finishing process.
By taking the time to address and fill any imperfections on the guitar body, you are setting the stage for a high-quality finish. Not only does this enhance the appearance of the instrument, but it also ensures that the final finish will be durable and long-lasting. With careful attention to detail, you can achieve a professional-level finish that truly showcases the beauty of your acoustic guitar.
Sanding the Guitar Body
Sanding the guitar body is a crucial step in the finishing process, as it helps to create a smooth and uniform surface for the final coat of finish. It not only removes any remaining imperfections but also prepares the wood to absorb the finish more effectively.
Before starting the sanding process, make sure to wear a dust mask and protective eyewear to avoid inhaling dust particles and to protect your eyes. Additionally, it’s recommended to work in a well-ventilated area or use a dust extraction system to minimize the amount of dust in the air.
Begin by sanding the guitar body with coarse-grit sandpaper, such as 120 or 180 grit, to remove any previous finishes, rough spots, or uneven surfaces. Sanding should be done in the direction of the wood grain, using long, smooth strokes. Take care to maintain an even pressure to ensure a uniform sanding across the entire body.
As you progress, periodically check the surface to ensure the desired smoothness. Continue sanding until all imperfections have been adequately removed, and the whole surface feels smooth to the touch. Be mindful not to over-sand and remove too much of the wood, as this can negatively affect the integrity of the body.
Once the initial coarse sanding is complete, switch to finer-grit sandpaper, such as 220 or 320 grit, to refine the surface further. This step helps to eliminate any visible scratches left by the coarser sandpaper and creates a smoother texture in preparation for the final finish.
To achieve an exceptionally smooth surface, you can employ a technique called wet sanding. Wet sanding involves using water or a lubricant to reduce friction and prevent the sandpaper from clogging up with dust. Wet sanding can provide a finer finish and minimize the risk of scratching or damaging the body.
Remember to keep the sandpaper clean and free from dust buildup by periodically tapping it or rinsing it off. This ensures that the sandpaper remains effective throughout the sanding process.
Once you are satisfied with the smoothness of the body, wipe away any residual dust using a clean, lint-free cloth or a tack cloth. Make sure the body is completely dry before proceeding to the next stage of the finishing process.
Sanding the guitar body is a meticulous process that requires patience and attention to detail. By taking your time and following the proper techniques, you can achieve a flawlessly smooth surface that will serve as the foundation for a professional-looking finish.
Applying the Grain Filler
Applying a grain filler is an essential step in the process of finishing an acoustic guitar body. The purpose of the grain filler is to fill the pores of the wood, creating a smooth and even surface for the final coat of finish. This step is particularly important when working with open-pore woods such as mahogany or ash, as it helps to achieve a more uniform appearance.
Before applying the grain filler, ensure that the guitar body has been properly sanded and is free from any dust or debris. A clean and smooth surface will allow the grain filler to adhere properly and produce the desired results.
Choose a grain filler that matches the color of the wood or opt for a neutral filler if you want to keep the natural wood color. Grain fillers come in various forms, such as paste, powder, or premixed formulas. Select the type that best suits your preferences and follow the manufacturer’s instructions for application.
Using a putty knife or a spreader, apply the grain filler evenly across the entire body, working it into the wood pores. Make sure to fill the pores completely, while also ensuring that excess filler is scraped off the surface. Working in small sections can help maintain control and prevent the filler from drying too quickly.
Once the grain filler has been applied, allow it to dry according to the manufacturer’s instructions. Drying times can vary depending on the type and brand of filler used. It’s important to be patient and allow sufficient time for the filler to dry and harden, as rushing this step can compromise the final finish.
After the filler has completely dried, sand the body once again to remove any excess filler and achieve a smooth and level surface. Start with a higher grit sandpaper, such as 320 or 400, and gradually work your way to even finer grits, such as 600 or 800. This final sanding will help to refine the surface and prepare it for the next stage of the finishing process.
Once sanding is complete, wipe away any dust or debris using a clean, lint-free cloth or a tack cloth. At this point, the body should feel smooth to the touch, with the wood grain visibly filled and a uniform surface ready for the next step in the finishing process.
Applying a grain filler is a critical step in achieving a professional-quality finish on an acoustic guitar body. By taking the time to properly fill the wood pores, you’ll create a smooth and flawless surface. This prepares the body for the final stages of coloring and coating, bringing out the natural beauty of the wood and ensuring a stunning end result.
Preparing for Staining or Painting
Before applying the stain or paint to your acoustic guitar body, it’s important to carefully prepare the surface to ensure optimal adhesion and a professional-looking finish. Proper preparation includes cleaning the body, sanding any remaining imperfections, and applying a wood conditioner if necessary.
Start by thoroughly cleaning the guitar body to remove any dust, dirt, or oils that may have accumulated during the previous steps. Use a mild cleaning solution and a clean cloth to wipe down the entire surface. Pay special attention to the areas where the body meets the neck and the hardware, as these areas tend to collect dirt and oils more easily. Allow the body to dry completely before proceeding.
Next, inspect the body for any remaining imperfections, such as shallow scratches or dents. Use fine-grit sandpaper to smooth out these areas, working gently and gradually until the surface is even and smooth to the touch. Remember to sand with the grain of the wood to avoid creating new scratches or damaging the body.
After sanding, wipe away any dust or debris using a clean, lint-free cloth or a tack cloth. This step is crucial to ensure a clean surface for the stain or paint to adhere to.
If you plan to use a stain on the guitar body, it’s recommended to apply a wood conditioner before staining. This step helps to promote even absorption of the stain and reduces blotchiness or uneven coloring. Follow the instructions provided by the manufacturer to apply the wood conditioner, usually with a clean cloth or brush. Allow the conditioner to penetrate the wood according to the recommended time specified by the manufacturer.
For painting the body, it’s not necessary to use a wood conditioner, but ensuring a smooth and clean surface is still essential. If there are any noticeable blemishes or imperfections on the body, consider applying a primer as a base coat before painting. The primer helps to create an even surface, improves paint adhesion, and enhances the durability of the final finish. Choose a primer suitable for the type of paint you’ll be using and apply it following the manufacturer’s instructions.
Once the body is cleaned, sanded, and prepared, you are ready to proceed with applying the stain or paint. Ensure you are working in a well-ventilated area, and follow the instructions provided by the manufacturer for the specific stain or paint product you have chosen.
Properly preparing the guitar body before staining or painting is crucial to achieving a high-quality finish. Taking the time to clean, sand, and condition the wood, if necessary, will ensure that your chosen stain or paint adheres well and produces a professional-looking result. By investing in this preparation phase, you’ll be one step closer to a beautifully finished acoustic guitar.
Staining or Painting the Body
Once you have properly prepared the guitar body, you are ready to proceed with staining or painting. This step is where you can add your personal touch and bring the aesthetics of your acoustic guitar to life. Whether you choose to enhance the natural beauty of the wood with a stain or get creative with a vibrant paint color, the process requires precision and attention to detail.
If you decide to stain the body, it’s important to choose a stain that matches your desired look and complements the type of wood you are working with. Before applying the stain, test it on a small, inconspicuous area of the body to ensure it achieves the desired color. Adjustments can be made by mixing different stains or applying multiple coats to achieve the desired tone.
Using a clean brush or a cloth, apply the stain evenly to the body, working with the grain of the wood. Wipe off any excess stain immediately with a clean cloth to avoid uneven or blotchy coloring. Take care to reach all corners and edges of the body for a consistent finish. Allow the stain to dry according to the manufacturer’s instructions before proceeding to the next step.
For painting the body, select a high-quality paint specifically designed for musical instruments or wood surfaces. Choose your desired color and apply thin, even coats, allowing each coat to dry before applying the next. Use a brush or a spray gun to ensure precise application and to achieve a smooth and professional finish.
Before moving on to subsequent coats, lightly sand the body with fine-grit sandpaper to remove any imperfections, dust, or bumps that may have occurred during the application. This will help create a smooth surface for the next coat of paint.
Continue applying coats of stain or paint until you achieve the desired depth and color. Allow each coat to dry properly before proceeding with additional layers. Remember to follow the manufacturer’s instructions regarding drying times between coats to ensure optimal results.
As you progress through the staining or painting process, periodically inspect the body for any imperfections or inconsistencies. If necessary, lightly sand the surface between coats to ensure a flawless finish. It’s important to take your time and maintain patience throughout this stage, as achieving a perfectly even and professional-looking finish may require several coats and touch-ups.
Once you are satisfied with the color and coverage, allow the final coat to dry according to the manufacturer’s instructions. Be cautious when handling the body during this drying period to avoid unintentional damage or smudging. It’s advisable to place the body on a clean, flat surface to ensure proper drying without any disruptions.
Staining or painting the body of your acoustic guitar is a transformative process that allows you to customize it to your preferences. Whether you opt for a natural and understated look with a stain or explore bold and vibrant colors with paint, the key is to maintain precision and attention to detail throughout the application process. With careful execution, you’ll have a beautifully finished guitar body that reflects your personal style and creativity.
Applying the Clear Coat
After staining or painting the body of your acoustic guitar, applying a clear coat is essential to protect the finish, enhance the durability, and give the body a glossy and professional appearance. The clear coat acts as a protective barrier against scratches, moisture, and everyday wear and tear, ensuring the longevity of your guitar’s finish.
Before applying the clear coat, make sure the stained or painted surface is clean, smooth, and free from any dust or debris. Lightly sand the body with fine-grit sandpaper to create a smooth texture and remove any imperfections or bumps. Wipe away any dust with a clean, lint-free cloth or a tack cloth to ensure a clean surface for the clear coat.
Choose a high-quality clear coat specifically designed for use on musical instruments or wood surfaces. There are various types of clear coats available, including lacquer, polyurethane, and shellac. Each has its own application method and drying time, so it’s important to carefully read and follow the manufacturer’s instructions.
Using a clean brush or a spray gun, apply a thin and even coat of clear coat to the body, working with the grain of the wood. Take care to cover all areas, including corners and edges, to ensure uniform coverage. Avoid applying too much clear coat at once, as it may result in drips or an uneven finish. Multiple thin coats are preferable to achieve a smooth and professional result.
Allow the first coat to dry completely according to the manufacturer’s instructions. This is typically a few hours but may vary depending on the type of clear coat used. Once dry, lightly sand the body with fine-grit sandpaper to smooth out any imperfections or unevenness. Wipe away any dust with a clean cloth before applying the subsequent coats.
Repeat the process of applying thin coats of clear coat, allowing each coat to dry and lightly sanding between each layer. The number of coats will depend on the desired level of protection and the glossiness you wish to achieve. Typically, three to five coats of clear coat are sufficient to provide adequate protection and a glossy finish. However, you can add more coats if desired.
As you proceed with each coat, be mindful of maintaining a clean and dust-free environment. Any particles or debris that land on the wet clear coat can become trapped and affect the final finish. Working in a well-ventilated area and using a clean workspace will help minimize the risk of contamination.
Once you have applied the desired number of coats and achieved the desired level of gloss, allow the final coat of clear coat to fully dry and cure. This can take several days to a few weeks, depending on the type of clear coat used. Avoid exposing the body to excessive heat or moisture during this curing period to ensure the best results.
Applying the clear coat to your acoustic guitar body is the final step in the finishing process. It not only protects the finish but also adds a beautiful gloss and professional touch to your instrument. By following the proper application techniques and allowing sufficient drying time, you can achieve a stunning, long-lasting clear coat that enhances the overall appearance and durability of your guitar body.
Buffing and Polishing the Body
Once the clear coat on your acoustic guitar body has fully cured, it’s time to give it a final touch-up by buffing and polishing. This step will enhance the shine and overall finish of the body, providing a smooth and glossy surface.
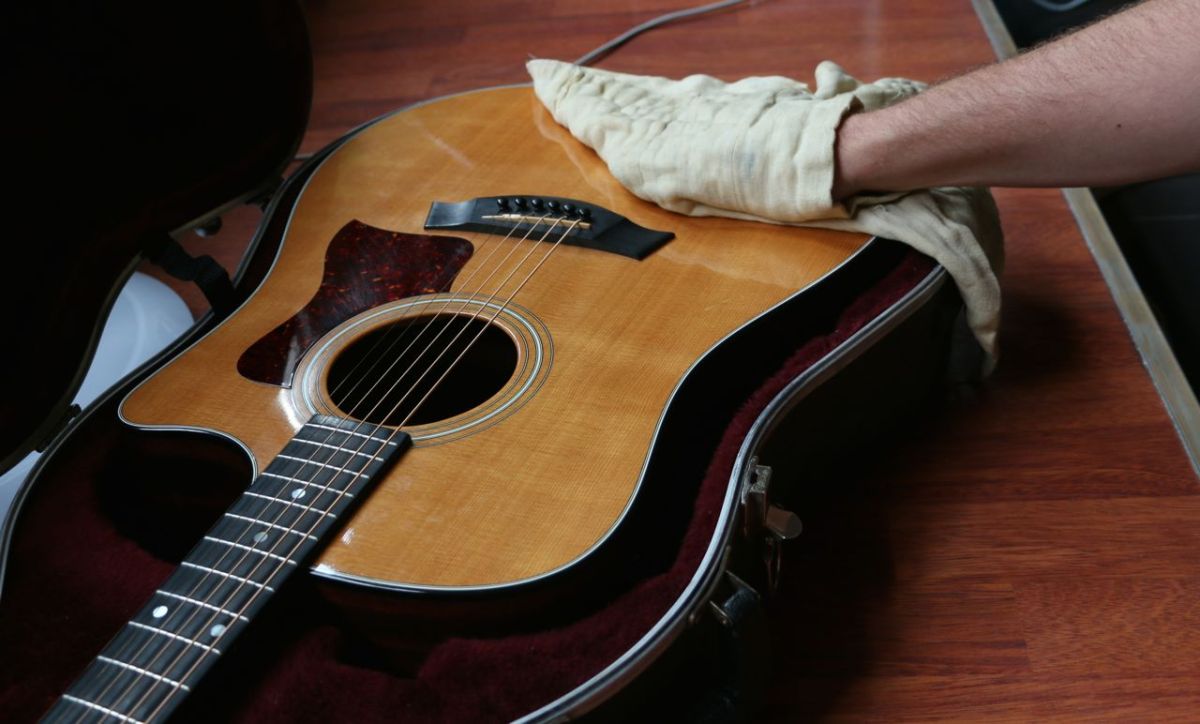
Before beginning the buffing process, ensure the body is clean and free from any dust or debris. If necessary, wipe it down with a clean, lint-free cloth to remove any surface contaminants.
To buff the body, you will need a buffing wheel attached to a power drill or a bench grinder. Start by applying a small amount of polishing compound onto the buffing wheel. Spread the compound evenly across the wheel to ensure consistent coverage.
With the drill or grinder set at a low speed, gently press the buffing wheel against the body, moving it in a consistent back-and-forth motion. Take care to avoid applying excessive pressure, as this can damage the finish or create uneven spots.
Continue buffing the entire body, gradually increasing the speed of the drill or grinder as you go. This will help to achieve a deeper shine. Make sure to cover all areas of the body, paying extra attention to curves and contours that may require more careful buffing.
As you buff, periodically stop to check the progress and wipe away any excess polishing compound using a clean cloth. This will help you assess the level of shine and ensure a consistent finish.
Once you are satisfied with the level of shine, it’s time to move on to the polishing stage. Switch to a clean buffing wheel and apply a small amount of polishing compound. Again, spread it evenly across the wheel to ensure uniform coverage.
Using the same back-and-forth motion, polish the body with the clean buffing wheel. This step will help remove any remaining fine scratches or blemishes, further enhancing the glossy finish.
After polishing, wipe the body down with a clean, lint-free cloth to remove any residue and assess the final result. If desired, you can repeat the buffing and polishing process to achieve an even higher level of shine.
Once the buffing and polishing are complete, step back and admire the stunning finish of your acoustic guitar body. The buffing and polishing process adds that final professional touch, enhancing the visual appeal and giving the body a mirror-like finish.
Remember to clean your tools properly after use and always follow the safety precautions recommended by the manufacturer. Taking care during the buffing and polishing process will help ensure a flawless and polished finish while maintaining the integrity of your guitar body.
Final Touches and Assembly
After completing the finishing process for your acoustic guitar body, there are a few final touches you can add to perfect the overall look and ensure a smooth assembly.
Start by inspecting the body for any remaining imperfections or blemishes. Use fine-grit sandpaper or polishing cloth to carefully touch up any areas that need further refinement. Pay attention to corners, edges, and hard-to-reach spots to make sure the entire body is flawless.
If you desire a high-gloss finish, consider applying a guitar polish or wax to the body. This will help to protect the finish, enhance the shine, and maintain the overall appearance of the guitar. Apply the polish or wax according to the manufacturer’s instructions, using a soft cloth and gentle circular motions.
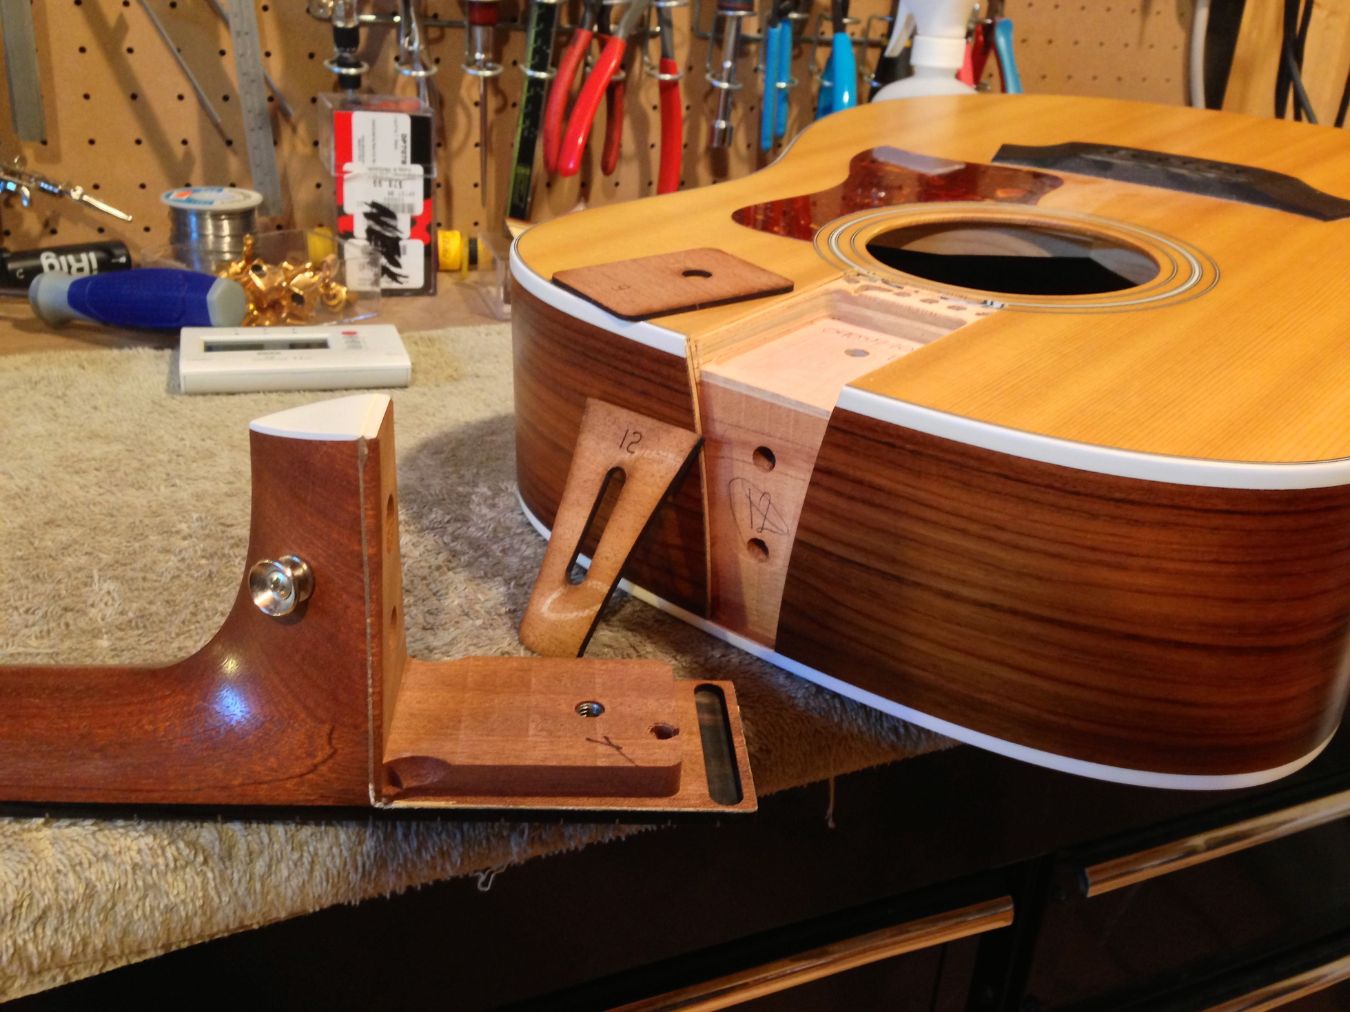
With the body now perfected, it’s time to move on to the assembly stage. Reattach any hardware that was previously removed, such as the bridge, pickguard, and pickups, ensuring they are properly aligned and securely fastened.
Next, attach the neck to the body using the appropriate screws or bolts, following the manufacturer’s instructions or guitar building plans. Take care to align the neck properly with the body to ensure optimal playability and an accurate scale length.
Once the neck is securely attached, check the intonation and adjust the bridge saddles if necessary. Use a reliable tuner and follow standard intonation procedures to ensure the guitar plays in tune throughout the fretboard.
Lastly, string up the guitar with a fresh set of strings, following proper stringing techniques. Make sure to stretch the strings properly and tune the guitar to pitch. This final step completes the assembly process and prepares your acoustic guitar for playing.
Before playing, take a moment to admire the beauty of your finished acoustic guitar body. The hours of preparation, staining or painting, clear coating, and polishing have culminated in a visually stunning instrument that is ready to be enjoyed.
Remember to keep the guitar body clean and maintained regularly to preserve its finish and ensure its longevity. Use appropriate cleaning products and techniques recommended for the specific finish you have applied.
By paying attention to these final touches and careful assembly, your acoustic guitar will not only sound amazing but also turn heads with its impressive appearance. Now it’s time to strum those strings and let your beautifully finished instrument inspire your music.