Introduction
Acoustic guitars are not just musical instruments; they are companions that accompany us on our musical journeys. Over time, the body of your beloved acoustic guitar can collect dirt, sweat, and grime, affecting its appearance and potentially its sound quality. Cleaning your acoustic guitar body not only helps maintain its aesthetics but also ensures its longevity and optimal performance.
Giving your acoustic guitar a thorough cleaning might seem like a daunting task, but with the right supplies and techniques, it can be a straightforward and rewarding process. In this guide, we will take you through the steps to clean your acoustic guitar body, from gathering the necessary supplies to polishing it to a sparkling shine.
Before we dive into the cleaning process, it’s important to note that different guitar finishes may require specific cleaning methods or products. It’s always a good idea to consult the manufacturer’s instructions or consult with a professional guitar technician if you are unsure about the appropriate cleaning methods for your specific guitar.
Regular maintenance and cleaning of your acoustic guitar body not only enhance its aesthetics but also improve its sound projection. Dust, dirt, and grime can accumulate in the guitar’s soundhole, robbing it of its natural resonance. By maintaining a clean guitar body, you can ensure that every strum and chord resonates with clarity and depth.
So, without further ado, let’s gather our supplies, prepare the guitar, and delve into the process of cleaning the body of your acoustic guitar, restoring its beauty, and rejuvenating its sound.
Gathering the necessary supplies
Before you begin cleaning your acoustic guitar body, it’s essential to gather the necessary supplies. Having all the required items at hand will ensure a smooth and efficient cleaning process. Here are the supplies you will need:
- Lint-free microfiber cloths: These are gentle on the guitar’s finish and won’t leave behind any scratches or residue.
- Guitar cleaning solution: Look for a high-quality guitar cleaning solution that is specifically formulated for use on acoustic guitar bodies. Avoid using household cleaners as they can be too harsh and damage the guitar’s finish.
- Cotton swabs: These are useful for reaching tight spots and crevices where dirt and grime may accumulate.
- Soft-bristled brush: A soft-bristled brush can help remove dust and debris from hard-to-reach areas such as the bridge and fretboard.
- Guitar polish: If you want to give your guitar a shiny finish after cleaning, consider using a guitar polish. Make sure it is suitable for your guitar’s finish.
It’s important to note that different guitar finishes may require specific cleaning solutions or polishes. For example, if your guitar has a nitrocellulose finish, you will need a polish specifically designed for that type of finish. Consult the manufacturer’s recommendations or a guitar technician for guidance if you’re unsure about which cleaning solutions and polishes to use.
Once you have gathered all the supplies, find a clean and well-lit workspace where you can comfortably clean your guitar. Ensure that the area is free from dust and other contaminants that may end up on your guitar during the cleaning process.
Now that you have everything you need, it’s time to move on to the next step: preparing your acoustic guitar for cleaning.
Preparing the guitar for cleaning
Before you start the actual cleaning process, it’s important to prepare your acoustic guitar to ensure its safety and prevent any damage. Here are the steps to prepare your guitar for cleaning:
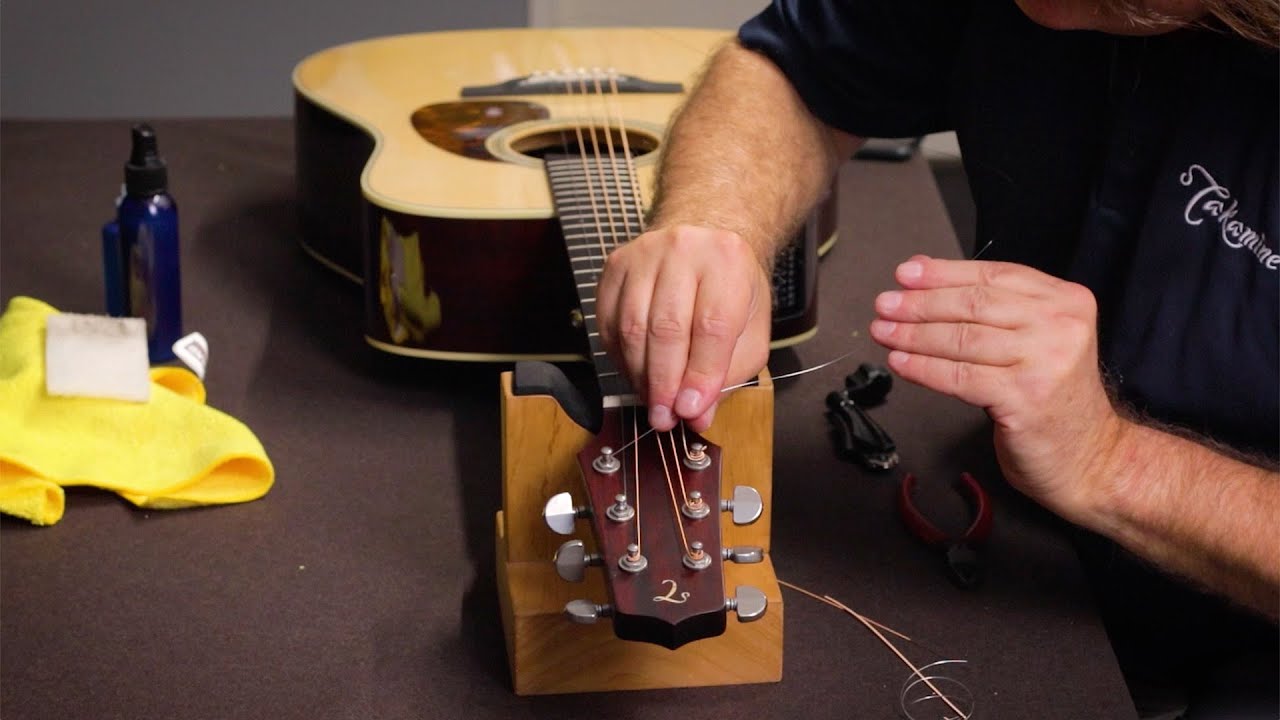
- Loosen the strings: Start by loosening the strings of your guitar. This will provide easier access to the guitar body and prevent any accidental strain on the neck while cleaning.
- Secure the guitar: Find a sturdy guitar stand or a soft surface to rest your guitar on while cleaning. Avoid placing it on a hard or uneven surface that could potentially scratch or damage the guitar body.
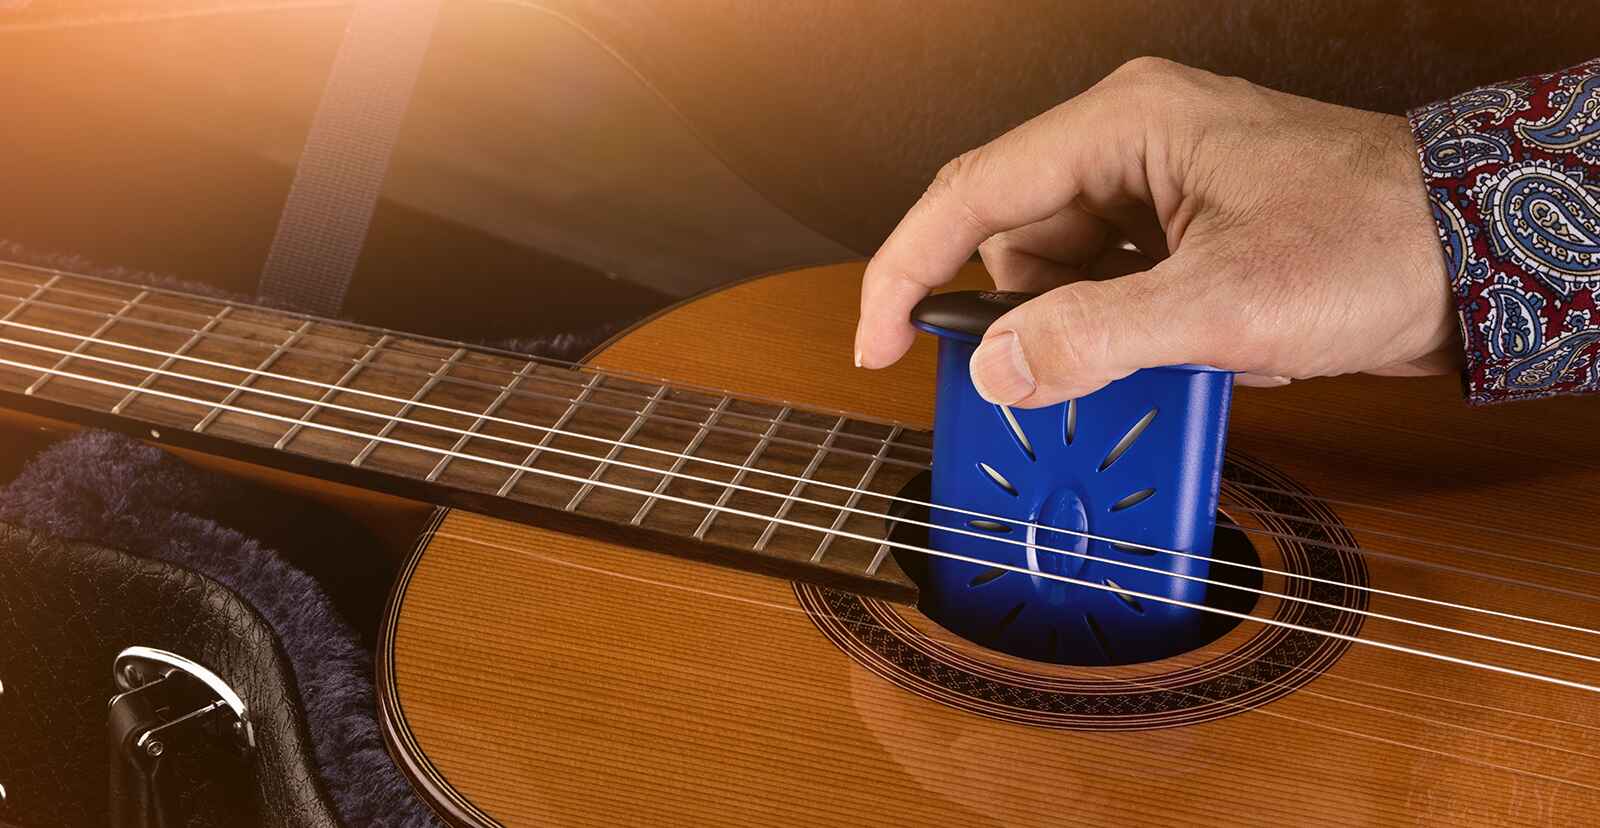
- Cover the soundhole: To prevent any cleaning solution or debris from entering the guitar’s soundhole, cover it with a clean cloth or a specialized soundhole cover. This will protect the interior of the guitar and prevent any potential damage to the bracing or other components.
By following these preparation steps, you ensure that your guitar is in a stable position and protected from any potential harm during the cleaning process. Now that your guitar is ready, it’s time to move on to the actual cleaning of the guitar body.
Cleaning the guitar body
Now that you have prepared your acoustic guitar, it’s time to start cleaning the body. Follow these steps to effectively clean the guitar body:
- Dampen the cloth: Take one of the lint-free microfiber cloths and lightly dampen it with the guitar cleaning solution. Be sure not to oversaturate the cloth as excessive moisture can damage the guitar’s finish.
- Gently wipe the body: Starting from the top of the guitar, gently wipe the body in long, sweeping motions. Pay attention to any areas with visible dirt or fingerprints. Be careful not to apply too much pressure to avoid scratching the finish.
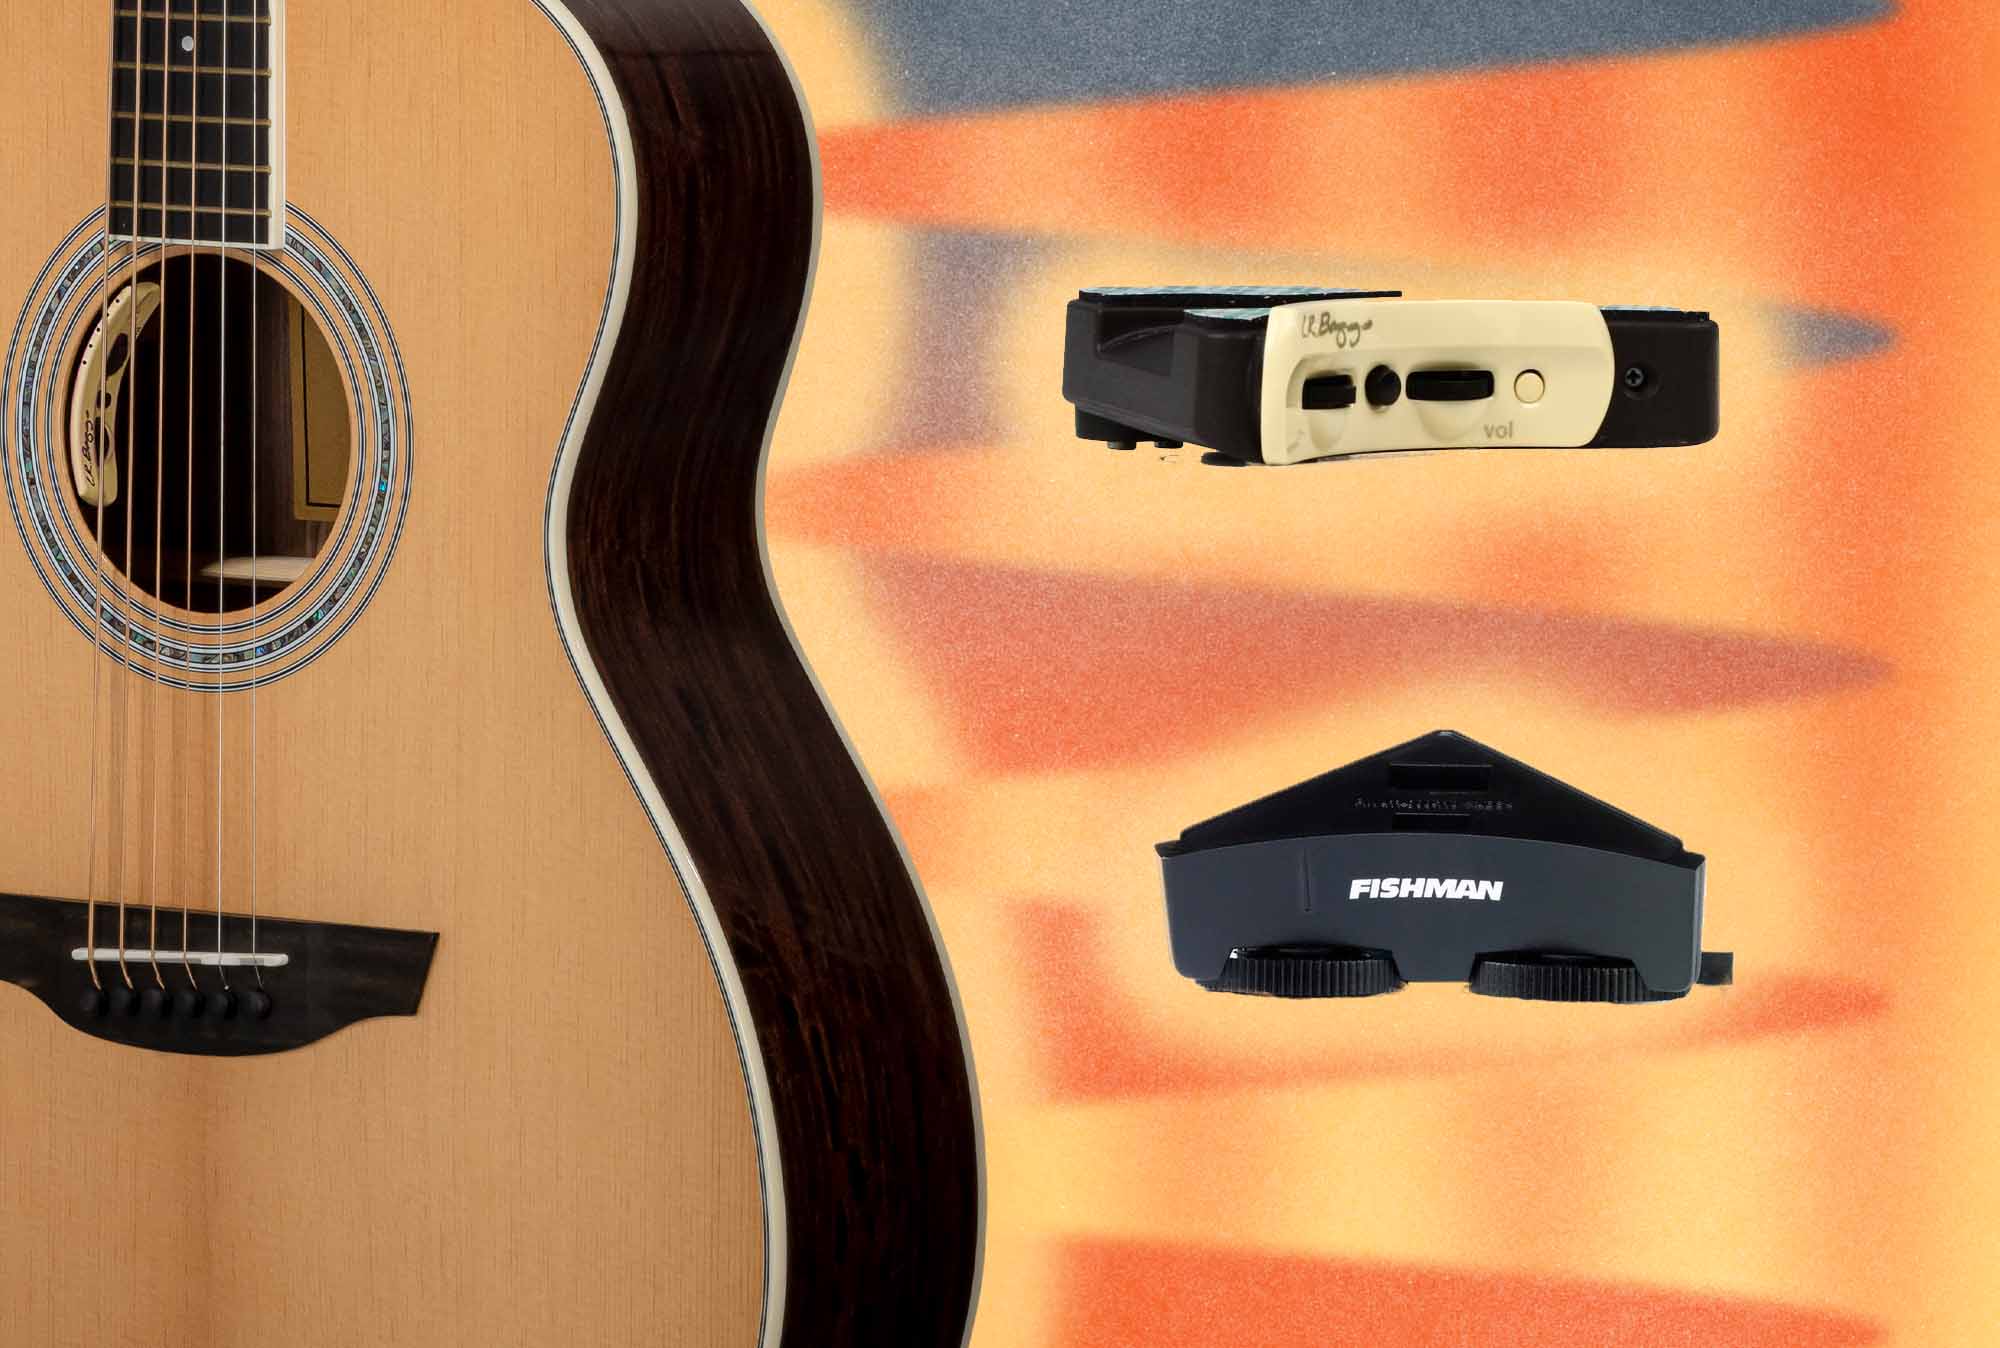
- Clean hard-to-reach areas: Use the soft-bristled brush and cotton swabs to clean areas that are difficult to reach with the cloth. Pay close attention to spots around the bridge, pickups, and hardware where dirt and grime may accumulate.
- Repeat as necessary: If the cloth becomes too dirty, rinse it out and apply a fresh solution. Repeat the wiping process until the entire guitar body is clean.
Remember to take your time and be gentle throughout the cleaning process. Rushing or using excessive force can lead to unintended damage to your guitar’s finish. Take extra care around delicate areas such as inlays or binding to avoid causing any harm.
Once you have thoroughly cleaned the body of your acoustic guitar, it’s time to tackle any stubborn dirt or grime that may still remain.
Removing stubborn dirt and grime
While most dirt and grime can be effectively removed with the cleaning process mentioned earlier, there may be some stubborn spots that require some extra attention. Here are some tips to help remove stubborn dirt and grime from your guitar body:
- Spot cleaning: If you notice any particularly dirty or sticky areas, you can spot clean them by applying a small amount of the guitar cleaning solution directly to the cloth or a cotton swab. Gently rub the spot in a circular motion until the dirt or grime is lifted.
- Fingerboard cleaning: If your guitar has an exposed fingerboard, it may also collect dirt and oils from your fingers. To clean the fingerboard, use a small amount of guitar cleaning solution on a cloth or a cotton swab and gently wipe the fingerboard in the direction of the wood grain.
- Chrome or metal hardware: For guitars with metal hardware such as tuning pegs or bridges, you can use a metal polishing cloth or a specialized metal cleaner to restore their shine. Be sure to follow the manufacturer’s instructions for the specific product you’re using.
Remember to be cautious when cleaning around delicate components such as the guitar’s electronics or decorative inlays. Avoid getting any liquid or cleaning solution directly on these areas to prevent potential damage.
If you encounter any stubborn dirt or grime that cannot be easily removed using the methods mentioned, it may be best to seek assistance from a professional guitar technician who can provide specialized cleaning solutions and techniques.
Once you have successfully removed any stubborn dirt or grime from your guitar body, it’s time to move on to the next step in the cleaning process: drying the guitar body.
Drying the guitar body
After the cleaning process, it’s crucial to ensure that the guitar body is thoroughly dried to prevent any moisture damage. Here’s how to effectively dry your acoustic guitar body:
- Use a clean, dry microfiber cloth: Take a clean, dry lint-free microfiber cloth and gently wipe the entire body of the guitar. Make sure to remove any excess moisture left from the cleaning process.
- Air dry naturally: To further dry the guitar, it’s best to let it air dry naturally in a well-ventilated area. Avoid using any artificial heat sources such as hairdryers or heaters, as excessive heat can damage the guitar’s finish or even warp the wood.
- Allow sufficient drying time: Depending on the humidity level in your environment, it may take several hours or even overnight for the guitar body to completely dry. Patience is key to ensure that no moisture is trapped in any crevices or components.
During the drying process, it’s important to keep the guitar in a safe place where it won’t be accidentally bumped or knocked over. Avoid covering the guitar with a cloth or case at this stage to allow for proper ventilation and drying.
Once you are confident that the guitar body is thoroughly dry, it’s time to proceed to the next step: polishing the guitar body to give it a beautiful and protective shine.
Polishing the guitar body
Polishing your acoustic guitar body not only adds a beautiful shine but also helps protect the finish and maintain its longevity. Here’s how you can effectively polish your guitar:
- Choose a suitable guitar polish: Select a high-quality guitar polish that is compatible with your guitar’s finish. Different finishes, such as nitrocellulose, polyurethane, or lacquer, may require specific types of polish. Refer to the manufacturer’s recommendations or consult with a guitar technician for guidance.
- Apply a small amount of polish: Take a clean and soft cloth and apply a small amount of the guitar polish directly to the cloth. Avoid applying polish directly to the guitar body to prevent any potential damage or excess buildup.
- Gently polish in circular motions: Using the cloth, gently polish the guitar body in circular motions. Start from one end and work your way around the entire body, paying special attention to any areas that may need extra shine or protection.
- Buff the polish: After applying the polish, use a separate clean cloth to buff the guitar body, removing any excess polish and revealing a beautiful shine.
Remember to take your time and be gentle during the polishing process. Too much pressure or vigorous rubbing can potentially damage the guitar’s finish. Additionally, avoid polishing the guitar’s hardware as it may require specialized cleaning or polishing techniques.
Polishing your guitar body periodically helps maintain its aesthetics and protects it from environmental factors. However, it’s important to note that excessive polishing can lead to an unwanted buildup of polish residue. To prevent this, stick to a regular cleaning and polishing schedule while being mindful of the amount of polish you apply each time.
With the guitar body now polished to a radiant shine, it’s time to appreciate the beauty of your instrument and make some sweet music.
Final thoughts and recommendations
Congratulations! You have successfully cleaned and polished your acoustic guitar body, restoring its beauty and ensuring its longevity. Before we wrap up, here are some final thoughts and recommendations:
Regular maintenance is key: Cleaning your acoustic guitar body should be part of your regular maintenance routine. By doing so, you can prevent dirt and grime buildup that can negatively impact the guitar’s appearance and sound quality. Set a schedule for cleaning your guitar and stick to it to keep it in excellent condition.
Follow manufacturer’s instructions: Different guitar finishes and materials may require specific cleaning methods or products. It’s always wise to consult the manufacturer’s instructions or seek advice from a professional guitar technician to ensure that you are using the appropriate cleaning solutions and polishes for your specific guitar.
Protect your guitar: In addition to regular cleaning, it’s important to take steps to protect your guitar from potential damage. Invest in a high-quality guitar case or gig bag to shield your instrument from dust, moisture, and physical impact when not in use. Wipe down the guitar body with a clean cloth after playing to remove any sweat or oils and store it in a controlled environment away from extreme temperature and humidity fluctuations.
Professional servicing: While regular cleaning and maintenance can go a long way in keeping your acoustic guitar in top shape, there may come a time when professional servicing is necessary. If you encounter any issues with your guitar’s playability or notice significant wear and tear, don’t hesitate to take it to a qualified guitar technician who can address any concerns and perform any necessary repairs or adjustments.
Remember, cleaning your acoustic guitar body is not just about aesthetics; it also contributes to the overall enjoyment and performance of your instrument. By dedicating time to properly clean and maintain your guitar, you are ensuring its longevity and preserving its value.
So, keep your guitar clean, play it with passion, and let the beautiful sounds fill your world. Happy playing!