Introduction
Maintaining the pristine condition of your acoustic guitar is essential for preserving its sound quality and aesthetic appeal. Regular cleaning not only enhances the instrument's longevity but also contributes to a more enjoyable playing experience. While professional guitar cleaning kits are available, you can effectively clean your acoustic guitar using common household items. This approach not only saves you money but also allows you to tailor the cleaning process to suit your preferences.
In this comprehensive guide, you will learn how to clean your acoustic guitar with household items, ensuring that it remains in optimal condition for years to come. From dusting the body to polishing the fretboard and restringing the instrument, each step is outlined in detail to provide a thorough understanding of the cleaning process. By following these simple yet effective methods, you can maintain the beauty and sound quality of your acoustic guitar without the need for specialized cleaning products.
Whether you are a seasoned guitarist or a beginner, taking care of your instrument is a crucial aspect of your musical journey. With a few readily available household items and a little effort, you can keep your acoustic guitar looking and sounding its best. Let's delve into the step-by-step process of cleaning your acoustic guitar with items found in your own home.
Step 1: Gather Your Household Items
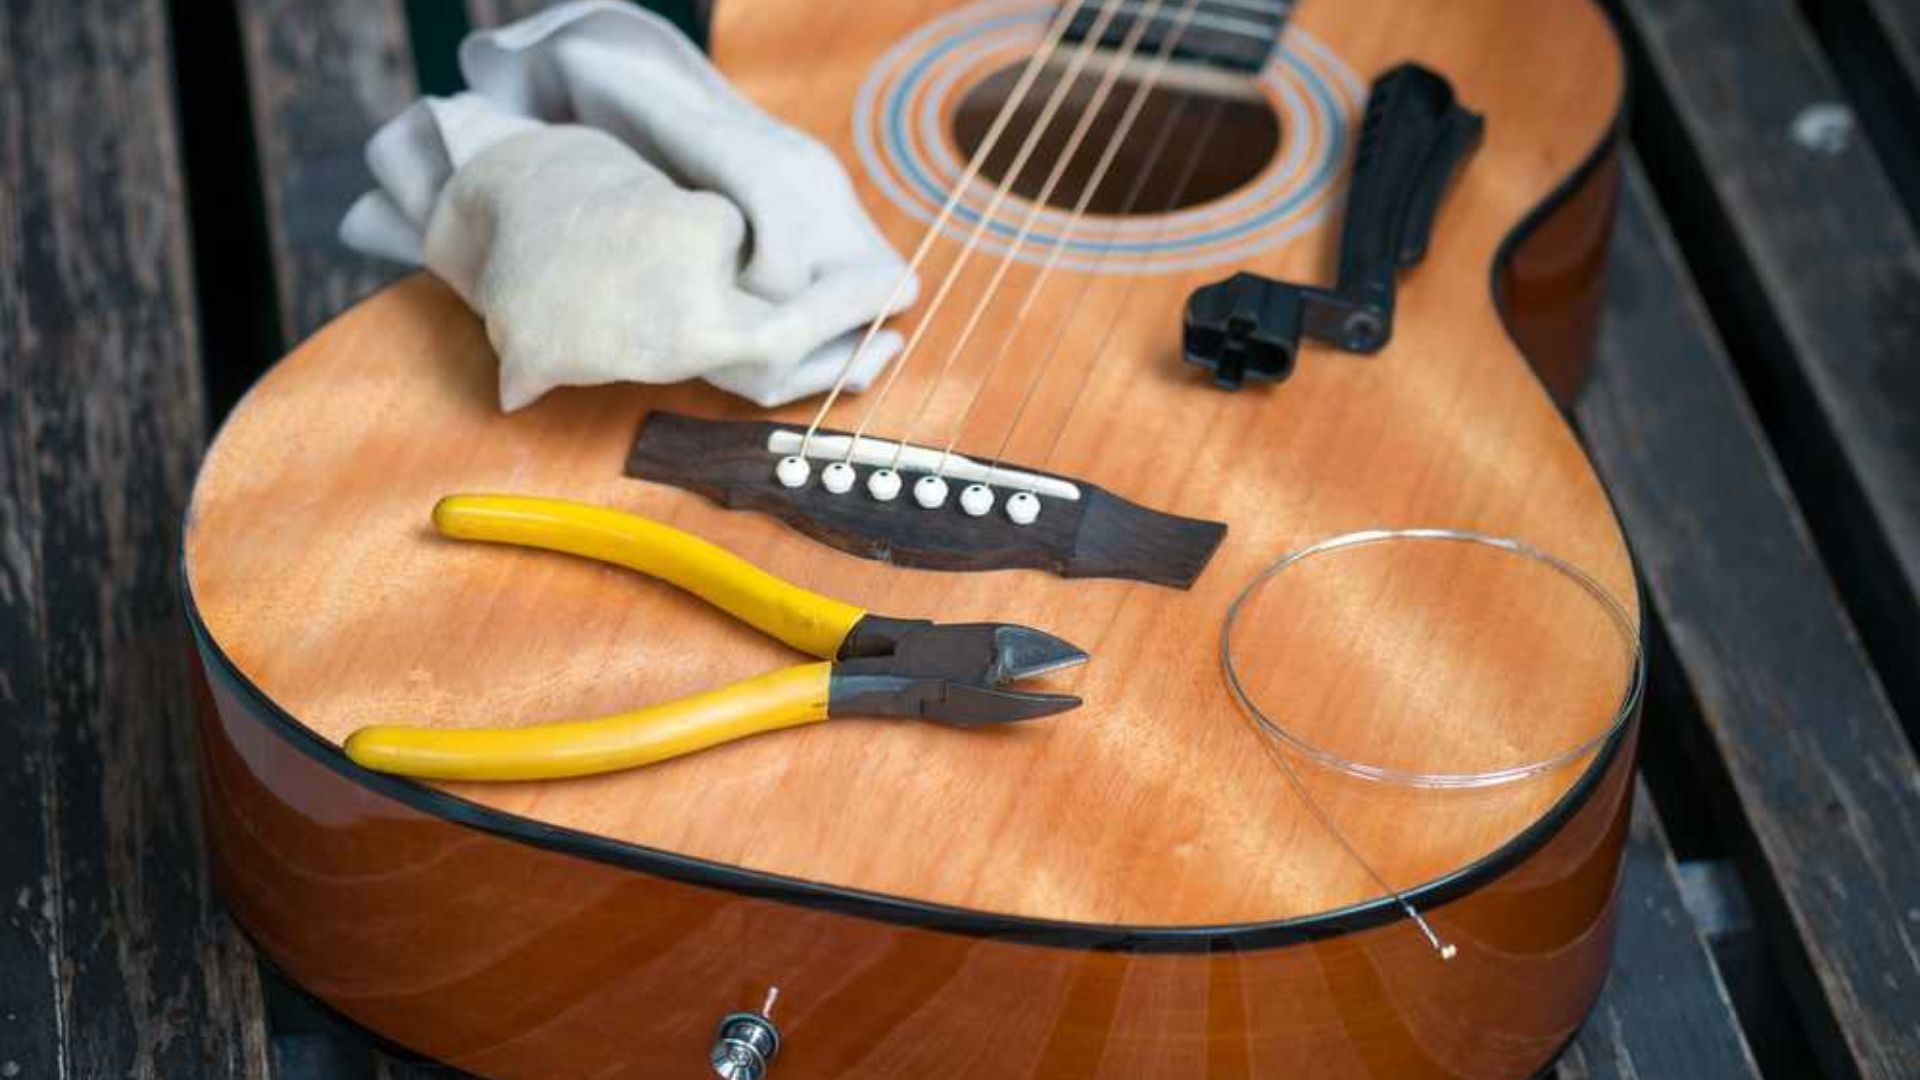
Before embarking on the cleaning process, it is essential to gather the necessary household items. These items are commonly found in most homes, making the cleaning process convenient and cost-effective. Here’s what you’ll need:
- Soft, Lint-Free Cloth: A soft, lint-free cloth is ideal for gently wiping the guitar’s body and fretboard without scratching the surface. Microfiber cloths are highly recommended for their non-abrasive properties.
- Mild Guitar Polish: Opt for a mild guitar polish specifically formulated for acoustic instruments. Avoid using furniture polish or abrasive cleaners, as they can damage the guitar’s finish.
- Lemon Oil: Lemon oil is an excellent natural solution for conditioning the fretboard, keeping it moisturized and preventing it from drying out.
- Guitar String Winder: While not a household item per se, a guitar string winder makes the restringing process faster and more efficient. If you don’t have one, consider investing in this handy tool.
- Wire Cutters: Wire cutters are essential for trimming the excess ends of the new guitar strings after restringing the instrument. Ensure that the wire cutters are suitable for use on guitar strings.
- Guitar Strings: If your guitar strings are due for a change, have a set of new strings ready for the restringing process. Choose strings that are compatible with your acoustic guitar and align with your preferred playing style.
By assembling these household items, you will be well-prepared to commence the cleaning and maintenance of your acoustic guitar. With these basic tools and products at your disposal, you can ensure that your instrument receives the care it deserves, enhancing its longevity and performance.
Step 2: Dusting the Guitar
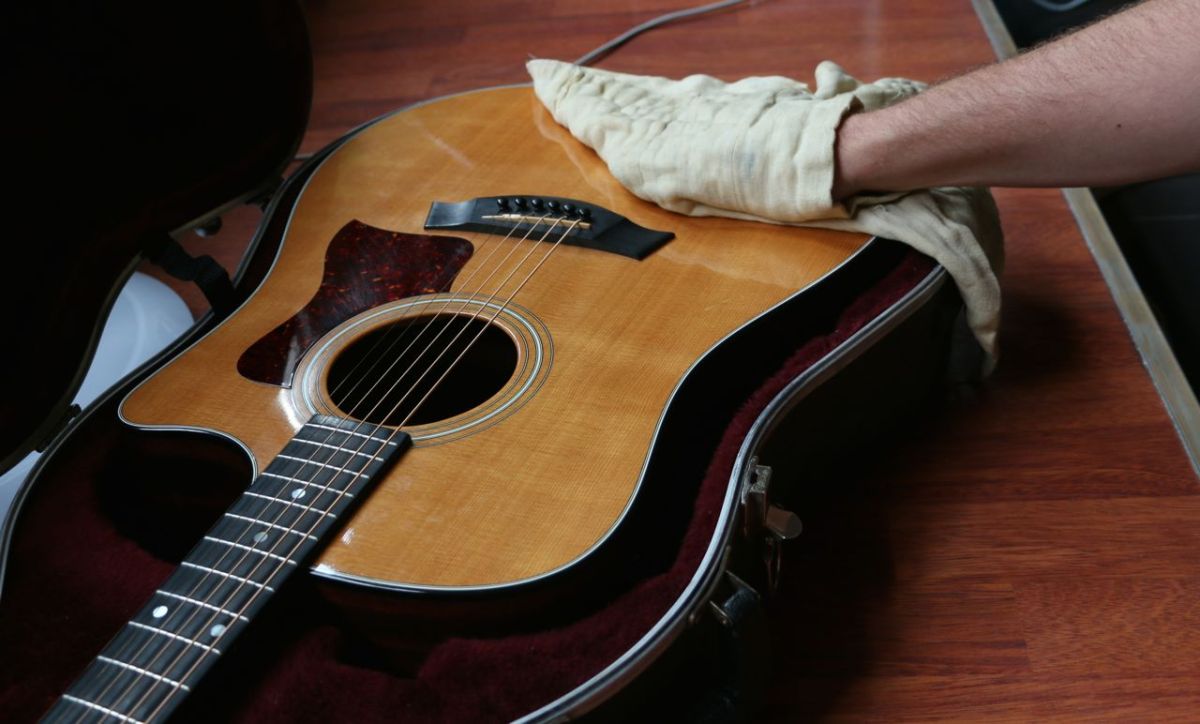
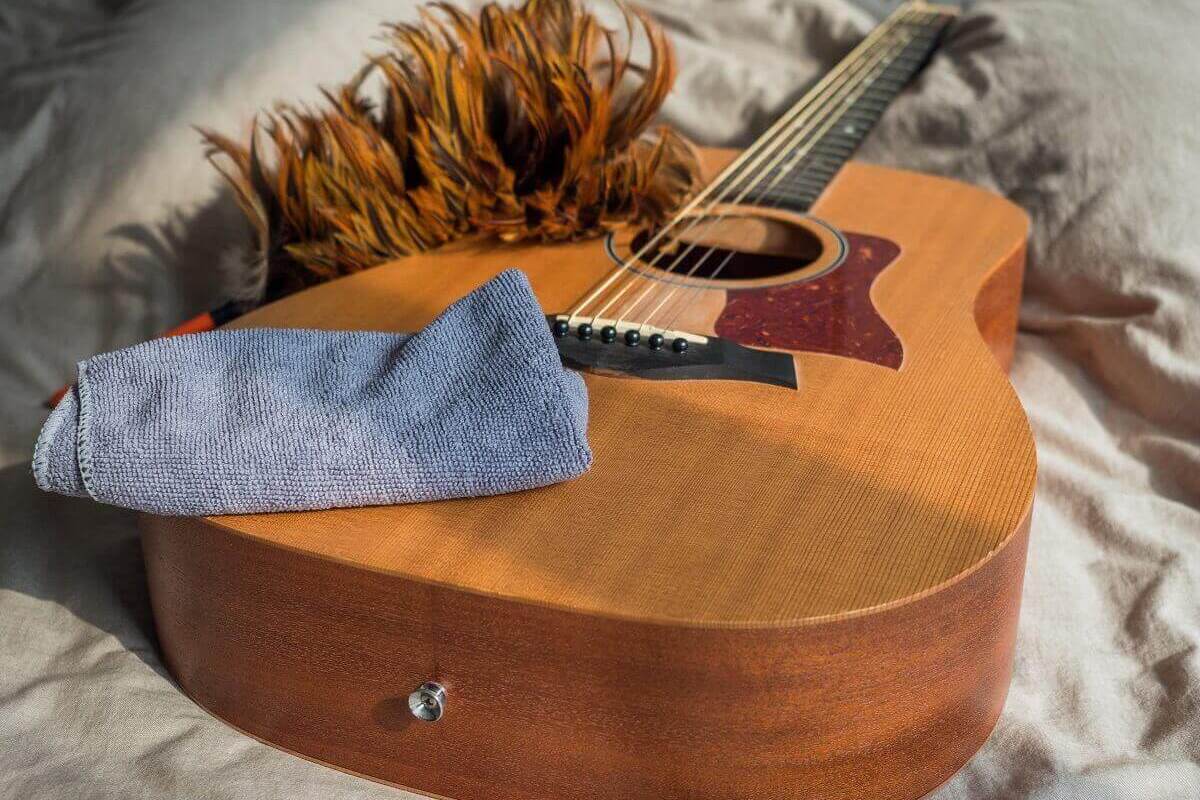
Before delving into the deeper cleaning process, it’s crucial to start with a thorough dusting of your acoustic guitar. Dust and debris can accumulate on the body, strings, and fretboard, affecting the instrument’s appearance and playability. Here’s how to effectively remove dust from your guitar using household items:
Begin by using a soft, lint-free cloth to gently wipe the entire surface of the guitar, including the body, neck, and headstock. Ensure that the cloth is clean and free from any abrasive particles that could potentially scratch the instrument’s finish. Employing light, circular motions, remove the visible dust and smudges from the surface, taking care not to apply excessive pressure.
For hard-to-reach areas around the bridge and frets, consider using a soft-bristled brush or a clean, dry toothbrush to dislodge any stubborn dust particles. Be gentle to avoid scratching the guitar’s finish or causing damage to the fretboard. Pay close attention to the areas around the soundhole and the headstock, as dust tends to accumulate in these areas.
If your acoustic guitar features intricate inlays or binding, take extra care to ensure that these details are thoroughly dusted. A soft brush or a gentle puff of air can be used to clear any dust from these delicate areas without causing harm to the guitar’s decorative elements.
By diligently dusting your acoustic guitar, you not only maintain its visual appeal but also prevent dust and debris from affecting the instrument’s performance and longevity. This simple yet crucial step sets the stage for a more comprehensive cleaning process, ensuring that your guitar remains in optimal condition for years to come.
Step 3: Cleaning the Fretboard
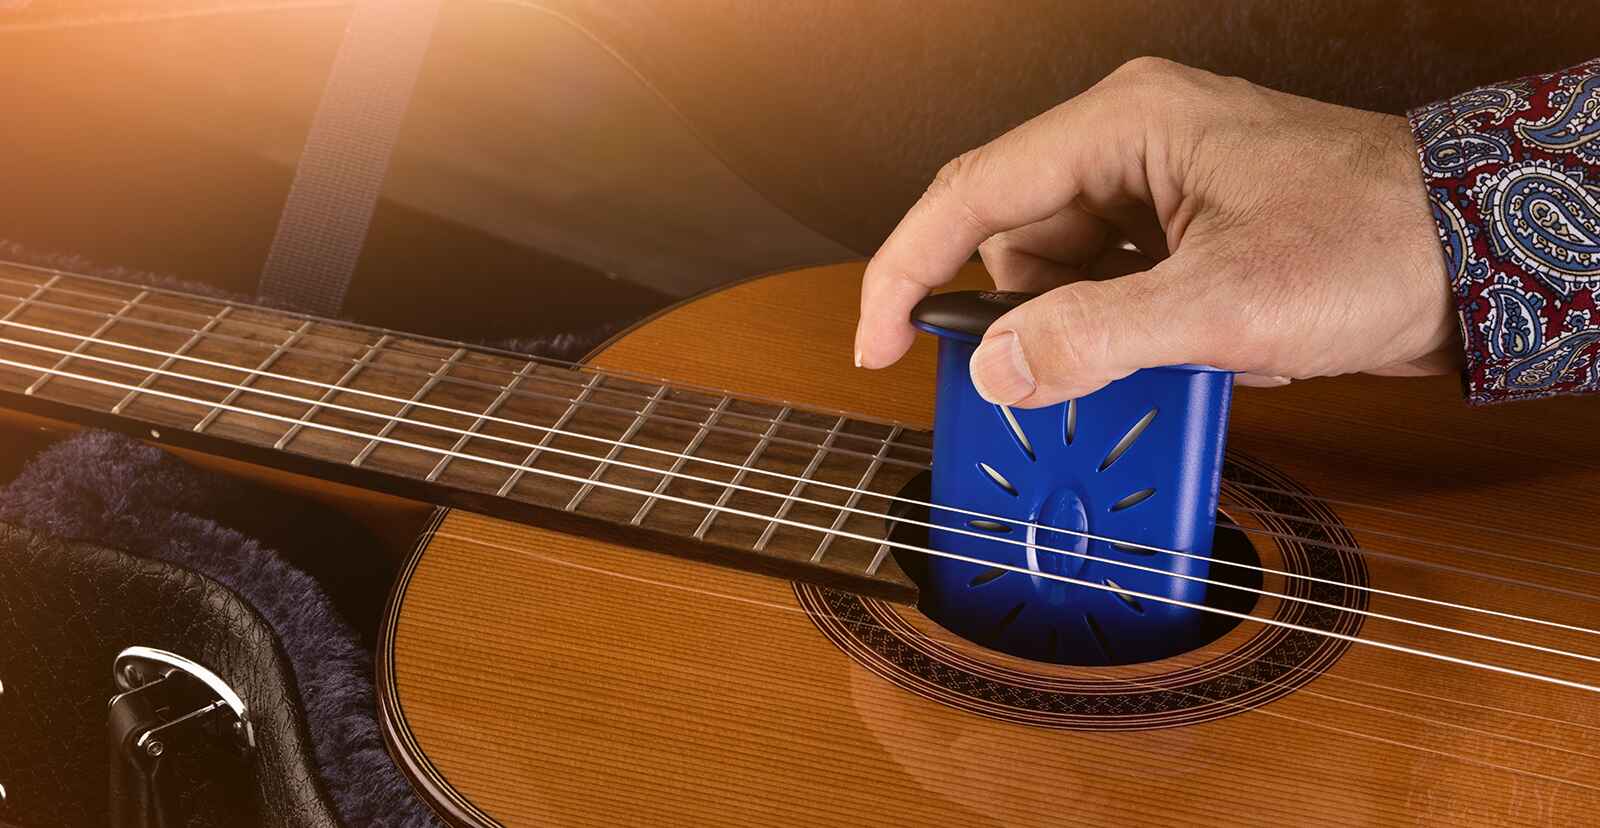
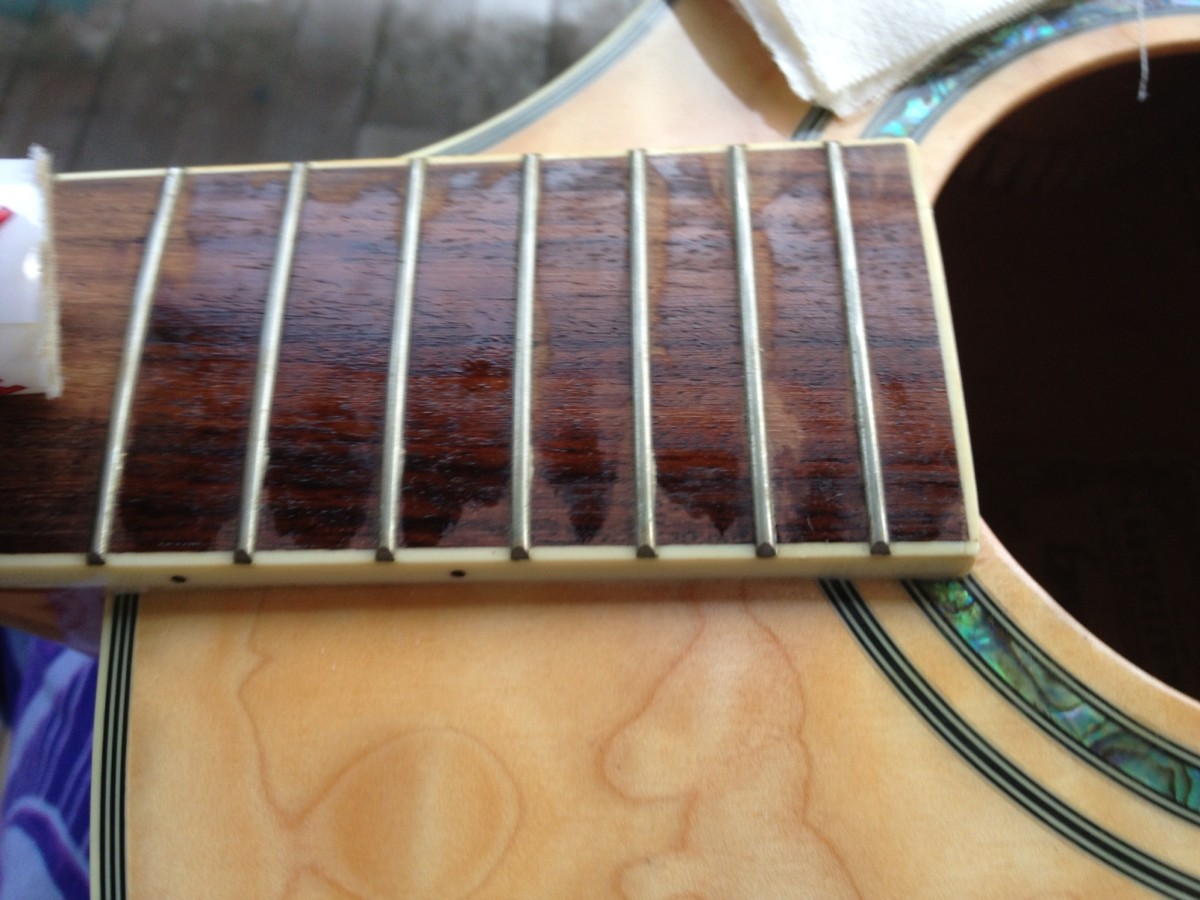
The fretboard of an acoustic guitar requires special attention during the cleaning process to maintain its playability and visual appeal. Over time, the fretboard can accumulate dirt, sweat, and grime, affecting the feel of the strings and overall tone of the instrument. Cleaning the fretboard with household items is a simple yet crucial step in preserving the quality of your guitar. Here’s how to effectively clean the fretboard:
Begin by applying a small amount of high-quality lemon oil to a clean, lint-free cloth. Lemon oil is a natural and effective solution for conditioning and cleaning the fretboard, as it moisturizes the wood and removes dirt and residue without causing damage. Gently rub the cloth along the entire length of the fretboard, ensuring that the oil penetrates the wood and cleanses the surface. Take care not to oversaturate the fretboard with oil, as excess moisture can lead to swelling or warping of the wood.
As you clean the fretboard, pay close attention to the areas around the frets, where dirt and grime tend to accumulate. Use a gentle, circular motion to lift any stubborn debris from the wood, taking care not to exert excessive pressure on the frets or the fretboard itself. If necessary, use a soft-bristled brush to dislodge any remaining dirt from the fret slots and other hard-to-reach areas.
After cleaning the fretboard with lemon oil, use a dry section of the cloth to remove any excess oil and ensure that the wood is left with a clean, conditioned finish. This step not only cleans the fretboard but also helps to maintain its moisture content, preventing it from drying out and potentially cracking over time.
By regularly cleaning and conditioning the fretboard of your acoustic guitar, you can ensure that it remains in optimal playing condition, allowing for smooth string movement and preserving the integrity of the wood. This simple maintenance routine contributes to the longevity and performance of your instrument, enhancing your overall playing experience.
Step 4: Polishing the Guitar
Polishing your acoustic guitar not only enhances its visual appeal but also protects the finish, contributing to its longevity and overall condition. Using household items to polish the guitar allows you to achieve a lustrous shine without the need for specialized products. Here’s how to effectively polish your acoustic guitar:
Start by applying a small amount of mild guitar polish to a clean, soft cloth. Ensure that the polish is specifically formulated for use on acoustic instruments, as abrasive or silicone-based polishes can damage the guitar’s finish. Using gentle, circular motions, evenly distribute the polish across the entire body of the guitar, taking care to cover the surface thoroughly.
As you polish the guitar, pay special attention to any areas with visible smudges, fingerprints, or minor blemishes. The polish not only removes these imperfections but also forms a protective barrier over the finish, guarding against environmental elements and potential wear and tear.
After applying the polish, use a separate clean cloth to gently buff the surface of the guitar, removing any excess polish and revealing a radiant, polished finish. This step not only enhances the visual appeal of the instrument but also ensures that the polish is evenly distributed, resulting in a consistent shine across the entire body of the guitar.
For guitars with a matte or satin finish, it’s essential to use a polish specifically designed for these finishes to avoid altering the texture or appearance of the wood. Additionally, if your guitar features intricate inlays or decorative elements, take care to avoid applying polish directly to these areas, as it may be challenging to remove excess polish from these delicate details.
Regularly polishing your acoustic guitar with household items not only keeps it looking pristine but also contributes to its overall maintenance and care. By incorporating this simple yet effective step into your guitar care routine, you can enjoy a beautiful, well-protected instrument that continues to inspire your musical journey.
Step 5: Restringing the Guitar
Restringing your acoustic guitar is an essential aspect of maintenance, ensuring optimal playability and sound quality. While it may seem daunting, restringing the guitar with household items is a straightforward process that allows you to customize the strings to your preference. Here’s a step-by-step guide to restringing your acoustic guitar:
Begin by removing the old strings from the guitar. Using a string winder, unwind the tuning pegs to release tension from the strings. Once the strings are slackened, unwind them from the tuning pegs and bridge, carefully removing them from the guitar. Dispose of the old strings responsibly, as they should not be reused due to potential wear and loss of tone over time.
Next, take a set of new acoustic guitar strings that are compatible with your instrument. Starting with the thickest string (usually the sixth string), insert one end of the string into the corresponding bridge pin hole, ensuring that it is secure. Thread the other end of the string through the corresponding tuning peg, leaving a few inches of slack to allow for winding.
Using the string winder, begin winding the string onto the tuning peg in the direction that tightens the string when turned. As you wind the string, ensure that it wraps neatly and evenly around the peg, minimizing overlapping and ensuring stable tuning. Repeat this process for the remaining strings, working from the thickest to the thinnest string.
Once all the strings are attached and wound to the appropriate tension, use wire cutters to trim the excess string length protruding from the tuning pegs. Be cautious when cutting the excess string, ensuring that you leave enough slack to prevent the strings from slipping out of the pegs.
After restringing the guitar, tune the strings to the desired pitches using a reliable tuner. Stretching the strings gently and retuning multiple times helps to stabilize the tuning and ensures that the strings settle properly.
Restringing your acoustic guitar with household items not only allows you to customize the strings to your preference but also provides a rewarding opportunity to maintain and care for your instrument. By mastering this essential skill, you can ensure that your guitar continues to produce exceptional sound and remains in optimal playing condition.
Conclusion
By following the comprehensive guide on cleaning and maintaining your acoustic guitar with household items, you have equipped yourself with the knowledge and skills to preserve the beauty and playability of your instrument. Through each step, from gathering the necessary household items to restringing the guitar, you have learned the importance of regular maintenance and care in ensuring the longevity and performance of your acoustic guitar.
Utilizing common household items such as a soft, lint-free cloth, mild guitar polish, lemon oil, and wire cutters, among others, you have discovered the convenience and cost-effectiveness of maintaining your guitar without the need for specialized products. By incorporating these household items into your guitar care routine, you have taken a proactive approach to preserving the visual appeal and sound quality of your instrument.
From dusting the guitar to cleaning the fretboard and polishing the instrument, each step contributes to the overall maintenance and care of your acoustic guitar. Additionally, mastering the skill of restringing the guitar empowers you to tailor the strings to your playing style, ensuring optimal playability and sound quality.
By embracing these maintenance practices, you not only extend the life of your acoustic guitar but also enhance your playing experience. Regular cleaning and maintenance with household items demonstrate your commitment to caring for your instrument, allowing you to enjoy its beautiful tones and exquisite craftsmanship for years to come.
As you continue your musical journey, remember that the care and attention you invest in your acoustic guitar contribute to its enduring allure and resonance. By integrating these simple yet effective maintenance techniques into your routine, you honor the craftsmanship and artistry of your instrument, ensuring that it remains a source of inspiration and joy in your musical endeavors.