Introduction
Restoring an old electric guitar can be a rewarding and fulfilling endeavor for any music enthusiast. Whether you've stumbled upon a neglected vintage instrument in a pawn shop or inherited a cherished family heirloom, breathing new life into a worn-out guitar can be a labor of love. The process involves a combination of careful assessment, meticulous disassembly, thorough cleaning, skilled repairs, and precise reassembly. By following a systematic approach and dedicating time and effort, you can transform a weathered relic into a fully functional and aesthetically pleasing musical instrument.
The journey of restoring an old electric guitar is not just about refurbishing the physical aspects of the instrument; it's also about reviving its soul and history. Each scratch, ding, and worn fret tells a story, and as you work through the restoration process, you become part of that narrative. You have the opportunity to preserve the instrument's legacy and ensure that it continues to create beautiful music for years to come.
In this guide, we will explore the step-by-step process of restoring an old electric guitar, from assessing its condition to testing and fine-tuning the revitalized instrument. By understanding the intricacies of each stage and approaching the restoration with patience and precision, you can bring a neglected guitar back to its former glory. So, roll up your sleeves, gather your tools, and let's embark on this musical journey of restoration and rejuvenation.
Assessing the Condition of the Guitar
Before diving into the restoration process, it’s crucial to conduct a comprehensive assessment of the guitar’s condition. Begin by carefully inspecting the instrument’s exterior, paying close attention to any visible damage such as scratches, dents, or finish wear. Take note of any hardware corrosion or rust, as well as the condition of the frets, nut, and bridge. Additionally, assess the functionality of the electronics, including the pickups, switches, and input jack.
Next, evaluate the structural integrity of the guitar. Check for any warping or bowing of the neck, as well as cracks or separations in the body or neck joints. It’s essential to determine if the truss rod is functional and capable of adjusting the neck’s relief. Additionally, assess the tuning stability and the overall playability of the instrument.
Documenting these observations will provide a clear roadmap for the restoration process, allowing you to prioritize the necessary repairs and replacements. It’s important to approach this stage with a keen eye and a thorough understanding of the guitar’s components and construction. By gaining a comprehensive understanding of the instrument’s condition, you can proceed with confidence and precision as you embark on the journey of restoring the old electric guitar.
Disassembling the Guitar
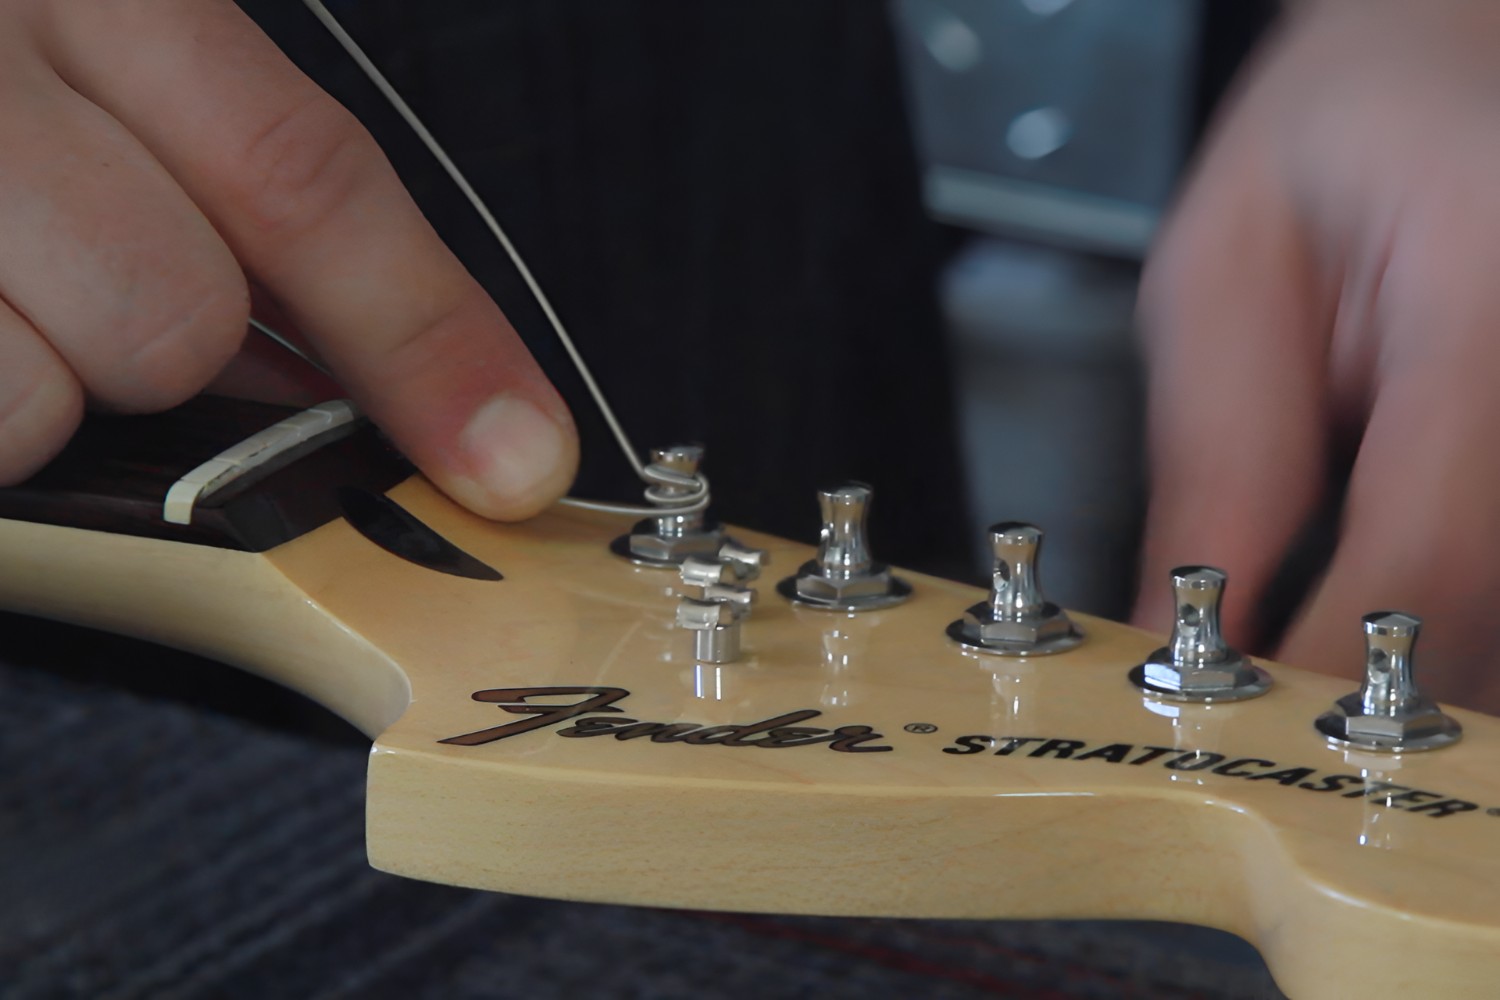
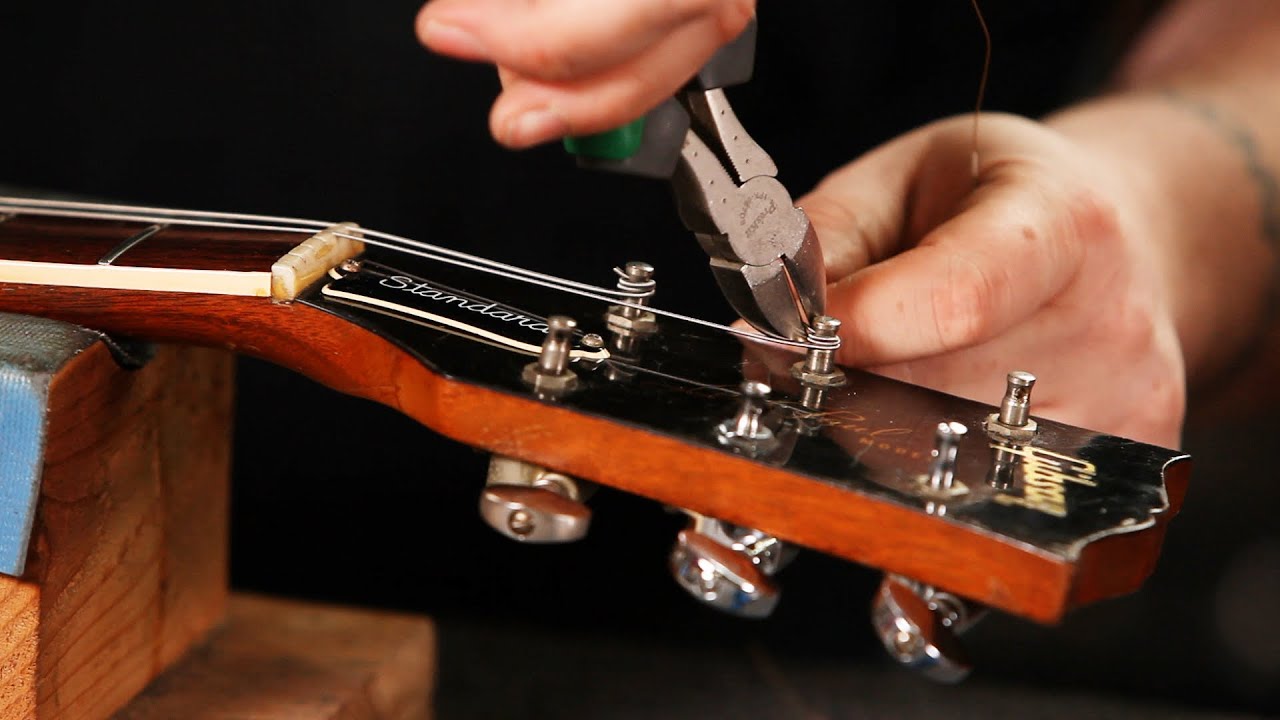
Disassembling the old electric guitar is a critical phase in the restoration process, requiring patience, organization, and attention to detail. Begin by loosening the strings and carefully removing them from the tuning pegs and bridge. This step alleviates tension on the neck and facilitates subsequent adjustments and cleaning. Utilize a string winder to expedite the process while ensuring gentle handling of the aged strings.
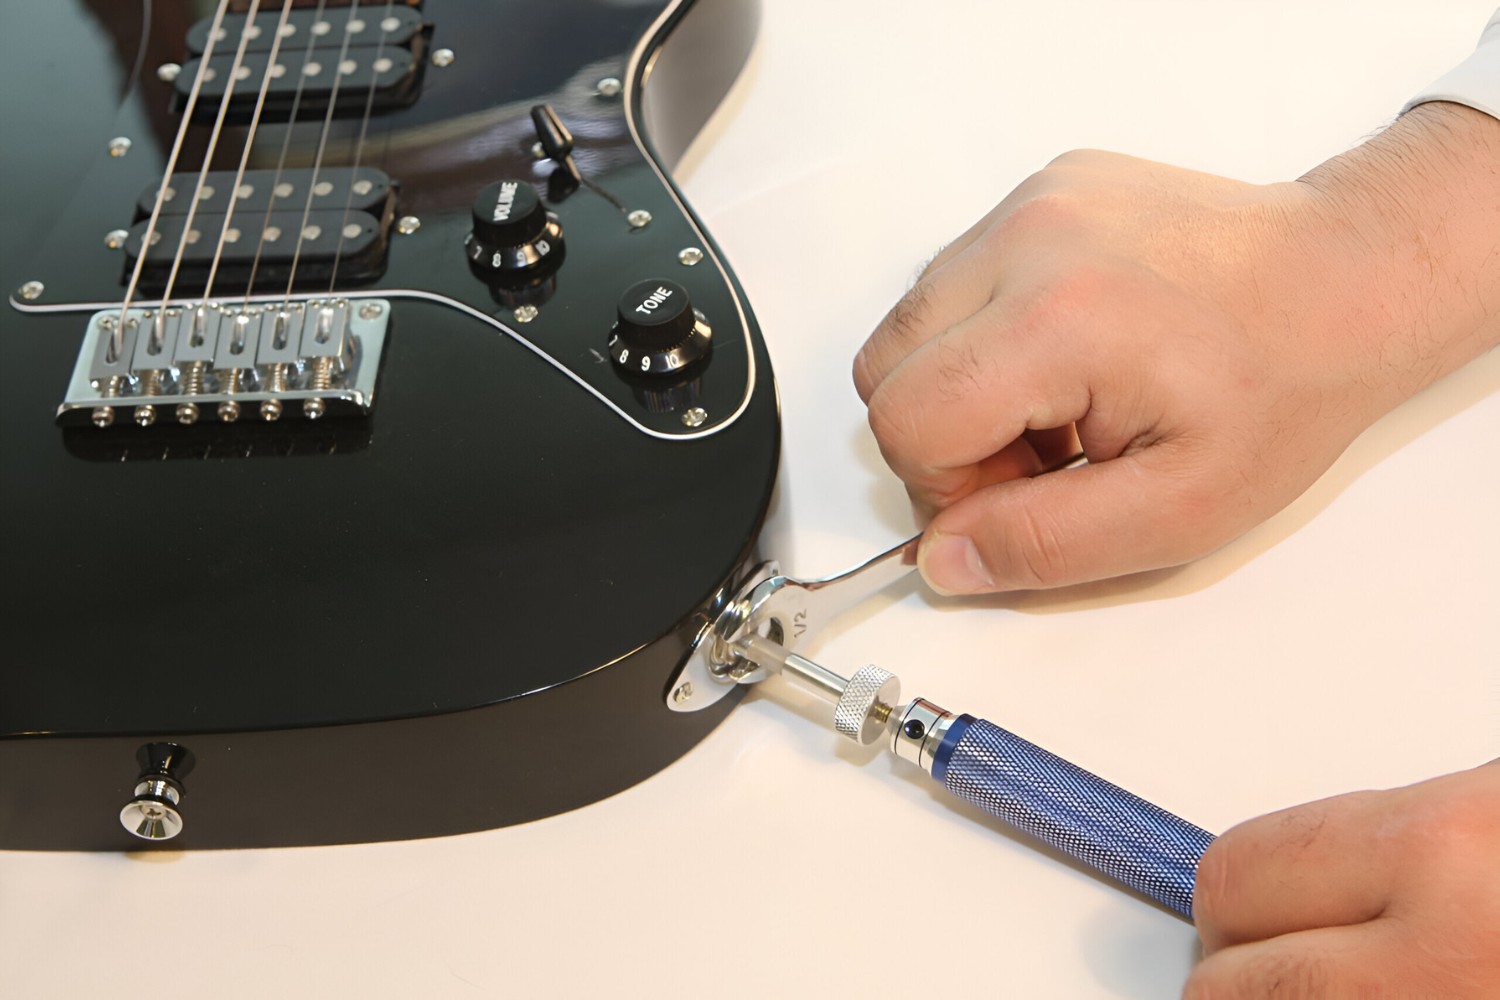
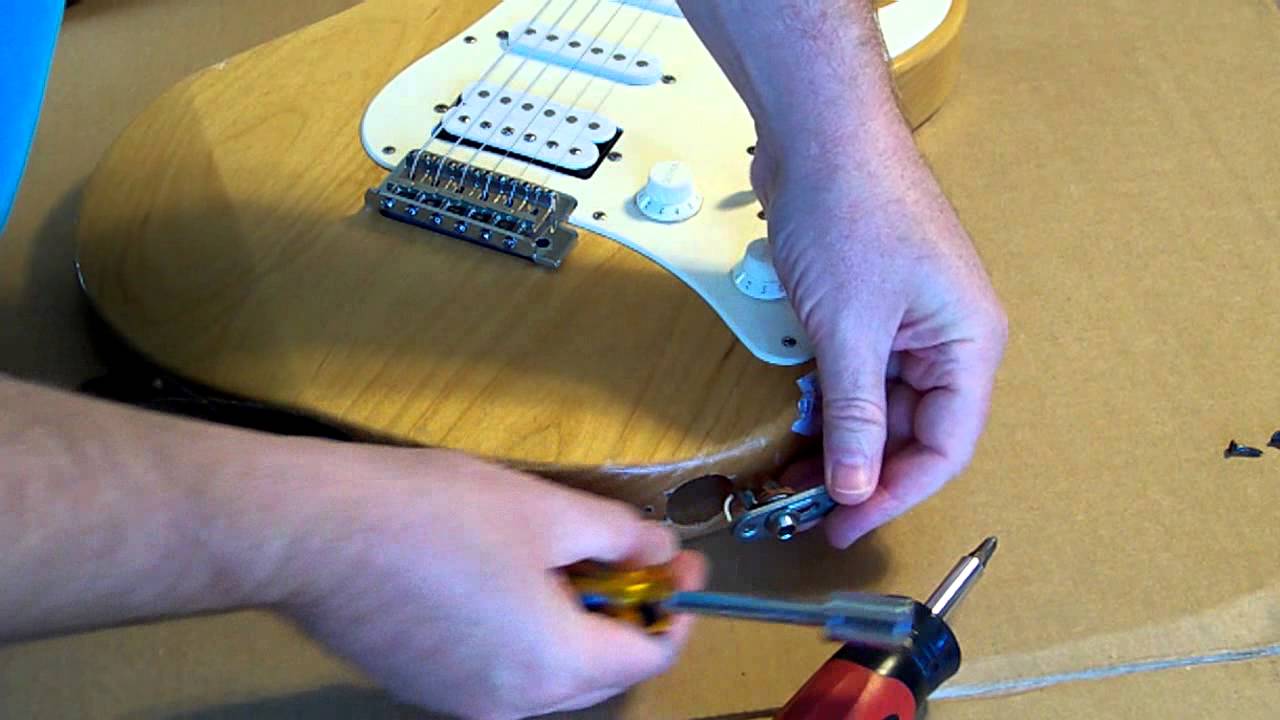
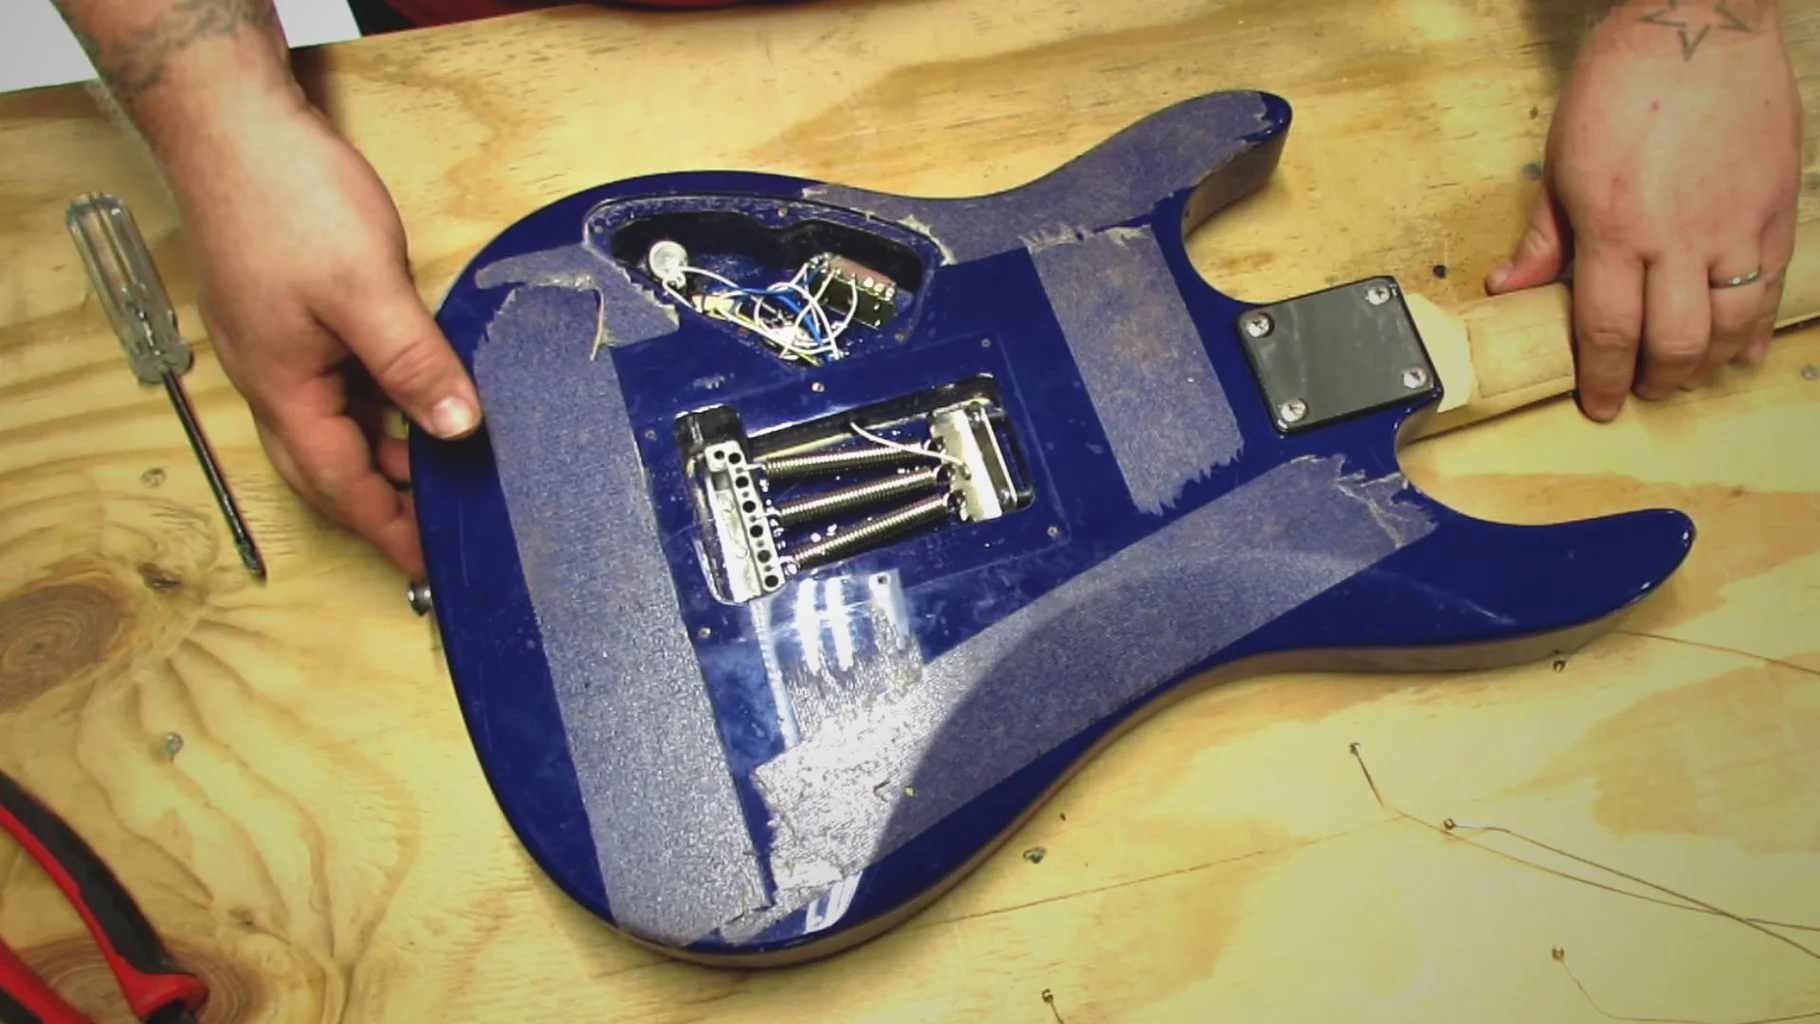
Once the strings are removed, proceed to detach the pickguard, control knobs, and any other hardware affixed to the guitar’s body. Take care to label and organize the components and screws to streamline the reassembly phase. If the guitar features a tremolo system, carefully remove the tremolo arm and springs, noting their positioning for accurate reinstallation.
Next, if the guitar has a bolt-on neck, carefully loosen and remove the neck bolts, separating the neck from the body. For guitars with set necks or neck-through construction, the disassembly process may differ, requiring meticulous attention to joint integrity and finish protection. Take photographs or make detailed sketches to document the original alignment and fit of the neck and body, ensuring precise reassembly later.
As you disassemble the guitar, maintain a clean and organized workspace, utilizing small containers or bags to store the removed components and hardware. This approach minimizes the risk of misplacing crucial parts and simplifies the reassembly process. By methodically disassembling the old electric guitar, you set the stage for thorough cleaning, repairs, and enhancements, ultimately paving the way for its revitalization.
Cleaning and Polishing
Once the old electric guitar is disassembled, the meticulous process of cleaning and polishing the various components and surfaces begins. This phase not only restores the instrument’s aesthetic appeal but also ensures optimal performance and longevity. Start by gently wiping down the body, neck, and hardware with a soft, lint-free cloth to remove accumulated dust, grime, and residue. For stubborn dirt or oxidation on metal hardware, consider using specialized guitar polishes and cleaners, taking care to follow the manufacturer’s instructions and avoid abrasive substances that could damage the finish.
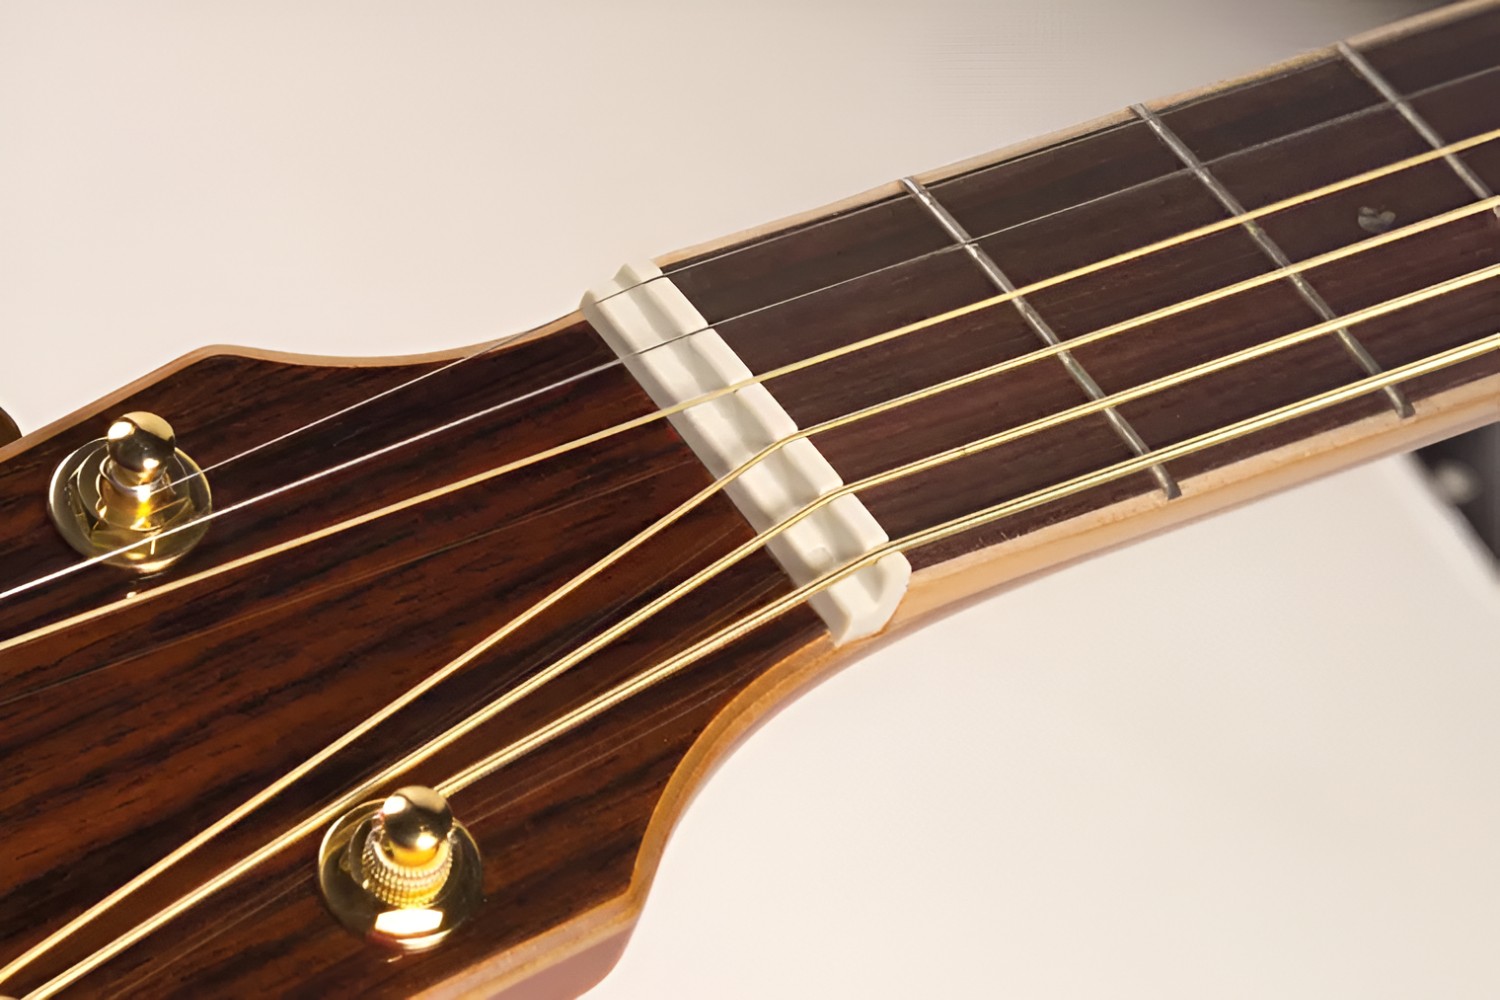
When cleaning the fretboard, use a suitable fretboard cleaner to remove dirt and oils, paying particular attention to hydrating unfinished or rosewood fretboards to prevent drying and cracking. Additionally, inspect the frets for tarnish or wear, addressing any issues with fret polishing or replacement as needed. Cleaning the electronics involves using contact cleaner to eliminate scratchy potentiometers and switches, ensuring smooth and reliable operation.
Polishing the guitar’s finish involves using a high-quality guitar polish to restore luster and protect the surface. Apply the polish in small, circular motions, buffing it to a brilliant shine with a clean, soft cloth. For nitrocellulose finishes, exercise caution and use products specifically formulated for delicate vintage finishes to avoid damage or clouding. Additionally, consider applying a protective wax or sealant to safeguard the restored finish from environmental elements and preserve its radiance.
As you meticulously clean and polish each component, take the opportunity to inspect for any hidden damage or imperfections that may require further attention. This careful scrutiny ensures that the revitalized guitar not only looks stunning but also functions optimally, setting the stage for the subsequent repair and replacement phases of the restoration process.
Repairing and Replacing Parts
As you delve into the restoration of an old electric guitar, the stage of repairing and replacing parts plays a pivotal role in reviving the instrument to its former glory. Begin by addressing any structural issues, such as cracks, separations, or warping in the body or neck. Depending on the severity of the damage, repairs may involve regluing loose joints, filling and sealing cracks, or even performing intricate neck resets to restore proper alignment and playability.
When assessing the hardware and electronics, evaluate the functionality of components such as the pickups, potentiometers, switches, and input jack. Clean or replace scratchy or malfunctioning potentiometers and switches, ensuring smooth and reliable operation. Additionally, inspect the wiring for any frayed or damaged connections, addressing any issues to guarantee optimal signal transmission and noise-free performance.
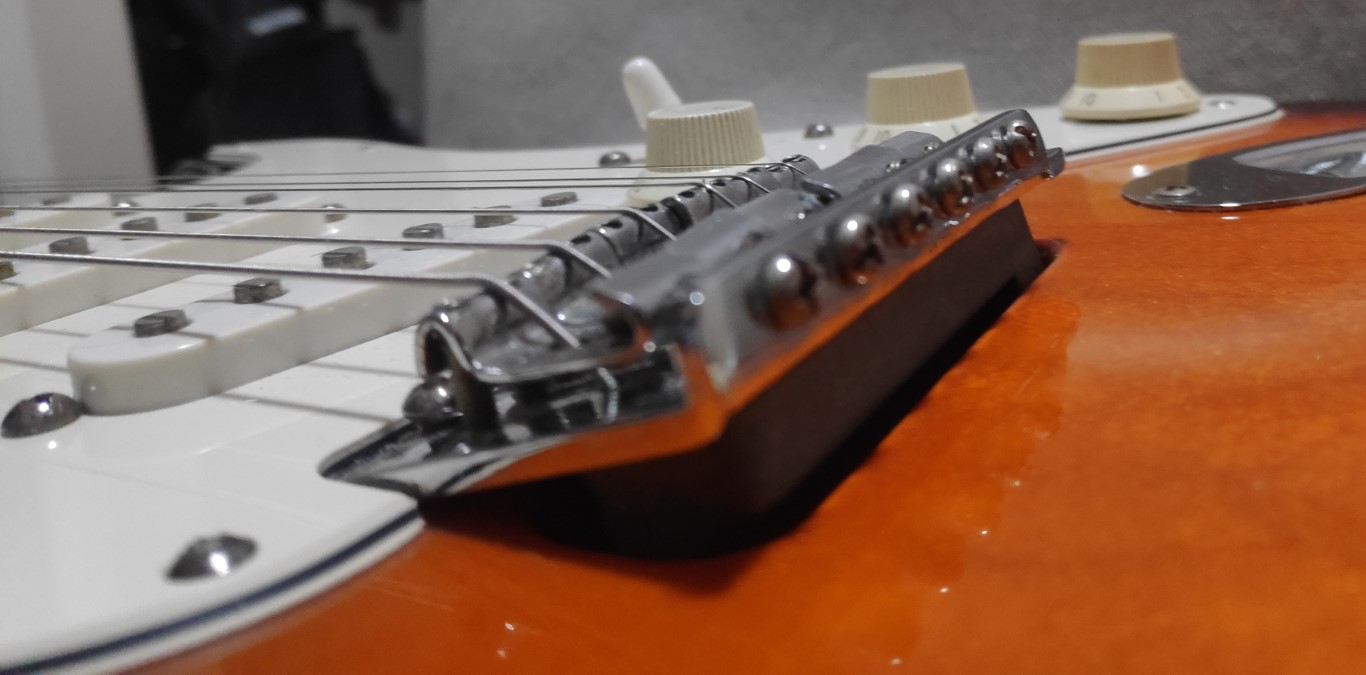
Consider replacing worn or damaged hardware, such as tuners, bridge components, and tremolo systems, with high-quality replacements that match the guitar’s original specifications. Upgrading to premium hardware can enhance tuning stability, sustain, and overall performance while maintaining the instrument’s authentic character.
Fret wear and uneven frets can significantly impact playability and intonation. Address these issues by leveling, crowning, and polishing the frets, ensuring a smooth and consistent playing surface. In cases of extensive fret wear, consider a complete fret replacement to restore precision and comfort during play.
When dealing with the guitar’s finish, address any cosmetic imperfections such as scratches, dents, or finish wear. Depending on the severity of the damage, consider touch-up techniques, buffing and polishing, or entrusting the refinishing to a skilled luthier to achieve a flawless and rejuvenated appearance.
By meticulously repairing and replacing parts, you breathe new life into the old electric guitar, preserving its heritage while elevating its performance and aesthetic appeal. Each carefully executed repair and replacement contributes to the instrument’s transformation, setting the stage for its seamless reassembly and setup.
Reassembling the Guitar
The reassembly phase marks a pivotal stage in the restoration journey of an old electric guitar, where meticulous attention to detail and precision is paramount. Begin by referring to the documentation, photographs, or sketches created during the disassembly process to ensure accurate reassembly of the guitar’s components. Organize the labeled hardware and components, and methodically proceed with the reattachment of the pickguard, control knobs, and other hardware to the guitar’s body.
If the guitar features a bolt-on neck, carefully align and reattach the neck to the body, ensuring a snug and secure fit. Pay close attention to the alignment of the neck and the condition of the neck joint, making any necessary adjustments to achieve optimal playability. For guitars with set necks or neck-through construction, meticulously rejoin the neck to the body, ensuring a seamless and stable connection.
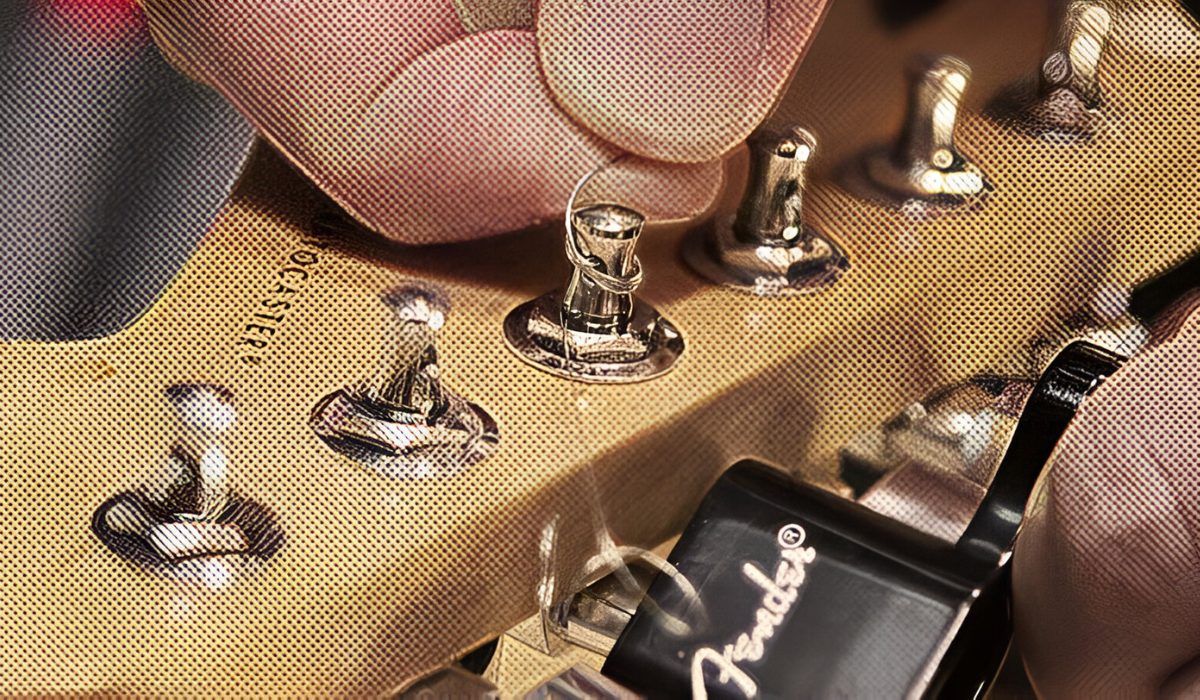
Reinstall the tuning machines, ensuring that they are firmly secured to the headstock and aligned for smooth stringing and tuning. Carefully thread the strings through the bridge and nut, securing them to the tuning pegs and achieving the desired tension. Exercise caution to prevent damage to the freshly cleaned and polished surfaces during the reassembly process.
If the guitar features a tremolo system, carefully reinstall the tremolo springs, arm, and bridge components, ensuring proper positioning and functionality. Take the time to adjust the tremolo system to achieve the desired balance between stability and expressive vibrato capabilities.
As you methodically reassemble the old electric guitar, maintain a clean and organized workspace, periodically referring to your documentation to verify the accuracy of the reassembly. Exercise patience and precision, ensuring that each component is securely fastened and aligned to facilitate optimal playability and performance. By executing the reassembly with meticulous care, you set the stage for the final stages of setting up and adjusting the revitalized instrument.
Setting Up and Adjusting the Guitar
Setting up and adjusting an old electric guitar is a critical phase that directly influences its playability, tone, and overall performance. Begin by assessing the neck relief, ensuring that it maintains the ideal curvature for comfortable play without compromising string action or intonation. Adjust the truss rod as needed to achieve the desired neck relief, carefully monitoring the impact on the instrument’s playability and responsiveness.
Next, address the string action, meticulously adjusting the bridge and nut to achieve the optimal string height for effortless fretting and comfortable playing. Balancing the string action across the fretboard ensures uniform playability and minimizes the risk of fret buzz or intonation issues. Fine-tune the bridge saddles to achieve accurate string length and intonation, ensuring that the guitar delivers precise and harmonious notes across the fretboard.
Inspect the nut slots to ensure proper string spacing and depth, facilitating smooth and stable tuning. Address any binding or pinching of the strings at the nut, ensuring that they move freely and consistently across the fretboard. Lubricate the nut slots as needed to minimize friction and enhance tuning stability.
Check the pickup height and orientation, fine-tuning their positioning to achieve the desired tonal balance and responsiveness. Experiment with different pickup heights and configurations to optimize the guitar’s sonic characteristics, tailoring it to your playing style and musical preferences.
As you set up and adjust the old electric guitar, periodically evaluate its playability, tonal response, and tuning stability. Make incremental adjustments and fine-tuning, allowing the instrument to acclimate to the setup changes before assessing the impact on its performance. Exercise patience and attentiveness, as the setup process often involves a delicate balance of adjustments to achieve the desired playability and tonal characteristics.
By meticulously setting up and adjusting the revitalized guitar, you ensure that it delivers a rewarding playing experience, resonating with clarity, responsiveness, and tonal versatility. Each adjustment contributes to the instrument’s transformation, culminating in a meticulously restored electric guitar ready to inspire and create beautiful music once again.
Testing and Fine-Tuning
After completing the setup and adjustments, the final phase of restoring an old electric guitar involves thorough testing and fine-tuning to ensure that the instrument meets performance standards and delivers an exceptional playing experience. Begin by tuning the guitar to the desired pitch, meticulously adjusting each string to achieve accurate and stable tuning across the fretboard. Utilize a reliable tuner to verify the precision of the tuning, making any necessary adjustments to achieve optimal pitch stability.
With the guitar tuned, embark on a comprehensive playability assessment, evaluating the instrument’s responsiveness, intonation, and tonal characteristics across various playing styles and musical genres. Test the guitar’s sustain, note clarity, and harmonic richness, ensuring that it delivers a dynamic and expressive sonic palette. Pay close attention to the instrument’s playability, assessing the comfort and ease of fretting, bending, and chord transitions.
Experiment with different playing techniques and pickup selections to explore the guitar’s tonal versatility and responsiveness. Fine-tune the pickup height and tone controls, tailoring the instrument’s sonic characteristics to your musical preferences and performance requirements. Listen attentively to the guitar’s tonal nuances, assessing its capacity to deliver articulate and expressive sounds across the frequency spectrum.
Conduct rigorous testing across various amplification setups and effects configurations, evaluating the guitar’s compatibility with different signal chains and sonic environments. Assess its noise performance, signal clarity, and dynamic response, ensuring that it delivers consistent and reliable performance in diverse playing scenarios.
Throughout the testing phase, maintain a meticulous approach, making note of any nuanced adjustments or fine-tuning needed to optimize the guitar’s performance. Embrace the opportunity to fine-tune the instrument’s setup, addressing any subtle nuances that can elevate its playability and sonic character.
By rigorously testing and fine-tuning the restored electric guitar, you ensure that it emerges as a refined and reliable musical instrument, ready to inspire and empower musicians with its exceptional performance and sonic capabilities. Each adjustment and evaluation contributes to the instrument’s transformation, affirming its status as a meticulously restored and revitalized masterpiece.