Introduction
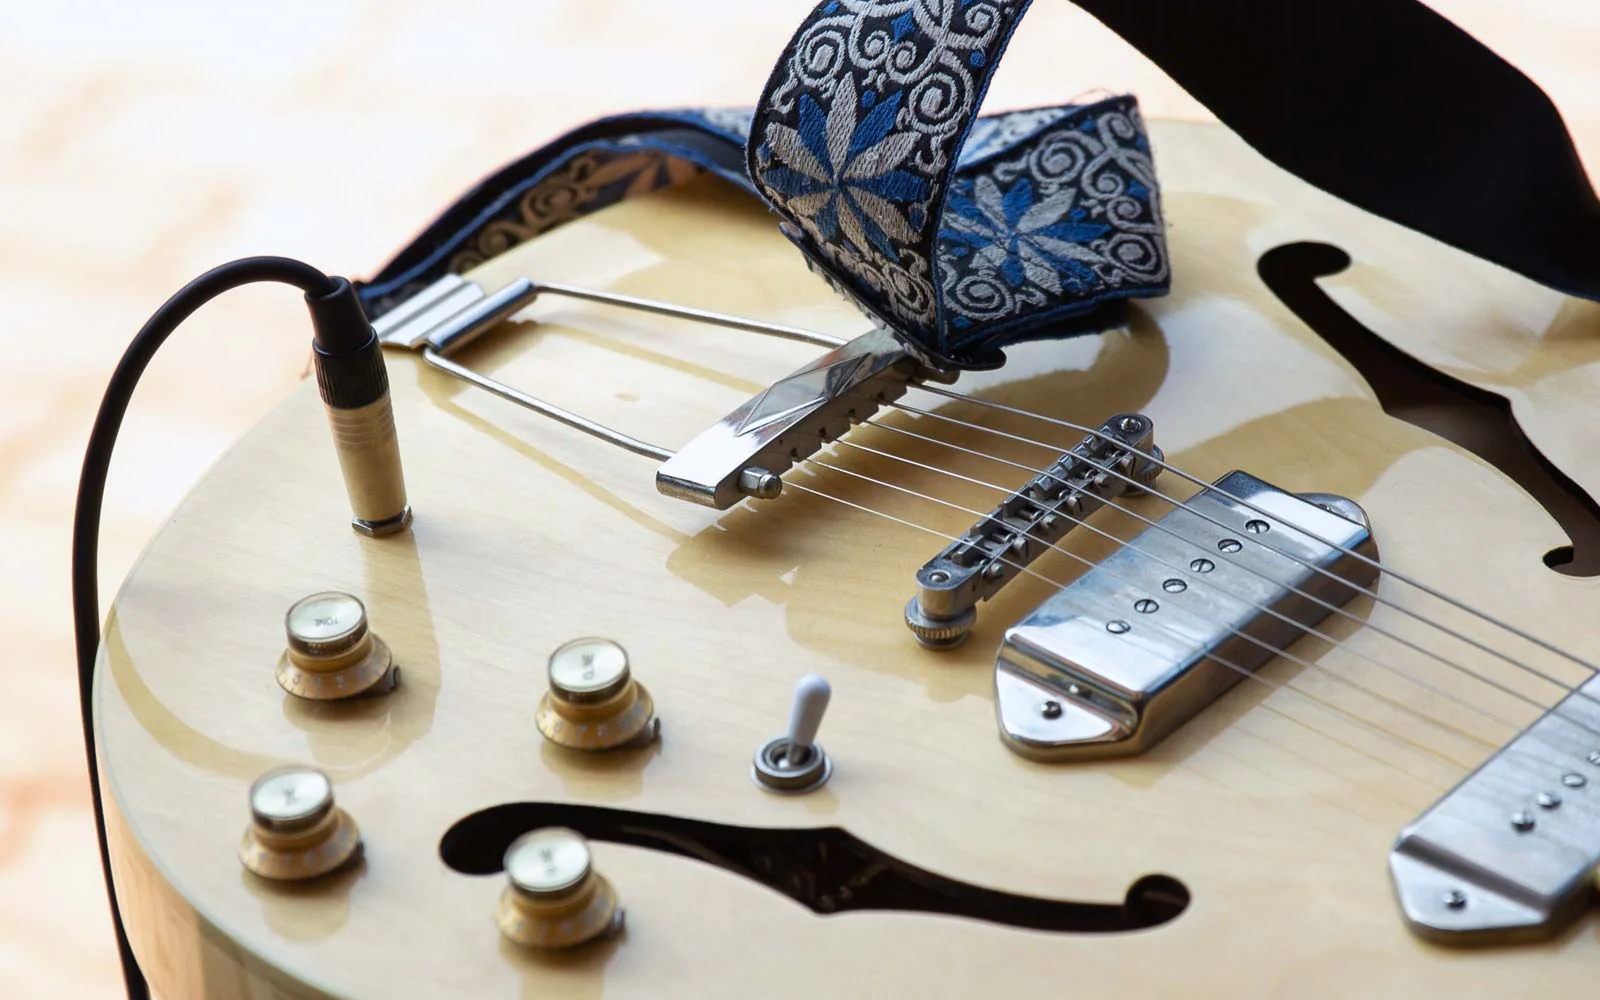
Are you experiencing issues with the input jack on your electric guitar? Don't fret! Whether you're dealing with crackling sounds, intermittent connections, or a complete loss of signal, resolving input jack problems is essential for ensuring your guitar performs at its best. The input jack is a crucial component that facilitates the connection between your guitar and the amplifier, and any malfunction can significantly impact your playing experience.
In this comprehensive guide, we'll walk you through the step-by-step process of fixing the electric guitar input jack. You'll learn how to identify the problem, gather the necessary tools and materials, and execute the repair with confidence. By following these instructions, you can restore your guitar's functionality and eliminate frustrating audio disruptions.
From removing the old input jack to testing the new connection, each stage of the repair process will be explained in detail. Whether you're a seasoned guitarist or a DIY enthusiast eager to tackle a new project, this guide is designed to equip you with the knowledge and skills needed to address input jack issues effectively.
By the end of this tutorial, you'll have the expertise to troubleshoot and resolve electric guitar input jack problems, empowering you to enjoy uninterrupted, high-quality sound during your practice sessions and performances. So, let's gather the necessary tools and materials and get ready to breathe new life into your electric guitar!
Tools and Materials Needed
Before embarking on the journey to fix your electric guitar’s input jack, it’s essential to gather the necessary tools and materials. Here’s what you’ll need:
- Screwdriver Set: Ensure you have a screwdriver set with various head types, as this will be crucial for accessing and removing the input jack.
- Wire Cutters: A pair of wire cutters will be necessary for disconnecting the old input jack and preparing the wires for the new one.
- Soldering Iron and Solder: Since the input jack connections are typically soldered, a soldering iron and solder are essential for securing the wires to the new jack.
- New Input Jack: Acquire a replacement input jack that is compatible with your electric guitar. Ensure it matches the specifications and dimensions of the original jack for a seamless fit.
- Electrical Tape: Electrical tape will be used to insulate and protect the soldered connections, preventing any short circuits.
- Wire Strippers: These will come in handy for stripping the insulation from the wire ends, allowing for proper connection to the new input jack.
- Multi-Meter (Optional): While not essential, a multi-meter can be useful for testing the continuity of the connections before and after the repair.
By ensuring you have these tools and materials at your disposal, you’ll be well-prepared to tackle the task of fixing your electric guitar’s input jack. Once you’ve gathered everything, you’re ready to proceed to the next step: removing the old input jack.
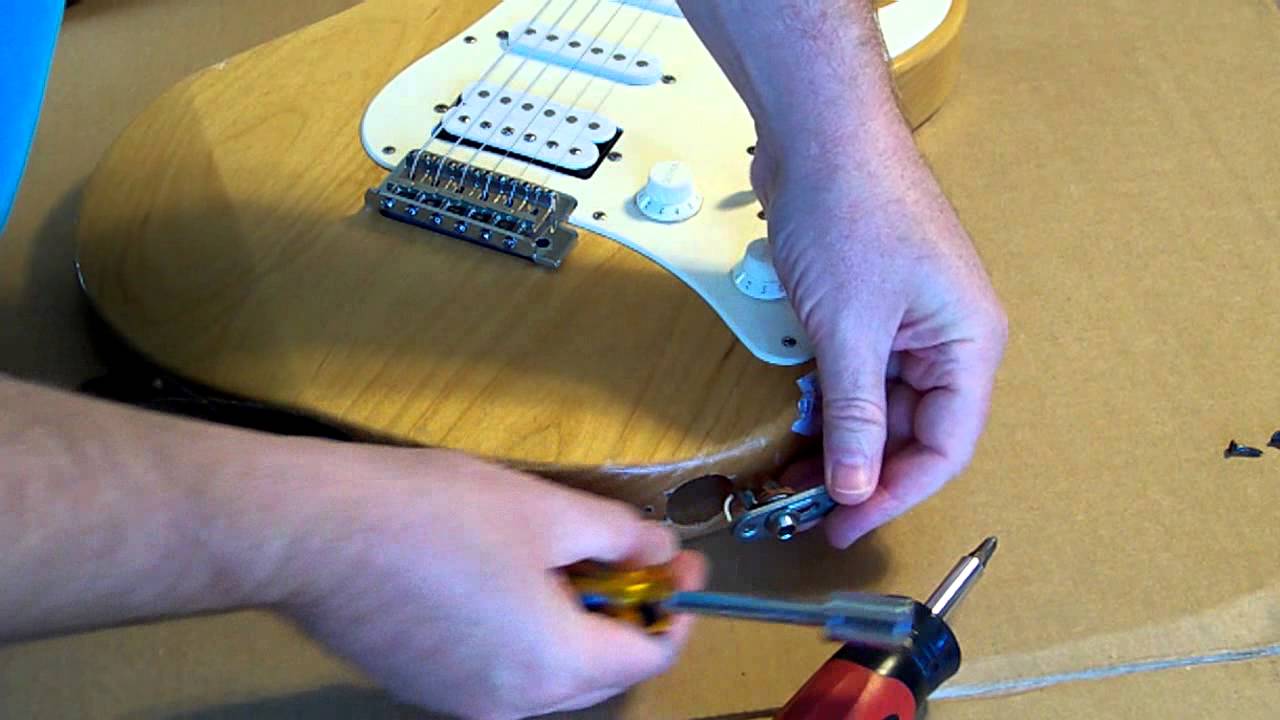
Step 1: Remove the Old Input Jack
Removing the old input jack is the crucial first step in the repair process. Follow these detailed instructions to ensure a smooth and successful removal:
- Prepare Your Workspace: Find a well-lit and spacious area to work in, ensuring you have enough room to maneuver and lay out your tools.
- Disconnect the Guitar: Before starting any work, make sure your electric guitar is unplugged from the amplifier to avoid any potential electrical hazards.
- Remove the Cavity Cover: Using the appropriate screwdriver from your set, carefully remove the screws holding the cavity cover in place, granting access to the internal components of the guitar.
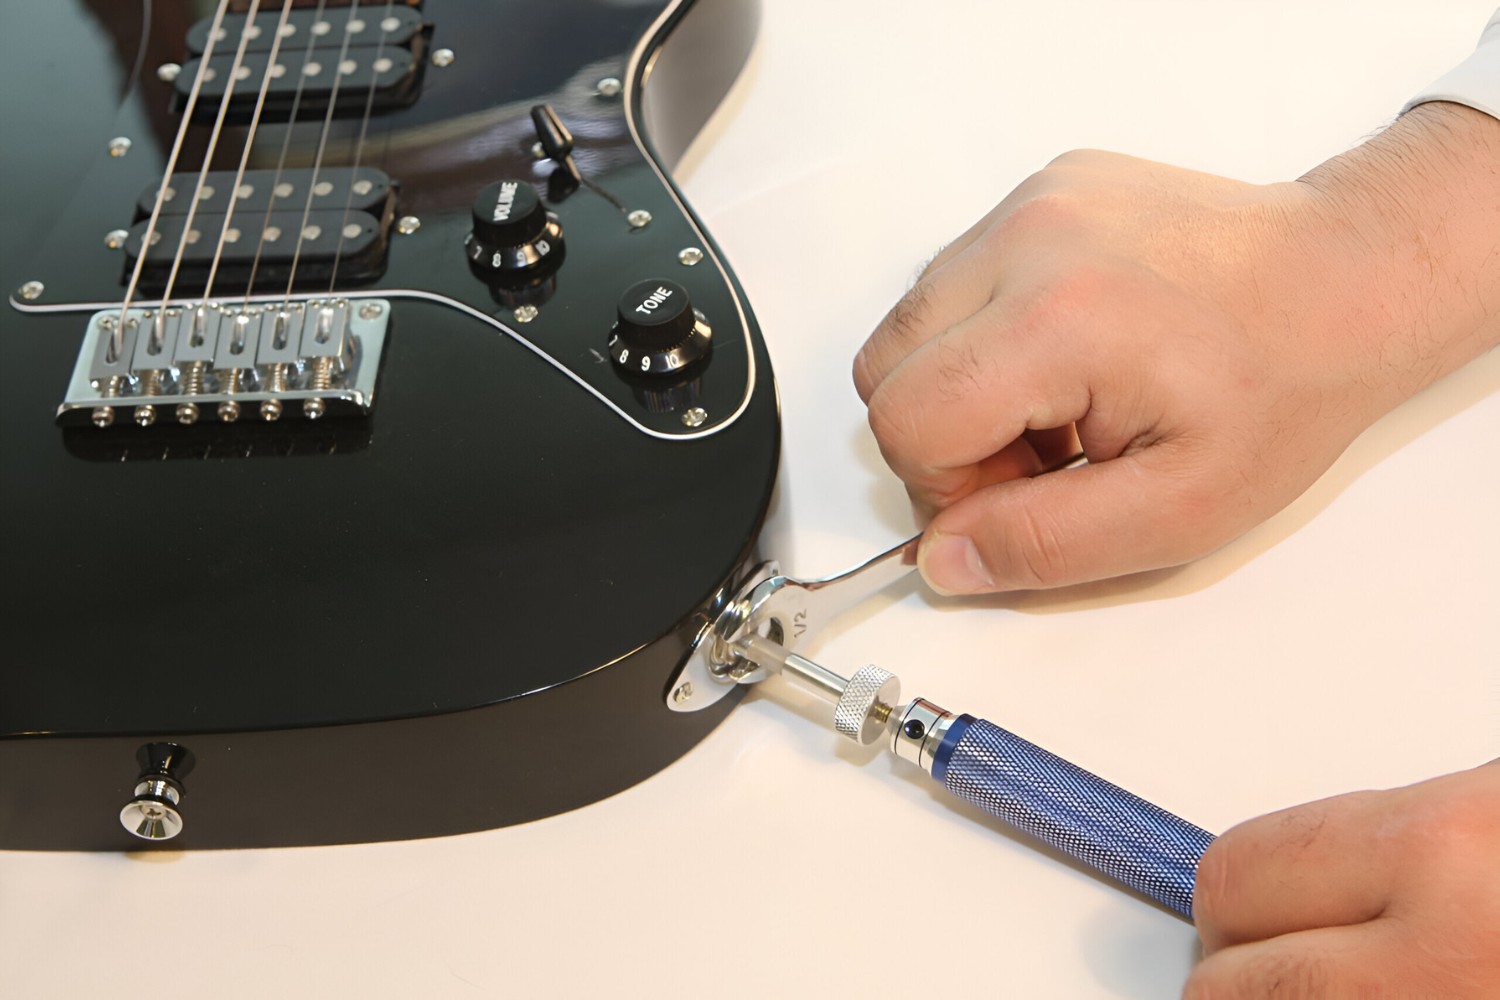
- Identify the Input Jack: Locate the input jack within the cavity of the guitar. It is typically connected to the guitar’s wiring and secured to the body with a nut.
- Disconnect the Wires: Using wire cutters, carefully disconnect the wires attached to the input jack. Take note of the wire color coding or configuration to ensure proper reconnection later.
- Unscrew the Nut: With the wires detached, use the appropriate size of the screwdriver to loosen and remove the nut that secures the input jack to the body of the guitar.
- Remove the Old Jack: Once the nut is removed, gently push the old input jack out of the guitar’s body, ensuring not to damage any surrounding components or wiring.
With the old input jack successfully removed, you’ve completed the first critical step in the repair process. Take a moment to inspect the removed jack for any visible damage or signs of wear. Now, you’re ready to move on to the next step: preparing the new input jack for installation.
Step 2: Prepare the New Input Jack
Now that the old input jack has been removed, it’s time to prepare the new input jack for installation. Follow these steps to ensure the new jack is ready for a seamless connection:
- Inspect the New Jack: Before proceeding, carefully examine the new input jack to confirm that it matches the specifications of the original jack and is compatible with your guitar.
- Prepare the Wires: If the new jack does not come with pre-soldered wires, use wire strippers to remove a small portion of the insulation from the wire ends, exposing the conductive metal.
- Apply Solder to the Wires: If the new jack requires soldering, apply a small amount of solder to the exposed wire ends to ensure a secure connection to the jack’s terminals.
- Connect the Wires: Identify the appropriate terminals on the new input jack and connect the wires according to the color-coding or configuration noted during the old jack’s removal.
- Secure the Wires: Once the wires are connected, use electrical tape to individually insulate and protect each soldered connection, preventing any potential short circuits.
- Double-Check the Connections: Before proceeding to the installation stage, double-check the connections to ensure they are secure and properly insulated. This step is crucial for preventing future issues.
By meticulously preparing the new input jack and ensuring the wires are correctly connected and insulated, you’ll set the stage for a successful installation. With the new jack ready, you’re now poised to move on to the next step: installing the new input jack into your electric guitar.
Step 3: Install the New Input Jack
With the new input jack prepared, it’s time to proceed with the installation process. Follow these step-by-step instructions to seamlessly install the new input jack into your electric guitar:
- Position the New Jack: Carefully position the new input jack in the designated cavity of the guitar, ensuring that the threaded portion aligns with the hole and the terminals are accessible.
- Secure the Jack with the Nut: Once the jack is positioned, thread the securing nut onto the threaded portion from inside the cavity and tighten it using the appropriate screwdriver, ensuring a snug fit against the guitar’s body.
- Reconnect the Ground Wire (if applicable): If your guitar’s input jack includes a ground wire, ensure it is securely reconnected to the designated terminal on the new jack, typically indicated by a grounding symbol.
- Replace the Cavity Cover: Carefully reposition the cavity cover over the internal components of the guitar and secure it in place using the previously removed screws, ensuring a flush and secure fit.
- Test the Jack’s Stability: Gently tug on the input jack to ensure it is firmly secured to the guitar’s body, verifying that there is no excessive movement or instability that could lead to future issues.
By following these steps, you’ll successfully install the new input jack, bringing your electric guitar one step closer to optimal functionality. With the new jack securely in place, you’re now ready to proceed to the next crucial stage: testing the connection to ensure everything is in working order.
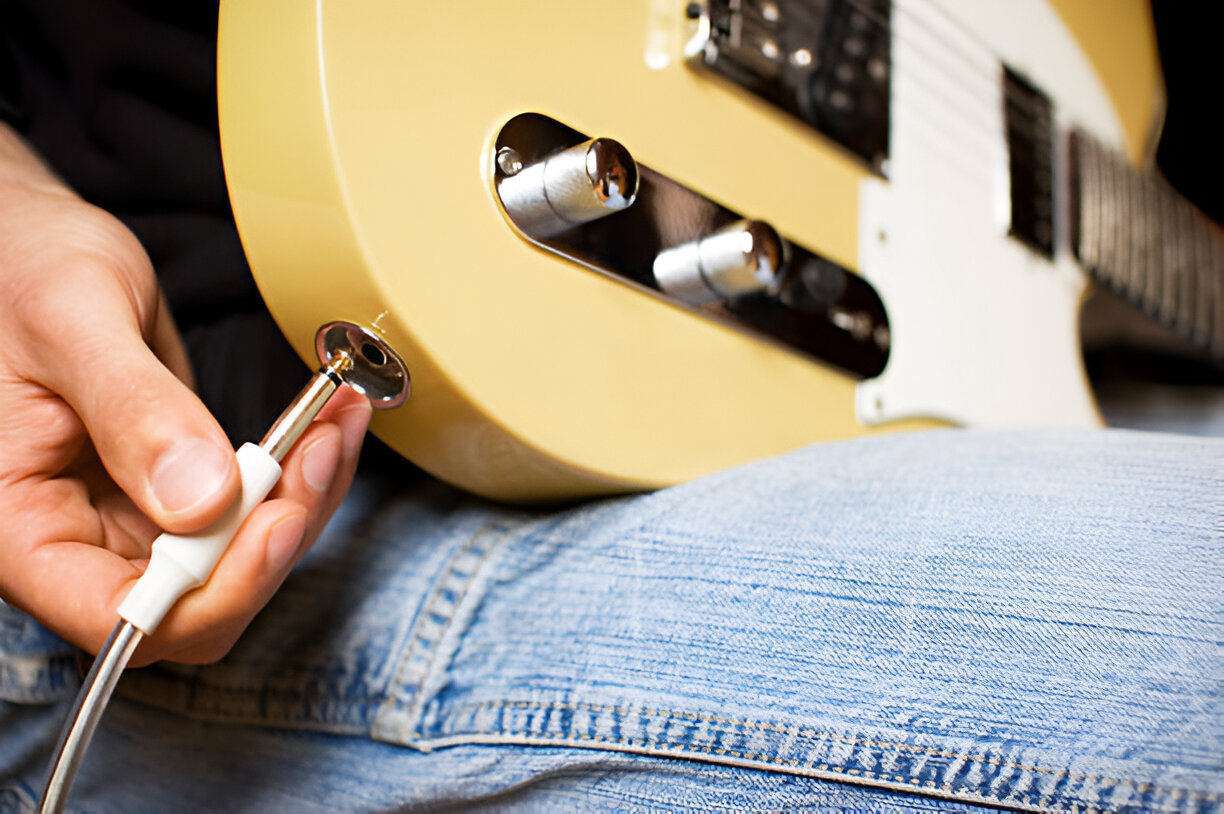
Step 4: Test the Connection
Before finalizing the repair process, it’s essential to thoroughly test the connection of the newly installed input jack to ensure that it functions as intended. Follow these steps to conduct a comprehensive test:
- Plug In the Guitar: With the new input jack securely installed, plug your electric guitar into the amplifier, ensuring that the cable is inserted firmly into the jack.
- Check for Signal: Strum the guitar strings and carefully listen for any crackling, buzzing, or intermittent signals that may indicate a faulty connection. If the signal is clear and consistent, proceed to the next step.
- Test the Jack’s Stability: Gently wiggle the plugged-in cable near the input jack to check for any disruptions in the sound. A stable connection should maintain a clear and uninterrupted signal during this test.
- Verify Stereo and Mono Compatibility: If your electric guitar supports both stereo and mono output, ensure that the new input jack accommodates both configurations without any issues.
- Inspect for Loose Connections: Visually inspect the input jack and surrounding area for any signs of loose connections or abnormal behavior while the guitar is in use.
- Utilize the Controls: If your guitar features volume or tone controls, adjust them while monitoring the signal to ensure that the input jack effectively transmits the changes in sound.
By rigorously testing the connection, you can identify and address any potential issues before finalizing the repair. If the test results indicate a stable and reliable connection, congratulations – you’ve successfully resolved the input jack issue on your electric guitar!
Conclusion
Congratulations on successfully navigating the process of fixing the input jack on your electric guitar! By following the comprehensive steps outlined in this guide, you’ve not only addressed the issue at hand but also gained valuable insight into the inner workings of your instrument. Your dedication to maintaining and repairing your guitar will undoubtedly enhance your playing experience and deepen your connection to your musical craft.
As you reflect on the journey from identifying the problem to testing the new connection, remember that the skills you’ve acquired are invaluable. The ability to troubleshoot and repair the input jack empowers you to overcome future challenges with confidence, ensuring that your guitar remains in optimal playing condition.
Moreover, the sense of accomplishment that comes with successfully completing a repair of this nature is truly gratifying. Your diligence and attention to detail have not only restored the functionality of your electric guitar but have also strengthened your technical prowess as a musician.
As you continue your musical endeavors, remember that maintenance and occasional repairs are part of the journey. Embrace these opportunities to engage with your instrument on a deeper level, and don’t hesitate to explore further DIY projects to enhance and customize your guitar to your preferences.
With your newly restored input jack, your electric guitar is ready to deliver pristine sound and accompany you on your musical endeavors. Whether you’re practicing in the comfort of your home or performing on stage, the reliable connection facilitated by the repaired input jack will ensure that your music resonates with clarity and precision.
Thank you for embarking on this repair journey with dedication and enthusiasm. Your commitment to maintaining your electric guitar is a testament to your passion for music and your desire to keep your instrument in top-notch condition. Keep strumming, keep rocking, and keep nurturing your connection with your beloved electric guitar!