Introduction
So, you've just picked up your electric guitar, ready to rock out and unleash your inner guitar hero, but wait – something's not quite right. Your electric guitar seems to be on the fritz, and you're left scratching your head in frustration. Before you start panicking or rush to the nearest repair shop, take a deep breath and let's troubleshoot the issue together.
Electric guitars are intricate instruments, and when they're not working as expected, it can be a real buzzkill. However, fret not (pun intended), as many common issues with electric guitars can be diagnosed and resolved without the need for professional intervention. By following a few simple steps and using some basic troubleshooting techniques, you may be able to identify the source of the problem and get your guitar back in tune in no time.
In this guide, we'll walk through the essential steps to diagnose and troubleshoot the most common issues that can cause your electric guitar to malfunction. From checking the power source to examining the guitar's electronics, we'll cover each aspect in detail, providing you with the knowledge and confidence to address the issue effectively. So, grab your guitar, and let's dive into the troubleshooting process to unravel the mystery behind your electric guitar's unexpected silence.
Check the Power Source
Before delving into the intricate components of your electric guitar, it’s crucial to start your troubleshooting process by examining the power source. Many electric guitars rely on external power, either from a battery or an electrical outlet, to operate various components such as active pickups, onboard preamps, or built-in effects. If the power source is compromised, it can lead to a myriad of issues, including weak output, distorted sound, or complete silence.
Begin by ensuring that the battery, if applicable, is fully charged or replaced with a new one. Some electric guitars feature a compartment for a 9-volt battery to power active electronics, and a dwindling battery can significantly impact the guitar’s performance. If your guitar is equipped with active pickups or onboard effects, a fresh battery might be the simple solution to revive its functionality.
If your electric guitar connects to an amplifier or other external devices, verify that the cables are securely plugged in and free from damage. A faulty cable or a loose connection can disrupt the flow of power and audio signal, resulting in intermittent sound or complete cut-offs. Additionally, consider testing the guitar with an alternative cable and amplifier to rule out any issues with the equipment itself.
Furthermore, if your electric guitar relies on an electrical outlet for power, ensure that the outlet is functional and that the power cable is undamaged. Sometimes, a faulty outlet or a damaged power cable can be the culprit behind a non-responsive guitar, so it’s essential to eliminate these potential causes before proceeding with further troubleshooting.
By meticulously inspecting and addressing the power source, you can eliminate common issues related to power supply and ensure that your electric guitar is receiving the necessary energy to produce its signature sound. Once you’ve verified the integrity of the power source, it’s time to move on to the next step in the troubleshooting process to uncover any underlying issues that may be affecting your guitar’s performance.
Inspect the Cable and Connections
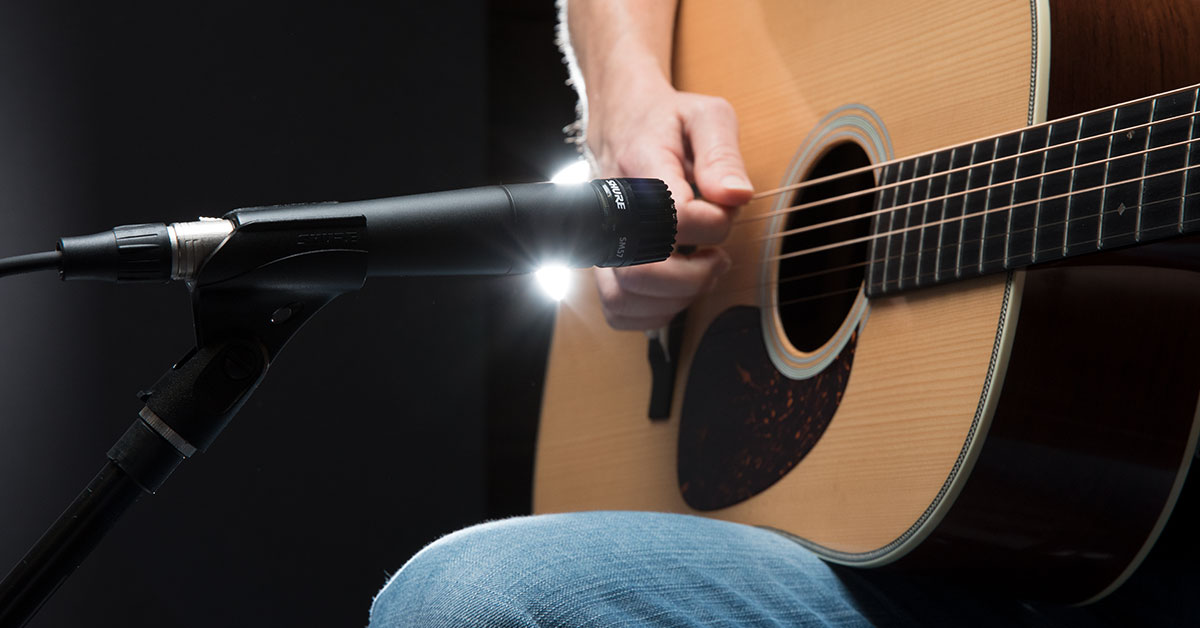
When your electric guitar seems unresponsive, the culprit might not always be the instrument itself. Oftentimes, issues stem from the cables and connections that link your guitar to the amplifier or other audio equipment. These components play a pivotal role in transmitting the guitar’s signal, and any disruptions in the connections can lead to a loss of sound or undesirable noise.
Begin by examining the cable that connects your electric guitar to the amplifier or audio interface. Look for any signs of physical damage, such as frayed insulation, bent connectors, or exposed wiring. Even minor wear and tear can compromise the cable’s functionality and result in signal loss or interference. If you notice any damage, it’s advisable to replace the cable with a new, high-quality one to ensure a reliable connection and optimal signal transmission.
Next, check the input and output jacks on both the guitar and the amplifier. These connection points can accumulate dust, debris, or oxidation over time, leading to poor contact and intermittent signal transmission. Use a clean, dry cloth to gently wipe the jacks and remove any buildup that may impede the connection. Additionally, consider applying a small amount of contact cleaner to the jacks to eliminate any oxidation and ensure a secure, uninterrupted connection.
If your electric guitar features passive or active pickups, inspect the wiring inside the control cavity or battery compartment. Loose or detached wires can disrupt the signal flow and cause erratic behavior in the guitar’s output. Carefully examine the solder joints and connections, ensuring that all wires are securely attached and free from damage. If you encounter any loose or damaged wiring, consider seeking assistance from a qualified technician to address the issue effectively.
By meticulously inspecting the cable and connections, you can identify and rectify common issues that impede the smooth transmission of your electric guitar’s signal. A secure and pristine connection between the guitar and the amplifier is essential for delivering the full sonic potential of your instrument. Once you’ve verified the integrity of the cables and connections, you can proceed with confidence to the next phase of troubleshooting, delving deeper into the components that contribute to your electric guitar’s performance.
Test the Amplifier
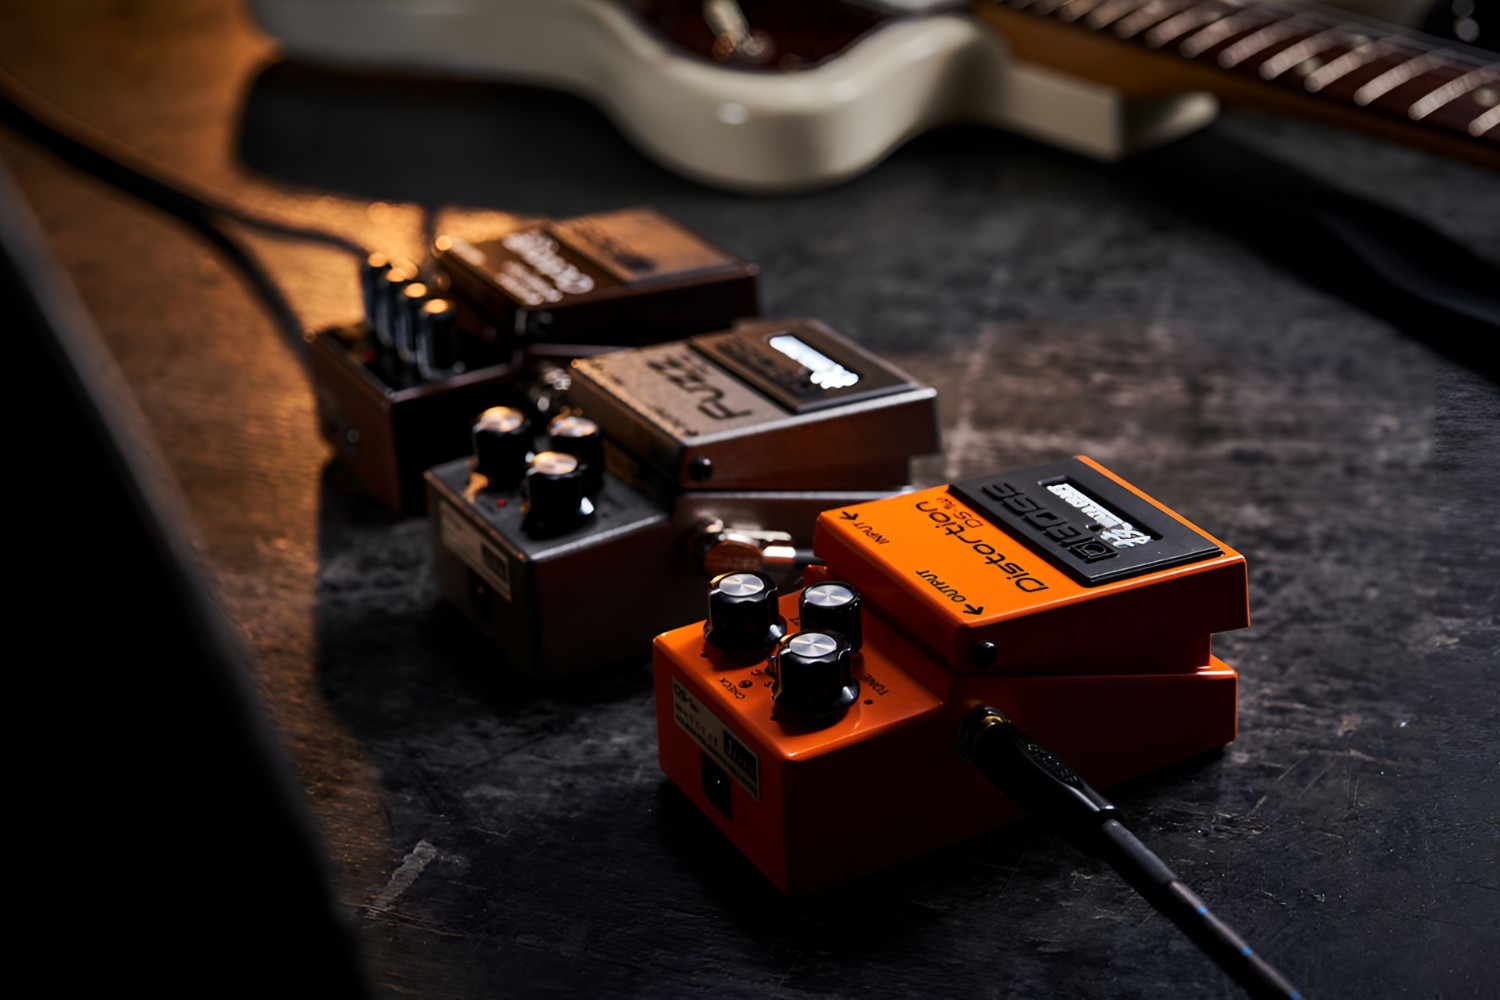
When troubleshooting an electric guitar that appears to be malfunctioning, it’s crucial to assess the amplifier to rule out any potential issues with the audio output. The amplifier serves as the sonic powerhouse that magnifies and shapes the guitar’s signal, and any anomalies in its functionality can lead to distorted, weak, or absent sound. By conducting a systematic examination of the amplifier, you can pinpoint the source of the problem and determine whether the issue lies with the guitar or the amplification system.
Start by checking the power supply and ensuring that the amplifier is receiving adequate electricity to operate optimally. Verify that the power cable is securely connected to a functional outlet and that the amplifier’s power switch is in the “on” position. If the amplifier features a standby or mute function, ensure that it’s not engaged, as this can lead to a perceived loss of sound output from the guitar.
Next, inspect the amplifier’s controls, including the volume, tone, and gain knobs, to ascertain whether they are set to appropriate levels. Sometimes, misadjusted controls can result in a diminished or distorted guitar sound, giving the impression of a malfunctioning instrument. Experiment with the settings, gradually increasing the volume and gain while testing the guitar’s output to determine if the issue is related to the amplifier’s configuration.
If your amplifier features multiple input channels or built-in effects, test each channel and effect to identify any irregularities in sound reproduction. Sometimes, a faulty input or a malfunctioning effect can mask the true output of the electric guitar, leading to confusion about the source of the issue. By systematically evaluating each component of the amplifier, you can isolate any problematic elements and address them accordingly.
Furthermore, consider testing the amplifier with an alternative audio source, such as a different guitar or a music player, to verify its functionality. If the amplifier produces clear, undistorted sound with an alternative source, it indicates that the issue may be specific to the electric guitar or its connections. Conversely, if the amplifier exhibits the same irregularities with other audio sources, it suggests that the problem lies within the amplification system itself.
By methodically testing the amplifier and its various components, you can determine whether the source of the issue resides in the amplification system or if it’s related to the electric guitar and its associated connections. This systematic approach allows for a comprehensive assessment of the audio output, paving the way for targeted troubleshooting to restore your electric guitar’s sonic prowess.
Examine the Guitar Electronics
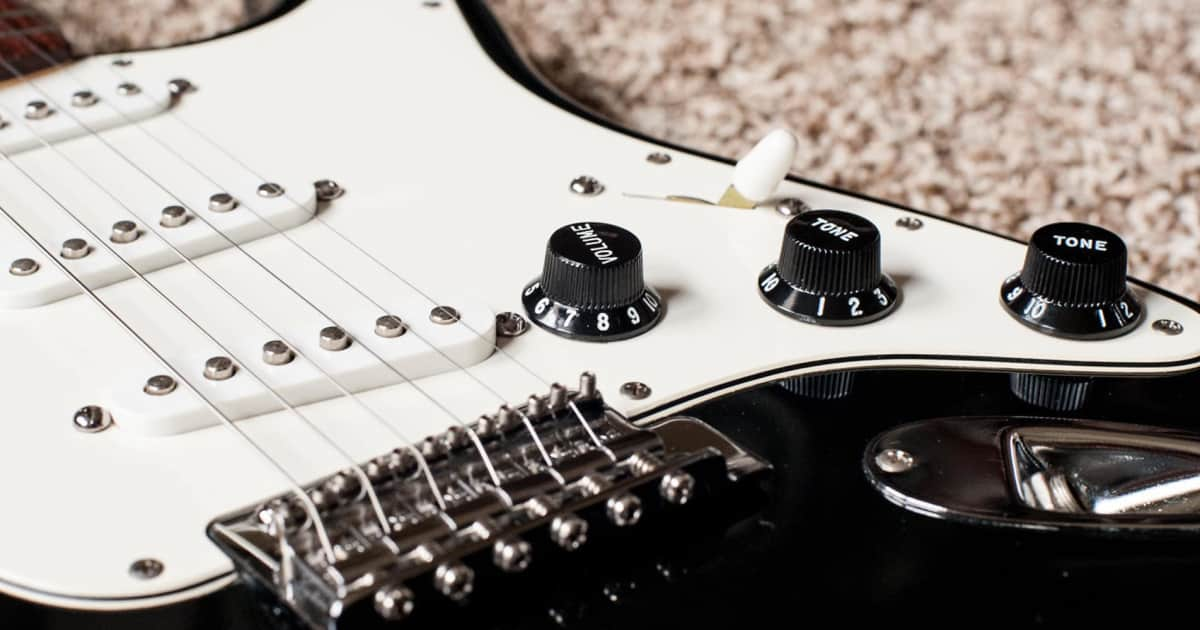
As you delve deeper into troubleshooting your electric guitar, it’s essential to turn your attention to the intricate electronics housed within the instrument. The electronic components, including the pickups, potentiometers, switches, and onboard preamps, play a pivotal role in shaping the guitar’s tonal characteristics and signal output. By thoroughly examining these elements, you can identify potential issues that may be affecting the instrument’s performance and address them effectively.
Begin by visually inspecting the pickups, which serve as the primary transducers that capture the vibration of the guitar strings and convert it into an electrical signal. Check for any signs of physical damage, such as loose wiring, broken coils, or dislodged pole pieces. Additionally, ensure that the pickup height and alignment are set appropriately, as improper positioning can lead to imbalances in volume and tonal response across the strings.
Next, assess the potentiometers, or “pots,” that control the volume and tone settings on the electric guitar. Turn the knobs to their full range while listening for any scratchy or intermittent noises, which can indicate a dirty or worn potentiometer. If you encounter such issues, consider applying a small amount of contact cleaner to the potentiometers to eliminate any oxidation or debris that may be affecting their performance.
Inspect the selector switch, if applicable, to ensure that it functions smoothly and effectively routes the signal from the pickups to the output jack. A faulty selector switch can lead to signal loss, intermittent sound, or a complete cutoff, so it’s crucial to verify its integrity during the troubleshooting process. Additionally, if your electric guitar features onboard preamps or built-in effects, examine these components for any signs of malfunction, such as crackling, distortion, or irregular behavior.
Furthermore, check the jack where the guitar cable plugs into the instrument. A loose or damaged output jack can result in intermittent sound or a complete loss of signal, so it’s important to ensure that the connection is secure and free from any impediments. If you notice any issues with the output jack, consider seeking assistance from a qualified technician to address the problem effectively.
By meticulously examining the electronic components of your electric guitar, you can identify and rectify potential issues that may be affecting the instrument’s functionality. A thorough assessment of the pickups, potentiometers, switches, and onboard electronics allows you to pinpoint the source of the problem and take targeted measures to restore your guitar’s sonic capabilities. Once you’ve assessed the guitar’s electronics, you can proceed with confidence to the next stage of troubleshooting, further refining your investigation to uncover any underlying issues that may be impacting your instrument’s performance.
Troubleshoot the Pickups
When your electric guitar exhibits irregularities in tone, volume, or signal output, the pickups often emerge as a primary area of concern. These magnetic transducers are pivotal in capturing the vibrations of the guitar strings and translating them into electrical signals, shaping the instrument’s sonic character. By systematically troubleshooting the pickups, you can identify and address potential issues that may be affecting the guitar’s tonal response and overall performance.
Begin by assessing the individual pickups and their respective output. If your electric guitar features multiple pickups, test each one independently to determine if any particular pickup is exhibiting irregular behavior. Listen for differences in volume, tonal characteristics, and clarity between the pickups, as disparities in output can indicate potential issues with a specific pickup or its associated wiring.
Next, examine the pickup height and adjust it to achieve optimal balance and tonal response across all strings. Improper pickup height can lead to uneven volume and tonal output, particularly when transitioning between different pickups. By carefully adjusting the pickup height and observing its impact on the instrument’s sound, you can ensure that each pickup contributes to a cohesive and balanced sonic palette.
Inspect the pickup wiring and solder joints for any signs of damage or detachment. Loose or broken wires can disrupt the signal flow and lead to inconsistencies in the pickup’s output. Carefully examine the connections within the control cavity, ensuring that all wires are securely attached and free from any visible defects. If you encounter any issues with the pickup wiring, consider seeking assistance from a qualified technician to address the problem effectively.
If your electric guitar is equipped with active pickups that require a battery for operation, verify that the battery is fully charged or replace it with a new one. A dwindling battery can lead to a weakened or distorted signal from the active pickups, impacting the guitar’s overall sonic performance. By ensuring that the active pickups receive the necessary power supply, you can eliminate potential issues related to insufficient energy for their operation.
Furthermore, consider testing the pickups with an alternative amplifier or audio interface to determine if the irregularities in their output persist across different audio systems. If the issues are consistent, it indicates that the problem lies within the pickups or their associated wiring, prompting further investigation and potential remedial action.
By methodically troubleshooting the pickups and their associated components, you can pinpoint and address potential issues that may be affecting the tonal response and overall performance of your electric guitar. A thorough assessment of the pickups allows for targeted measures to rectify any irregularities and restore the instrument’s sonic prowess. Once you’ve troubleshooted the pickups, you can proceed with confidence to the next phase of troubleshooting, armed with valuable insights to refine your investigation and address any remaining issues that may impact your guitar’s performance.
Conclusion
As you’ve embarked on the journey to troubleshoot your electric guitar, you’ve navigated through a comprehensive process to diagnose and address potential issues that may have hindered the instrument’s performance. From examining the power source and inspecting the cables and connections to testing the amplifier, scrutinizing the guitar’s electronics, and troubleshooting the pickups, you’ve delved into the intricate components of the electric guitar to uncover the root causes of any irregularities.
Throughout this troubleshooting endeavor, you’ve gained valuable insights into the essential elements that contribute to the sonic prowess of your electric guitar. By meticulously evaluating each aspect, from the power supply to the electronic components, you’ve honed your ability to identify and rectify potential issues that may impact the instrument’s functionality. Whether it’s a simple matter of a loose connection or a more complex concern related to the guitar’s internal electronics, your systematic approach has equipped you with the knowledge and confidence to address these issues effectively.
Moreover, your meticulous troubleshooting process has not only empowered you to resolve immediate issues with your electric guitar but has also deepened your understanding of the instrument’s inner workings. By gaining insights into the nuances of the pickups, potentiometers, switches, and other electronic components, you’ve developed a deeper appreciation for the craftsmanship and engineering that underpin the sonic artistry of the electric guitar.
As you conclude this troubleshooting journey, it’s important to recognize the value of patience, attentiveness, and methodical investigation when addressing technical issues with musical instruments. Your dedication to unraveling the mysteries behind your electric guitar’s unexpected behavior has not only honed your troubleshooting skills but has also strengthened your bond with the instrument, fostering a deeper connection and understanding of its nuances.
Armed with the knowledge and insights gained from this troubleshooting process, you’re well-prepared to tackle any future challenges that may arise with your electric guitar. Whether it’s a subtle tonal irregularity or a more pronounced malfunction, your systematic approach and keen attention to detail will serve as invaluable assets in maintaining and optimizing the performance of your beloved instrument.
So, as you set down your tools and pick up your electric guitar once more, you can do so with the confidence and assurance that you possess the skills and expertise to troubleshoot and address any issues that may arise. Your electric guitar awaits, ready to resonate with the vibrant, expressive tones that define its musical identity, and you stand poised to unleash its sonic potential with unwavering proficiency.