Introduction
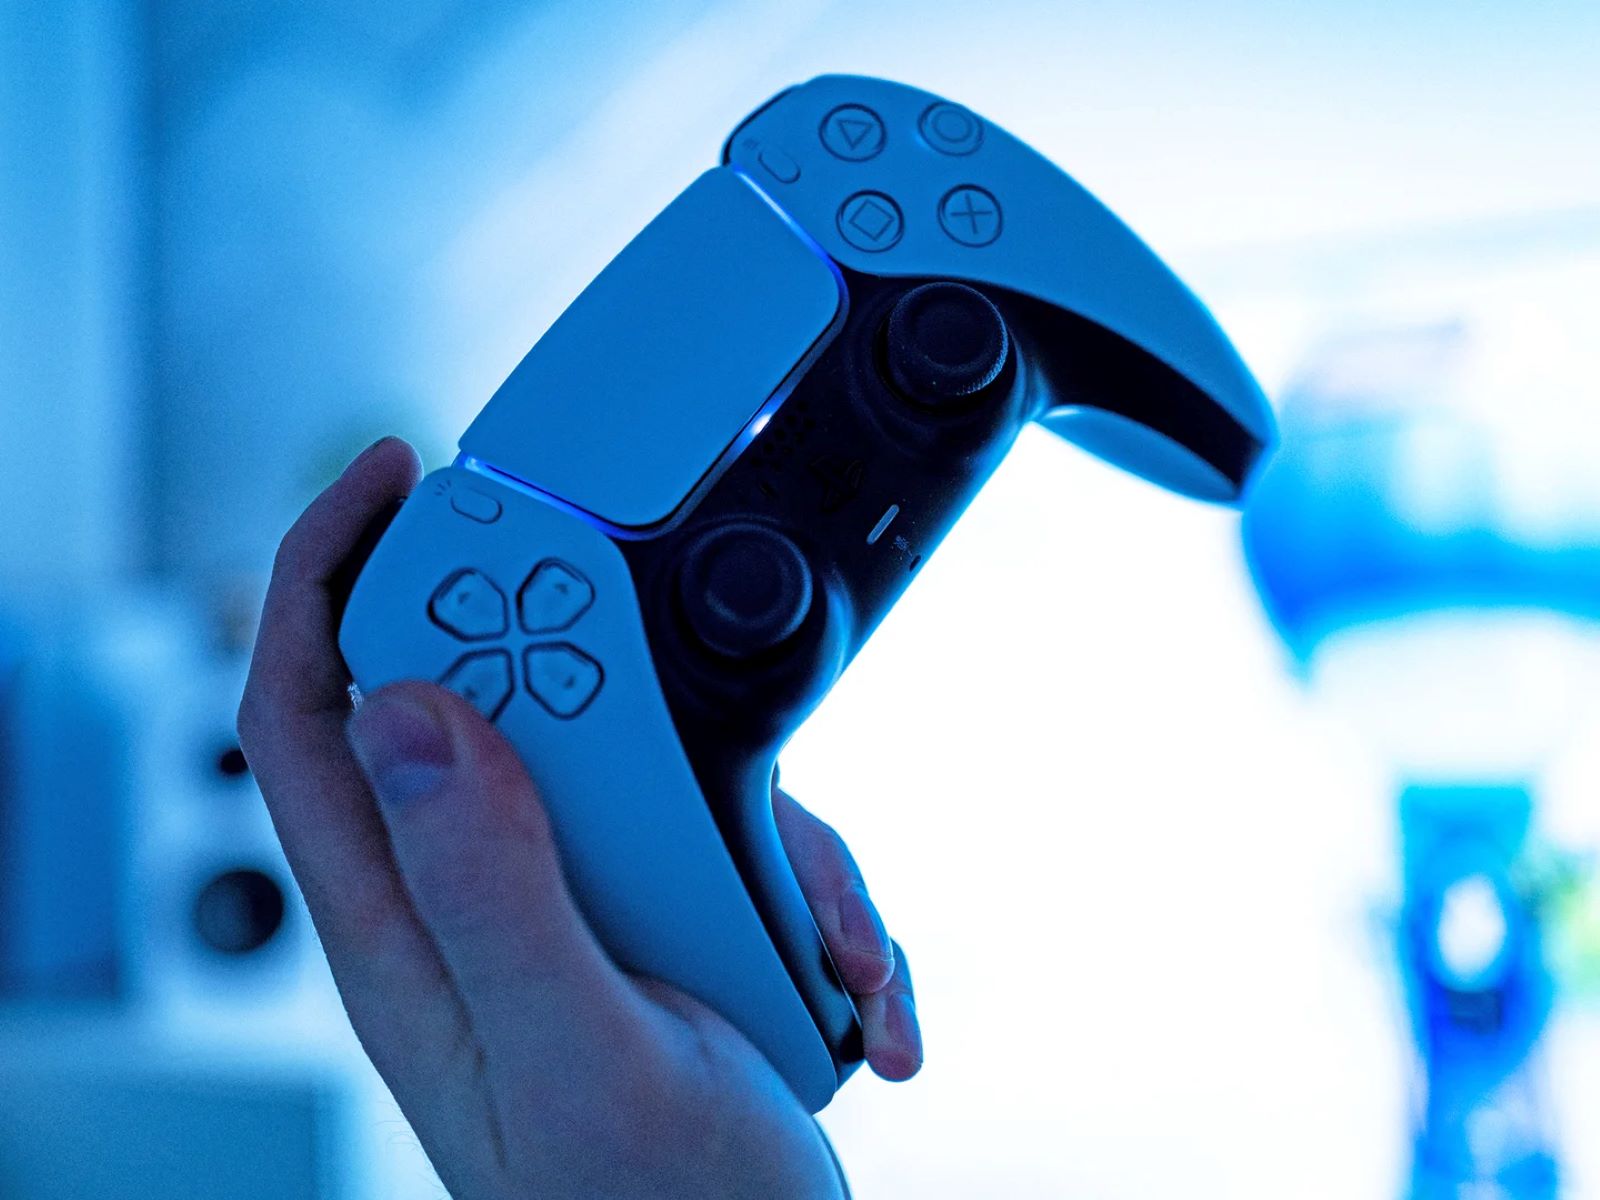
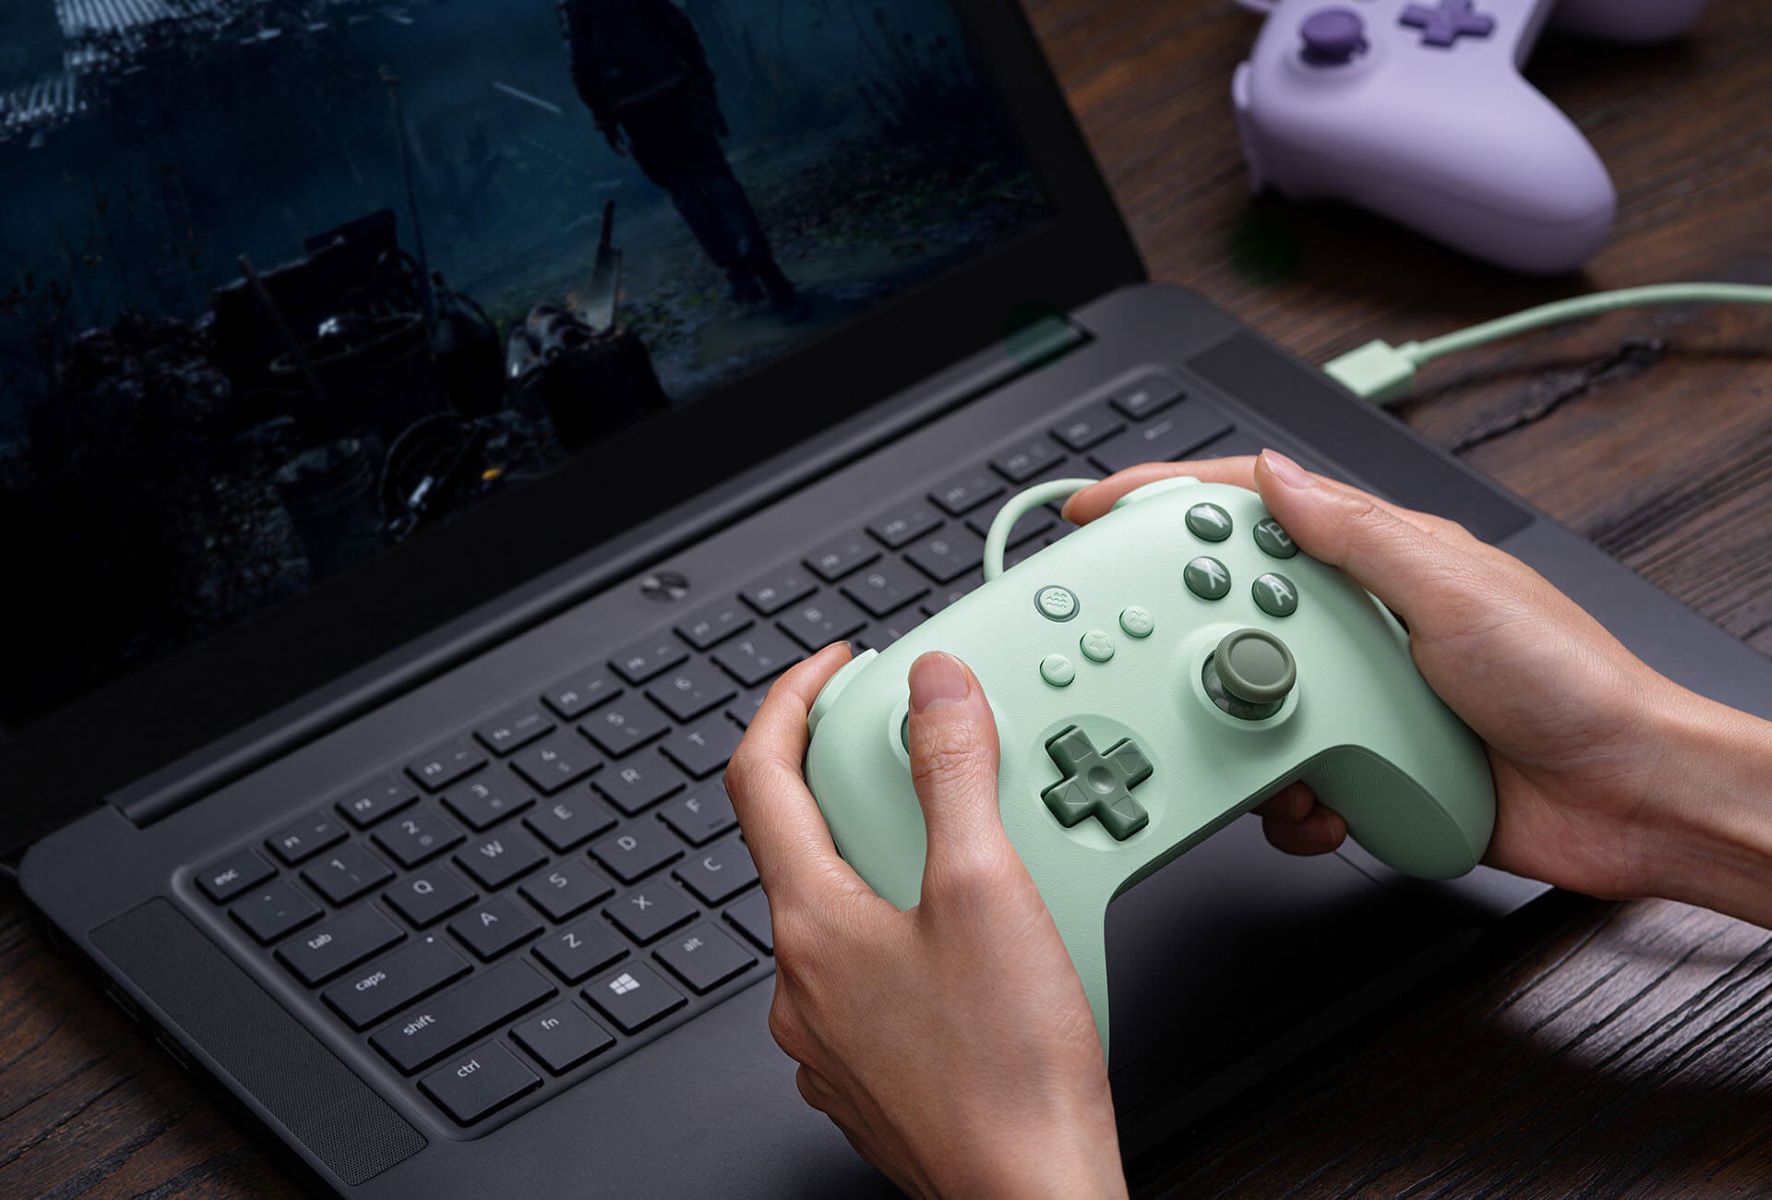
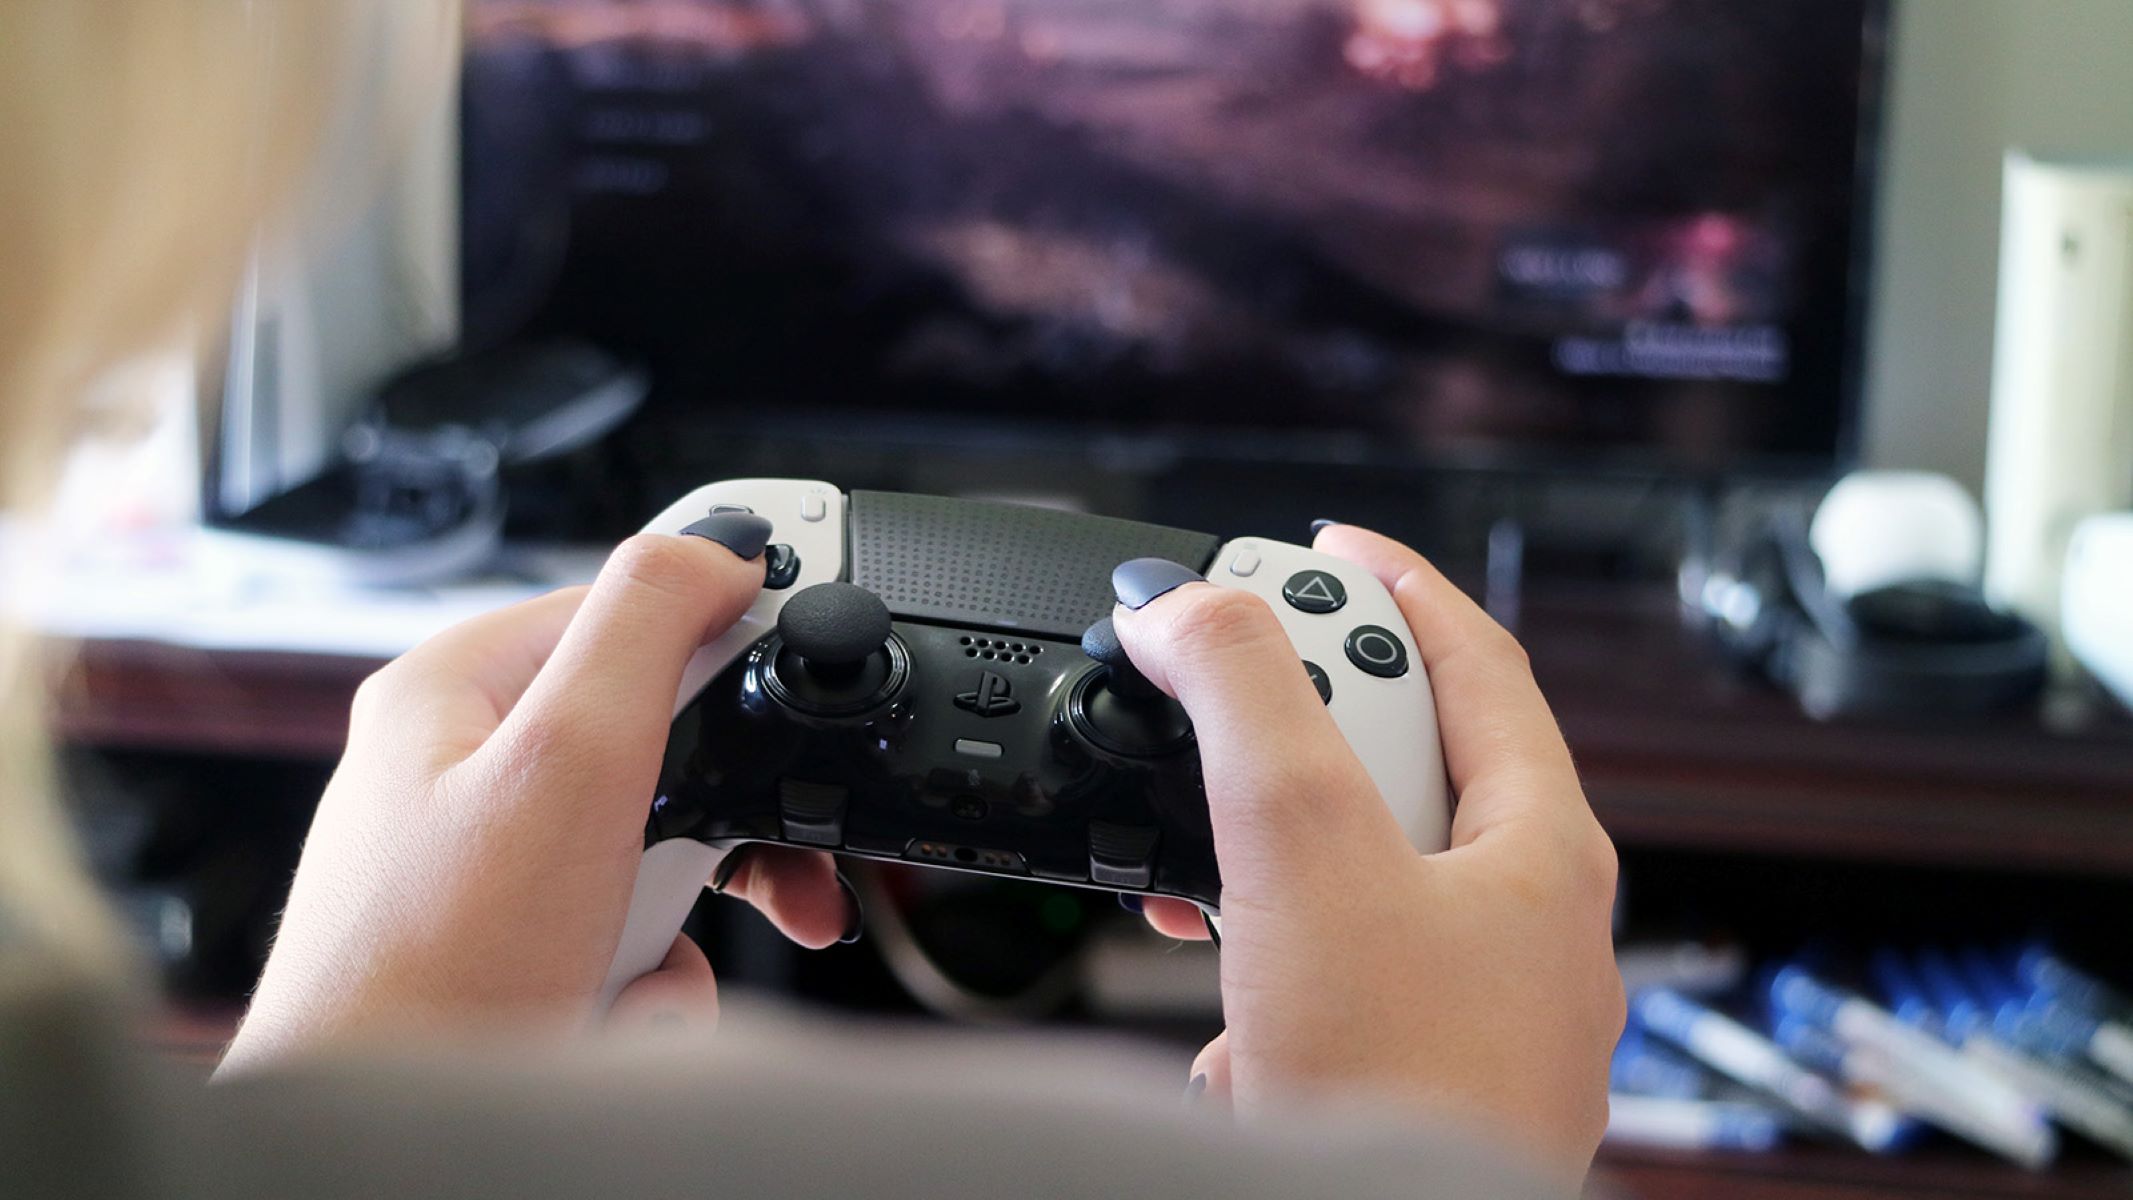
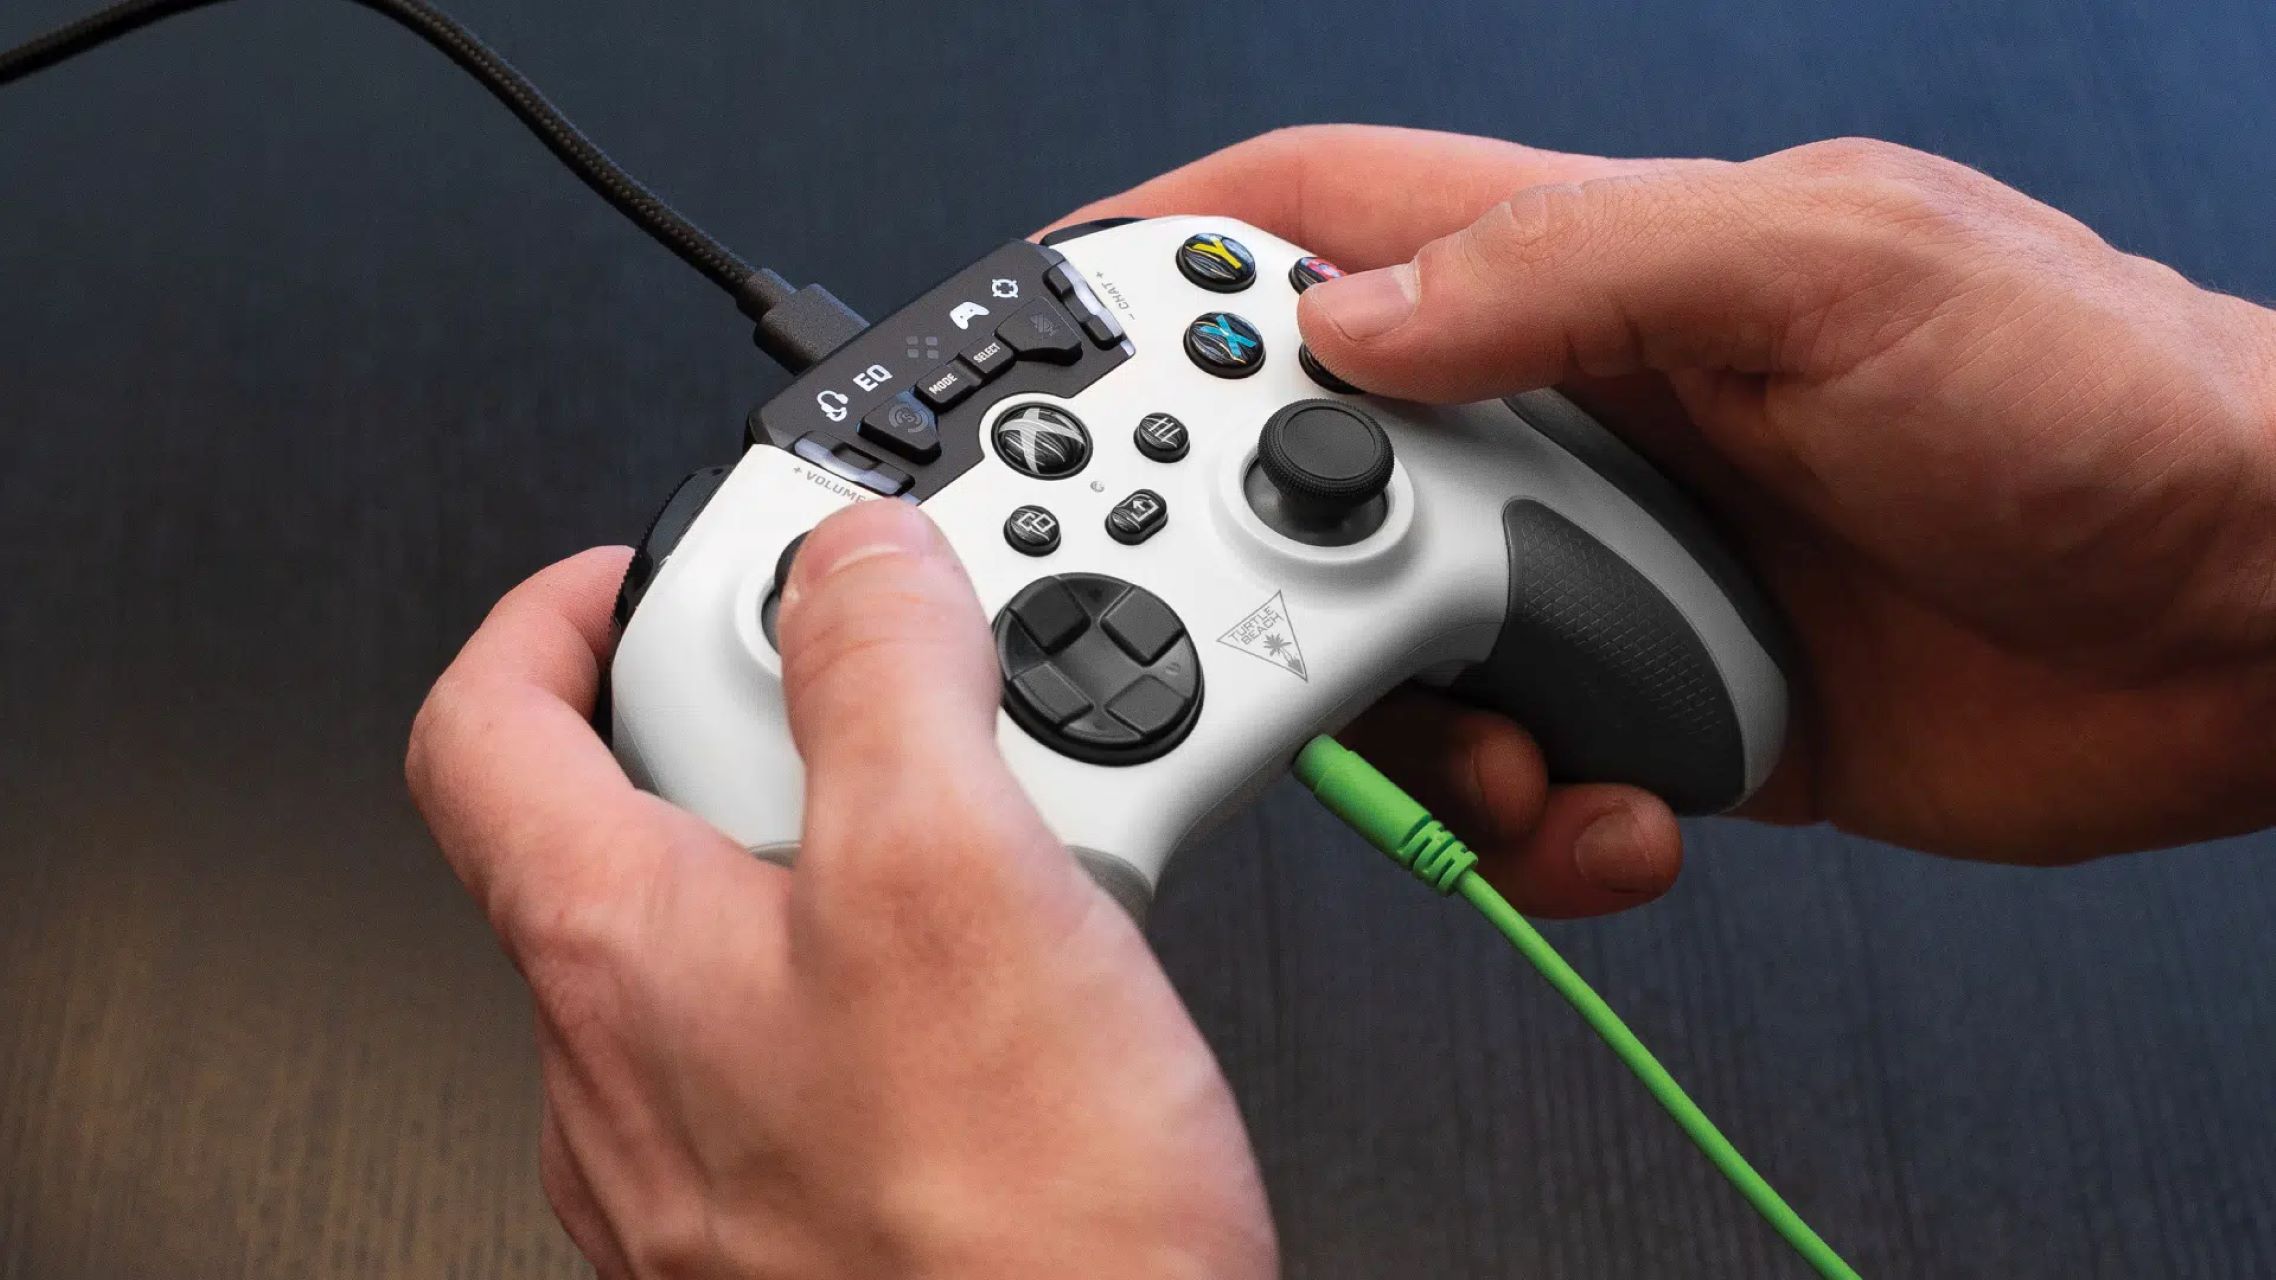
Game controller analog sticks are essential components for navigating and controlling characters in video games. While most game controllers come with pre-installed analog sticks, creating custom analog sticks can offer a unique and personalized gaming experience. Whether you are a gaming enthusiast, a hobbyist, or a tech-savvy individual, designing and making your own game controller analog sticks can be a rewarding and enjoyable project.
In this guide, we will walk through the process of creating custom game controller analog sticks using 3D printing technology. From designing the analog sticks to assembling and testing them, each step is crucial in ensuring the functionality and comfort of the final product. By following these steps, you can unleash your creativity and tailor the analog sticks to your specific gaming preferences.
Before diving into the process, it’s important to gather the necessary materials and familiarize yourself with the basic principles of 3D printing. With a clear understanding of the steps involved, you can embark on this DIY project with confidence and enthusiasm. So, let’s explore the materials needed and delve into the exciting world of designing and creating game controller analog sticks!
Materials Needed
Before embarking on the journey of creating custom game controller analog sticks, it’s essential to gather the requisite materials and tools. Here’s a comprehensive list of the items you’ll need:
- 3D modeling software: To design the analog sticks, you’ll need access to 3D modeling software. Popular options include AutoCAD, Blender, or Tinkercad.
- 3D printer: A 3D printer is a fundamental tool for transforming your digital designs into physical objects. There are various types of 3D printers available, ranging from filament-based to resin-based printers.
- Filament or resin: Depending on the type of 3D printer you have, you’ll need filament (such as PLA or ABS) or resin to materialize your designs.
- Calipers: Precise measurements are crucial in ensuring the compatibility and functionality of the analog sticks. A digital or manual caliper can help you accurately measure dimensions.
- Sanding tools: To refine the surface finish of the 3D-printed analog sticks, sanding tools such as sandpaper and sanding sponges are indispensable.
- Adhesive: A strong adhesive, such as cyanoacrylate (super glue), is necessary for assembling the various components of the analog sticks.
- Game controller: You’ll need a compatible game controller on which to install the custom analog sticks. Ensure that the controller is disassembled for the modification process.
- Protective equipment: Safety should always be a priority. Eye protection and, if necessary, respiratory protection should be worn when using 3D printers and adhesives.
By gathering these materials and tools, you’ll be well-equipped to embark on the exciting journey of creating and customizing your very own game controller analog sticks. With the essentials in hand, let’s move on to the next step: designing the analog sticks using 3D modeling software.
Step 1: Designing the Analog Sticks
The first step in creating custom game controller analog sticks is the design phase. Using 3D modeling software, you have the opportunity to unleash your creativity and tailor the analog sticks to your preferences. Here’s a detailed guide to the design process:
1. Conceptualization: Before delving into the digital realm, it’s beneficial to brainstorm and sketch out your ideas on paper. Consider the ergonomics, dimensions, and aesthetics you desire for the analog sticks.
2. Selecting the Software: Choose a 3D modeling software that suits your proficiency level. For beginners, user-friendly options such as Tinkercad provide a gentle learning curve, while experienced users may prefer the advanced capabilities of software like Blender or AutoCAD.
3. Creating the Model: With the software of your choice, start creating the 3D model of the analog sticks. Pay close attention to dimensions and ergonomics, ensuring that the design aligns with your initial conceptualization.
4. Refinement: Iterate on your design, refining the shape, grip, and overall form of the analog sticks. Consider factors such as comfort, durability, and compatibility with the game controller.
5. Testing: Before proceeding to the 3D printing phase, it’s beneficial to virtually test the design using the software’s simulation tools. This step can reveal any potential issues and allow for necessary adjustments.
By meticulously designing the analog sticks, you can ensure that the final product meets your expectations and enhances your gaming experience. Once the design phase is complete, you’re ready to move on to the next step: 3D printing the analog sticks.
Step 2: 3D Printing the Analog Sticks
With the digital design of the game controller analog sticks finalized, the next crucial step is to materialize them through 3D printing. This transformative process brings your digital creation into the physical realm. Here’s a comprehensive guide to 3D printing the analog sticks:
1. Selecting the 3D Printer: If you have access to multiple 3D printers, consider the capabilities of each and choose the one best suited for printing the analog sticks. Factors to consider include print bed size, filament compatibility, and printing resolution.
2. Preparing the 3D Model: Ensure that the 3D model of the analog sticks is prepared for printing. This involves configuring settings such as infill density, layer height, and support structures to optimize print quality and structural integrity.
3. Loading the Filament or Resin: If using a filament-based 3D printer, load the appropriate filament material, such as PLA or ABS. For resin-based printers, ensure that the resin tank is filled with the designated resin type.
4. Initiating the Print: Start the 3D printing process, closely monitoring the initial layers to confirm adhesion and print quality. Depending on the complexity and size of the analog sticks, the printing duration may vary.
5. Post-Processing: Once the printing is complete, carefully remove the printed analog sticks from the print bed. Perform any necessary post-processing tasks, such as removing support structures and refining the surface finish using sanding tools.
6. Quality Assurance: Inspect the 3D-printed analog sticks for any imperfections or structural issues. Address any anomalies through additional post-processing or, if necessary, reprinting the components.
By following these steps, you can successfully bring your digital designs to life through 3D printing. With the physical analog sticks in hand, you’re now prepared to progress to the next stage: assembling the analog sticks onto the game controller.
Step 3: Assembling the Analog Sticks
As the 3D-printed analog sticks are ready, the next pivotal phase involves assembling them onto the game controller. This step demands precision and attention to detail to ensure seamless integration and functionality. Here’s a comprehensive guide to the assembly process:
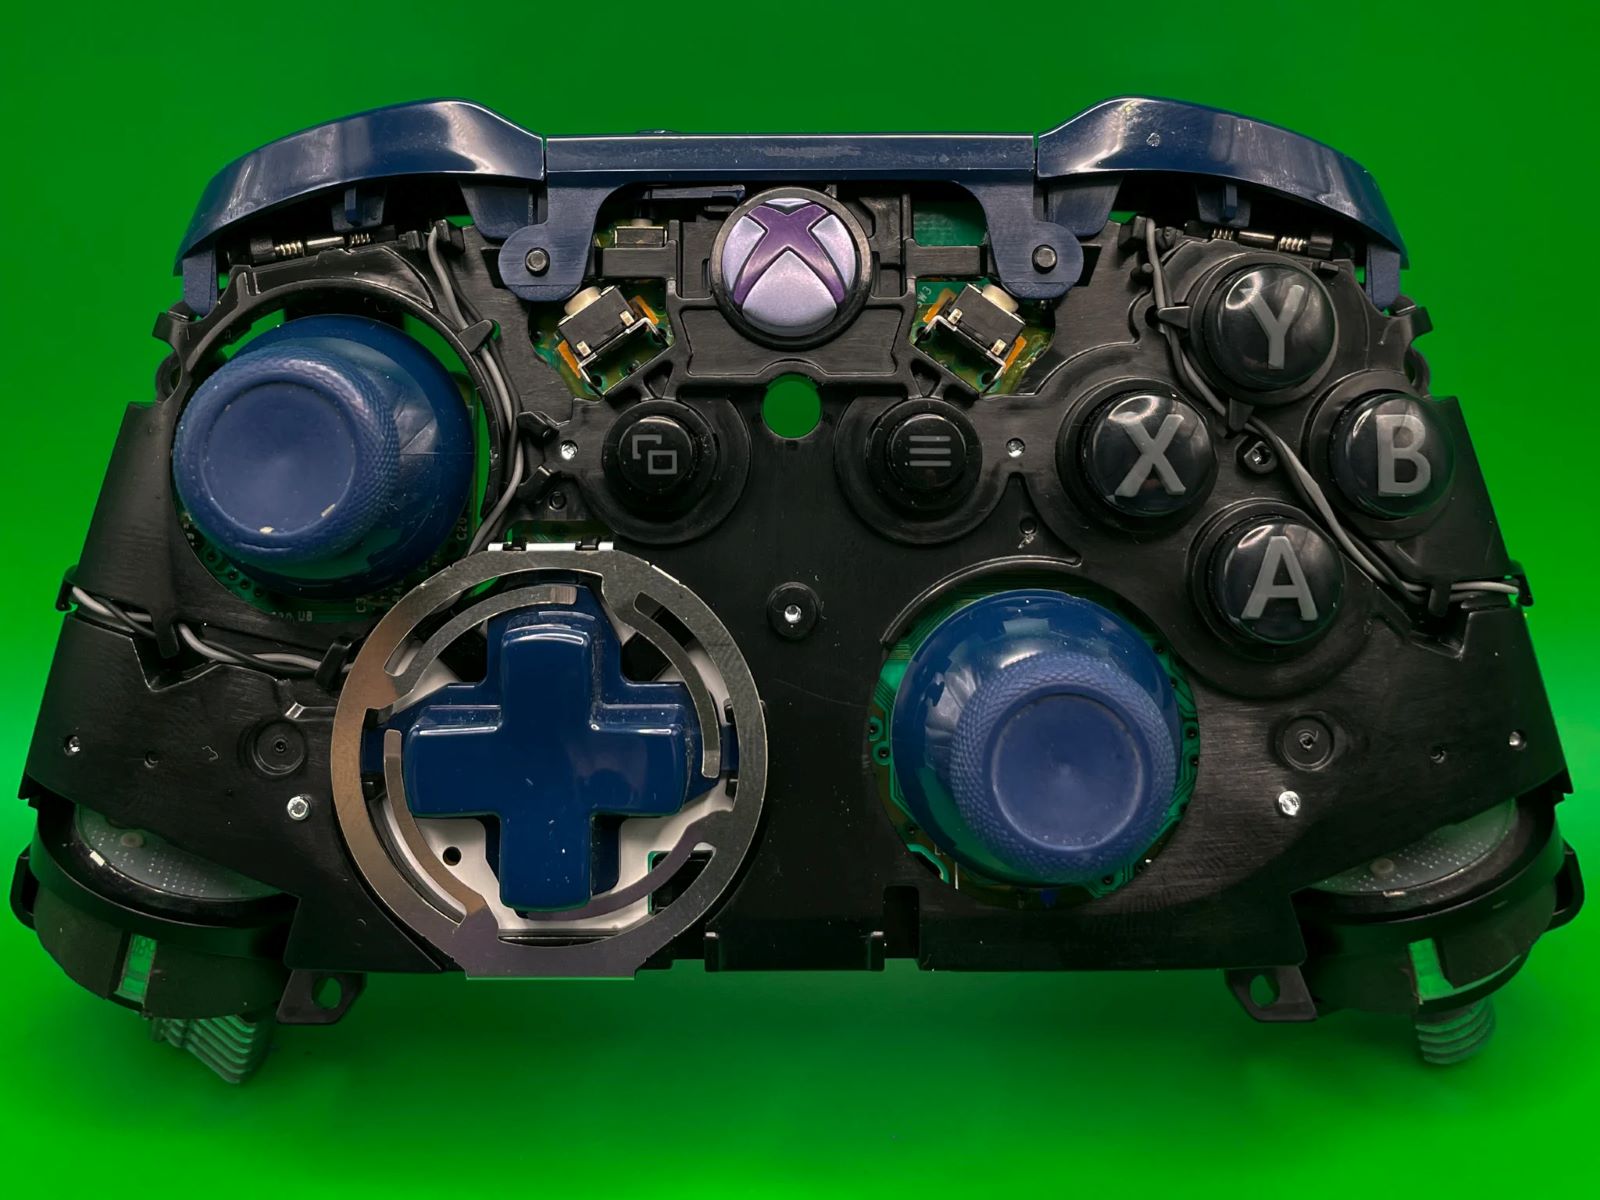
1. Disassembling the Controller: Begin by carefully disassembling the game controller, ensuring that all components are safely removed. This step may vary depending on the controller model, but typically involves unscrewing the casing and detaching the existing analog sticks.
2. Fitting the Analog Sticks: Position the 3D-printed analog sticks in the designated locations on the controller, ensuring a snug fit. Verify that the sticks align with the controller’s internal mechanisms and that there is no interference with other components.
3. Securing the Analog Sticks: Once the analog sticks are properly positioned, use a strong adhesive, such as cyanoacrylate (super glue), to securely affix them to the controller. Exercise caution to avoid excess glue that could interfere with the sticks’ movement.
4. Reassembling the Controller: With the analog sticks in place, reassemble the controller by carefully reinstating all components, including the casing, buttons, and any additional features. Ensure that each part is correctly aligned and securely fastened.
5. Functional Testing: After reassembly, conduct thorough functional testing of the analog sticks. Verify their range of motion, responsiveness, and overall performance to ensure they operate seamlessly within the controller’s interface.
6. Adjustments and Refinements: If necessary, make any adjustments to the analog sticks or the controller’s internal components to optimize their functionality and comfort. This may involve fine-tuning the fit or addressing any unexpected operational issues.
By meticulously following these steps, you can successfully assemble the custom analog sticks onto the game controller, paving the way for the final phase: testing the analog sticks to validate their performance and functionality.
Step 4: Testing the Analog Sticks
After assembling the custom analog sticks onto the game controller, it’s crucial to conduct comprehensive testing to validate their performance and functionality. Thorough testing ensures that the analog sticks meet the desired specifications and deliver a seamless gaming experience. Here’s a detailed guide to the testing phase:
1. Range of Motion: Begin by testing the range of motion of the analog sticks. Verify that they move smoothly in all directions without encountering any physical obstructions or resistance. This assessment ensures that the sticks provide the necessary freedom of movement for gaming interactions.
2. Sensitivity and Responsiveness: Evaluate the sensitivity and responsiveness of the analog sticks by navigating through various in-game scenarios. Confirm that the input from the sticks accurately translates into on-screen movements, allowing for precise control and maneuverability.
3. Durability Assessment: Subject the analog sticks to rigorous usage scenarios to assess their durability. Engage in prolonged gaming sessions and deliberate, repetitive movements to gauge the longevity and robustness of the custom analog sticks.
4. Compatibility Testing: Verify that the custom analog sticks seamlessly integrate with the game controller and do not hinder the functionality of other controls or features. Ensure that the modified controller remains fully compatible with the gaming platform and titles.
5. Ergonomic Evaluation: Consider the ergonomic aspects of the analog sticks by assessing their comfort during extended use. Pay attention to factors such as grip, finger reach, and overall hand positioning to ensure an ergonomic and fatigue-free gaming experience.
6. Feedback and Iteration: Solicit feedback from fellow gamers or beta testers, if available, to gather insights into the performance and comfort of the custom analog sticks. Use this feedback to iterate on the design and functionality, if necessary, to further enhance the user experience.
By meticulously conducting these tests, you can ensure that the custom analog sticks meet the desired standards of performance, comfort, and durability. Once the testing phase is successfully completed, you can confidently integrate the custom analog sticks into your gaming repertoire, reveling in a personalized and optimized gaming experience.
Conclusion
Embarking on the journey of designing and creating custom game controller analog sticks through 3D printing is an enriching and rewarding endeavor. By following the steps outlined in this guide, you have ventured into the realm of digital design, additive manufacturing, and personalized gaming experiences. As you conclude this transformative process, it’s essential to reflect on the achievements and possibilities that lie ahead.
Through meticulous design, 3D printing, assembly, and testing, you have not only crafted custom analog sticks but also honed your skills in digital modeling, precision manufacturing, and user-centric design. The journey has empowered you to tailor gaming peripherals to your preferences, unlocking a realm of personalized comfort, control, and immersion.
As you integrate the custom analog sticks into your gaming setup, consider the potential for further innovation and exploration. The knowledge and experience gained from this endeavor can serve as a springboard for future projects, whether in gaming peripherals, product design, or additive manufacturing pursuits.
Furthermore, the process of creating custom analog sticks exemplifies the fusion of creativity, technology, and practicality. It showcases the power of 3D printing as a tool for personalization and customization, enabling individuals to manifest their unique visions into tangible, functional creations.
Ultimately, the journey of making game controller analog sticks extends beyond the tangible end product; it encapsulates the spirit of innovation, craftsmanship, and individuality. As you embark on future endeavors, may the skills and insights gained from this project continue to inspire and guide you toward new frontiers of creativity and ingenuity.


