Introduction
So, you've decided to embark on the exciting journey of building your very own electric guitar from scratch. Congratulations! Crafting your own instrument is not only a fulfilling and rewarding experience but also a fantastic way to unleash your creativity and showcase your unique style. Whether you're a seasoned musician or an enthusiastic beginner, the process of building a custom electric guitar allows you to tailor every aspect of the instrument to your preferences, from the choice of materials to the design and electronics.
Building a guitar from scratch is a labor of love that requires patience, precision, and a keen eye for detail. It's a project that will undoubtedly test your craftsmanship skills, but the end result will be a one-of-a-kind instrument that reflects your personality and musical aspirations. Throughout this journey, you'll gain a deeper understanding of the inner workings of electric guitars, honing your woodworking and assembly skills along the way.
In this comprehensive guide, we'll walk you through each step of the guitar-building process, covering everything from selecting the right materials to fine-tuning the finished product. By the time you complete your custom electric guitar, you'll not only have a stunning instrument to call your own but also a newfound sense of accomplishment and pride in your craftsmanship.
So, roll up your sleeves, gather your tools, and get ready to dive into the art of luthiery. Whether you're aiming for a vintage-inspired classic or a cutting-edge contemporary design, this guide will equip you with the knowledge and skills needed to bring your dream guitar to life. Let's begin this exhilarating journey of creativity, craftsmanship, and musical expression as we delve into the art of building your own electric guitar from scratch.
Choosing the Right Materials
When it comes to building your own electric guitar, selecting the right materials is crucial to achieving the desired tone, playability, and aesthetics. From the wood used for the body and neck to the hardware and electronics, every component plays a significant role in shaping the instrument’s sound and feel. Here’s a breakdown of the key materials you’ll need to consider:
- Wood: The choice of wood for the body and neck greatly influences the guitar’s tone and resonance. Common options for the body include mahogany, alder, ash, and maple, each offering distinct tonal characteristics. For the neck, maple and mahogany are popular choices, known for their stability and tonal properties.
- Fingerboard Material: The fingerboard, typically made of rosewood, ebony, or maple, affects the playability and feel of the guitar. Consider the density and smoothness of the material to ensure comfortable fretting and smooth string bending.
- Hardware: From tuning machines and bridge systems to pickups and control knobs, high-quality hardware is essential for reliable performance and durability. Choose hardware that complements the overall design and meets your functional requirements.
- Electronics: Selecting pickups, potentiometers, and switches that match your desired sound is essential. Whether you prefer single-coil twang or humbucking power, the right combination of electronics will define the guitar’s sonic character.
- Finish: The choice of finish not only protects the wood but also enhances its visual appeal. Whether you opt for a glossy polyurethane finish or a more natural oil finish, consider the impact on the guitar’s aesthetics and durability.
While these are fundamental considerations, don’t hesitate to explore alternative materials and combinations to achieve a truly unique and personalized instrument. Keep in mind that the selection of materials will shape the overall character of your custom electric guitar, so take the time to research, compare, and envision the sonic and visual outcomes of different choices.
By carefully choosing the right materials, you’ll lay the foundation for a guitar that not only looks stunning but also delivers the tone and performance you desire. With the materials in hand, you’re ready to move on to the next exciting phase: designing your guitar.
Designing Your Guitar
As you delve into the exhilarating process of designing your custom electric guitar, you have the opportunity to unleash your creativity and bring your unique vision to life. From the body shape and contours to the headstock design and inlays, every aspect of the guitar’s aesthetics is yours to customize. Here’s a step-by-step guide to help you navigate the design phase:
- Body Shape: Consider the overall silhouette of the guitar, taking inspiration from classic designs or exploring original shapes. Whether you prefer the timeless elegance of a Stratocaster or the bold curves of a modern offset body, the body shape sets the stage for the instrument’s visual identity.
- Headstock Design: The headstock is a prominent feature that can be tailored to reflect your personal style. Whether you opt for a traditional 3×3 or 6-in-line configuration, the headstock design offers an opportunity for creativity and individuality.
- Finish and Color: Choose a finish that complements the wood’s natural grain and enhances the visual appeal of the guitar. Whether you envision a vibrant burst finish, a sleek solid color, or a translucent stain to showcase the wood, the finish and color contribute significantly to the instrument’s aesthetics.
- Inlays and Binding: Explore options for fretboard inlays and body binding to add intricate details and personal touches to your guitar. From classic dot inlays to elaborate custom designs, inlays and binding can elevate the instrument’s visual allure.
- Pickguard and Hardware Color: The pickguard and hardware color can contrast or harmonize with the body finish, offering opportunities to create visual interest and cohesiveness in the design.
During the design phase, it’s essential to balance aesthetics with functionality, ensuring that the ergonomics and playability of the guitar are not compromised. Consider factors such as body contours, neck profile, and overall balance to create a design that not only looks exceptional but also feels comfortable to play.
As you sketch and refine your design ideas, take inspiration from your favorite guitars, artists, and visual motifs. Embrace the creative freedom that comes with designing your own electric guitar, and let your imagination guide you toward a design that truly resonates with your musical identity.
With your design concept in hand, you’re now ready to move on to the next phase of the guitar-building journey: bringing the design to life by crafting the body of the instrument.
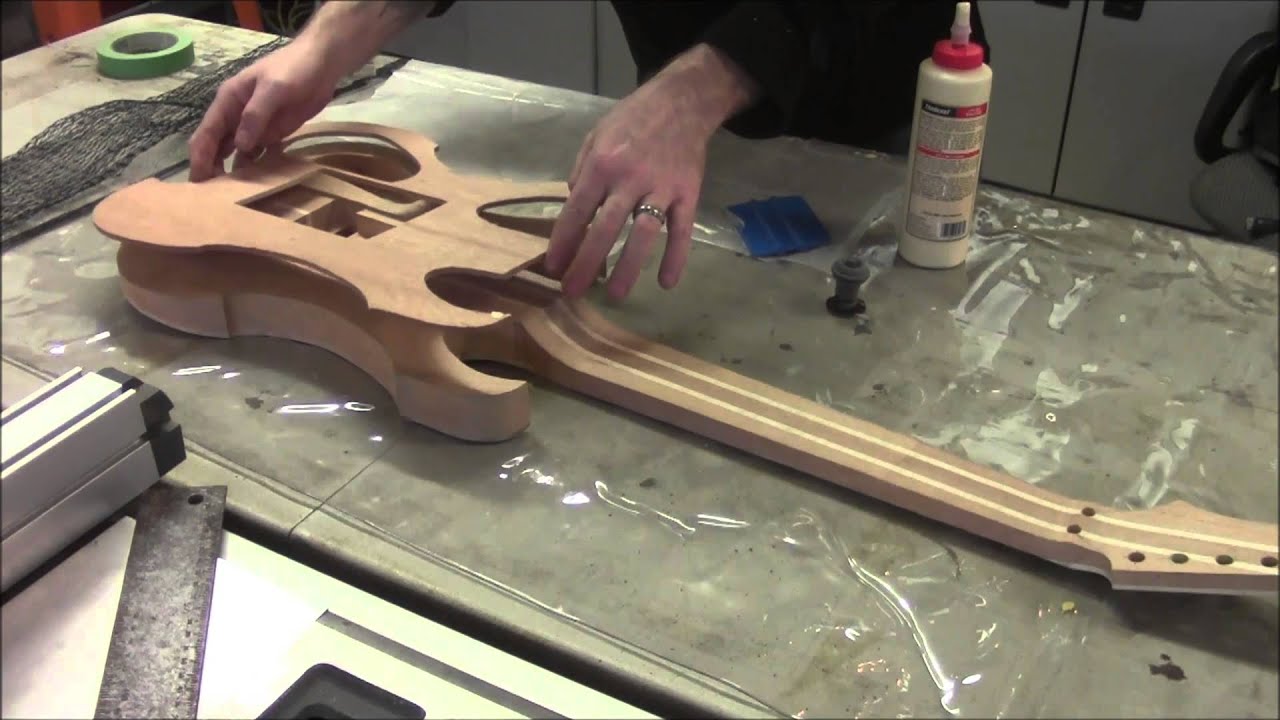
Building the Body
Building the body of your electric guitar is a pivotal stage in the construction process, where the raw materials begin to take shape and form the foundation of the instrument. Whether you’re crafting a classic solid-body design or experimenting with innovative contours, precision and attention to detail are paramount. Here’s a comprehensive overview of the steps involved in building the body of your custom electric guitar:
- Template Creation: Begin by creating a template or obtaining a pre-made template for the body shape you’ve designed. This template will serve as a guide for shaping the wood and ensuring consistency in the body’s contours.
- Wood Preparation: Select high-quality wood for the body, considering factors such as weight, resonance, and visual appeal. Once chosen, trace the body template onto the wood and carefully cut out the rough shape using a bandsaw or jigsaw.
- Routing Cavities: Utilize routing templates and specialized router bits to create cavities for the electronics, pickups, and control cavities. Precision is crucial during this step to ensure proper fitment of the components.
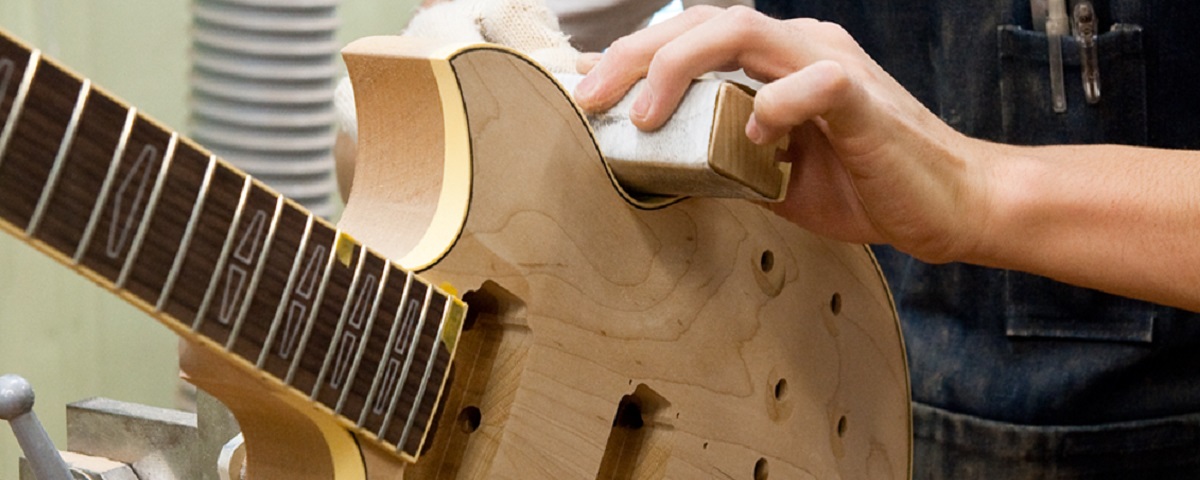
- Shaping and Contouring: Use rasps, files, and sanders to refine the body’s contours and edges, creating smooth transitions and ergonomic curves. Pay close attention to the comfort and balance of the instrument during this shaping process.
- Drilling Bridge and Hardware Holes: Accurately drill holes for the bridge, tailpiece, and hardware, following the specifications of your chosen hardware components. Proper alignment and depth are essential to ensure optimal performance and intonation.
- Applying Binding (Optional): If your design includes body binding, carefully install the binding around the body perimeter, adding a decorative touch and protecting the edges of the wood.
- Final Sanding and Preparation: Thoroughly sand the body to achieve a smooth and uniform surface, preparing it for the finishing process. This step is critical for achieving a flawless and professional-looking result.
Throughout the body-building phase, meticulous attention to detail and a commitment to precision are vital. Take your time to ensure that the body’s construction aligns with your design vision, and don’t hesitate to seek guidance from experienced luthiers or woodworking resources as needed.
With the body now taking shape, the next step in the guitar-building journey involves installing the electronics, bringing your instrument one step closer to becoming a fully functional and expressive work of art.
Installing the Electronics
As you progress in the construction of your custom electric guitar, the installation of electronics marks a pivotal stage where the instrument begins to come alive with sound and functionality. From pickups and wiring to control components, this phase requires precision and careful attention to detail to ensure optimal performance and tonal versatility. Here’s a comprehensive guide to installing the electronics in your custom electric guitar:
- Pickup Placement: Determine the placement of the pickups based on your design and tonal preferences. Whether you opt for single-coil, humbucker, or P-90 pickups, ensure that they are positioned accurately and balanced for optimal tonal response.
- Routing and Cavity Preparation: If your guitar design includes a pickguard or rear control cavity, carefully route the necessary channels for housing the electronics. Precision is crucial to accommodate the components securely and maintain a clean aesthetic.
- Wiring and Soldering: Follow wiring diagrams and schematics to connect the pickups, volume and tone controls, and output jack. Exercise caution and precision when soldering the connections, ensuring proper insulation and secure joints for reliable performance.
- Switch and Control Installation: Install the pickup selector switch, volume and tone knobs, and any additional control switches according to your design and functional requirements. Verify the smooth operation of the controls and their alignment with the guitar’s aesthetics.
- Grounding and Shielding: Implement effective grounding and shielding techniques to minimize unwanted noise and interference. Properly grounding the electronics and shielding the cavities contribute to a quiet and noise-free operation of the guitar.
- Testing and Troubleshooting: Before final assembly, thoroughly test the electronics to ensure that all components function as intended. Address any wiring or connectivity issues promptly, and verify the functionality of the pickup selector and tone controls.
Throughout the installation process, meticulous attention to detail and adherence to wiring standards are crucial for achieving reliable and noise-free electronics. If you encounter challenges or uncertainties during this phase, consider seeking guidance from experienced luthiers, wiring diagrams, or online resources to troubleshoot and resolve any issues effectively.
With the electronics successfully installed, your custom electric guitar is now poised to deliver a diverse range of tones and sonic possibilities. The next phase of the construction journey involves attaching the neck, bringing the instrument one step closer to its complete form and functionality.
Attaching the Neck
Attaching the neck to the body of your custom electric guitar is a critical step that directly influences playability, intonation, and overall structural integrity. Whether you’re crafting a bolt-on, set neck, or neck-through design, the alignment and stability of the neck-body joint are paramount for achieving optimal performance. Here’s a detailed overview of the process involved in attaching the neck to your custom electric guitar:
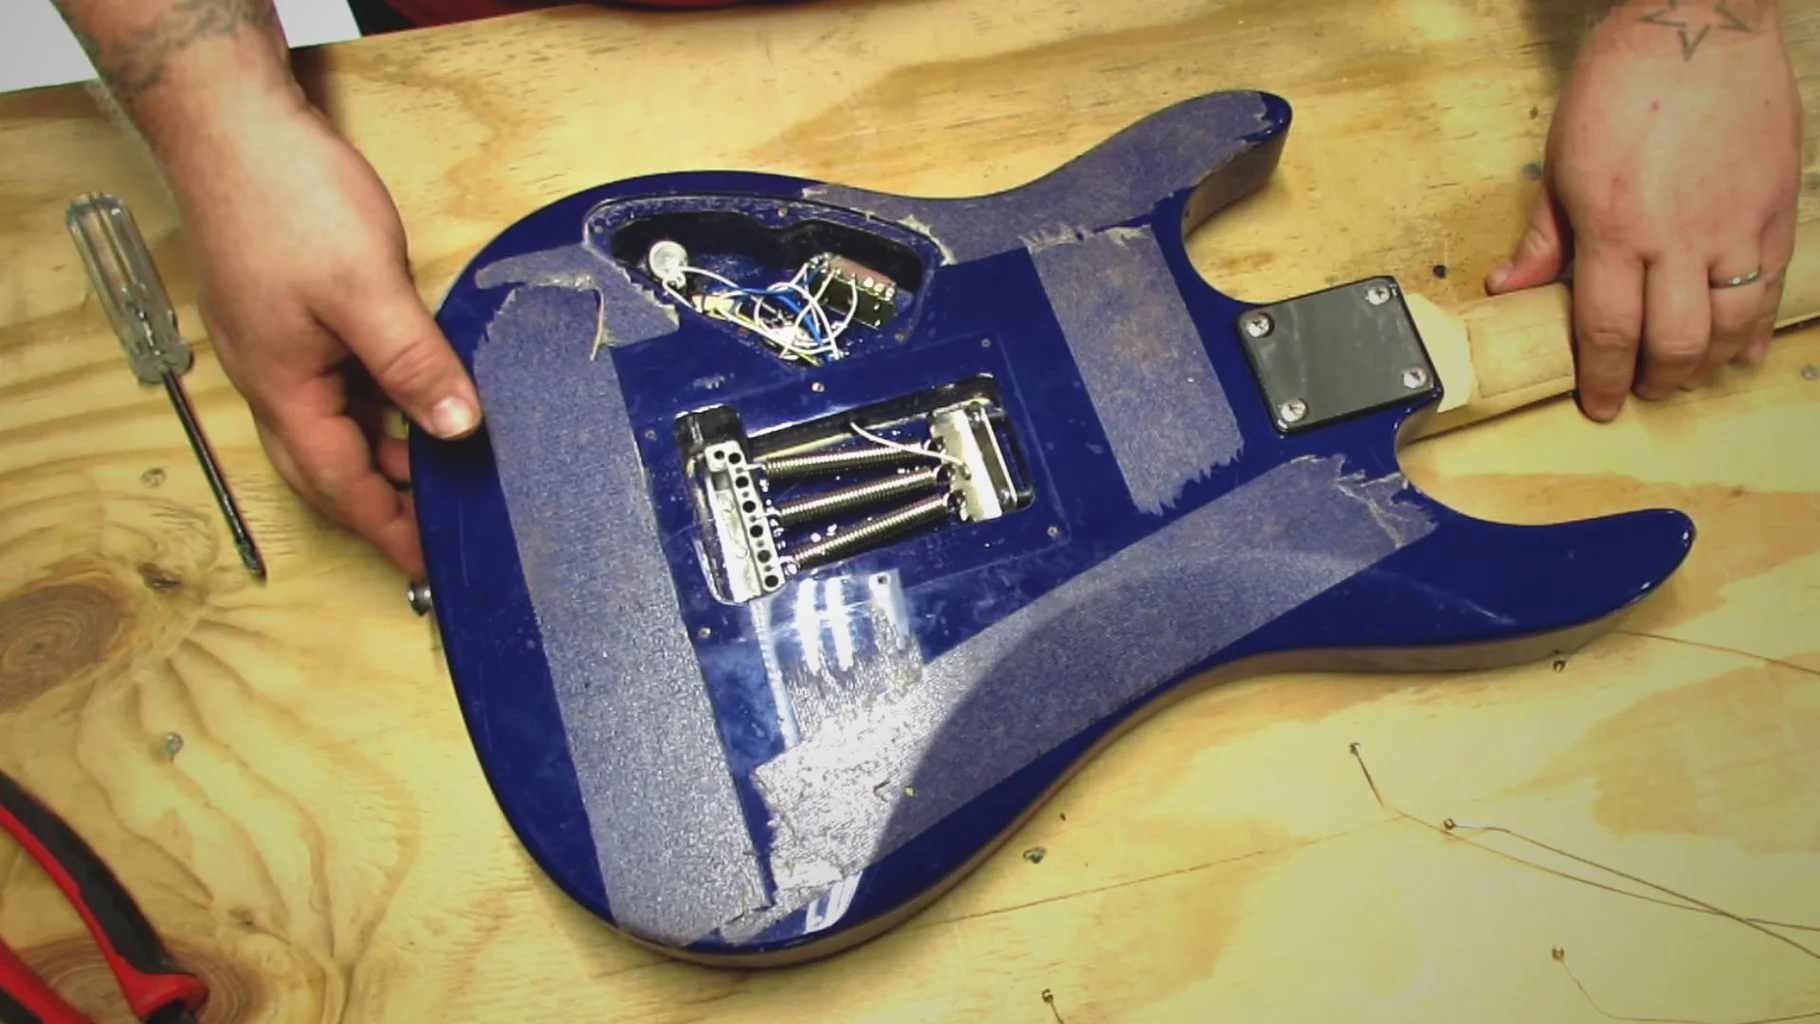
- Neck Pocket Preparation: If you’re building a bolt-on neck guitar, ensure that the neck pocket in the body is precisely routed to accommodate the neck joint. This step requires accuracy to achieve a snug and secure fit for the neck.
- Alignment and Fitment: Carefully position the neck in the designated pocket or joint, verifying that the neck aligns perfectly with the centerline of the body. Check the neck angle and ensure that it complements the bridge and hardware placement for optimal string action and intonation.
- Bolt-on Neck Attachment: If your design features a bolt-on neck, install the neck plate and screws, securing the neck firmly to the body. Pay attention to the torque applied to the screws to achieve a secure attachment without compromising the wood or hardware.
- Gluing (For Set Neck or Neck-Through Designs): In the case of set neck or neck-through constructions, apply high-quality wood glue to the neck joint and carefully position the neck, ensuring a tight and uniform bond. Clamping the joint securely is essential to allow the glue to cure effectively.
- Alignment Verification: Double-check the alignment of the neck, ensuring that the fretboard is parallel to the guitar’s centerline and that the neck is centered in the body. This step is crucial for achieving proper string alignment and consistent playability across the fretboard.
- Allowing for Cure Time: If gluing the neck, allow sufficient time for the adhesive to cure as per the manufacturer’s recommendations. Resuming work on the guitar before the glue has fully cured can compromise the integrity of the neck joint.
Throughout the neck attachment process, precision and attention to detail are essential to ensure a stable and reliable connection between the neck and body. Take the time to verify the alignment and fitment of the neck, making any necessary adjustments to achieve an optimal joint that sets the stage for exceptional playability and tone.
With the neck securely attached, your custom electric guitar is now poised to undergo the finishing touches that will bring it to its complete and playable form. The next phase of the construction journey involves adding the finishing details that will enhance the visual appeal and functionality of the instrument.
Finishing Touches
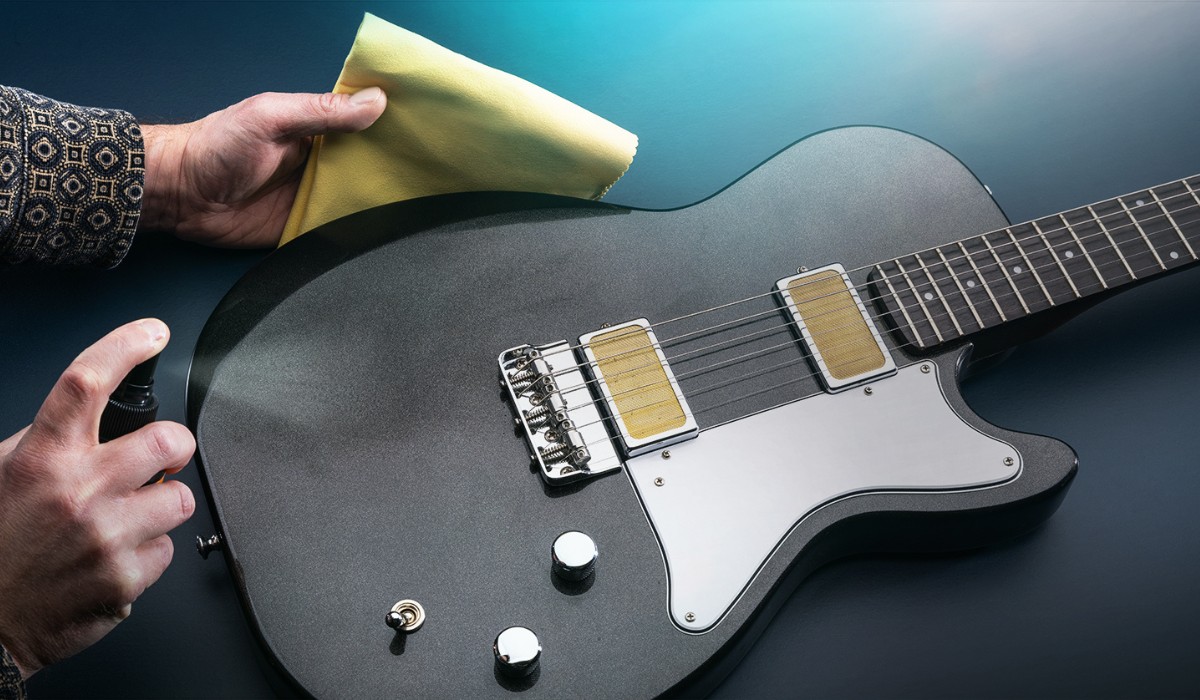
As your custom electric guitar nears completion, the finishing touches play a pivotal role in enhancing the instrument’s visual appeal, protecting the wood, and refining its overall aesthetic. From applying the perfect finish to installing hardware and fine-tuning details, this phase marks the transition from a raw assembly to a polished and playable work of art. Here’s a comprehensive guide to the finishing touches that will bring your custom electric guitar to its full potential:
- Finish Application: Whether you opt for a glossy polyurethane finish, a sleek nitrocellulose lacquer, or a natural oil finish, applying the chosen finish meticulously is crucial. Follow best practices for sanding between coats, achieving a smooth and lustrous surface that accentuates the wood’s grain.
- Hardware Installation: Install the tuning machines, bridge, nut, and any additional hardware components, ensuring proper alignment and functionality. Pay attention to the fit and finish of the hardware, as it contributes to the instrument’s overall visual appeal and performance.
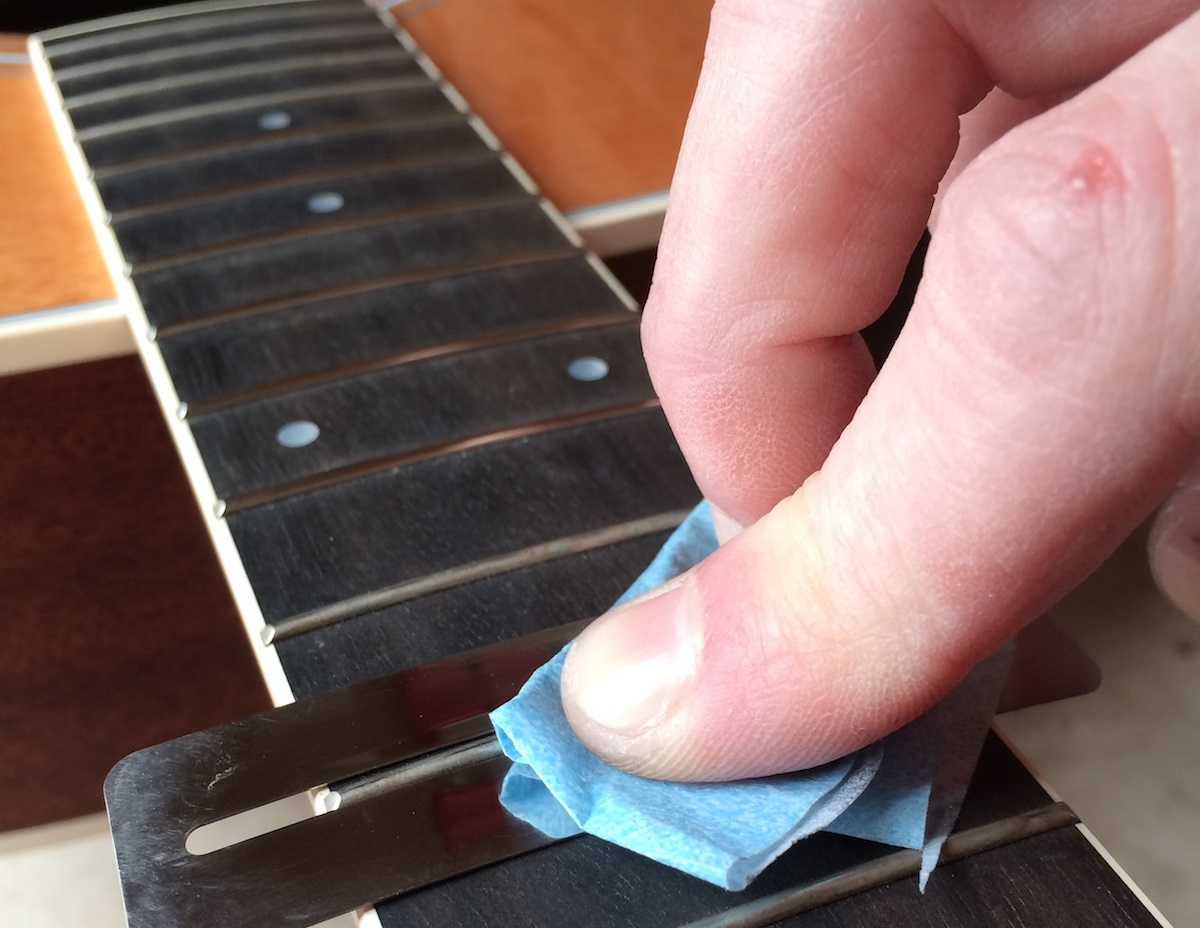
- Fretwork and Setup: Level, crown, and polish the frets to ensure smooth playability and optimal intonation. Perform a detailed setup, adjusting the string action, truss rod, and intonation to achieve a comfortable and responsive playing experience.
- Electronics Finalization: Verify the functionality of the electronics, ensuring that the pickups, controls, and output jack operate smoothly and reliably. Address any wiring or connectivity issues promptly to guarantee consistent performance.
- Nut and Bridge Adjustment: Fine-tune the nut and bridge to optimize string spacing, height, and intonation. These adjustments are critical for achieving accurate pitch and string response across the fretboard.
- Polishing and Detailing: Thoroughly polish the guitar’s body and hardware, attending to every detail to achieve a pristine and professional finish. Pay attention to the fretboard, fret ends, and hardware surfaces to ensure a visually appealing and comfortable playing experience.
Throughout the finishing touches phase, meticulous attention to detail and a commitment to precision are essential for elevating your custom electric guitar to its full potential. Take the time to refine every aspect of the instrument, ensuring that it not only looks stunning but also delivers exceptional playability and performance.
With the finishing touches complete, your custom electric guitar is now ready to undergo the final phase of the construction journey: testing and adjusting the instrument to ensure that it meets your sonic and functional expectations.
Testing and Adjusting
As you approach the final phase of crafting your custom electric guitar, thorough testing and meticulous adjustments are essential to ensure that the instrument meets your sonic and functional expectations. From assessing the playability and intonation to fine-tuning the electronics, this critical stage sets the stage for a rewarding playing experience. Here’s a detailed guide to testing and adjusting your custom electric guitar:
- Playability Assessment: Evaluate the guitar’s playability by testing the string action, neck relief, and overall feel. Ensure that the fret ends are smooth, the neck profile is comfortable, and the instrument is ergonomically sound for extended playing sessions.
- Intonation Check: Verify the intonation across the fretboard by comparing the pitch of open strings with their respective fretted notes. Make precise saddle adjustments to achieve accurate intonation and consistent tuning up and down the neck.
- Electronics Functionality: Test the functionality of the pickups, controls, and output jack, ensuring that they operate smoothly and reliably. Address any buzzing, crackling, or irregularities in the electronics promptly.
- String and Tuning Stability: Assess the tuning stability and string performance, ensuring that the guitar holds tune effectively and that the strings respond predictably to bends and vibrato. Lubricate nut slots and ensure proper string winding for optimal stability.
- Feedback and Fine-Tuning: Solicit feedback from experienced players or mentors to gain insights into the instrument’s performance. Use this input to fine-tune the setup, addressing any nuances that can enhance the guitar’s overall playability and tonal characteristics.
- Amplified Sound Test: Connect the guitar to an amplifier and evaluate its tonal characteristics across different pickup settings and tone controls. Listen for clarity, balance, and responsiveness, making adjustments as needed to achieve the desired sonic outcomes.
Throughout the testing and adjusting phase, meticulous attention to detail and a commitment to achieving optimal playability and tonal performance are essential. Take the time to address any inconsistencies or irregularities, ensuring that your custom electric guitar delivers a rewarding and inspiring playing experience.
With the testing and adjustments complete, your custom electric guitar is now poised to take center stage as a fully functional and expressive instrument, reflecting your craftsmanship and musical aspirations. The journey of building your own electric guitar from scratch has culminated in a unique and personalized creation that embodies your passion for music and craftsmanship.
Conclusion
Congratulations on completing the exhilarating journey of building your own electric guitar from scratch. Throughout this transformative process, you’ve ventured into the realms of creativity, craftsmanship, and musical expression, shaping raw materials into a unique and personalized instrument that reflects your passion for music. As you stand on the threshold of this remarkable achievement, it’s essential to reflect on the invaluable experiences and skills you’ve gained along the way.
Building a custom electric guitar is far more than assembling components; it’s a labor of love that demands patience, precision, and unwavering dedication. From selecting the finest materials to refining the smallest details, you’ve honed your woodworking skills, electrical knowledge, and an eye for design, culminating in a tangible manifestation of your creativity.
Moreover, the journey of building your own electric guitar has instilled a deep appreciation for the art of luthiery and the intricacies of instrument construction. You’ve delved into the nuances of tonewoods, the physics of pickups, and the art of achieving optimal playability, gaining insights that will enrich your musical journey for years to come.
As you hold your custom electric guitar in your hands, you’re not merely grasping a meticulously crafted instrument; you’re embracing a symbol of your dedication, perseverance, and unwavering commitment to your craft. Your guitar is a testament to your ability to transform a vision into reality, to transcend challenges, and to create something truly extraordinary.
Whether you’re a seasoned musician, an aspiring luthier, or a passionate DIY enthusiast, the completion of your custom electric guitar marks a significant milestone in your musical and creative endeavors. As you strum the first chords and unleash the instrument’s sonic potential, may it inspire you, ignite your creativity, and serve as a constant reminder of the boundless possibilities that unfold when passion and craftsmanship converge.
Embrace this moment with pride and reverence, for the guitar in your hands is not just an instrument; it’s a testament to your artistry, resilience, and unwavering pursuit of excellence. Let its melodies resonate with the echoes of your journey, and may it continue to inspire and empower you on your musical odyssey.