Introduction
Electric guitars are prized possessions for musicians, and their sleek finishes are a source of pride. However, scratches can tarnish their appearance and diminish their allure. Fortunately, with the right techniques and a bit of patience, it's possible to restore the guitar's finish to its former glory. In this guide, we'll explore how to effectively remove scratches from an electric guitar, allowing you to regain that pristine, showroom-quality look.
Whether your guitar has acquired minor surface scratches or more noticeable blemishes, addressing these imperfections can breathe new life into its appearance. By following the steps outlined in this article, you'll be able to restore your guitar's finish and maintain its aesthetic appeal for years to come.
Guitars are not just musical instruments; they are also works of art that deserve proper care and maintenance. Learning how to remove scratches from your electric guitar is a valuable skill that will help you preserve its beauty and protect your investment. So, let's delve into the process of assessing the damage, cleaning the guitar, using guitar polish, filling in deep scratches, and buffing and polishing to restore your electric guitar's flawless finish. With dedication and attention to detail, you can revitalize your guitar and showcase it in all its unblemished splendor.
Assessing the Damage
Before embarking on the journey to restore your electric guitar’s finish, it’s crucial to assess the extent of the damage. Begin by examining the scratches under bright light to determine their depth and severity. Minor surface scratches may only affect the clear coat, while deeper scratches can penetrate the paint and even the wood beneath.
Use your fingertips to carefully feel the scratches. If you can feel the scratch with your nail, it’s likely deeper and may require more intensive treatment. Additionally, inspect the affected area from different angles to fully understand the scope of the damage. This close examination will help you determine the best approach for effectively addressing the scratches.
It’s important to note that attempting to repair deep scratches without the necessary skills and tools can potentially worsen the damage. In such cases, seeking professional assistance from a luthier or guitar technician may be the most prudent course of action. However, for minor surface scratches, you can confidently proceed with the restoration process using the methods outlined in this guide.
By thoroughly assessing the scratches on your electric guitar, you can tailor your approach to suit the specific needs of your instrument. Understanding the depth and severity of the damage will empower you to make informed decisions as you embark on the journey to restore your guitar’s flawless finish.
Cleaning the Guitar
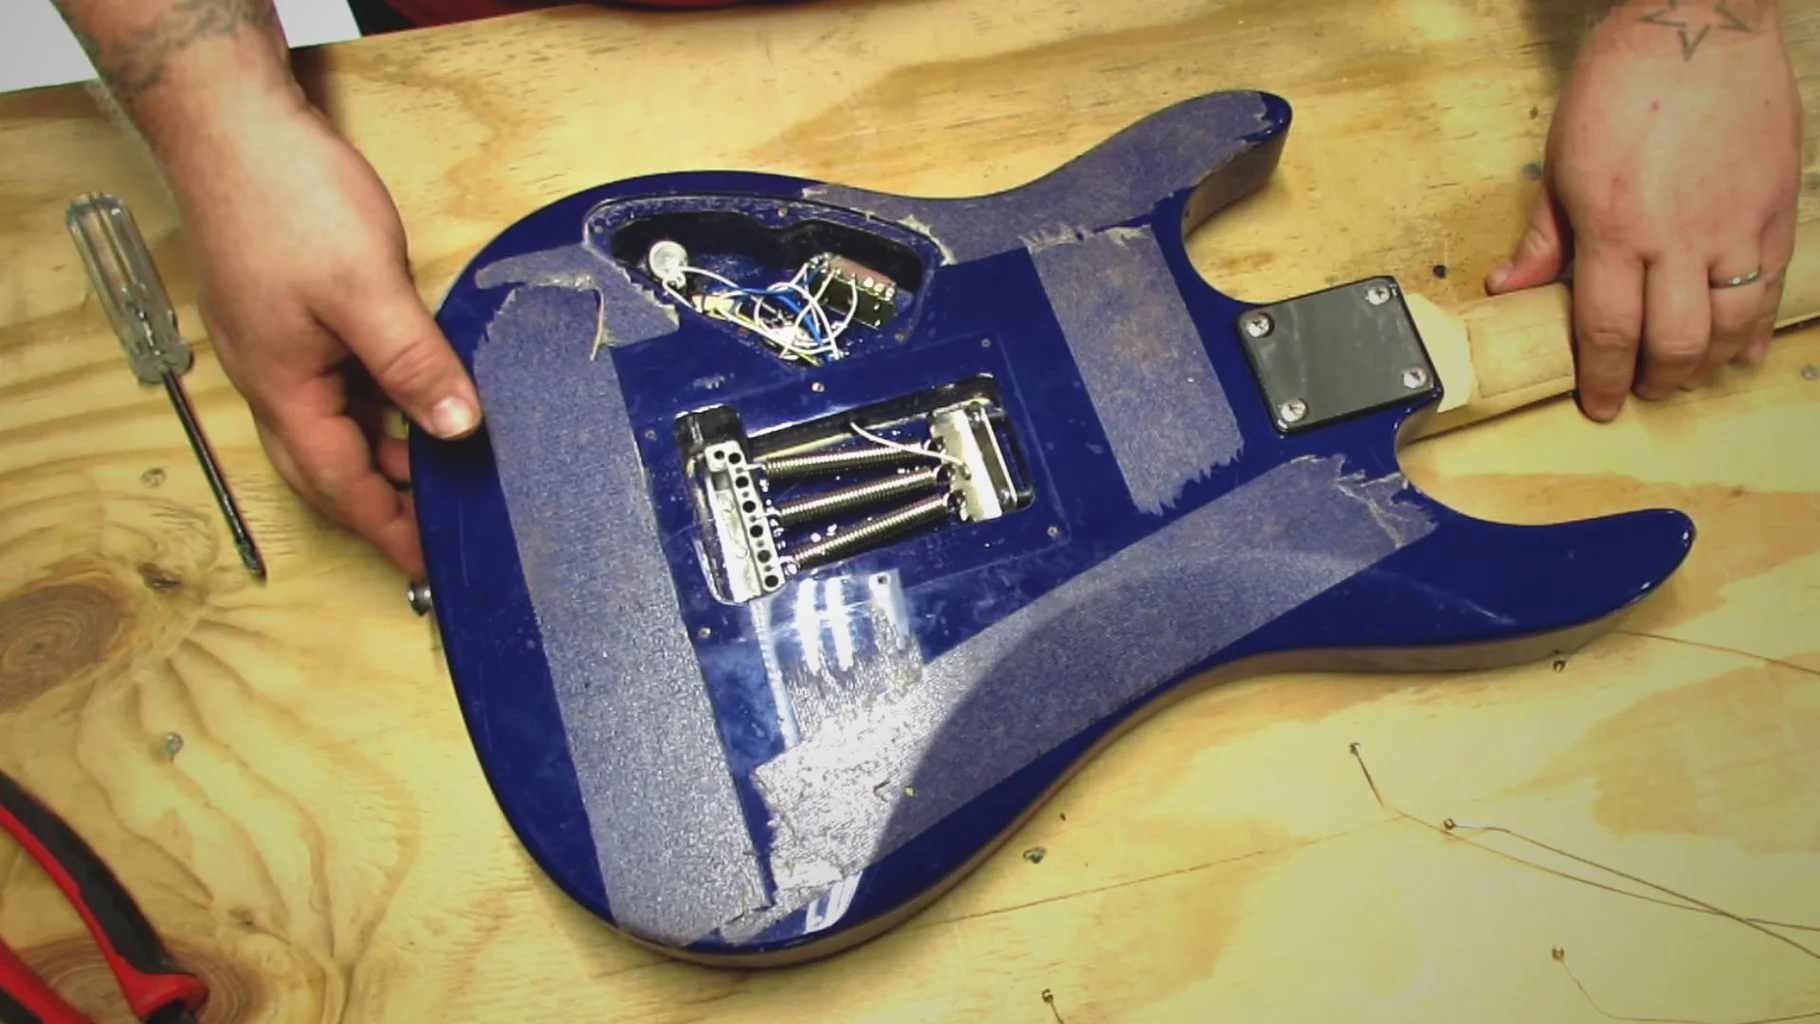
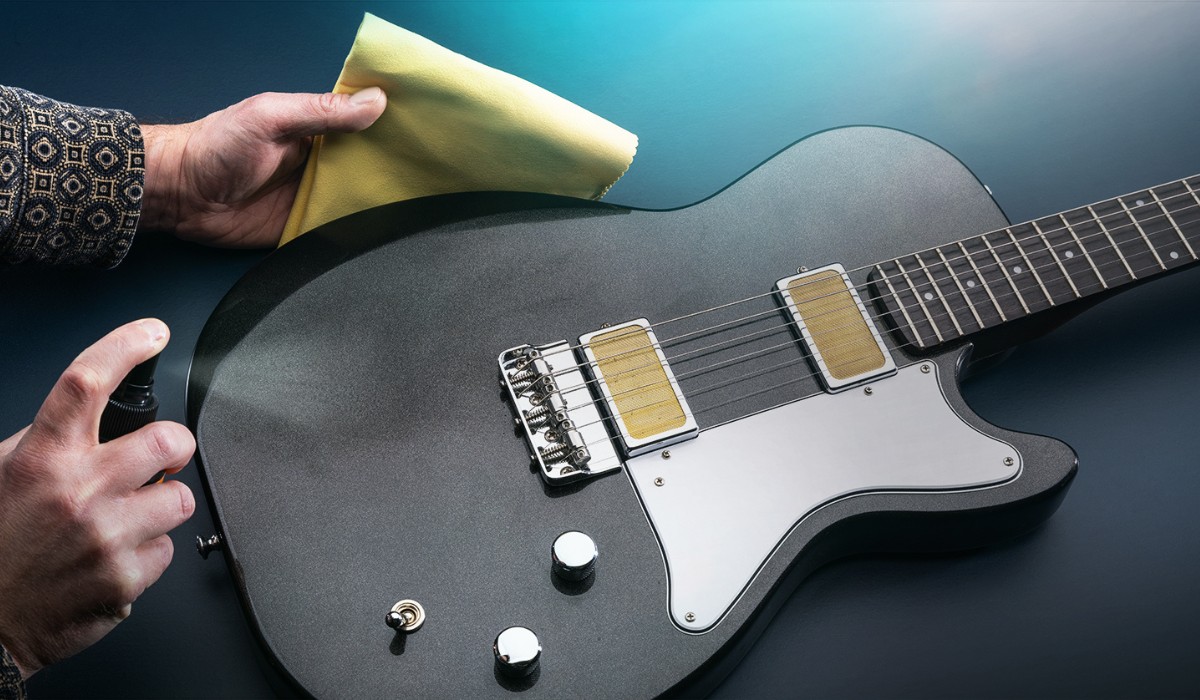
Before delving into the scratch removal process, it’s essential to ensure that the guitar’s surface is clean and free of any debris that could exacerbate the scratches during the restoration process. Begin by removing the guitar’s strings to facilitate easier access to the entire surface area. Use a soft, lint-free cloth to gently wipe down the guitar, removing any dust, fingerprints, or other surface contaminants.
For stubborn grime or residue, lightly dampen the cloth with water or a specialized guitar cleaning solution. Avoid using harsh chemicals or abrasive cleaners, as these can damage the guitar’s finish. Pay particular attention to the areas around the scratches, ensuring that they are thoroughly clean and free from any obstructions.
Once the surface is clean and dry, inspect the guitar under bright light to identify any remaining debris or contaminants. This meticulous cleaning process sets the stage for the subsequent scratch removal techniques, ensuring that the guitar’s surface is primed for effective restoration.
By meticulously cleaning the guitar, you create an optimal canvas for the scratch removal process. This step not only enhances the effectiveness of the subsequent restoration methods but also contributes to the overall maintenance and care of your electric guitar. With the surface free of debris, you can confidently proceed to the next phase of the restoration process, knowing that your guitar is primed for the best possible outcome.
Using Guitar Polish
Once the guitar is thoroughly clean and free from any surface contaminants, the next step in the scratch removal process involves the application of guitar polish. This specialized polish is designed to rejuvenate the guitar’s finish, diminish the appearance of minor scratches, and restore its luster.
Apply a small amount of guitar polish to a clean, soft cloth, and gently rub it onto the surface of the guitar in circular motions. Ensure that the polish is evenly distributed across the affected areas, and continue rubbing until a thin, uniform layer covers the entire surface. This process not only helps to minimize the visibility of minor scratches but also contributes to the overall shine and vibrancy of the guitar’s finish.
As you apply the polish, take care to avoid excessive pressure, as this can inadvertently worsen the scratches. Instead, maintain a gentle and consistent motion, allowing the polish to work its magic in revitalizing the guitar’s appearance. After the application, use a separate clean cloth to gently buff the surface, removing any excess polish and revealing a renewed, glossy finish.
Using guitar polish is an effective way to diminish the appearance of minor scratches and restore the overall luster of your electric guitar. This step not only contributes to the aesthetic enhancement of the instrument but also serves as a foundational element in the comprehensive scratch removal process.
Filling in Deep Scratches
When faced with deep scratches that have penetrated the guitar’s finish, it becomes necessary to employ techniques that go beyond surface-level polishing. One effective method for addressing deep scratches involves using a specialized guitar scratch remover or filler. These products are designed to fill in the damaged areas, effectively concealing the scratches and restoring a smooth, uniform surface.
To begin, carefully apply the scratch remover or filler to the affected areas, ensuring that the product thoroughly penetrates the scratches. Use a soft cloth or applicator to gently work the filler into the damaged areas, following the manufacturer’s instructions for the specific product being used. Once the scratches are filled, allow the product to dry completely before proceeding to the next phase of the restoration process.
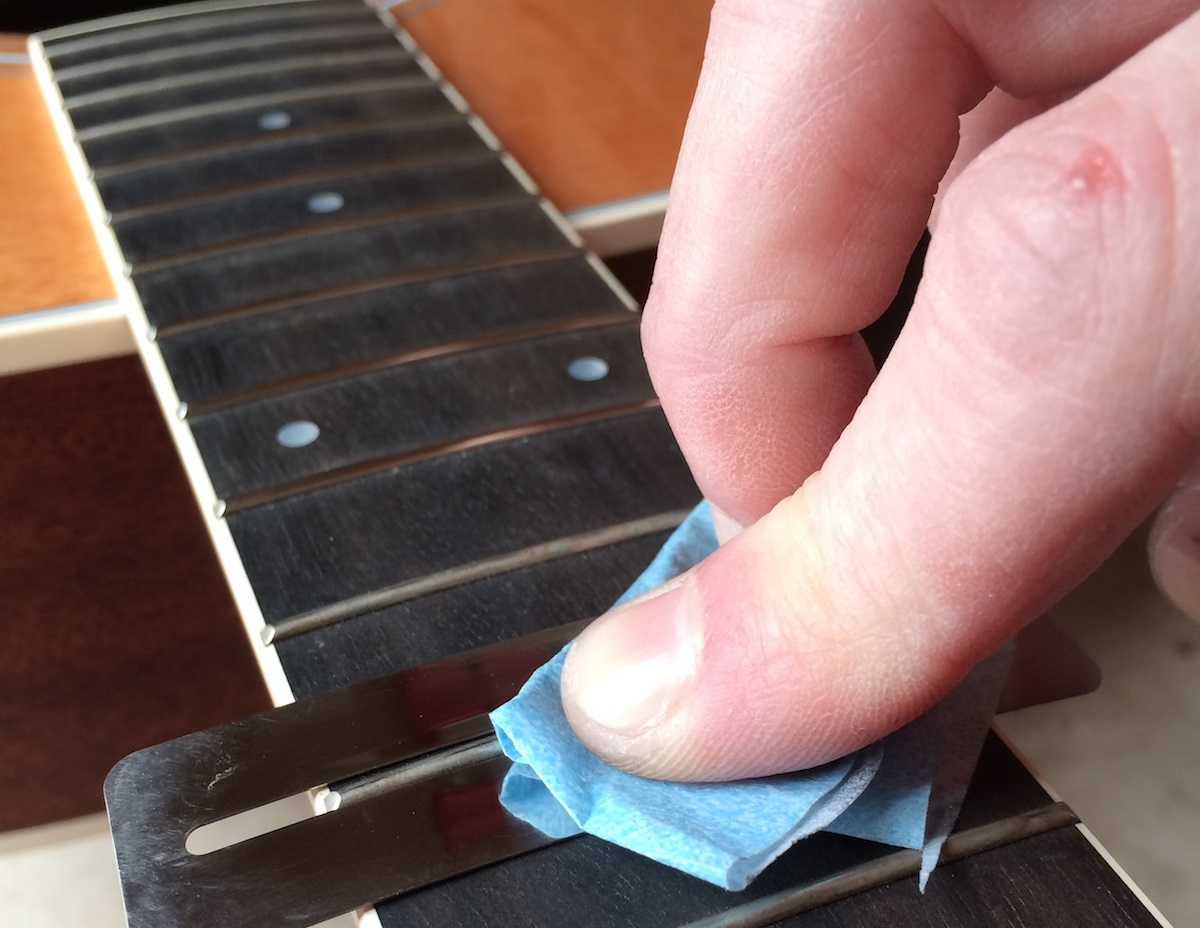
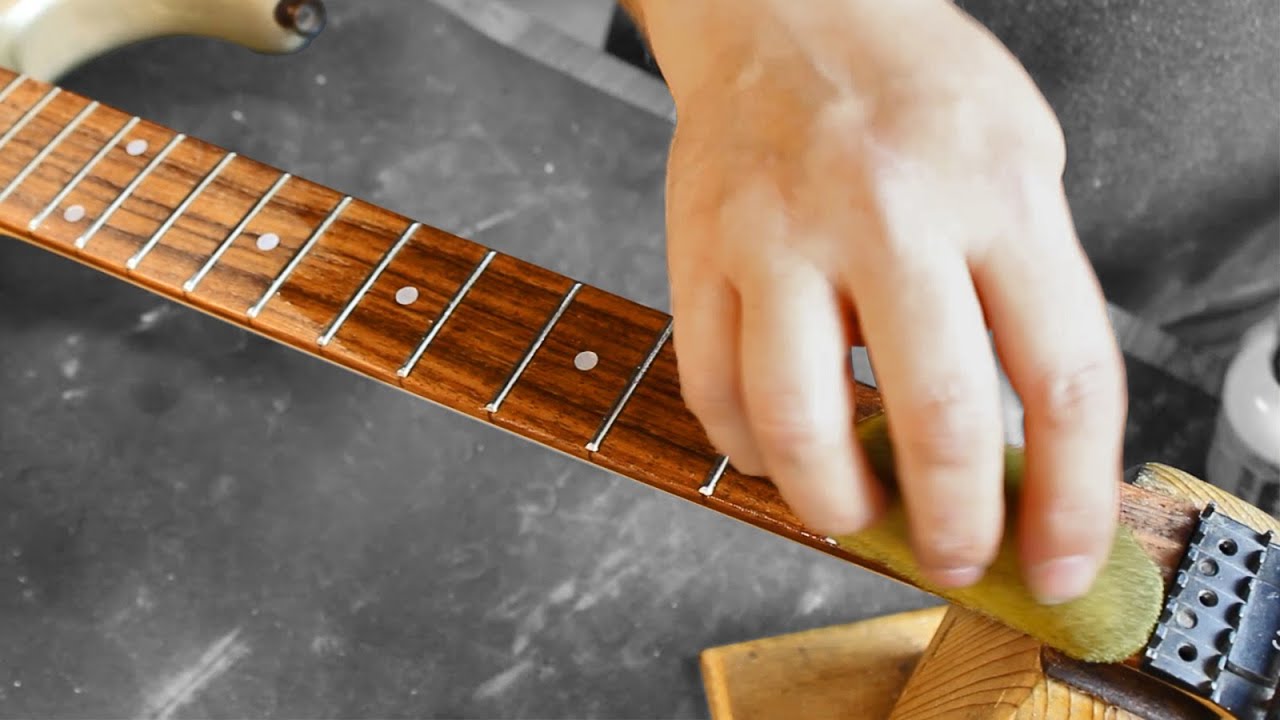
After the filler has dried, use a fine-grit sandpaper to gently smooth the treated areas, ensuring that the surface is level and free from any excess filler. Exercise caution during this step to avoid inadvertently creating new scratches or damaging the surrounding finish. Once the surface is smooth and even, use a clean cloth to wipe away any residual dust or particles, revealing the improved appearance of the previously damaged areas.
Filling in deep scratches is a crucial step in the scratch removal process, particularly for addressing significant blemishes that have marred the guitar’s finish. By utilizing specialized scratch removers or fillers, you can effectively restore the affected areas, concealing the damage and achieving a more uniform and visually appealing surface.
Buffing and Polishing
Following the application of scratch removers or fillers, the next step in the scratch removal process involves buffing and polishing the guitar to achieve a flawless, mirror-like finish. Begin by using a clean, soft cloth to gently buff the treated areas, ensuring that any excess filler or residue is removed. This initial buffing sets the stage for the subsequent polishing, allowing for a smooth and uniform surface.
Once the treated areas have been buffed, apply a high-quality guitar polish to the entire surface of the instrument. Using a separate clean cloth, gently rub the polish into the guitar’s finish, employing circular motions to ensure even coverage. As you polish the guitar, the luster and shine of the finish will gradually intensify, further concealing any remaining imperfections and enhancing the overall appearance of the instrument.
After the initial application of polish, use a fresh cloth to buff the surface once more, removing any excess polish and revealing a radiant, polished finish. This meticulous buffing and polishing process not only diminishes the visibility of scratches but also contributes to the overall rejuvenation of the guitar’s appearance, leaving it with a glossy and professional sheen.
Buffing and polishing play a pivotal role in the scratch removal process, as they are instrumental in refining the guitar’s finish and achieving a showroom-quality appearance. By diligently buffing and polishing the instrument, you can effectively elevate its aesthetic appeal and restore its allure, ensuring that it continues to captivate both audiences and musicians alike.
Final Touches
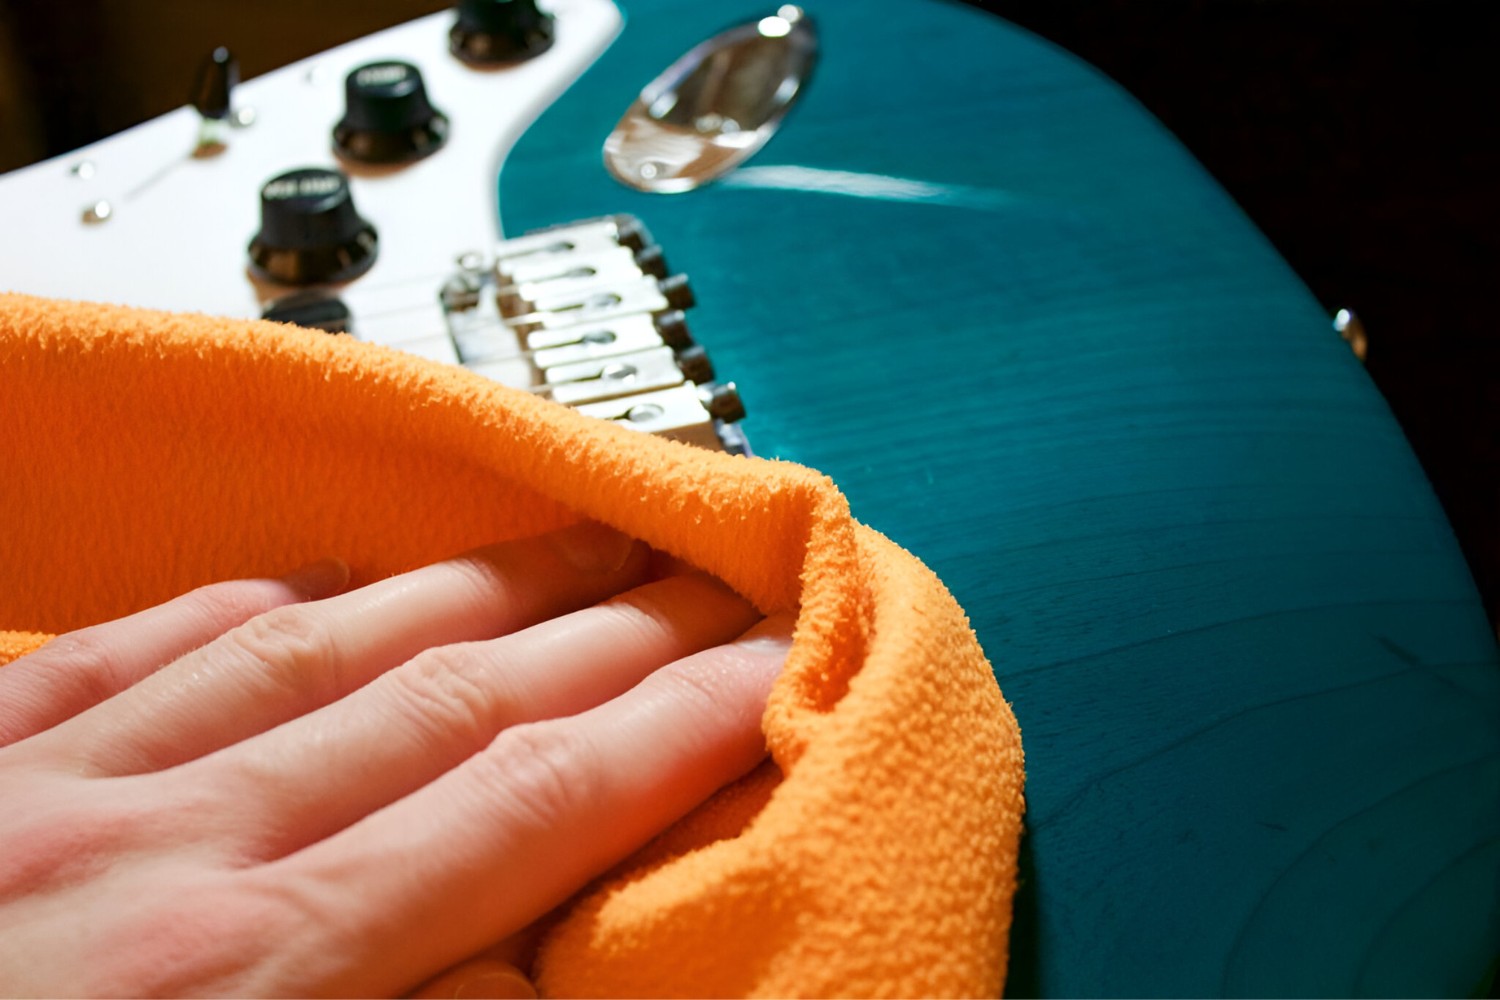
With the scratch removal process nearing completion, it’s essential to attend to the final touches that will further enhance the appearance of your electric guitar. Begin by using a clean, soft cloth to gently wipe down the entire instrument, ensuring that any remaining polish or residue is removed. This meticulous cleaning process contributes to the overall refinement of the guitar’s finish, leaving it with a pristine and polished appearance.
Following the thorough cleaning, inspect the guitar under bright light to identify any remaining imperfections or areas that may require additional attention. Address any lingering scratches or blemishes using the appropriate techniques, such as spot polishing or targeted application of scratch removers, to ensure that the entire surface is flawless and visually appealing.
Once the surface is perfected, consider applying a protective wax or sealant to safeguard the newly restored finish. These products provide an additional layer of defense against scratches and environmental damage, further preserving the luster and integrity of the guitar’s appearance. Apply the wax or sealant according to the manufacturer’s instructions, ensuring complete coverage and allowing the product to cure effectively.
Finally, restring the guitar with a fresh set of strings, completing the restoration process and preparing the instrument for its next performance. As you tune the guitar and strum the first chords, take a moment to admire the revitalized finish, knowing that your efforts have restored its beauty and ensured that it will continue to inspire and captivate for years to come.
By attending to the final touches, you can elevate the results of the scratch removal process, achieving a flawless and enduring finish that showcases the true beauty of your electric guitar. With these meticulous steps, you can take pride in knowing that your instrument has been lovingly restored to its optimal condition, ready to accompany you on countless musical journeys.