Introduction
So, you've noticed some buzzing or intonation issues with your electric guitar, and after some investigation, you've pinpointed the culprit: the nut. The nut plays a crucial role in maintaining proper string height, spacing, and alignment, which directly impacts the instrument's playability and tone. Over time, nuts can wear down, develop slots that are too deep, or become damaged, necessitating replacement. While this task may seem daunting at first, with the right tools, materials, and guidance, you can successfully replace the nut on your electric guitar and restore its optimal performance.
Whether you're a seasoned guitarist or a DIY enthusiast looking to expand your skill set, replacing an electric guitar nut is a manageable project that can yield significant improvements in your instrument's sound and feel. This guide will walk you through the step-by-step process, from removing the old nut to fitting and gluing the new one, ensuring that you achieve a professional and durable result. With attention to detail and a steady hand, you can revitalize your electric guitar and enjoy a smoother playing experience. Let's dive into the essential tools and materials you'll need for this project.
Tools and Materials Needed
Before embarking on the nut replacement process, it’s essential to gather the necessary tools and materials to ensure a smooth and efficient workflow. Here’s a comprehensive list of what you’ll need:
Tools:
- Truss Rod Wrench: This tool is crucial for adjusting the truss rod, which may be necessary when replacing the nut to optimize the guitar's neck relief.
- Needle Files: Use these to carefully shape the nut slot to accommodate the new nut, ensuring a precise fit.
- Small Hammer: A gentle tap may be required to remove the old nut without causing damage to the fretboard.
- Masking Tape: Use this to protect the fretboard and surrounding areas from accidental scratches or marks during the nut replacement process.
- Calipers or Ruler: Accurately measuring the dimensions of the old nut and the new one is essential for a proper fit.
- Sanding Block: This tool aids in shaping and smoothing the bottom of the new nut for a flush fit against the fretboard.
- String Cutter: A reliable string cutter will be needed to trim the excess strings once they're restrung.
Materials:
- New Nut: Select a high-quality replacement nut that matches the specifications of your electric guitar, ensuring compatibility and optimal performance.
- Wood Glue: Choose a strong, reliable wood glue to securely affix the new nut in place.
- New Set of Strings: While not mandatory, it's an opportune time to replace the strings, ensuring a fresh, consistent tone.
- Pencil or Lubricant: Lubricating the nut slots with a pencil or specialized lubricant can aid in smooth string movement and tuning stability.
- Cotton Swabs and Rubbing Alcohol: Use these to clean the nut slot and surrounding areas before installing the new nut.
Equipped with these tools and materials, you’ll be well-prepared to tackle the nut replacement process with confidence and precision. Next, we’ll delve into the crucial steps for removing the old nut from your electric guitar.
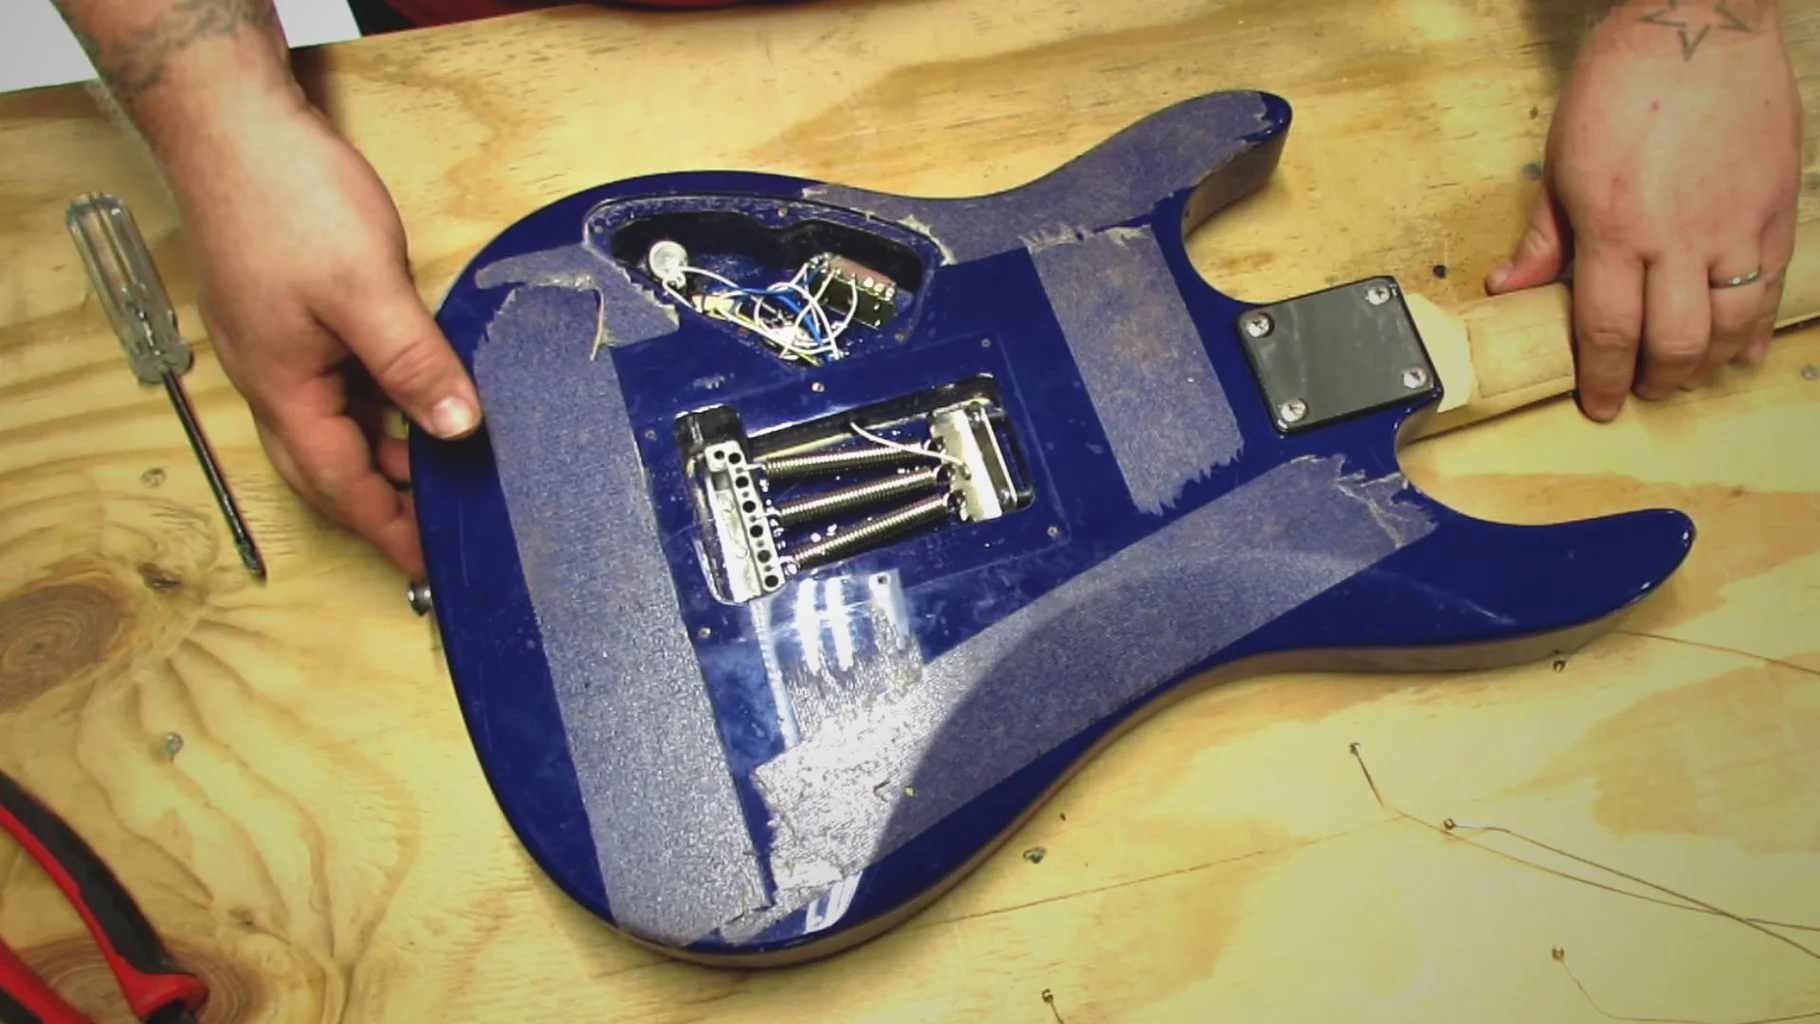
Removing the Old Nut
Before installing the new nut, it’s essential to safely and effectively remove the old one. This process requires attention to detail and a gentle touch to avoid damaging the fretboard or the surrounding areas. Here’s a step-by-step guide to removing the old nut from your electric guitar:
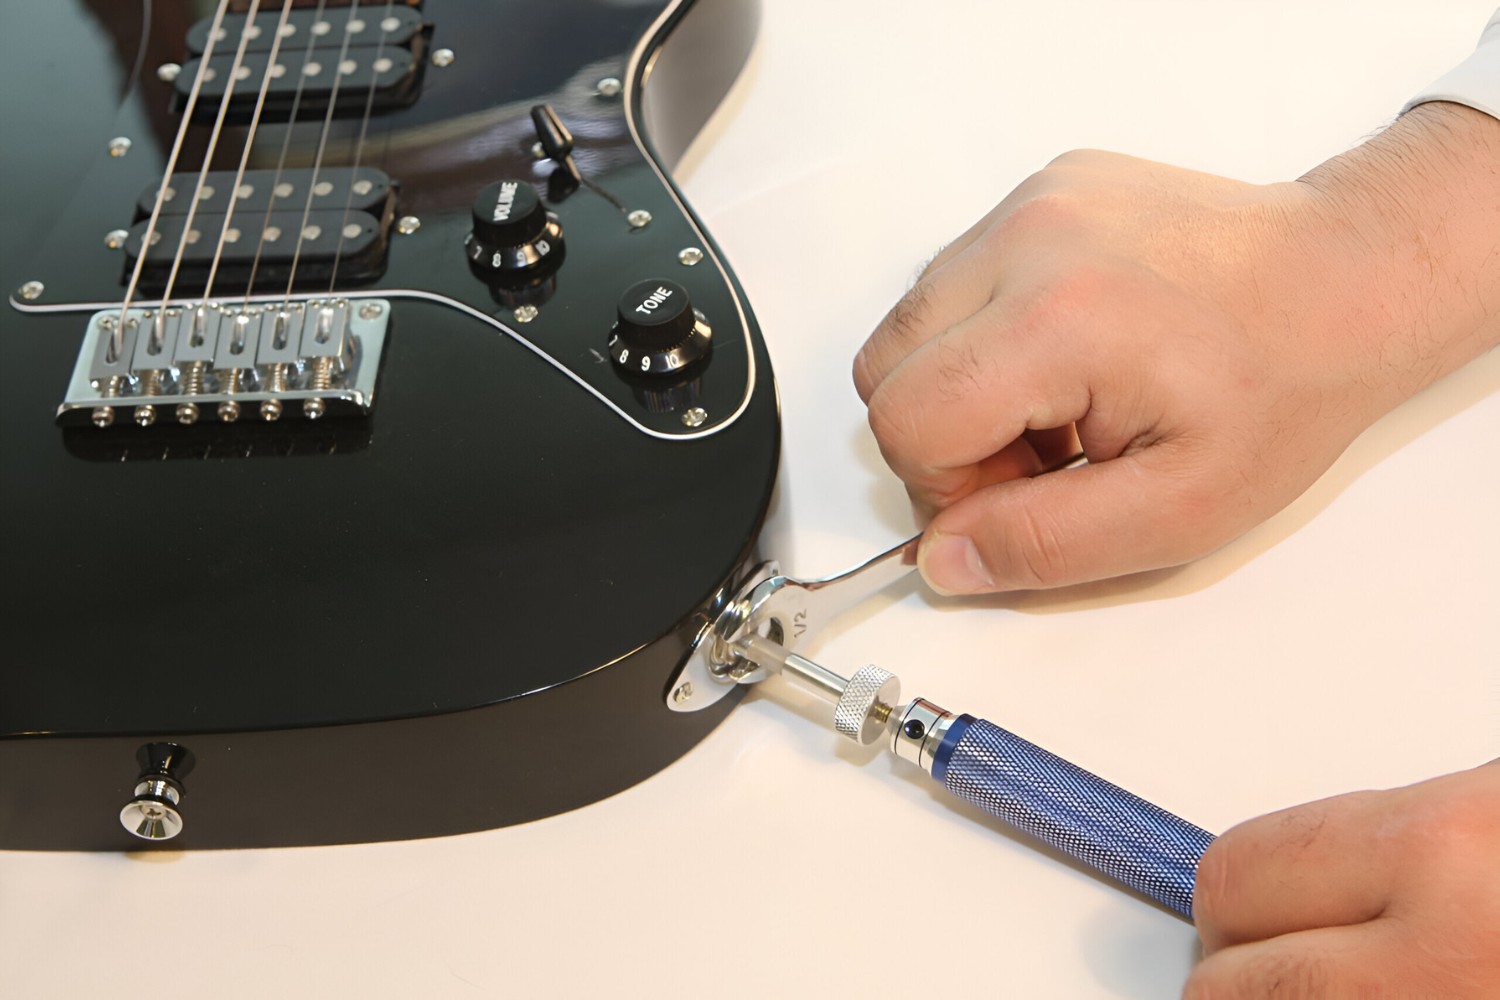
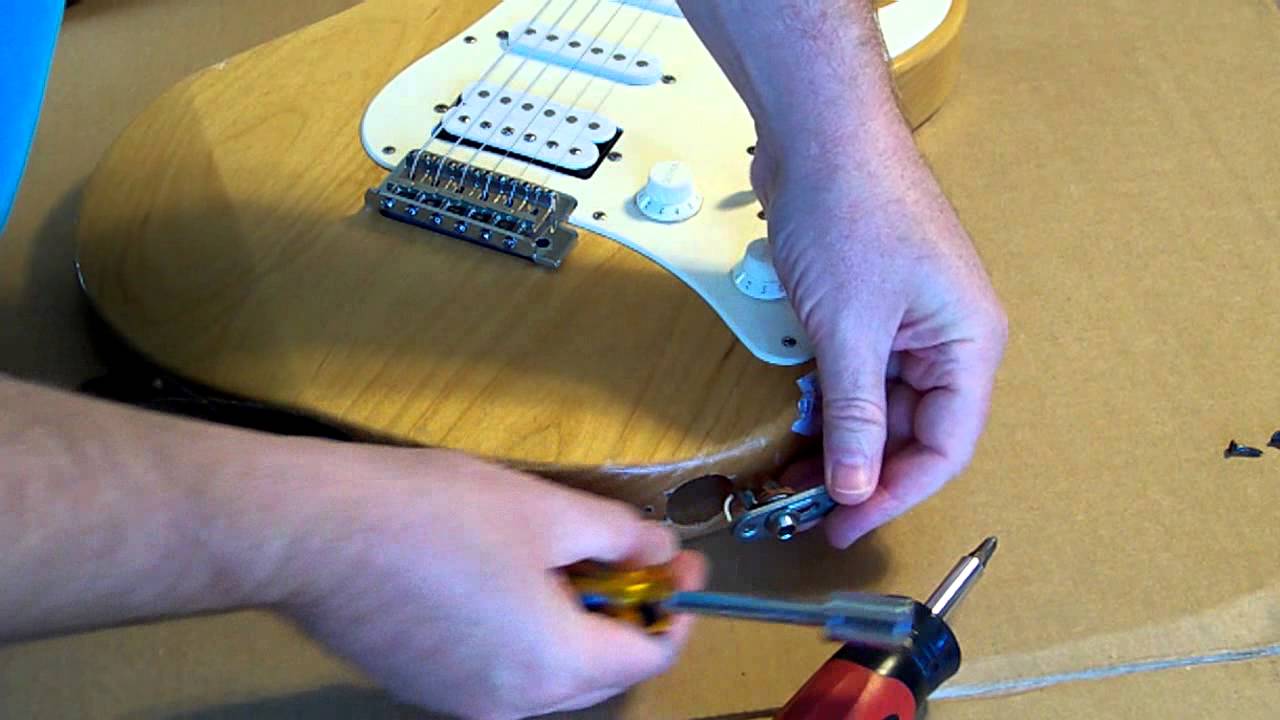
- Loosen the Strings: Begin by loosening the guitar strings to reduce tension on the nut. This step is crucial for preventing any damage to the neck or headstock when removing the old nut.
- Support the Neck: To provide stability and prevent any undue stress on the neck, use a suitable support under the neck of the guitar while working on the nut.
- Protect the Fretboard: Carefully apply masking tape along the edges of the nut and the fretboard to shield the wood from accidental scratches or dings during the removal process.
- Remove the Old Nut: Using a small hammer and a block of wood to cushion the blow, gently tap the old nut from one side to the other. Exercise caution and patience to avoid causing any damage to the fretboard or the surrounding areas.
- Clean the Nut Slot: Once the old nut is removed, use a cotton swab and rubbing alcohol to clean the nut slot thoroughly. This ensures a clean surface for the new nut to be installed.
By following these steps with care and precision, you can safely remove the old nut from your electric guitar, setting the stage for the next crucial phase: measuring and selecting the new nut.
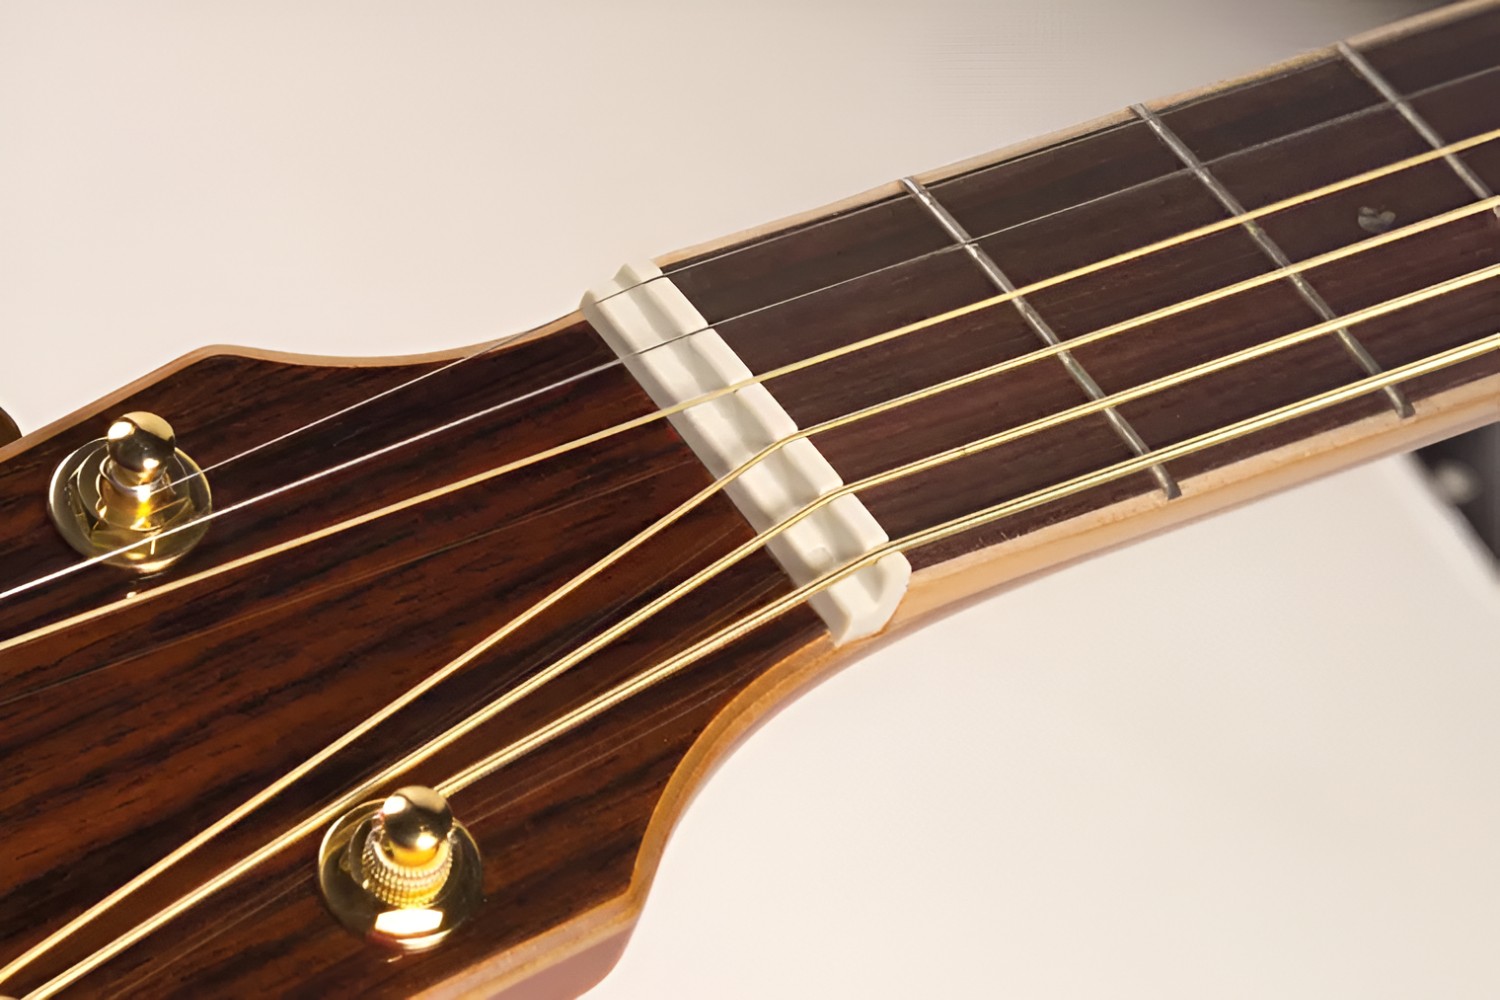
Measuring and Selecting the New Nut
Choosing the correct replacement nut for your electric guitar is a pivotal step in ensuring optimal playability and tone. The new nut must align with the instrument’s specifications and dimensions to facilitate smooth string action and accurate intonation. Here’s a detailed guide to measuring and selecting the new nut for your electric guitar:
- Measure the Old Nut: Use calipers or a ruler to measure the length, width, and height of the old nut accurately. Additionally, note the spacing between the strings and the overall curvature of the nut.
- Consult Manufacturer Specifications: If possible, refer to the manufacturer’s specifications for your guitar model to ensure that the replacement nut adheres to the instrument’s original design and dimensions.
- Material and Nut Slot: Consider the material of the new nut, such as bone, synthetic bone, brass, or graphite, based on your tonal preferences and playing style. Additionally, ensure that the nut slot matches the curvature and depth required for the new nut.
- String Spacing and Height: Verify that the new nut’s string spacing and height are compatible with your guitar’s bridge and fretboard, promoting proper string alignment and consistent playability.
- Custom Nut Options: For players seeking a tailored solution, custom nut options are available, allowing for precise adjustments to accommodate specific playing preferences and performance requirements.
By meticulously measuring and selecting the new nut based on these considerations, you can ensure that the replacement component seamlessly integrates with your electric guitar, setting the stage for the next crucial phase: fitting and gluing the new nut.
Fitting and Gluing the New Nut
Once you’ve selected the appropriate replacement nut for your electric guitar, the next critical steps involve fitting and securely affixing the new nut in place. This process demands precision and attention to detail to ensure optimal string action and stability. Here’s a comprehensive guide to fitting and gluing the new nut:
- Dry Fit the New Nut: Carefully place the new nut into the nut slot, ensuring that it sits flush and aligns with the fretboard. Verify that the string spacing and height are consistent with the guitar’s bridge and fretboard, making any necessary adjustments to achieve an ideal fit.
- Shape the Bottom of the Nut: If required, use a sanding block to shape the bottom of the new nut, ensuring that it conforms seamlessly to the curvature of the fretboard for a snug and stable fit.
- Apply Wood Glue: Once the new nut fits perfectly in the slot, apply a small amount of high-quality wood glue to the bottom of the nut. Exercise caution to avoid excess glue, as it can seep into the surrounding areas and interfere with the guitar’s tone and playability.
- Secure the Nut in Place: Gently press the new nut into the slot, ensuring that it makes full contact with the bottom surface. Wipe off any excess glue and use a clamp or a light tapping with a hammer and a block of wood to secure the nut in place while the glue sets.
- Allow the Glue to Cure: Follow the manufacturer’s recommended curing time for the wood glue, ensuring that the nut is firmly bonded to the fretboard before proceeding to the next phase of the process.
By meticulously following these steps, you can effectively fit and glue the new nut, setting the stage for the final phase: stringing and testing the guitar to ensure that the nut replacement has optimized the instrument’s playability and tone.
Stringing and Testing the Guitar
With the new nut securely in place, the final steps involve restringing the guitar and conducting thorough testing to ensure that the instrument’s playability and tone have been optimized. This phase is crucial for verifying the effectiveness of the nut replacement and making any necessary adjustments. Here’s a detailed guide to stringing and testing your electric guitar:
- Install New Set of Strings: Begin by installing a new set of high-quality strings that complement your playing style and tonal preferences. Ensure that the strings are properly seated in the bridge and the tuning pegs.
- Tune the Guitar: Gradually bring the strings to tension, tuning the guitar to the desired pitch. Monitor the string action and ensure that the strings seat properly in the new nut slots without binding or excessive friction.
- Check Intonation and Action: Play each string at various fret positions to assess intonation and ensure that the notes ring true. Additionally, verify that the string action is consistent and comfortable across the fretboard.
- Assess Nut Performance: Test the guitar’s tuning stability and note clarity, paying close attention to any signs of binding or buzzing at the nut. Make any necessary adjustments to the nut slots or string height to address any issues that may arise.
- Playability and Tone Evaluation: Spend time playing the guitar across different musical styles and techniques to assess its overall playability and tonal characteristics. Pay attention to sustain, clarity, and the instrument’s responsiveness to your playing dynamics.
By meticulously stringing and testing your electric guitar following these steps, you can ensure that the nut replacement has yielded the desired improvements in playability, tone, and tuning stability. Any adjustments made during this phase will contribute to the overall performance of the instrument, allowing you to fully appreciate the impact of the new nut on your playing experience.