Introduction
So, you've decided to embark on an exciting journey to create your very own electric guitar from scratch. Congratulations! Building a custom electric guitar can be an immensely rewarding and fulfilling experience, allowing you to unleash your creativity and craft an instrument that is uniquely yours. Whether you're a seasoned woodworker, an electronics enthusiast, or a music aficionado with a passion for craftsmanship, this project will undoubtedly offer a blend of challenges and triumphs.
From selecting the finest tonewoods to meticulously shaping the body, installing high-quality electronics, and putting the finishing touches on your masterpiece, every step in this process is an opportunity to pour your heart and soul into the creation of a musical instrument that resonates with your personal style and artistic vision.
Throughout this guide, you will delve into the intricate details of crafting an electric guitar, exploring the nuances of wood selection, the art of designing the guitar body, the precision of fretting and fretboard installation, the intricacies of finishing and painting, and the crucial steps involved in setting up and testing your newly minted creation.
Whether you're a seasoned luthier or a novice builder, this comprehensive guide will equip you with the knowledge and skills necessary to bring your dream electric guitar to life. So, roll up your sleeves, gather your tools, and let's dive into the fascinating world of crafting an electric guitar from start to finish.
Choosing the Right Materials
When embarking on the journey of building an electric guitar, one of the pivotal decisions you’ll face is selecting the materials that will define the instrument’s tone, aesthetics, and overall feel. The choice of tonewoods for the body, neck, and fretboard plays a significant role in shaping the instrument’s sonic characteristics, resonance, and sustain.
For the body, popular tonewood options include mahogany, alder, ash, and maple, each offering distinct tonal profiles. Mahogany is known for its warm, rich sound with pronounced midrange frequencies, while alder provides a balanced tonal spectrum with clear highs and a tight low end. Ash offers a bright, resonant tone with well-defined lows and sparkling highs, making it a favored choice for many guitarists. Maple, revered for its bright and articulate sound, is often used for guitar necks and fretboards, lending a crisp attack and sustained resonance.
When it comes to the neck, the choice between one-piece and multi-piece construction, as well as the selection of tonewood, can significantly influence the guitar’s stability, playability, and tonal characteristics. Additionally, the fretboard material, such as rosewood, ebony, or maple, not only impacts the instrument’s aesthetics but also contributes to the tonal nuances and feel under the fingers.
Equally crucial is the selection of hardware and electronic components, including pickups, bridges, tuners, and potentiometers. High-quality pickups, such as single-coil or humbuckers, can profoundly shape the guitar’s sonic versatility, responsiveness, and tonal palette. Additionally, choosing durable, reliable hardware and electronic components ensures the instrument’s longevity and performance.
By carefully considering the tonal attributes, structural integrity, and aesthetic appeal of the materials, you can lay the foundation for a custom electric guitar that not only meets your sonic preferences but also reflects your individuality as a builder and musician.
Designing the Guitar Body
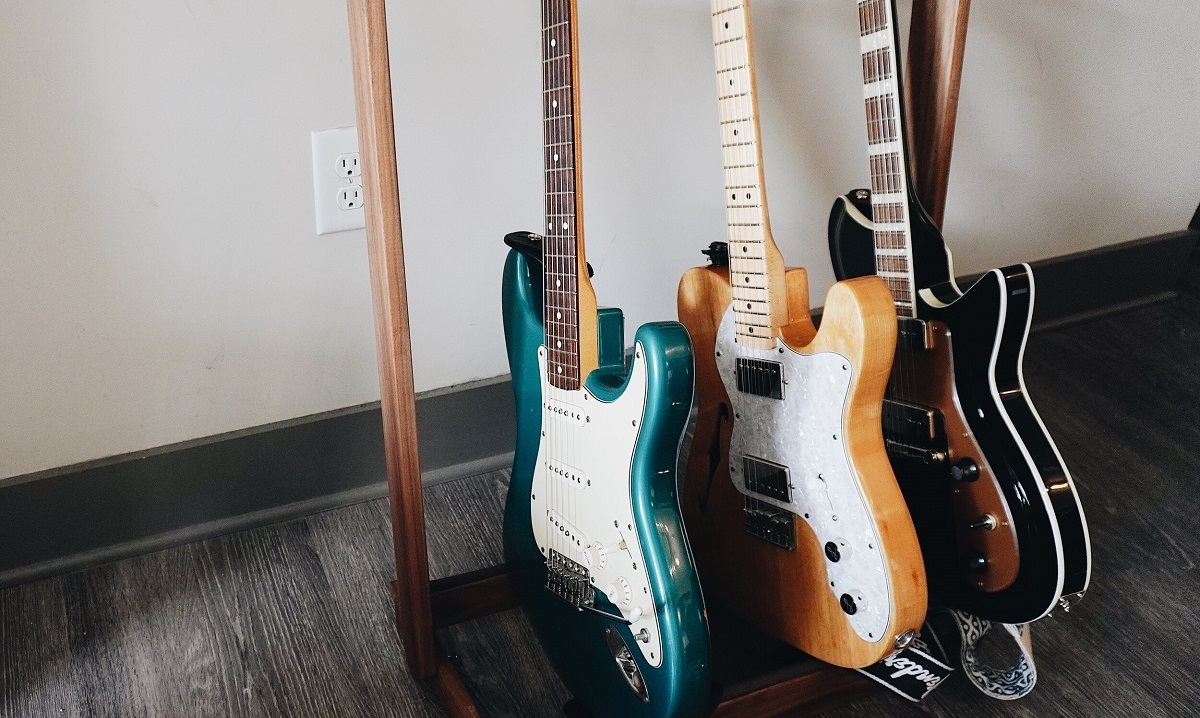
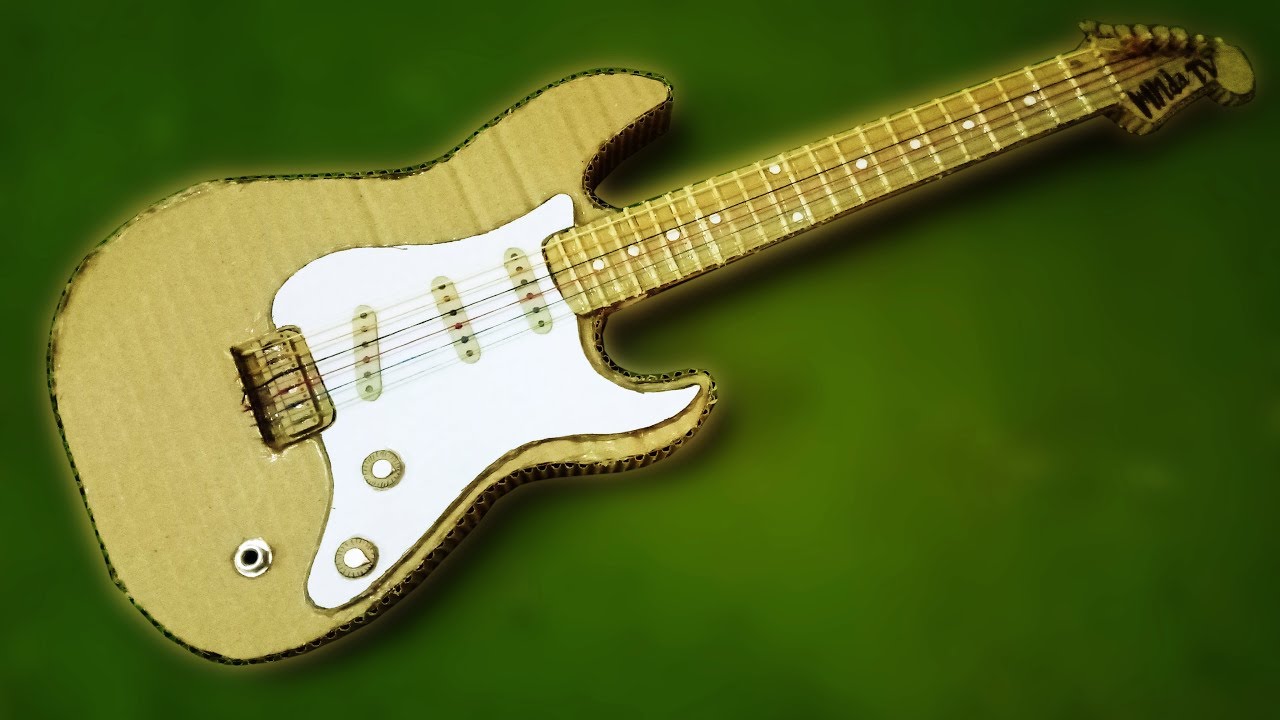
The guitar body serves as the canvas upon which the instrument’s aesthetic identity and ergonomic comfort are realized. Before delving into the physical construction, it’s essential to conceptualize the design that will encapsulate your vision and resonate with your artistic sensibilities. Whether you’re drawn to the timeless contours of a classic Stratocaster or the sleek, modern lines of a custom model, the body design sets the stage for the instrument’s visual allure and functional playability.
Consider the body shape, contours, and proportions, as they not only contribute to the guitar’s visual appeal but also influence its balance, weight distribution, and playability. The choice between a solid body, semi-hollow, or hollow design further impacts the instrument’s resonance, sustain, and tonal characteristics, offering a spectrum of sonic possibilities.
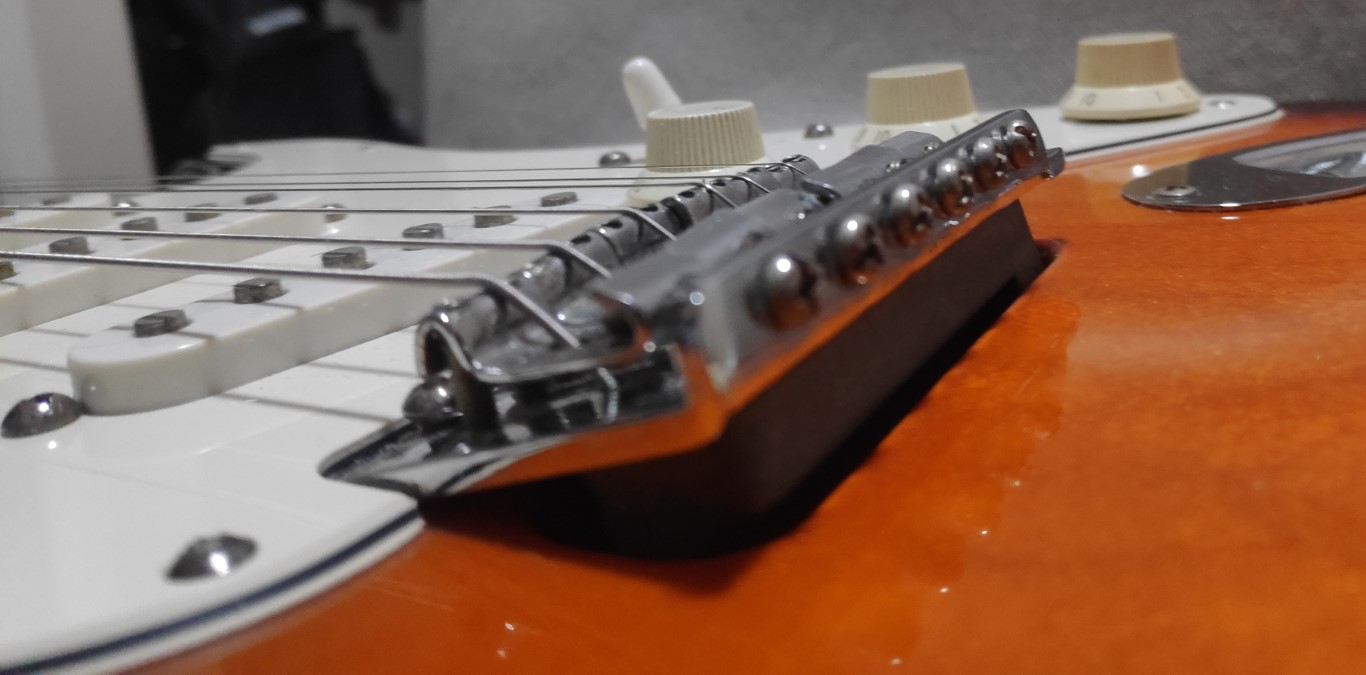
Additionally, the selection of hardware configurations, such as bridge and control layout, should align with your playing style and tonal preferences. Whether you opt for a traditional fixed bridge, a vibrato system, or a custom tailpiece, each choice contributes to the guitar’s sonic versatility and expressive potential.
As you immerse yourself in the design process, consider the interplay between form and function, ensuring that the body design not only captivates the eye but also facilitates effortless playability and comfort during extended performances. Whether you’re crafting a vintage-inspired instrument or pushing the boundaries of contemporary design, infuse your creativity into every curve, contour, and detail, knowing that the resulting instrument will bear the imprint of your unique artistic expression.
Cutting and Shaping the Wood
With the design of the guitar body meticulously planned, it’s time to bring that vision to life by cutting and shaping the chosen tonewoods. Whether you’re working with the warmth of mahogany, the resonance of alder, the brightness of ash, or the versatility of maple, the process of transforming raw lumber into the fundamental components of the instrument is a pivotal stage in the guitar-building journey.
Using precise measurements and templates, the selected tonewood is carefully marked and cut to form the body, neck, and headstock. Employing traditional hand tools or precision power tools, the rough outlines of the components are sculpted, ensuring that each curve, angle, and joint aligns seamlessly with the intended design. This stage demands a delicate balance of patience and precision, as the structural integrity and visual coherence of the instrument hinge on the accuracy of the cutting and shaping process.
Once the basic forms are established, the meticulous art of shaping the body contours, neck profile, and headstock design begins. Whether you prefer the classic elegance of a vintage-style body carve or the modern sleekness of a custom contoured design, the shaping process demands a keen eye for detail and a steady hand to achieve smooth, refined lines and ergonomic comfort.
As you navigate the transformative journey of cutting and shaping the tonewoods, remember that each stroke of the chisel, pass of the router, and sanding sequence shapes not only the physical components of the guitar but also imbues the instrument with the essence of your craftsmanship and dedication. Every curve, contour, and meticulously crafted detail bears the mark of your passion and artistry, laying the foundation for an electric guitar that resonates with character and individuality.
Installing the Electronics
As the physical form of the guitar begins to take shape, the installation of electronics marks a crucial phase in the construction process. From pickups and potentiometers to switches and output jacks, the meticulous integration of electronic components is pivotal in shaping the instrument’s sonic identity and expressive potential.
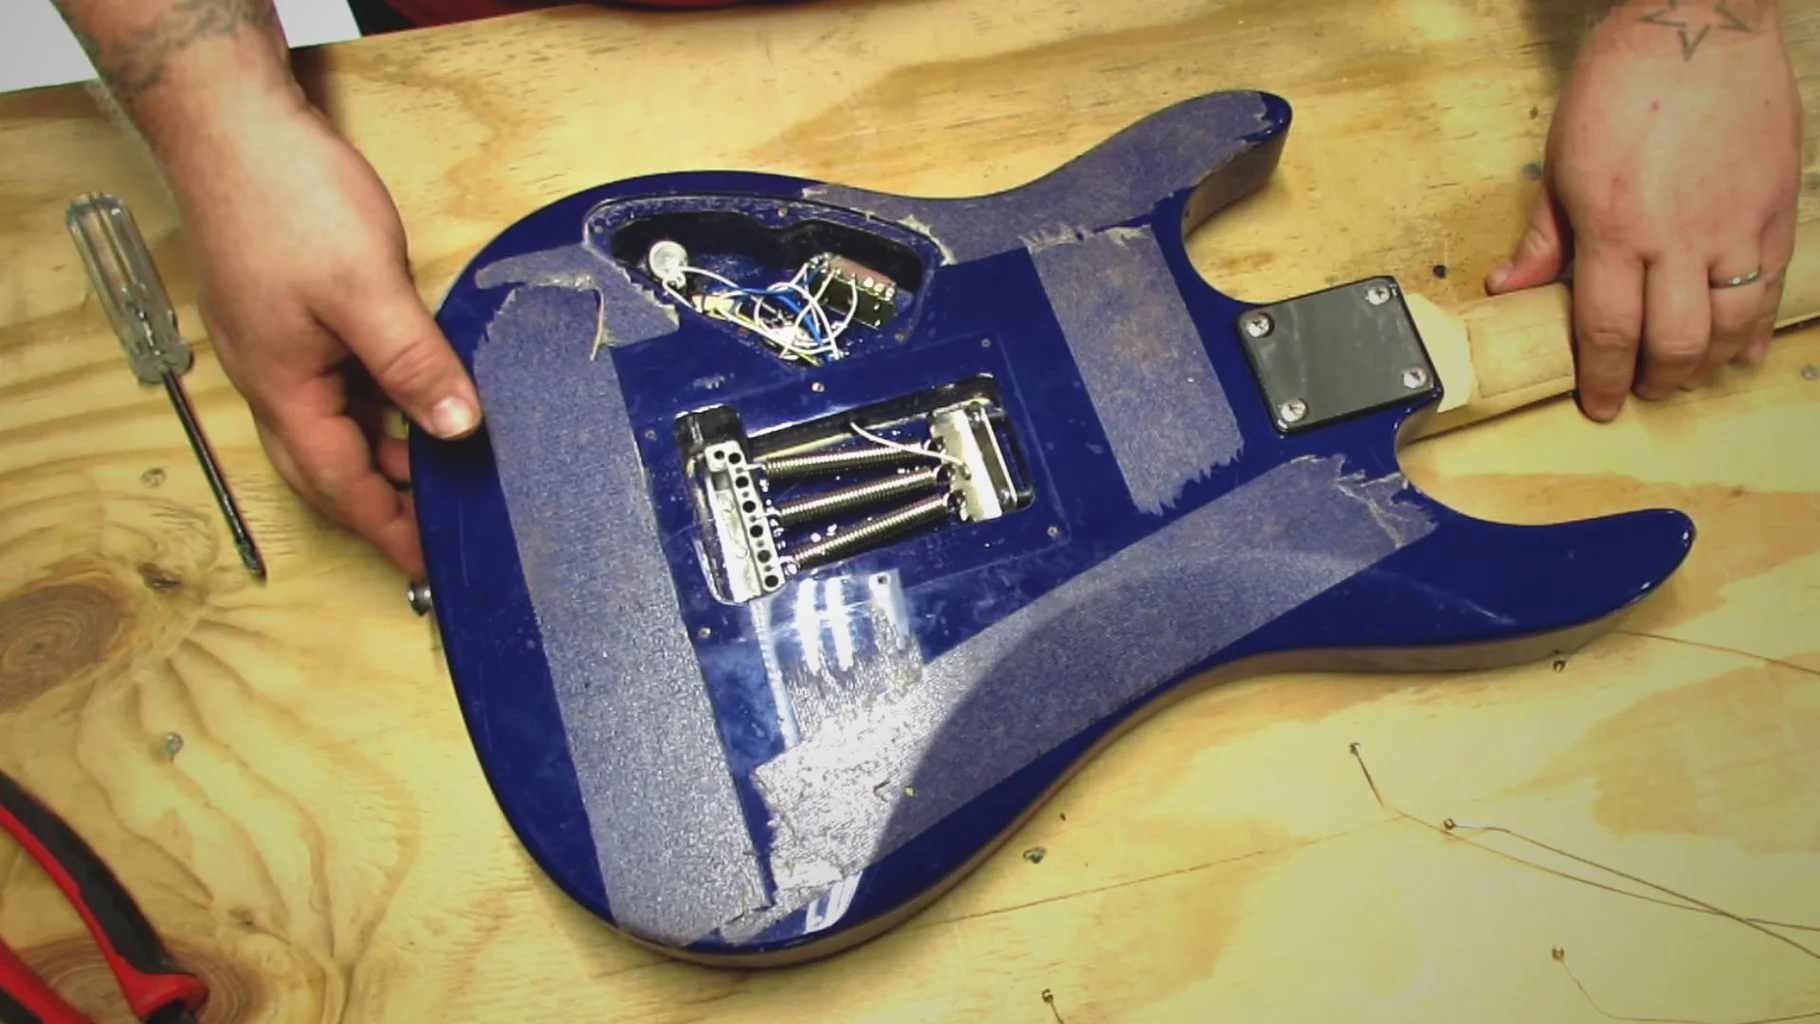
Begin by carefully routing the necessary channels and cavities within the body to accommodate the pickups, control cavities, and wiring harness. Precision and attention to detail are paramount at this stage, as the accuracy of the routing directly influences the fit, alignment, and functionality of the electronic components.
Next, the installation of pickups, often regarded as the heart of the electric guitar’s tonal character, demands precision and care. Whether you opt for single-coil pickups revered for their clarity and articulation, or the robust, full-bodied sound of humbuckers, ensuring proper alignment and height adjustment is essential to harness the full sonic potential of the chosen pickups.
Equally significant is the meticulous wiring of the electronic circuitry, ensuring that each connection is secure, tidy, and free from interference. Whether adhering to traditional wiring schemes or exploring custom configurations, the wiring process demands a methodical approach and an understanding of electronic principles to achieve optimal signal integrity and tonal versatility.
Finally, the integration of control knobs, switches, and output jacks completes the electronic ensemble, providing intuitive access to a spectrum of tonal options and expressive capabilities. Whether aiming for a minimalist control layout or a versatile array of sonic possibilities, the thoughtful placement and functionality of these components contribute to the instrument’s playability and sonic flexibility.
As you navigate the intricate process of installing the electronics, remember that each solder joint, wire routing, and component placement serves as a testament to your dedication and precision, shaping the instrument’s sonic landscape and paving the way for a custom electric guitar that embodies your artistic vision and technical prowess.
Attaching the Neck
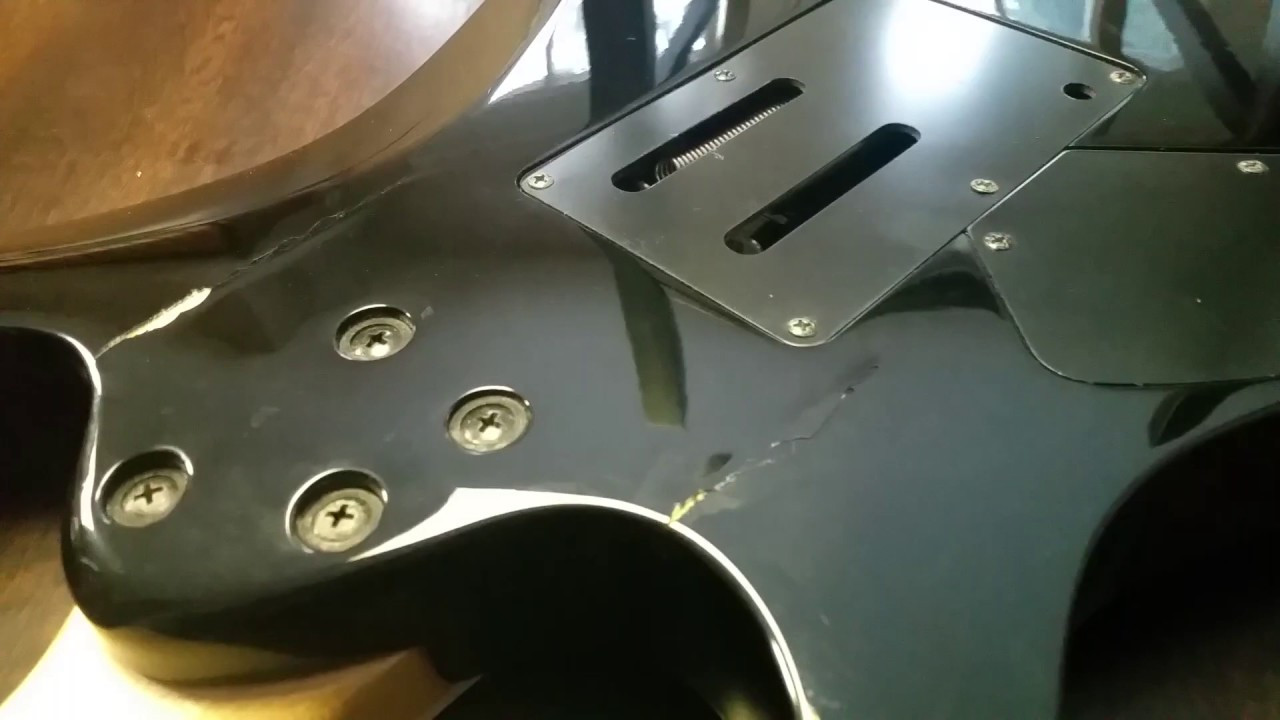
Attaching the neck to the body of the electric guitar is a pivotal step that not only influences the instrument’s playability and stability but also contributes to its resonance and tonal characteristics. Whether you’re crafting a bolt-on, set neck, or neck-through design, the seamless integration of the neck ensures a harmonious union between the neck and body, laying the groundwork for a responsive and resonant instrument.
Begin by carefully aligning the neck with the body, ensuring precise placement and a snug fit. Whether employing bolt-on fastening, traditional dovetail joints, or modern neck-through construction, the alignment and fitment of the neck play a significant role in establishing the instrument’s structural integrity and playability.
Once the neck is aligned, the attachment process demands meticulous attention to detail, as the secure fastening of the neck influences the instrument’s stability, intonation, and overall feel. Whether using screws, bolts, or adhesive, ensuring a tight, secure bond between the neck and body is crucial to guaranteeing long-term stability and optimal transfer of vibrational energy.
Following the attachment of the neck, meticulous adjustments to the neck angle, action, and intonation further refine the instrument’s playability and tonal precision. Whether employing shims, truss rod adjustments, or bridge saddle modifications, fine-tuning these elements ensures that the instrument not only plays effortlessly but also resonates with clarity and sustain across the entire fretboard.
As you navigate the process of attaching the neck, remember that each step, from initial alignment to final adjustments, contributes to the instrument’s structural integrity, playability, and sonic potential. The seamless integration of the neck with the body not only reflects your craftsmanship and attention to detail but also sets the stage for a custom electric guitar that embodies your dedication to precision and sonic excellence.
Fretting and Fretboard Installation
The installation of frets and fretboard represents a critical juncture in the construction of an electric guitar, where precision, craftsmanship, and attention to detail converge to shape the instrument’s playability, intonation, and tonal articulation. Whether you’re crafting a sleek ebony fretboard, a resonant rosewood fingerboard, or a bright maple neck, the process of fretting and fretboard installation demands meticulous care and precision.
Commencing with the installation of the fretboard, the careful alignment and secure attachment of the fingerboard to the neck set the stage for the subsequent fretting process. Whether employing traditional methods of gluing and clamping or modern techniques of bolt-on attachment, ensuring a seamless union between the neck and fretboard is essential to the instrument’s structural integrity and playability.
With the fretboard securely in place, the meticulous installation of frets begins, demanding precision and attention to detail at every stage. From selecting the appropriate fret wire size and material to ensuring accurate placement and seating of each fret, the fretting process is instrumental in shaping the instrument’s intonation, playability, and tonal precision.
Following the installation of frets, meticulous leveling, crowning, and polishing of the frets ensure a smooth, responsive playing surface that facilitates effortless string bending, chord voicings, and expressive phrasing. The meticulous attention to fretwork not only enhances the instrument’s playability but also contributes to its tonal articulation and sustain, ensuring that each note rings with clarity and precision.
As you navigate the intricate process of fretting and fretboard installation, remember that each meticulously installed fret and precisely crafted fingerboard reflects your dedication to precision and excellence. The harmonious fusion of the fretboard and fretwork not only shapes the instrument’s playability and tonal precision but also embodies your commitment to crafting a custom electric guitar that resonates with character and sonic excellence.
Finishing and Painting
The finishing and painting of an electric guitar represent the transformative stage where the instrument’s aesthetic identity is realized, and its tonewoods are safeguarded for the rigors of performance and the passage of time. Whether aiming for a lustrous, mirror-like finish that accentuates the natural beauty of the wood or a vibrant, custom paint job that reflects your artistic vision, the finishing process demands meticulous attention to detail and a commitment to achieving a flawless surface.
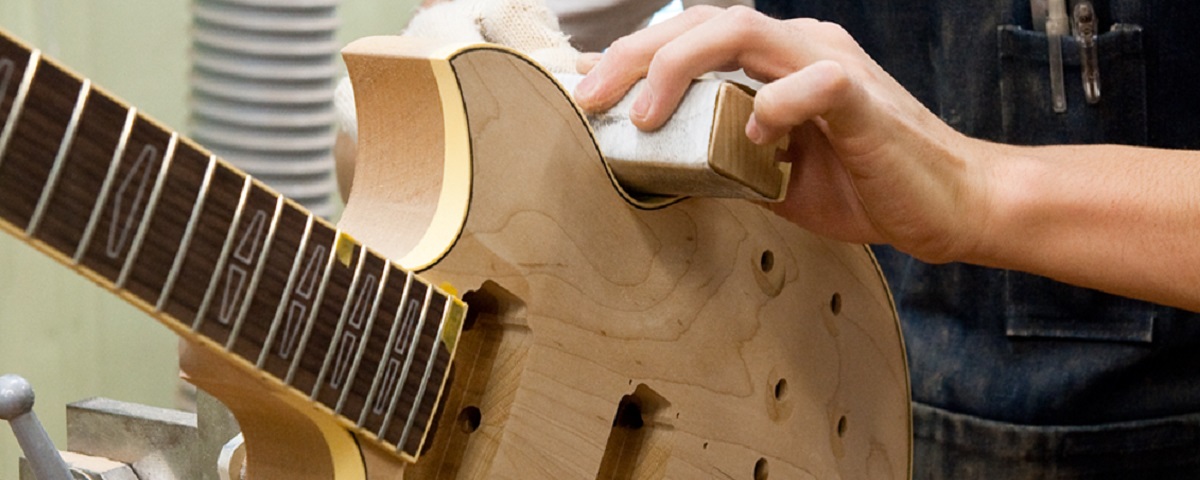
Commence the finishing process by meticulously sanding the instrument’s body and neck, ensuring a smooth, blemish-free surface that serves as the foundation for the subsequent application of finish. Whether employing traditional hand-sanding techniques or modern power sanders, the aim is to achieve a level, uniform surface that is receptive to the chosen finish or paint.
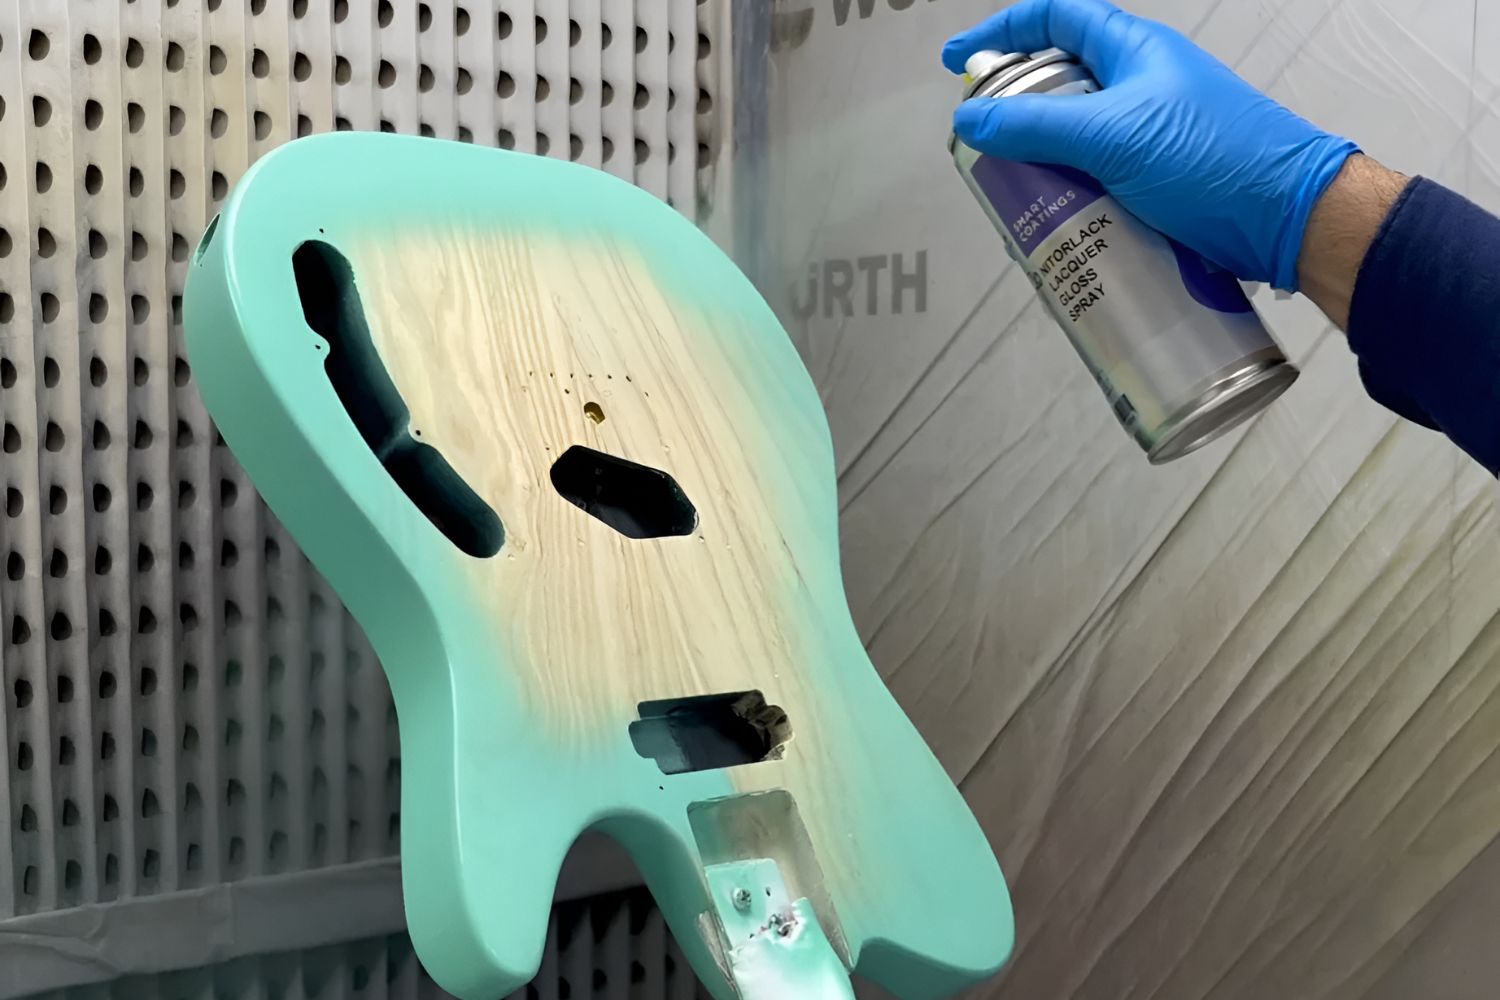
Following the preparation of the wood, the application of the finish, whether it be a clear lacquer, polyurethane, oil, or water-based varnish, not only enhances the natural beauty of the tonewoods but also provides crucial protection against environmental factors and wear. The meticulous application of the finish demands patience and precision, as each coat is carefully applied, allowed to cure, and meticulously sanded to achieve a flawless, glass-smooth surface.
For those pursuing a custom paint job, the finishing stage offers an opportunity to infuse the instrument with a unique visual identity. Whether opting for vibrant solid colors, intricate designs, or eye-catching metallic finishes, the painting process demands meticulous surface preparation, precise application of paint, and a keen eye for detail to achieve a flawless, durable finish that captivates the eye and reflects your artistic sensibilities.
As you navigate the transformative journey of finishing and painting, remember that each meticulous coat of finish and precisely applied stroke of paint embodies your dedication to craftsmanship and artistic expression. The flawless, lustrous surface that emerges not only safeguards the instrument’s tonewoods but also encapsulates your commitment to crafting a custom electric guitar that resonates with visual allure and enduring beauty.
Setting Up and Testing
As the construction of the electric guitar nears completion, the crucial stage of setting up and testing the instrument ensures that it not only plays effortlessly but also resonates with tonal precision and sonic excellence. Whether you’re fine-tuning the instrument’s action, intonation, and truss rod relief or meticulously testing its electronic components, the setup and testing phase demands meticulous attention to detail and a commitment to achieving optimal playability and sonic performance.
Commence the setup process by meticulously adjusting the instrument’s action, ensuring that the string height and neck relief align with your playing style and tonal preferences. Whether aiming for low, fast action conducive to intricate lead playing or a slightly higher action for robust rhythm work, the precise adjustment of the instrument’s action ensures effortless playability across the entire fretboard.
Following the adjustment of the action, meticulous attention to the instrument’s intonation ensures that each note rings true and in tune across the entire fretboard. Whether adjusting bridge saddle positions or employing compensated nut techniques, achieving optimal intonation guarantees that chords sound harmonious and individual notes resonate with clarity and precision.
With the instrument’s action and intonation finely tuned, the meticulous testing of its electronic components ensures that pickups, switches, and control knobs function seamlessly, offering a spectrum of tonal options and sonic versatility. Whether conducting signal tests, pickup height adjustments, or control function evaluations, ensuring the reliability and tonal precision of the instrument’s electronic ensemble is crucial to its sonic performance.
Finally, a comprehensive playtest of the instrument, encompassing chord voicings, scales, and dynamic playing techniques, not only evaluates its playability and tonal articulation but also offers insight into its sonic character and expressive potential. Whether exploring clean, crystalline tones, overdriven power chords, or fluid lead lines, the playtest provides a firsthand experience of the instrument’s sonic palette and expressive capabilities.
As you navigate the meticulous process of setting up and testing the instrument, remember that each adjustment, evaluation, and playtest reflects your dedication to achieving optimal playability and sonic excellence. The instrument that emerges not only embodies your commitment to precision and craftsmanship but also resonates with tonal precision and expressive potential, laying the foundation for a custom electric guitar that inspires and captivates.
Conclusion
Congratulations on completing the exhilarating journey of crafting your very own electric guitar from start to finish. The culmination of this endeavor represents not only the realization of a musical instrument that embodies your creativity and dedication but also a testament to the artistry and craftsmanship that define the luthier’s craft.
Throughout this comprehensive guide, you’ve delved into the intricate details of selecting the finest tonewoods, designing the guitar body, shaping the wood, installing electronics, attaching the neck, fretting and fretboard installation, finishing and painting, and setting up and testing the instrument. Each stage of the construction process has offered a blend of challenges and triumphs, demanding meticulous attention to detail, precision, and a commitment to achieving sonic excellence.
As you reflect on the journey, remember that the instrument that now rests in your hands not only resonates with tonal precision and visual allure but also embodies your dedication to craftsmanship and artistic expression. Whether crafting a vintage-inspired classic or pushing the boundaries of contemporary design, the electric guitar you’ve created is a testament to your passion for music, woodworking, and the timeless art of lutherie.
As you prepare to unleash the instrument’s sonic potential and share its melodic voice with the world, remember that the journey of crafting a custom electric guitar from start to finish is not merely a technical pursuit but a deeply personal and artistic endeavor. The instrument that now stands as a testament to your creativity and dedication is a reflection of your unique vision, individuality, and unwavering commitment to the pursuit of sonic excellence.
So, as you embark on the next chapter of your musical journey, let the custom electric guitar you’ve crafted serve as a source of inspiration, creativity, and sonic exploration. Whether on stage, in the studio, or in the comfort of your own creative space, may the instrument’s melodic voice resonate with the passion, dedication, and artistry that define your journey as a builder and musician.