Introduction
Taking care of your electric guitar is essential to maintain its playability, appearance, and longevity. One crucial aspect of guitar maintenance is cleaning and conditioning the guitar neck. The neck of the guitar is constantly exposed to oils, dirt, and sweat from your hands, which can accumulate over time and affect the playability and feel of the instrument. By regularly cleaning and conditioning the guitar neck, you can ensure that it remains smooth, comfortable, and free from any buildup.
In this guide, we will walk you through the step-by-step process of cleaning and conditioning an electric guitar neck. Whether you're a seasoned guitarist or a beginner, following these simple maintenance steps will help you keep your instrument in top condition.
By the end of this guide, you will have the knowledge and confidence to properly care for your electric guitar's neck, ensuring that it not only looks great but also feels smooth and responsive, allowing you to focus on creating music without any hindrances. So, let's gather the necessary materials and get started on revitalizing your electric guitar neck!
Step 1: Gather the Necessary Materials
Before you begin the process of cleaning and conditioning your electric guitar neck, it’s important to gather all the necessary materials. Having the right tools and products on hand will ensure that the maintenance process goes smoothly and effectively. Here’s what you’ll need:
- Clean, lint-free cloths: These will be used to wipe down the guitar neck and apply the conditioning oil.
- Guitar cleaning solution: Choose a high-quality, non-abrasive guitar cleaning solution specifically formulated for cleaning and conditioning guitar necks.
- Guitar conditioning oil: Look for a conditioning oil designed for use on guitar necks, as it will help to keep the wood nourished and prevent it from drying out.
- Guitar string cutter: You will need this to remove the guitar strings before cleaning the neck.
- Protective work surface: Lay down a soft cloth or a guitar maintenance mat to protect the guitar’s body and finish while working on the neck.
- Tuner: Once the cleaning and conditioning process is complete, you’ll need a tuner to re-string the guitar and ensure it’s in tune.
Having these materials readily available will make the cleaning and conditioning process more efficient and help you achieve the best results for your electric guitar neck. With everything prepared, you’re now ready to move on to the next step of removing the guitar strings.
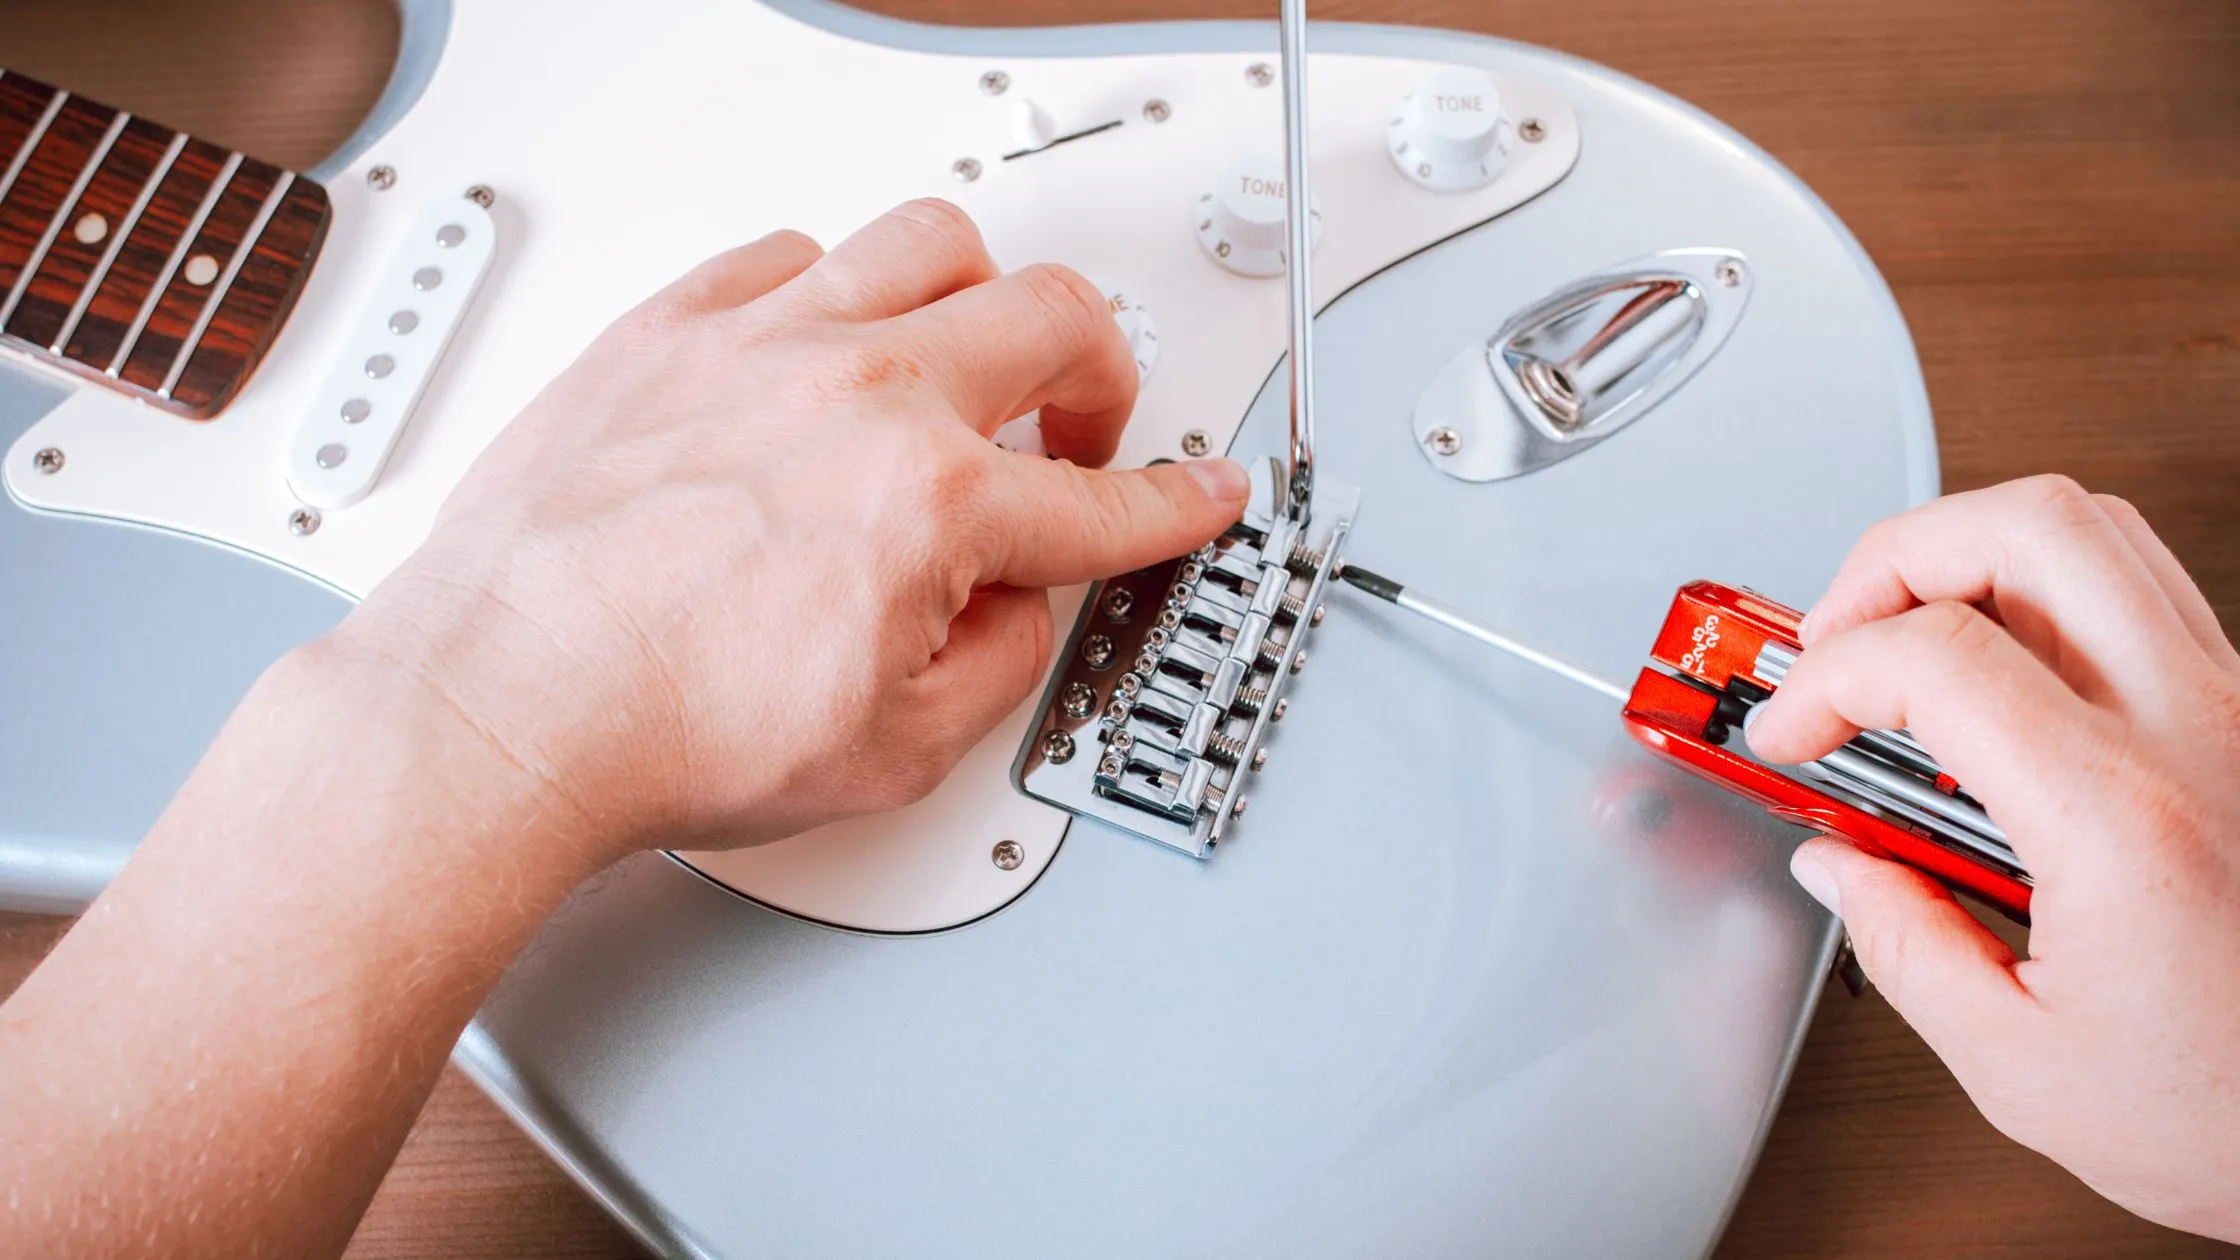
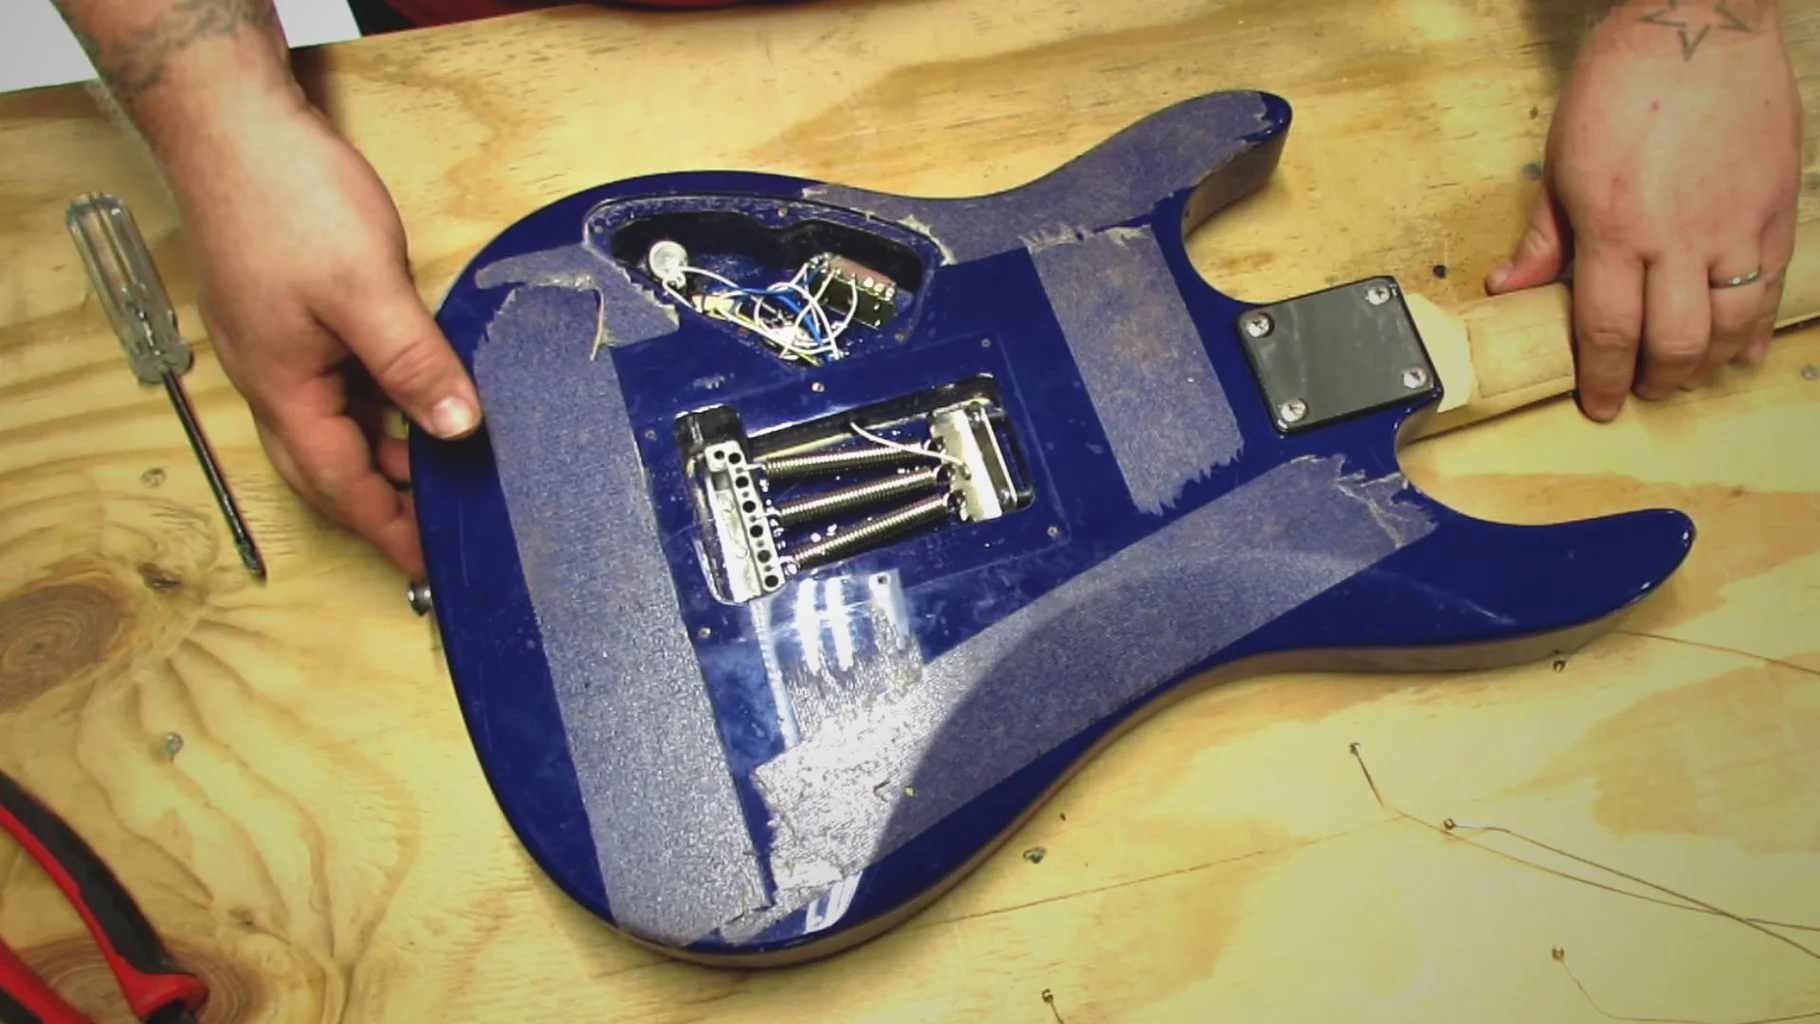
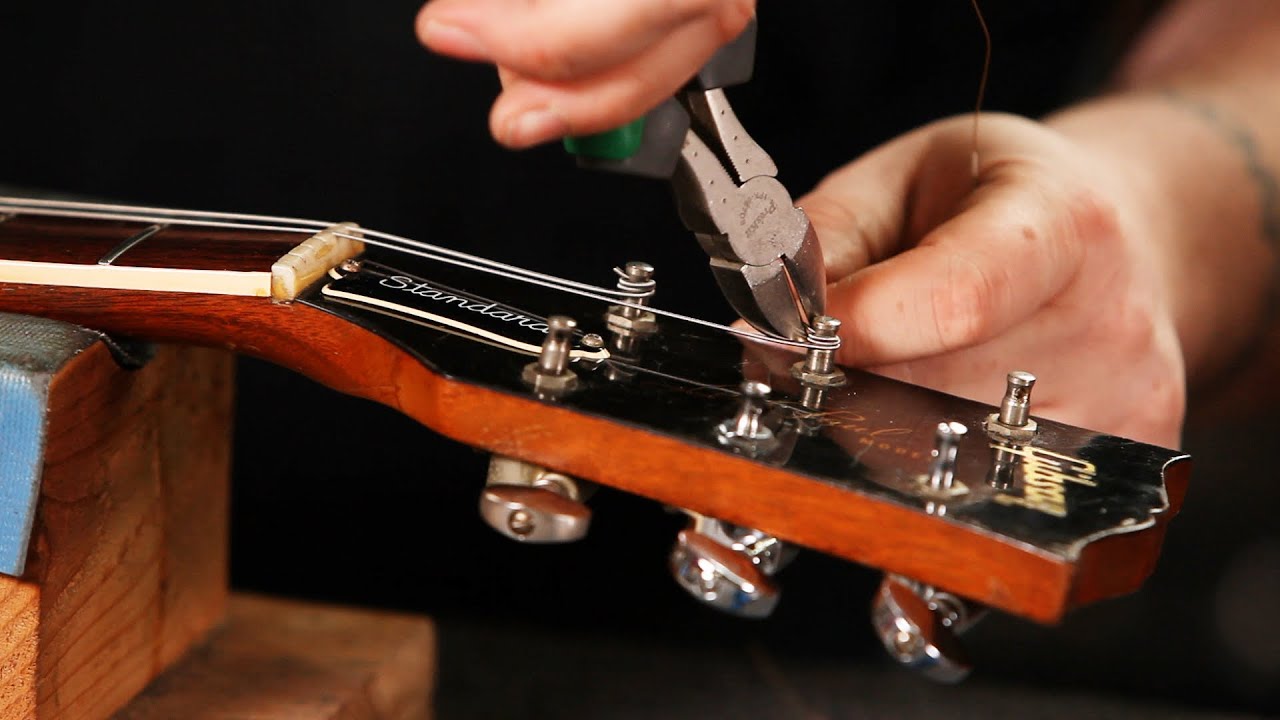
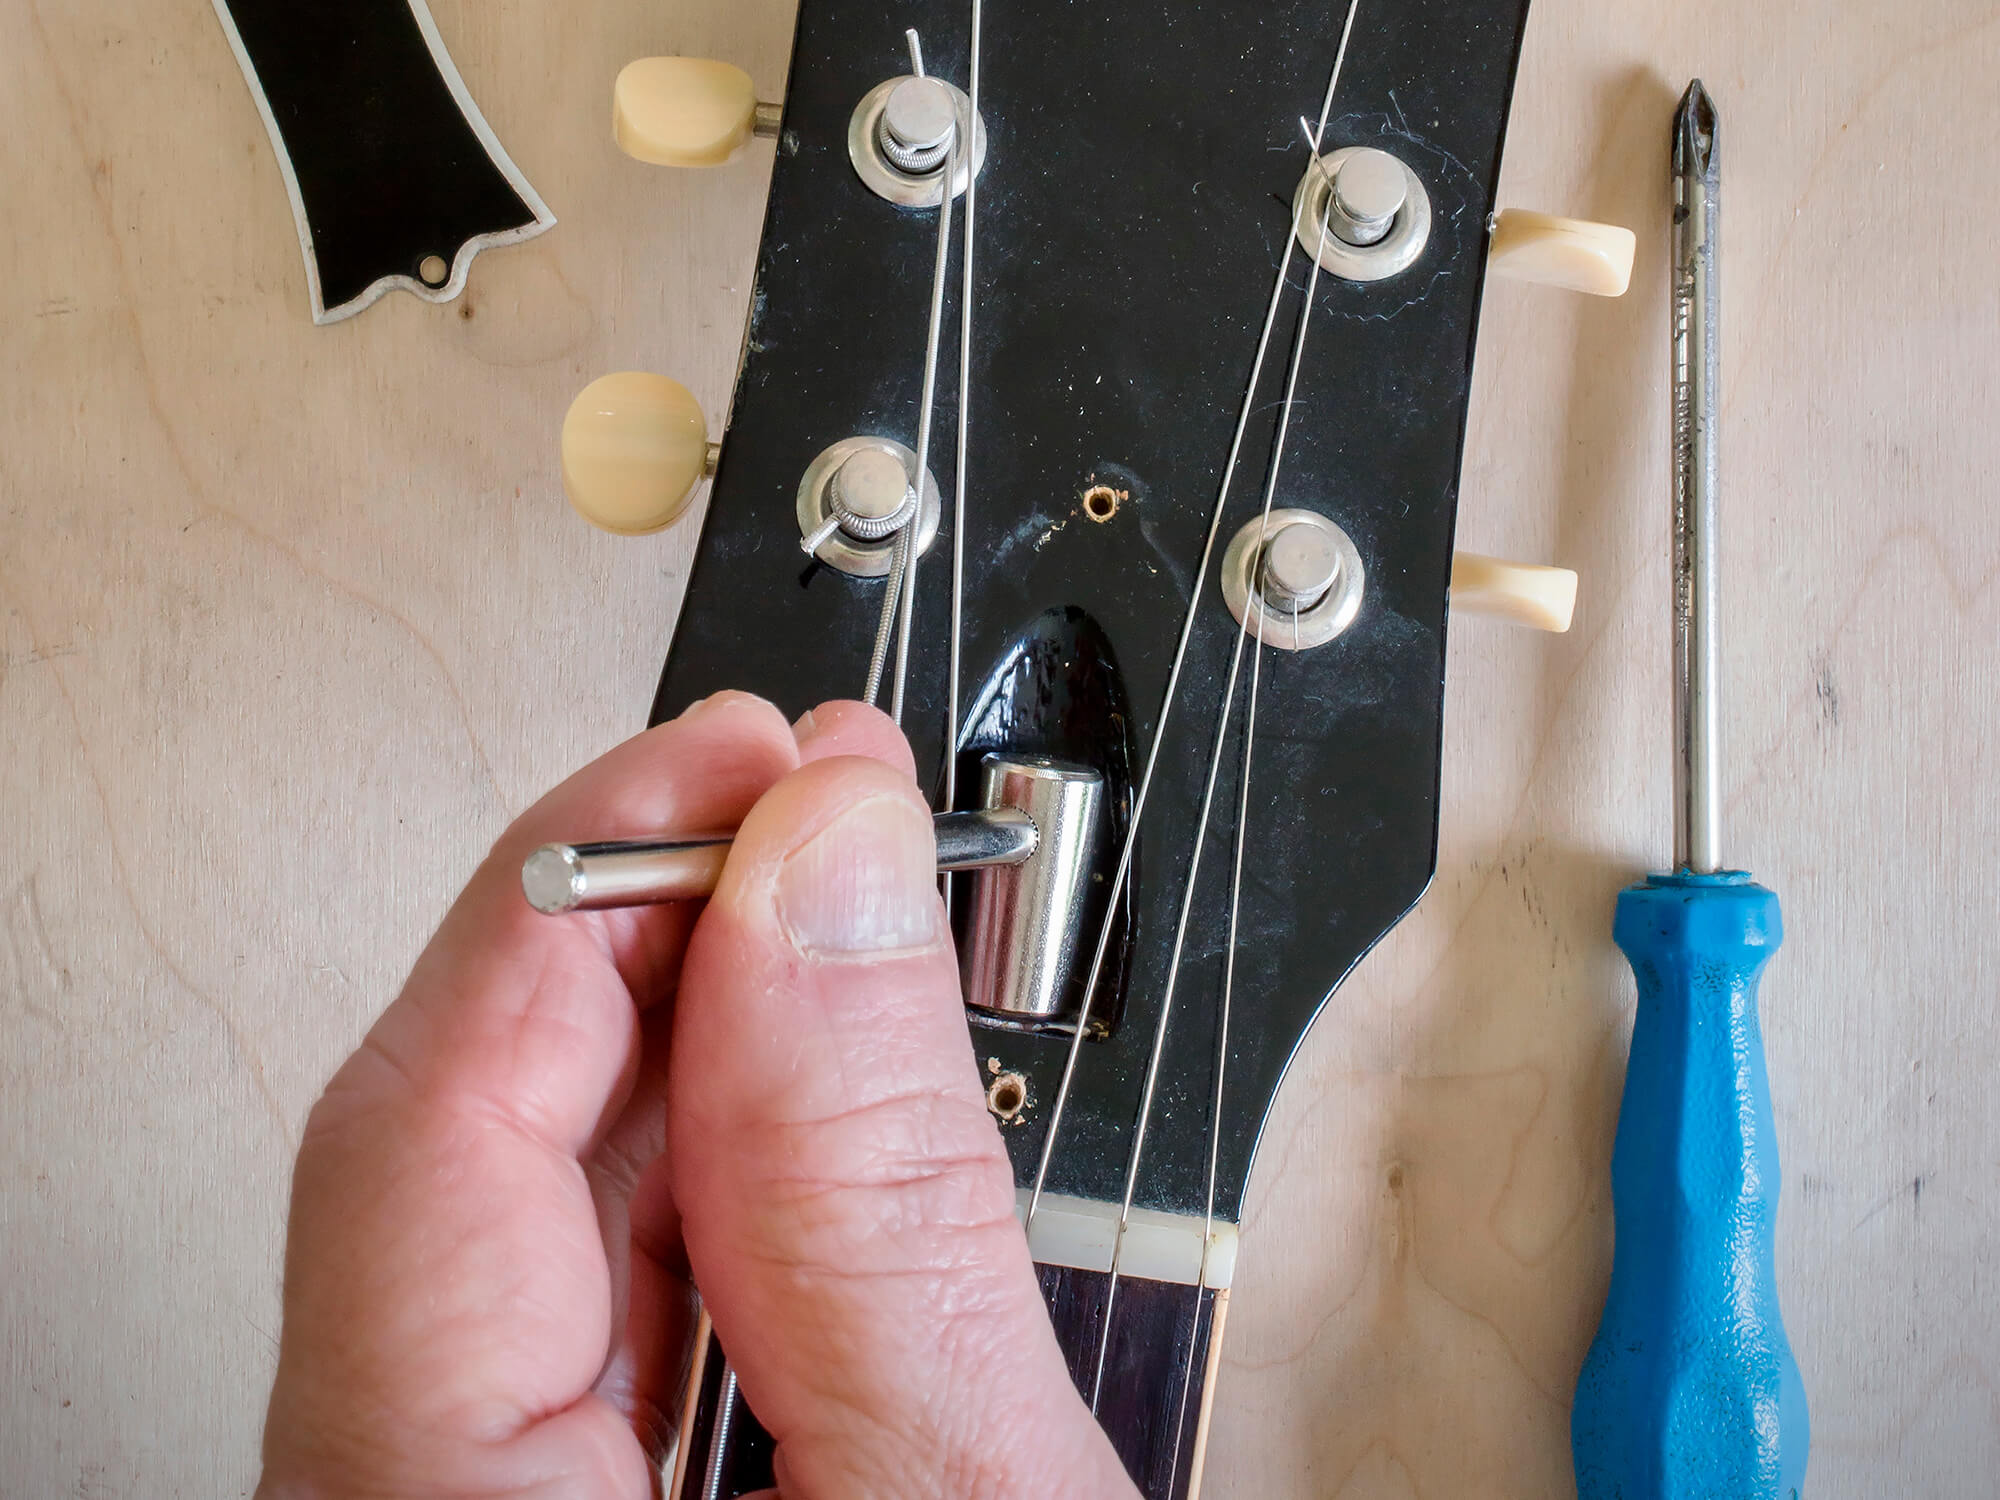
Step 2: Remove the Guitar Strings
Before you can begin cleaning and conditioning the guitar neck, it’s essential to remove the guitar strings to access the entire surface of the neck. Follow these steps to safely remove the strings from your electric guitar:
- Prepare the work area: Lay your guitar on a flat, stable surface, and ensure that the surrounding area is clear to prevent any accidental damage to the instrument.
- Loosen the strings: Using a guitar string winder or by hand, loosen the tension of each string by turning the tuning pegs counterclockwise. This will reduce the tension on the strings and make them easier to remove.
- Cut the strings: Once the strings are sufficiently loosened, use a guitar string cutter to snip the strings near the bridge of the guitar. Be cautious not to let the loose ends snap back and cause any damage.
- Remove the strings: Gently unwind and remove each string from the tuning pegs and the bridge, taking care to avoid scratching the guitar’s body or the headstock.
- Dispose of the old strings: Discard the old strings responsibly, as they can be sharp and pose a safety hazard if left lying around.
With the guitar strings removed, you now have clear access to the entire surface of the guitar neck, allowing you to thoroughly clean and condition it for optimal playability and longevity. Proceed to the next step to learn how to effectively clean the guitar neck to remove any accumulated grime and oils.
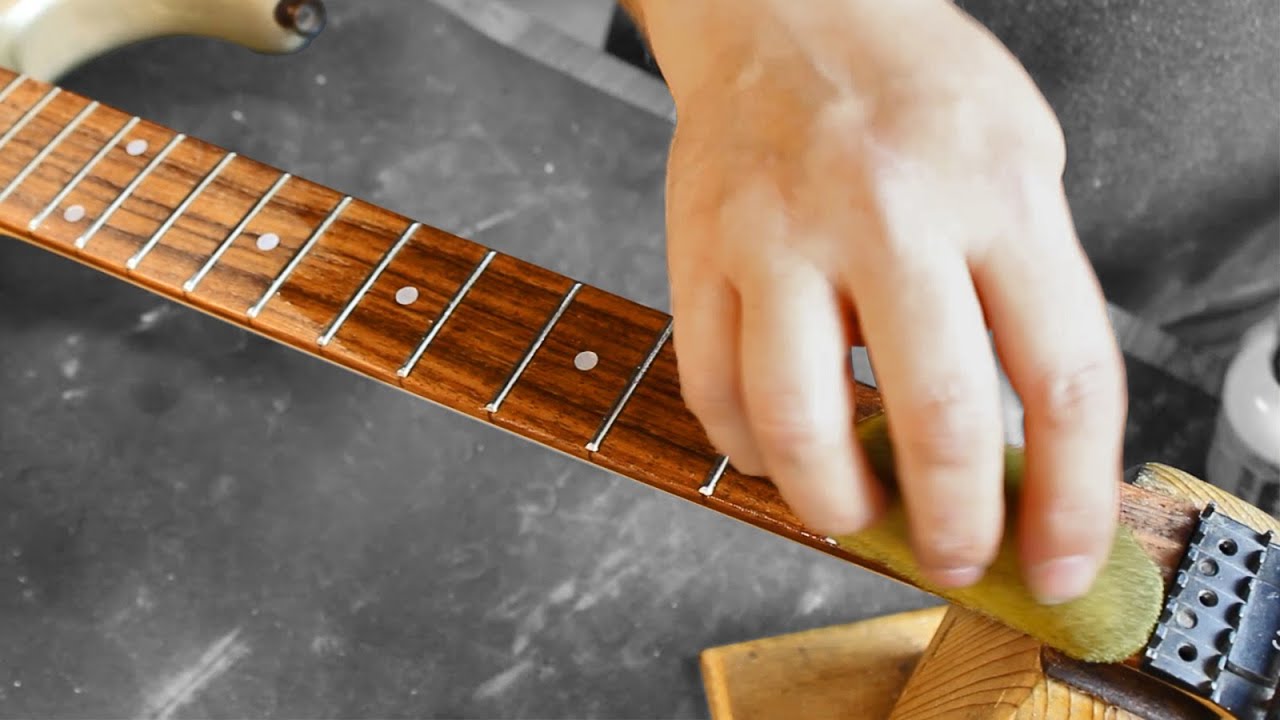
Step 3: Clean the Guitar Neck
Now that the guitar strings have been removed, it’s time to focus on cleaning the neck of your electric guitar. Over time, the neck can accumulate oils, dirt, and grime from your hands, affecting its playability and feel. Follow these steps to effectively clean the guitar neck:
- Apply the guitar cleaning solution: Dampen a clean, lint-free cloth with the guitar cleaning solution. Gently wipe the entire surface of the guitar neck to remove any built-up residue, paying particular attention to areas where the frets meet the wood.
- Remove stubborn grime: For any stubborn grime or dirt buildup, you can use a soft-bristled toothbrush or a fretboard cleaning brush to gently scrub the affected areas. Be careful not to apply excessive pressure to avoid damaging the wood or the frets.
- Thoroughly dry the neck: Once the neck has been cleaned, use a dry cloth to thoroughly dry the surface and ensure that no moisture remains. It’s essential to prevent any moisture from lingering on the wood to avoid potential damage.
- Inspect the fretboard: Take this opportunity to inspect the fretboard for any signs of wear, damage, or uneven frets. Cleaning the fretboard provides an excellent opportunity to assess its condition and address any issues that may require attention.
By following these steps, you can effectively remove accumulated oils, dirt, and grime from the guitar neck, restoring its smooth and clean surface. Once the neck is thoroughly cleaned, you can proceed to the next step of conditioning the wood to maintain its optimal condition and playability.
Step 4: Condition the Guitar Neck
After cleaning the guitar neck, the next crucial step is to condition the wood to maintain its health and playability. Conditioning the neck helps to nourish the wood, prevent it from drying out, and maintain a smooth, comfortable feel. Follow these steps to effectively condition your electric guitar neck:
- Apply the conditioning oil: Using a clean, lint-free cloth, apply a small amount of the guitar conditioning oil to the entire surface of the neck. Gently rub the oil into the wood, ensuring even coverage and paying particular attention to any dry or worn areas.
- Allow the oil to penetrate: After applying the conditioning oil, allow it to penetrate the wood for the recommended duration specified by the product manufacturer. This allows the oil to nourish and moisturize the wood, keeping it in optimal condition.
- Remove excess oil: Once the oil has had time to penetrate the wood, use a clean cloth to gently remove any excess oil from the surface of the neck. This step helps to prevent an overly greasy or sticky feel while retaining the conditioning benefits.
- Buff the neck: Using a separate clean cloth, gently buff the neck to achieve a smooth, non-greasy finish. This step helps to evenly distribute the conditioning oil and ensures a comfortable playing experience.
By following these steps, you can effectively condition the wood of your electric guitar neck, helping to maintain its health, playability, and longevity. Conditioning the neck at regular intervals will contribute to the overall care and maintenance of your instrument, ensuring that it remains in top condition for years to come.
Step 5: Re-string the Guitar
With the guitar neck cleaned and conditioned, the final step is to re-string your electric guitar. Proper re-stringing is essential for ensuring that the instrument produces optimal tone and playability. Follow these steps to re-string your guitar:
- Select the appropriate strings: Choose high-quality electric guitar strings that suit your playing style and musical preferences. Consider the gauge, material, and coating of the strings to achieve the desired tone and feel.
- Thread the strings: Starting with the low E string, insert the end of the string into the bridge and thread it through the corresponding tuning peg. Repeat this process for each string, ensuring that the strings are properly aligned and seated in the nut and bridge.
- Wind the strings: Using a string winder or by hand, begin winding each string onto its respective tuning peg. Ensure that the strings are wound neatly and securely to maintain stable tuning and intonation.
- Tune the guitar: Once all the strings are attached and secured, use a tuner to bring each string to the correct pitch. Tuning the guitar accurately is crucial for achieving proper intonation and playability.
- Stretch the strings: After tuning, gently stretch each string to remove excess slack and promote stability. This step helps to minimize the need for frequent re-tuning and ensures that the strings settle into their optimal tension.
By re-stringing your electric guitar following these steps, you can ensure that the instrument is equipped with fresh, properly installed strings, ready to deliver exceptional tone and playability. Regular re-stringing and maintenance will contribute to the overall performance and longevity of your electric guitar, allowing you to continue creating music with confidence and ease.
Conclusion
Caring for your electric guitar’s neck is an essential aspect of instrument maintenance that directly impacts its playability and longevity. By following the step-by-step process outlined in this guide, you have learned how to effectively clean and condition your guitar neck, ensuring that it remains in optimal condition for years to come.
Regularly cleaning and conditioning the guitar neck helps to remove accumulated oils, dirt, and grime, while also nourishing the wood and maintaining a smooth, comfortable feel. This proactive approach to maintenance not only enhances the aesthetics of your instrument but also contributes to its overall performance and playability.
Additionally, re-stringing your guitar with high-quality strings further enhances its tone and playability, providing you with a fresh and responsive playing experience. By incorporating these maintenance practices into your routine, you can enjoy the full potential of your electric guitar while preserving its condition for the long term.
Remember, the care and attention you invest in your electric guitar today will directly impact its performance and longevity in the future. By following these maintenance steps and staying proactive in caring for your instrument, you can continue creating music with confidence, knowing that your electric guitar is in optimal condition.