Introduction
So, you've decided it's time to give your electric guitar a fresh new look. Whether it's to revamp its appearance, cover up some wear and tear, or simply to express your personal style, repainting your electric guitar can be a rewarding and creative endeavor. Not only does it allow you to showcase your artistic flair, but it also gives you the opportunity to breathe new life into an instrument that holds sentimental value.
Repainting an electric guitar involves several key steps, including choosing the right paint, preparing the guitar for the painting process, applying the primer, painting the guitar itself, and finishing off with a clear coat. Each of these steps requires careful attention to detail and a willingness to invest time and effort into the project. While the process may seem daunting at first, with the right guidance and a bit of patience, you can achieve professional-looking results that will make your guitar stand out on stage or in the studio.
In this guide, we'll take you through each stage of the repainting process, providing practical tips and insights to help you navigate the journey from start to finish. By the end, you'll have the knowledge and confidence to tackle this project head-on, transforming your electric guitar into a personalized work of art that reflects your unique musical identity. So, roll up your sleeves, gather your materials, and let's dive into the world of electric guitar repainting.
Choosing the Right Paint
When it comes to repainting your electric guitar, selecting the right paint is crucial to achieving a professional and durable finish. There are various types of paint to choose from, each with its own characteristics and suitability for different guitar materials and finishes. Here are some key considerations to keep in mind when choosing the paint for your project:
- Acrylic Lacquer: Acrylic lacquer paints are known for their quick drying time and ease of application. They provide a glossy finish and are available in a wide range of colors, making them a popular choice for guitar repainting projects.
- Polyurethane: Polyurethane paints offer excellent durability and resistance to wear and tear. They are available in both spray can and brush-on forms, allowing for flexibility in application methods.
- Nitrocellulose Lacquer: Nitrocellulose lacquer paints are favored for their vintage appeal and ability to enhance the resonance of the guitar. While they require more time and effort to apply, the results can be exceptionally stunning.
- Water-Based Paints: Water-based paints are environmentally friendly and emit fewer fumes during application. They are available in a wide range of colors and finishes, making them a versatile option for guitar repainting.
Before making a decision, consider the existing finish on your guitar, as well as the type of wood it is made from. Some paints may interact negatively with certain finishes or materials, leading to adhesion issues or unwanted reactions. Additionally, think about the desired aesthetic and the level of maintenance you are willing to commit to the finished paint job. For example, high-gloss finishes may require more frequent polishing to maintain their luster, while matte finishes may be more forgiving in terms of visible wear and fingerprints.
Ultimately, the right paint for your electric guitar is one that aligns with your aesthetic vision, complements the guitar’s construction, and suits your level of painting experience. Once you’ve chosen the paint that meets these criteria, you’ll be ready to move on to the next step in the repainting process: preparing the guitar for the transformation ahead.
Preparing the Guitar
Before diving into the painting process, it’s essential to prepare the guitar properly to ensure that the new finish adheres effectively and results in a professional-looking outcome. Here are the key steps involved in preparing your electric guitar for the repainting process:
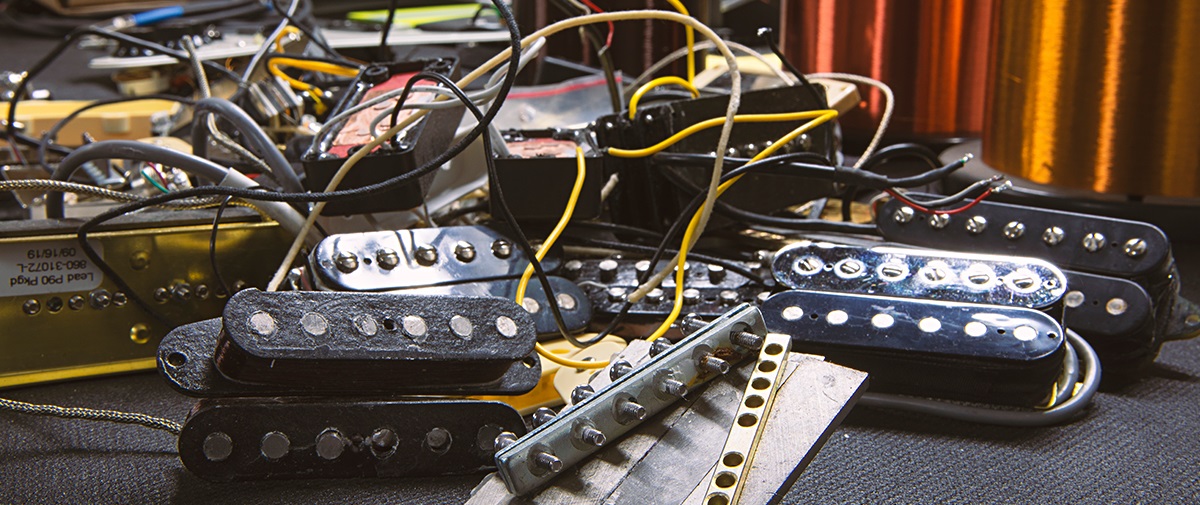
- Disassembling the Guitar: Begin by carefully disassembling the guitar, removing the strings, pickups, knobs, bridge, and any other hardware. This step ensures that each component can be painted separately and prevents unwanted paint from reaching sensitive parts.
- Sanding the Existing Finish: Use fine-grit sandpaper to gently sand the existing finish of the guitar. This creates a rough surface for the new paint to adhere to and removes any glossy or uneven areas that could affect the final finish. Take care to sand evenly and avoid applying excessive pressure, particularly on curved or contoured sections.
- Filling Imperfections: Inspect the guitar’s body for any dents, scratches, or imperfections. Use wood filler or epoxy to fill in these areas, and sand them down once the filler has dried. This step is crucial for achieving a smooth and flawless surface for the new paint.
- Cleaning and Degreasing: Thoroughly clean the guitar’s body and components to remove any dust, dirt, or grease that could interfere with the painting process. Use a mild solvent or cleaner to ensure that the surfaces are completely free of contaminants before proceeding.
- Masking Off Areas: Use painter’s tape and masking paper to cover any areas of the guitar that you do not want to paint, such as the fretboard, neck, and hardware cavities. This meticulous masking ensures that the paint is applied only to the intended areas, preserving the functionality of the guitar.
By meticulously preparing your electric guitar for the repainting process, you set the stage for a successful and visually stunning transformation. Taking the time to disassemble, sand, fill, clean, and mask off the guitar demonstrates your commitment to achieving professional results and ensures that the new paint adheres flawlessly to the instrument’s surface. With the guitar now primed and ready, you’re one step closer to unveiling its refreshed and revitalized appearance.
Applying the Primer
Once the guitar is meticulously prepared, the next crucial step in the repainting process is applying the primer. The primer serves as a foundation for the paint, promoting adhesion and providing a uniform base for the color coats to adhere to. Here’s a detailed look at the process of applying primer to your electric guitar:
- Choosing the Right Primer: Select a high-quality primer that is compatible with the type of paint you’ll be using. For example, if you’ve opted for a polyurethane paint, choose a primer specifically designed for use with polyurethane finishes. This ensures compatibility and promotes a strong bond between the primer and the subsequent paint layers.
- Applying Thin, Even Coats: Begin by applying thin, even coats of primer to the sanded and cleaned guitar body. Using a spray gun or aerosol can, hold the primer nozzle at a consistent distance from the surface to achieve uniform coverage. Avoid over-applying the primer, as this can lead to drips, runs, or an uneven surface texture.
- Sanding Between Coats: After each coat of primer has dried, lightly sand the surface with fine-grit sandpaper to promote adhesion and smooth out any imperfections. This step helps create a level surface for the subsequent paint layers and ensures a professional finish.
- Inspecting for Imperfections: Once the final coat of primer has been applied and sanded, carefully inspect the guitar body for any remaining imperfections or areas that may require additional attention. Address any flaws or uneven areas before proceeding to the painting stage.
By methodically applying the primer to your electric guitar, you establish a solid foundation for the paint and set the stage for a flawless and long-lasting finish. The primer not only enhances adhesion but also helps to conceal any minor blemishes or imperfections, preparing the guitar for the transformative application of color. With the primer in place, your guitar is now poised to receive its vibrant new hue, bringing your artistic vision to life in a visually striking and durable manner.
Painting the Guitar
With the primer providing a solid base, it’s time to infuse your electric guitar with the color and personality that will make it truly unique. Painting the guitar is a pivotal stage in the repainting process, allowing you to unleash your creativity and bring your artistic vision to fruition. Here’s a comprehensive guide to painting your electric guitar:
- Choosing the Application Method: Decide whether you will use spray cans, an airbrush, or a paint gun for the application of the color coats. Each method offers distinct advantages, such as ease of use with spray cans, precision with an airbrush, or efficiency with a paint gun. Select the method that aligns with your skill level and the desired finish quality.
- Applying Thin, Even Coats: Begin by applying thin, even coats of paint to the guitar body, ensuring complete coverage while avoiding excessive buildup. Multiple thin coats are preferable to a single heavy coat, as they promote adhesion and minimize the risk of drips or runs in the finish.
- Allowing Sufficient Drying Time: Between each coat of paint, allow the guitar body to dry thoroughly according to the manufacturer’s recommendations. This promotes proper curing and prevents the risk of smudging or imperfections in the finish.
- Sanding Between Coats: Once the paint has dried, lightly sand the surface between coats to smooth out any imperfections and promote adhesion. This step contributes to a flawless and professional-looking finish.
- Ensuring Uniform Coverage: Take care to maintain consistent coverage and color intensity across the entire guitar body. Check for any areas that may require additional coats to achieve the desired vibrancy and uniformity of color.
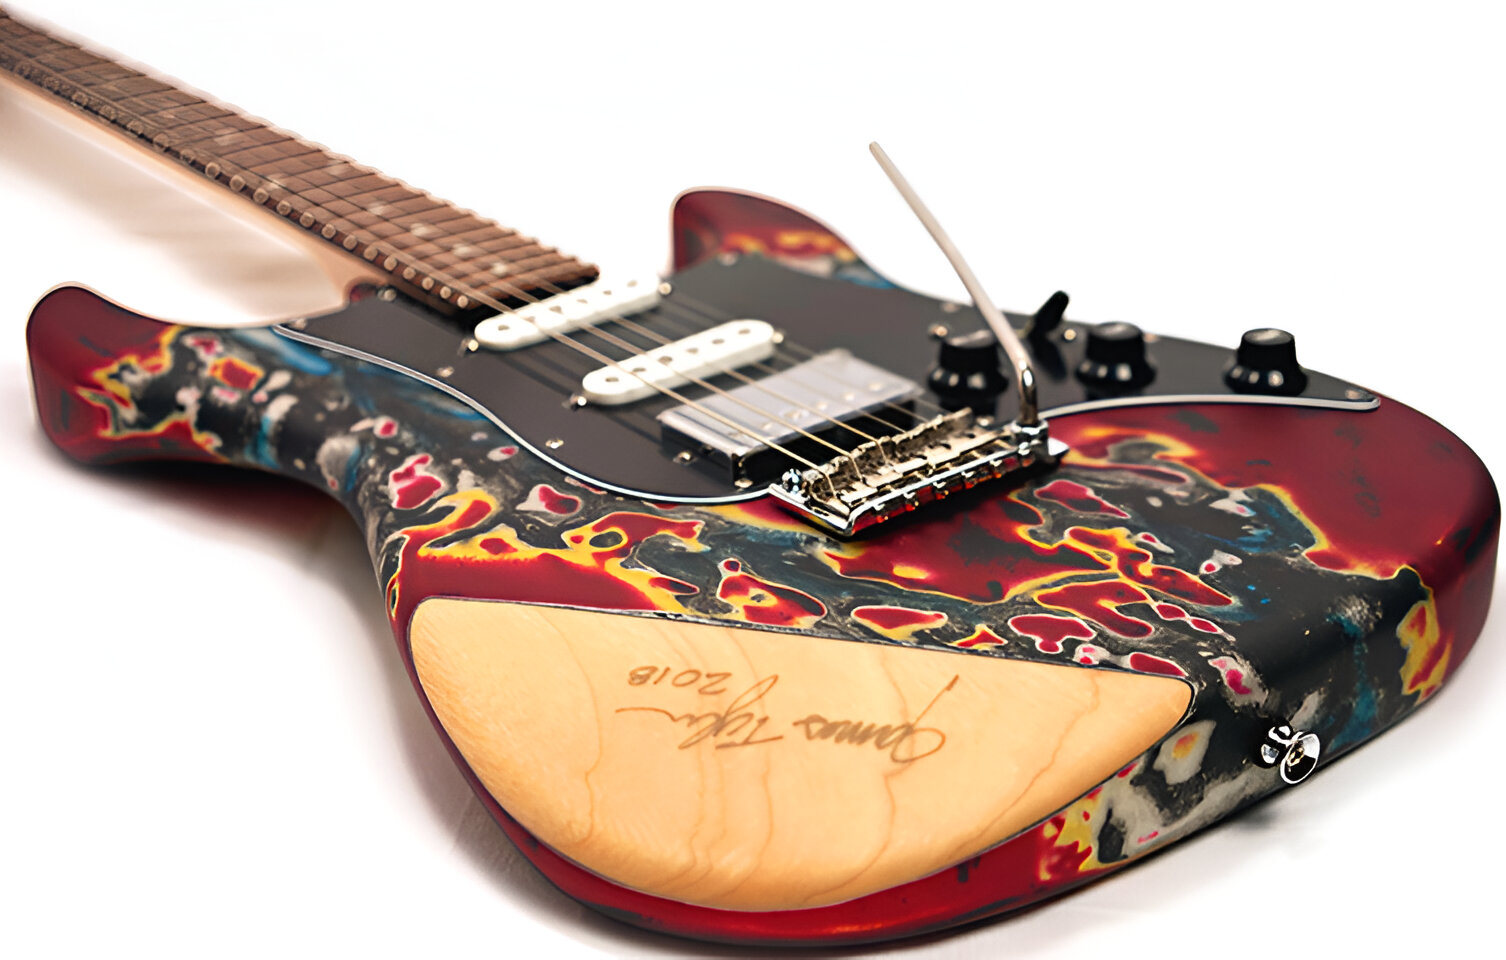
As you apply the color coats to your electric guitar, you have the opportunity to imbue it with a personalized aesthetic that reflects your musical identity. Whether you opt for a classic solid color, a dazzling metallic finish, or a custom-designed graphic, the painting stage is where your vision comes to life in vibrant hues. With each coat of paint, your guitar undergoes a stunning transformation, evolving into a visually captivating instrument that speaks volumes about your creativity and passion.
Applying the Clear Coat
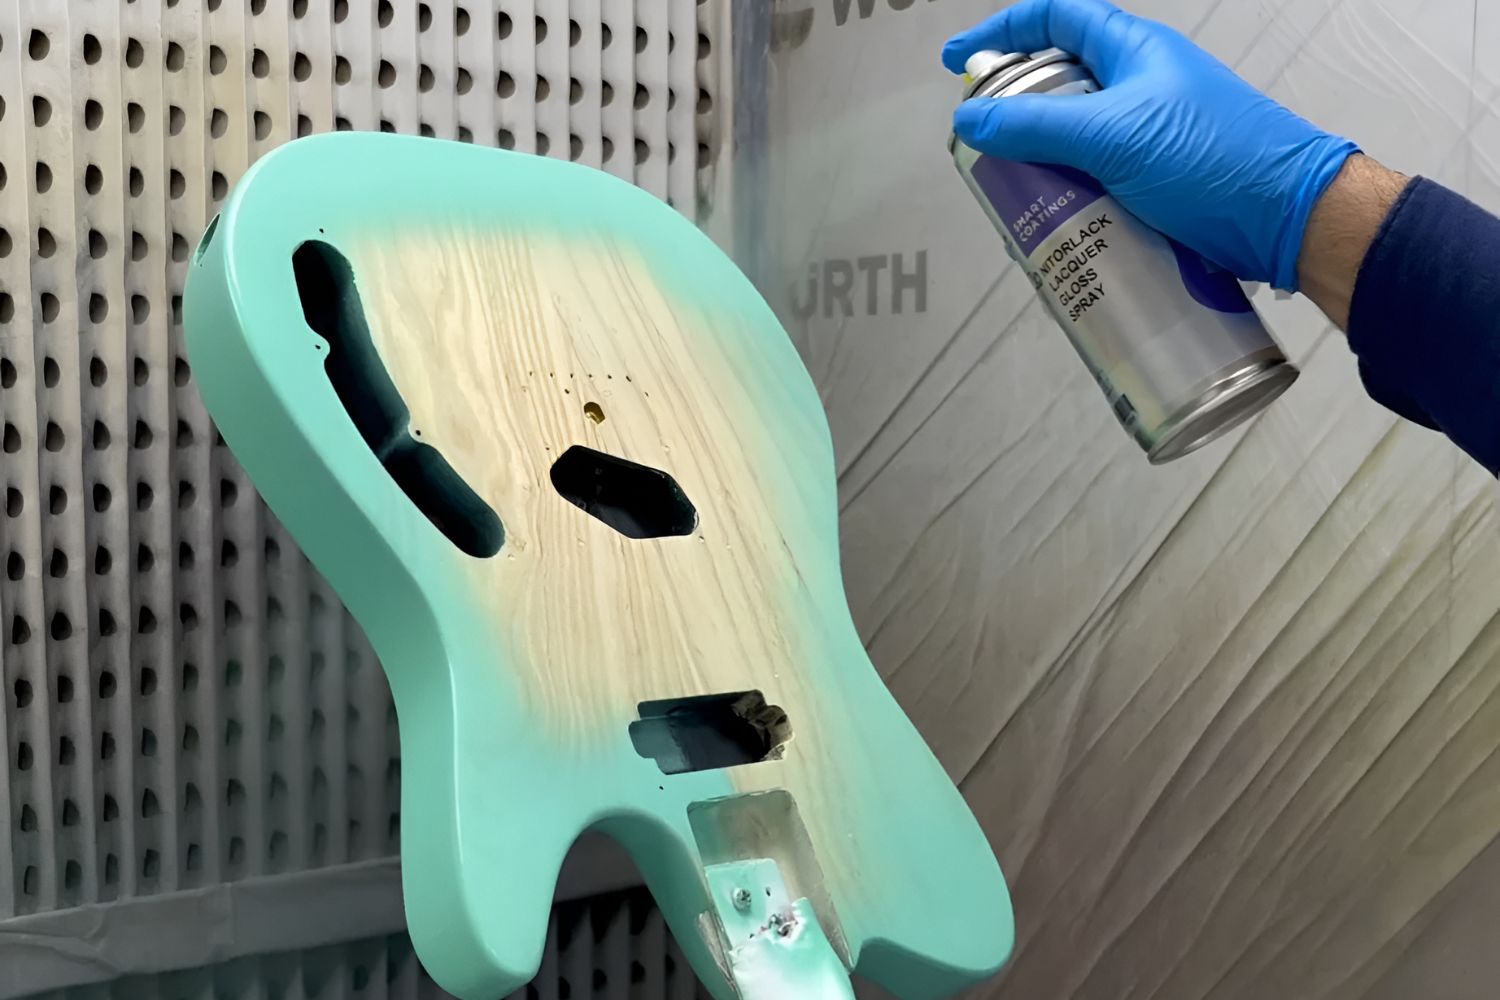
Once the color coats have been applied and allowed to dry, the next critical step in the guitar repainting process is applying the clear coat. The clear coat serves as a protective layer, enhancing the durability of the paint and imparting a glossy or matte finish, depending on your preference. Here’s a detailed look at the process of applying the clear coat to your electric guitar:
- Choosing the Clear Coat: Select a high-quality clear coat that aligns with the type of paint you’ve used and the desired finish. Clear coats are available in gloss, satin, and matte finishes, allowing you to customize the final appearance of your guitar.
- Applying Thin, Even Coats: Similar to the application of the color coats, apply thin, even coats of clear coat to the guitar body, ensuring complete coverage without excessive buildup. This approach promotes a smooth and uniform finish while minimizing the risk of imperfections.
- Allowing Adequate Drying Time: After each coat of clear coat has been applied, allow the guitar body to dry thoroughly according to the manufacturer’s recommendations. Proper drying time is essential for achieving a flawless and durable finish.
- Sanding Between Coats (Optional): Depending on the type of clear coat used, you may choose to sand the surface between coats to achieve a glass-like finish. This step contributes to the removal of any minor imperfections and ensures a professional-quality result.
- Polishing and Buffing: Once the final coat of clear coat has dried, consider polishing and buffing the guitar body to enhance the luster and smoothness of the finish. This step adds a professional touch and elevates the visual appeal of the repainted guitar.
By meticulously applying the clear coat to your electric guitar, you not only protect the vibrant color coats but also elevate the overall aesthetic with a sleek and polished finish. The clear coat serves as a shield against wear and tear, preserving the beauty of your newly painted guitar for years to come. Whether you opt for a glossy sheen that reflects stage lights or a subtle matte finish that exudes understated elegance, the clear coat is the final touch that seals the transformation of your electric guitar into a stunning work of art.
Reassembling the Guitar
With the painting and clear coating stages complete, it’s time to carefully reassemble your electric guitar, bringing together its components to restore its functionality and playability. Reassembly is a crucial phase in the repainting process, as it ensures that the guitar not only looks stunning but also functions seamlessly as a musical instrument. Here’s a step-by-step guide to reassembling your electric guitar:
- Restoring Hardware and Components: Begin by reattaching the hardware and components that were removed during the disassembly phase, such as the bridge, pickups, knobs, and tuning pegs. Take care to align and secure each component according to the manufacturer’s specifications.
- Stringing the Guitar: Install a fresh set of strings on the guitar, carefully threading and securing them at the bridge and tuning pegs. Ensure that the strings are properly tensioned and tuned to the desired pitch.
- Adjusting Action and Intonation: Fine-tune the guitar’s action and intonation to optimize its playability and sound quality. This may involve adjusting the bridge height, saddle position, and truss rod to achieve comfortable string action and accurate intonation across the fretboard.
- Testing and Quality Checking: Once the guitar is fully reassembled, conduct a thorough quality check to ensure that all components are functioning as intended. Test the pickups, controls, and hardware to confirm that the guitar is in optimal playing condition.
- Final Inspection and Touch-Ups: Carefully inspect the repainted surface for any blemishes, smudges, or imperfections that may have occurred during reassembly. Address any minor touch-ups or adjustments to the finish to achieve a flawless and polished appearance.
As you reassemble your electric guitar, you bring it one step closer to reclaiming its role as a cherished musical companion. The meticulous restoration of its hardware and components, combined with fine-tuning its playability, results in a fully revitalized instrument that not only looks exceptional but also feels and sounds exceptional. With the guitar now reassembled and ready to be played, you’re poised to unleash its renewed potential and make music that resonates with the vibrancy of its freshly painted exterior.
Conclusion
Embarking on the journey of repainting your electric guitar has been a transformative and rewarding experience, allowing you to breathe new life into a cherished instrument and express your creativity in a tangible and visually striking manner. Each stage of the repainting process, from choosing the right paint to reassembling the guitar, has contributed to the revitalization of your musical companion, culminating in a personalized work of art that reflects your unique style and passion for music.
By meticulously preparing the guitar, applying the primer, painting it with precision, and sealing the vibrant colors with a protective clear coat, you’ve demonstrated a dedication to achieving professional-quality results. The attention to detail and the care invested in each step have not only transformed the guitar’s appearance but have also enhanced its durability and resilience for years of musical enjoyment.
As you reassemble the guitar and hear its revitalized voice, you’ll be reminded of the artistry and craftsmanship that have gone into this project. Your repainted electric guitar now stands as a testament to your creativity and dedication, ready to inspire and accompany you on countless musical endeavors. Whether it’s on stage, in the studio, or in the comfort of your own home, your repainted guitar is a vibrant and personalized extension of your musical identity.
As you strum its strings and feel the resonance of its rejuvenated form, take pride in the accomplishment of transforming your electric guitar into a visual and sonic masterpiece. This journey has not only enriched your connection to the instrument but has also empowered you to explore new realms of musical expression, fueled by the vibrancy and individuality of your repainted electric guitar.
So, with your guitar reassembled and revitalized, it’s time to let its renewed presence inspire your musical pursuits and stand as a testament to the transformative power of creativity and craftsmanship. Your repainted electric guitar is more than just an instrument – it’s a reflection of your passion, artistry, and dedication to creating something truly exceptional.