Introduction
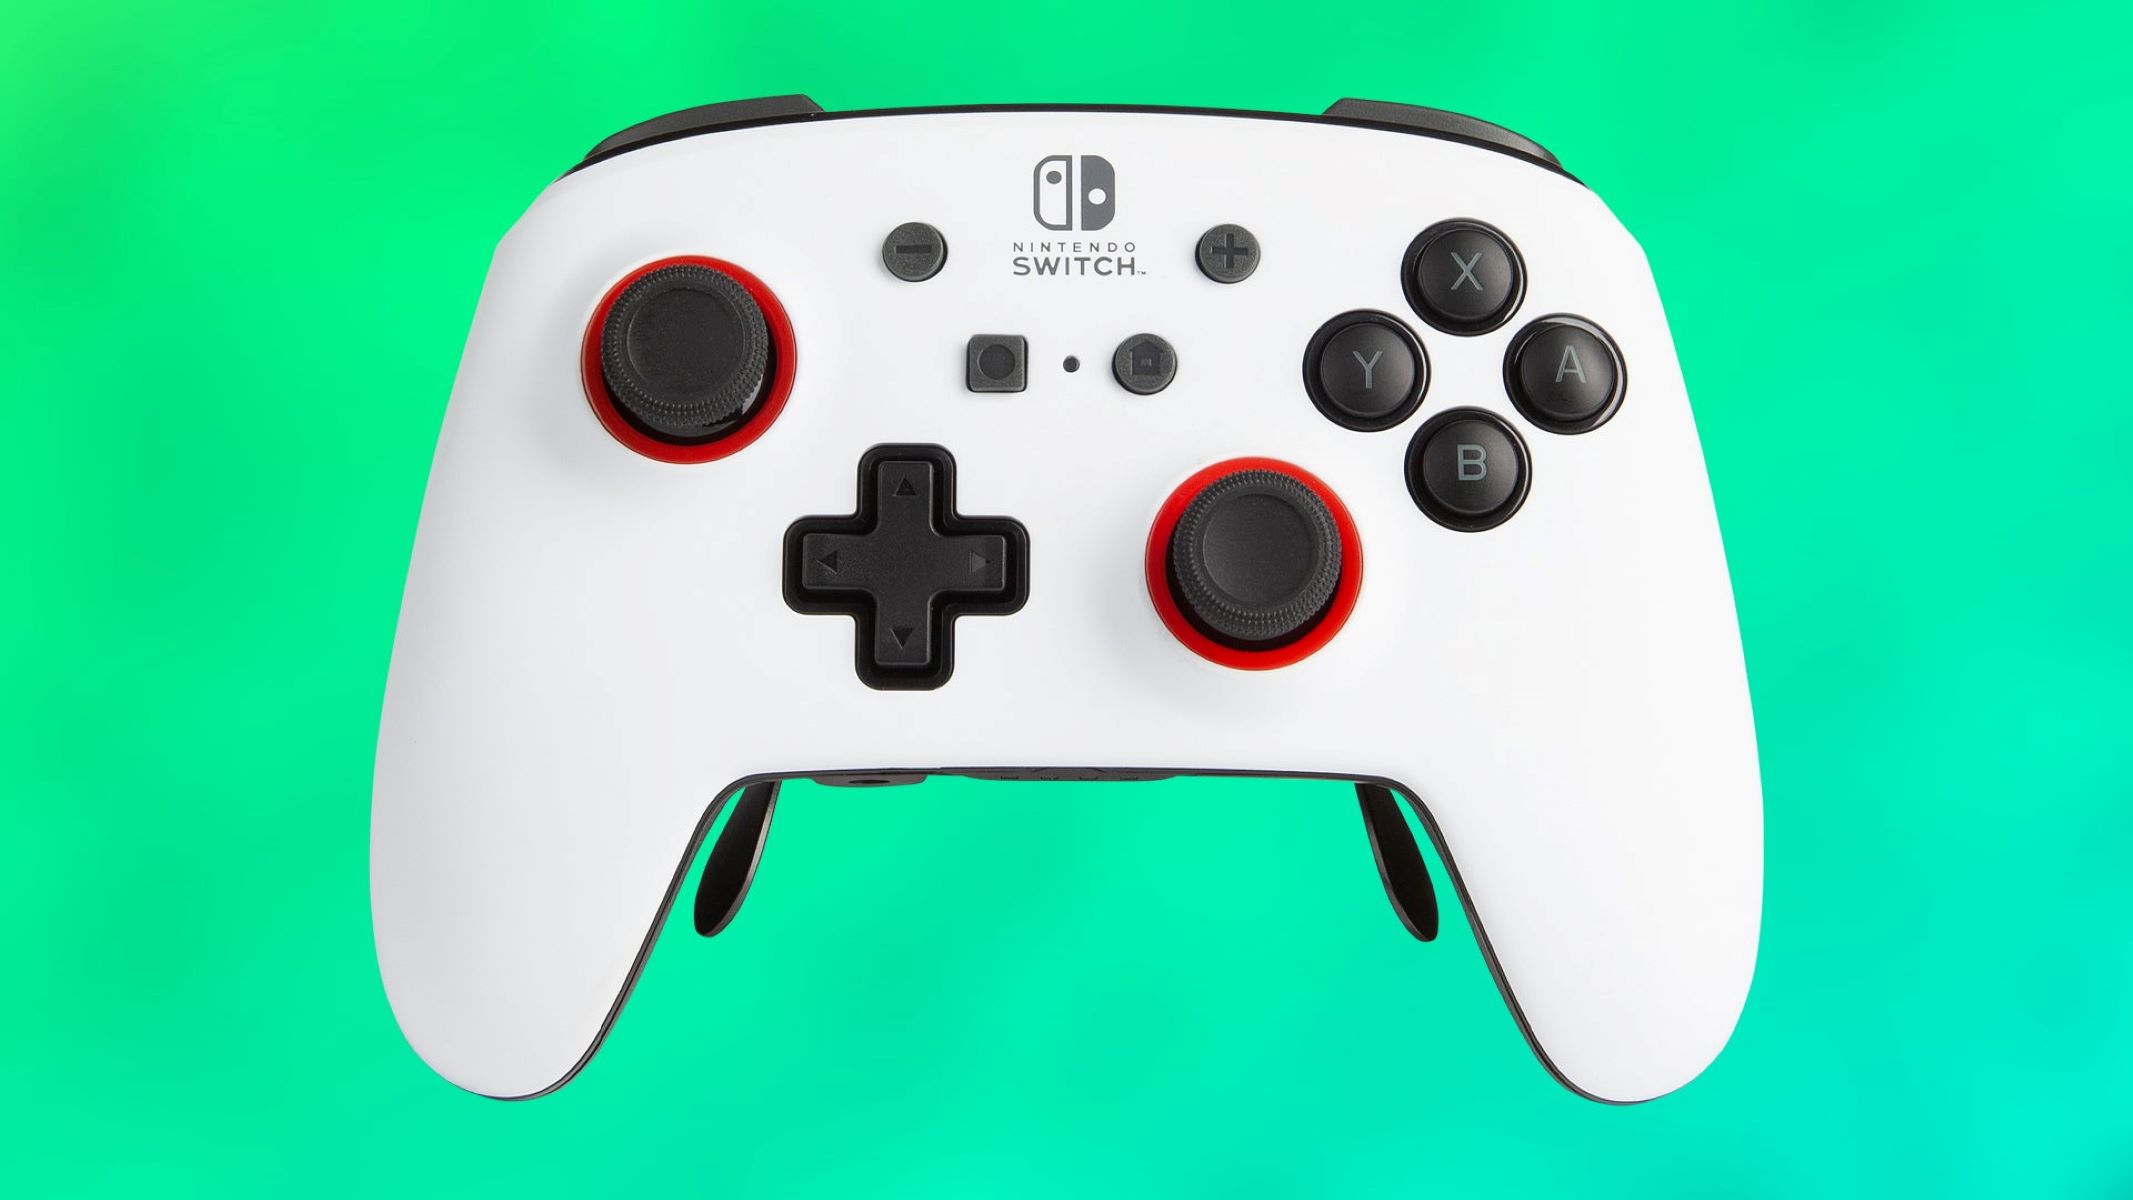
Repairing a Nintendo game controller can be a rewarding and cost-effective endeavor for gamers. Whether it's a sticky button, unresponsive joystick, or a loose connection, addressing these issues can breathe new life into your trusty controller. By taking a hands-on approach, you can save money and extend the lifespan of your beloved gaming gear.
In this guide, we will walk through the step-by-step process of repairing a Nintendo game controller. From disassembling the controller to identifying and fixing common issues, this comprehensive tutorial will equip you with the knowledge and skills needed to tackle controller repairs with confidence. With the right tools, a methodical approach, and a bit of patience, you can restore your controller to its former glory and get back to enjoying your favorite games.
Whether you're a seasoned DIY enthusiast or a novice looking to delve into the world of controller repair, this guide will provide valuable insights and practical tips to help you succeed. So, roll up your sleeves, gather your tools, and let's embark on this rewarding journey to revive your Nintendo game controller.
Tools and Materials Needed
Before diving into the repair process, it’s essential to gather the necessary tools and materials to ensure a smooth and efficient experience. Here’s a comprehensive list of items you’ll need:
- Tri-wing screwdriver: This specialized screwdriver is essential for opening the Nintendo game controller without causing damage.
- Phillips head screwdriver: Required for removing screws from the controller’s casing.
- Plastic opening tools: These non-conductive tools are crucial for prying open the controller’s housing without scratching or damaging the surface.
- Cotton swabs: Used for applying cleaning solution and removing dirt or grime from internal components.
- Isopropyl alcohol: An effective cleaning agent for removing dirt, dust, and residue from the controller’s internal parts.
- Lubricant: Silicone-based lubricant can help address sticky buttons or stiff joysticks, restoring smooth functionality.
- Replacement parts (if necessary): Depending on the issue, you may need replacement buttons, joysticks, or other components.
- Anti-static mat: Provides a safe workspace and prevents static electricity from damaging sensitive electronic components.
- Container or tray: Use this to organize and store the small screws and components removed during disassembly.
- Clean cloth: For wiping down the controller’s exterior and ensuring a tidy work area.
By having these tools and materials at your disposal, you’ll be well-equipped to handle a variety of controller issues and perform the necessary repairs with precision and care. Now that you’ve assembled your toolkit, it’s time to move on to the next step: disassembling the controller.
Disassembling the Controller
Before delving into the internal components of the Nintendo game controller, it’s crucial to approach the disassembly process with caution and precision. Follow these steps to safely open the controller:
- Prepare your workspace: Find a clean, well-lit area to work in, and lay down an anti-static mat to prevent damage from static electricity.
- Remove the battery: If your controller uses batteries, take them out to ensure safety during the disassembly process.
- Identify the screws: Use a tri-wing screwdriver to remove the screws securing the controller’s casing. Keep the screws organized in a container or tray to prevent loss.
- Pry open the casing: Gently insert plastic opening tools along the edges of the controller to release the clips holding the casing together. Take your time and work carefully to avoid damaging the plastic.
- Separate the casing: Once the clips are released, carefully lift off the top and bottom halves of the controller’s casing, exposing the internal components.
- Handle with care: As you gain access to the internal circuitry and components, be mindful of delicate wires and ribbon cables that may be connected to the casing.
By following these steps, you can safely disassemble the Nintendo game controller and gain access to its internal workings. Remember to work methodically and keep track of the removed screws and components to facilitate the reassembly process later on. With the controller opened up, you’re now ready to identify any issues that may be affecting its functionality.
Identifying the Issue
With the Nintendo game controller disassembled, it’s time to pinpoint the specific issue or issues that may be affecting its performance. Here are some common problems you may encounter and how to identify them:
- Sticky buttons: Press each button on the controller to determine if any feel sticky or unresponsive. This can indicate a buildup of dirt or debris beneath the buttons.
- Unresponsive joysticks: Move the joysticks in all directions and take note if they fail to register movement or feel excessively loose. This may signal a need for cleaning or potential replacement of the joystick module.
- Loose connections: Inspect the internal wiring and ribbon cables for any signs of disconnection or damage. Loose connections can lead to intermittent functionality or complete failure of certain buttons or features.
- Worn-out components: Check the condition of the controller’s buttons, pads, and other components for signs of wear, tear, or damage. Worn-out components may need to be replaced to restore proper functionality.
- Corrosion or residue: Look for any signs of corrosion or residue on the circuit board and electronic components. Corrosion can impede electrical connections and cause erratic behavior.
By methodically inspecting the controller’s internal components, you can identify the root cause of its issues and devise a targeted repair plan. Once you’ve determined the specific problem areas, you’ll be ready to proceed with the necessary repairs to restore your controller’s functionality. With the issues identified, it’s time to move on to the next crucial step: repairing the problem areas and components.
Repairing the Issue
Once the issues with the Nintendo game controller have been identified, it’s time to address each problem area systematically. Here are some common repair techniques for resolving the issues commonly found in game controllers:
- Cleaning sticky buttons: Use cotton swabs lightly dampened with isopropyl alcohol to clean around and beneath the sticky buttons. Gently press the buttons while cleaning to allow the alcohol to reach the internal mechanisms, removing any accumulated grime or residue.
- Restoring joysticks: If the joysticks are unresponsive or overly loose, carefully remove them and clean the area underneath. Apply a small amount of silicone-based lubricant to the joystick module to restore smooth movement and responsiveness.
- Securing loose connections: Reconnect any loose wires or ribbon cables, ensuring a snug and secure fit. Inspect the connectors for signs of damage or corrosion, and clean them if necessary to establish reliable connections.
- Replacing worn-out components: If buttons or pads show significant wear or damage, consider replacing them with new components. This can often be done by carefully detaching and replacing the affected parts with compatible replacements.
- Addressing corrosion or residue: Use a small amount of isopropyl alcohol and a clean, soft brush to gently remove any corrosion or residue from the circuit board and electronic components. Ensure that the controller is completely dry before reassembly.
By employing these repair techniques, you can effectively address the specific issues affecting your Nintendo game controller. It’s important to work patiently and meticulously, taking care not to apply excessive force or harsh cleaning agents that could further damage the controller’s components. Once the necessary repairs have been completed, the next step is to reassemble the controller and test its functionality.
Reassembling the Controller
After successfully addressing the issues and performing the necessary repairs on your Nintendo game controller, it’s time to carefully reassemble the device. Follow these steps to ensure a smooth and secure reassembly process:
- Clean the components: Before reassembly, use a clean, dry cloth to wipe down the internal components and remove any dust or residue that may have accumulated during the repair process.
- Position the circuit board: Carefully place the circuit board back into the bottom half of the controller’s casing, ensuring that it aligns properly with the button contacts and other components.
- Reconnect cables and wires: If any wires or ribbon cables were disconnected during the disassembly process, reconnect them to their respective connectors, ensuring a secure and snug fit.
- Align and close the casing: Gently position the top half of the controller’s casing over the circuit board and button assembly, ensuring that all internal components fit into their respective slots and compartments.
- Secure the casing: Press down firmly along the edges of the controller to re-engage the clips and secure the top and bottom halves of the casing together. Ensure that the casing is flush and properly aligned.
- Reinsert screws: Use the tri-wing screwdriver to reinsert and tighten the screws that secure the controller’s casing. Work in a diagonal pattern to ensure even pressure and a secure fit.
By following these steps, you can reassemble the Nintendo game controller with care and precision, ensuring that all internal components are properly aligned and secured. Once the controller is reassembled, the final and critical step is to thoroughly test its functionality to confirm that the repairs have been successful.
Testing the Controller
With the Nintendo game controller reassembled, it’s time to conduct thorough testing to ensure that the repairs have effectively addressed the identified issues. Follow these steps to comprehensively test the controller’s functionality:
- Power on the controller: If the controller requires batteries, insert them and power on the device to initiate the testing process.
- Test each button: Press each button on the controller to verify that they register inputs accurately and responsively. Pay close attention to previously sticky or unresponsive buttons to confirm that the cleaning and repairs have resolved these issues.
- Assess joystick responsiveness: Move the joysticks in all directions, ensuring that they register movement smoothly and accurately. Verify that any previous issues with unresponsiveness or excessive looseness have been effectively addressed.
- Check all features: Test any additional features or buttons on the controller, such as triggers, directional pads, or specialty buttons, to confirm that they function as intended.
- Verify connectivity: If the controller is wireless, ensure that it establishes a stable connection with the gaming console or computer, and that all wireless features are operational.
- Test over an extended period: Use the controller during gameplay or navigation for an extended period to confirm its sustained functionality and reliability.
By rigorously testing the controller across various functions and scenarios, you can gain confidence in the effectiveness of the repairs and the overall functionality of the device. If any issues persist or new problems arise during testing, revisit the repair process to identify and address any remaining issues. Once you are satisfied with the controller’s performance, you can confidently resume your gaming activities and enjoy the renewed functionality of your Nintendo game controller.