Introduction
So, you want to build your very own electric guitar? That's an exciting and rewarding project that will allow you to create a unique instrument tailored to your preferences. Whether you're a seasoned woodworker or a DIY enthusiast, building an electric guitar can be a fulfilling and challenging endeavor.
Crafting an electric guitar from scratch requires a blend of woodworking skills, electrical knowledge, and a good eye for design. It's a project that demands patience, precision, and a passion for music. While the process may seem daunting at first, the satisfaction of plugging in and playing the instrument you've meticulously crafted is unparalleled.
In this comprehensive guide, we'll walk you through each step of the electric guitar building process, from selecting the right materials to fine-tuning the finished product. By the end, you'll have the knowledge and confidence to embark on this exciting journey and create a custom electric guitar that reflects your personality and style.
Whether you're aiming to replicate the classic designs of iconic guitar models or envisioning a completely unique instrument, this guide will equip you with the essential know-how to bring your vision to life. So, roll up your sleeves, gather your tools, and let's dive into the art of crafting your very own electric guitar.
Tools and Materials Needed
Before diving into the construction of your electric guitar, it’s crucial to gather all the necessary tools and materials. This step ensures that you have everything at your disposal, minimizing interruptions and facilitating a smooth building process. Here’s a comprehensive list to get you started:
Tools:
- Saw: A reliable saw for cutting the wood to the required dimensions.
- Router: Essential for shaping the body and creating cavities for electronics.
- Drill Press: For precision drilling of holes for hardware and electronics.
- Soldering Iron: Needed for soldering electronic components.
- Clamps: To secure the wood during gluing and shaping processes.
- Sandpaper and Files: For smoothing and shaping the wood.
- Fretting Tools: Including a fret saw and hammer for fret installation.
- Measuring Tools: Such as a ruler, calipers, and a straightedge for accurate measurements.
- Workbench: A sturdy, flat surface for assembly and woodworking tasks.
Materials:
- Wood: Select high-quality wood for the body, neck, and fretboard.
- Electronics: Including pickups, potentiometers, switches, and output jacks.
- Hardware: Such as tuning machines, bridge, and nut.
- Fret Wire: Required for fretting the neck.
- Finishing Supplies: Such as sanding sealer, primer, paint, and clear coat for the desired finish.
- Strings: To string up the guitar once it's assembled.
- Glue: Wood glue for joining the body and neck.
- Shielding Tape: To reduce electronic interference.
- Wiring and Solder: For connecting the electronic components.
Having these tools and materials on hand will set the stage for a successful guitar-building journey. As you progress through the construction process, you may find the need for additional items based on your design and finishing preferences.
Choosing the Right Wood
When it comes to building an electric guitar, the selection of wood plays a pivotal role in determining the instrument’s tone, resonance, and overall aesthetic. Different woods offer distinct sonic characteristics and visual appeal, allowing you to tailor the guitar’s sound and appearance to your preferences. Here’s a guide to help you navigate the world of tonewoods:
Body Wood:
- Maple: Known for its bright and articulate tone, maple is often chosen for its clarity and sustain.
- Mahogany: Renowned for its warmth and depth, mahogany is favored for its rich, resonant qualities.
- Alder: With a balanced and pronounced midrange, alder is a popular choice for its versatility across musical genres.
- Ash: Offering a bright and resonant sound, ash is prized for its clarity and sustain.
Neck Wood:
- Maple: Commonly used for its stability and brightness, maple necks contribute to a snappy and articulate tone.
- Mahogany: Providing a warm and rounded sound, mahogany necks are favored for their depth and sustain.
- Rosewood: Known for its smooth feel and rich tone, rosewood is a popular choice for fretboards due to its sonic and visual appeal.
Additionally, the combination of body and neck woods can significantly influence the guitar’s overall tonal characteristics. For instance, a mahogany body paired with a maple neck can yield a balanced blend of warmth and clarity, ideal for various playing styles.
Furthermore, consider the visual aspects of the wood, as the grain patterns and natural coloration can enhance the guitar’s aesthetics. Whether you prefer a classic, understated look or a striking, eye-catching finish, the choice of wood contributes to the instrument’s visual allure.
Ultimately, the selection of tonewoods is a deeply personal decision, influenced by your sonic preferences, playing style, and aesthetic sensibilities. By carefully considering the tonal properties and visual appeal of different woods, you can craft an electric guitar that resonates with your musical identity.
Designing the Guitar Body
Designing the body of your electric guitar is a creative and crucial aspect of the building process. The body shape not only influences the instrument’s aesthetics but also contributes to its playability and comfort. Whether you’re drawn to the timeless contours of classic models or envisioning a unique, custom shape, here are essential considerations for designing the guitar body:
Shape and Style:
Explore various body shapes, such as the iconic Stratocaster, Telecaster, Les Paul, or create a unique design that reflects your artistic vision. Consider the ergonomics and balance of the body shape to ensure a comfortable playing experience.
Scale Length and Bridge Placement:
Determine the scale length, which influences the string tension and fret spacing. Additionally, plan the placement of the bridge and tailpiece, ensuring proper intonation and string alignment.
Control Cavity and Electronics Layout:
Sketch the layout of the control cavities for the electronic components, including pickups, potentiometers, switches, and output jacks. Ensure that the cavity design allows for easy access and maintenance of the electronics.
Material Thickness and Contours:
Decide on the thickness of the body material, considering the tonal characteristics and weight of the guitar. Incorporate contours and bevels for enhanced comfort and visual appeal.
Binding and Inlays:
Explore options for body binding and fretboard inlays to add a touch of elegance to the guitar’s appearance. Whether it’s single-ply, multi-ply, or no binding at all, these details contribute to the overall aesthetic impact.
As you conceptualize the body design, leverage digital design software or traditional sketches to visualize the proportions and details. This phase allows you to refine the design iteratively, incorporating feedback and making adjustments before proceeding to the construction phase.
Remember that the body design is an opportunity for self-expression and creativity. Whether you’re aiming for a vintage-inspired look or a cutting-edge, modern aesthetic, the design process sets the stage for bringing your vision to life in the form of a unique and personalized electric guitar.
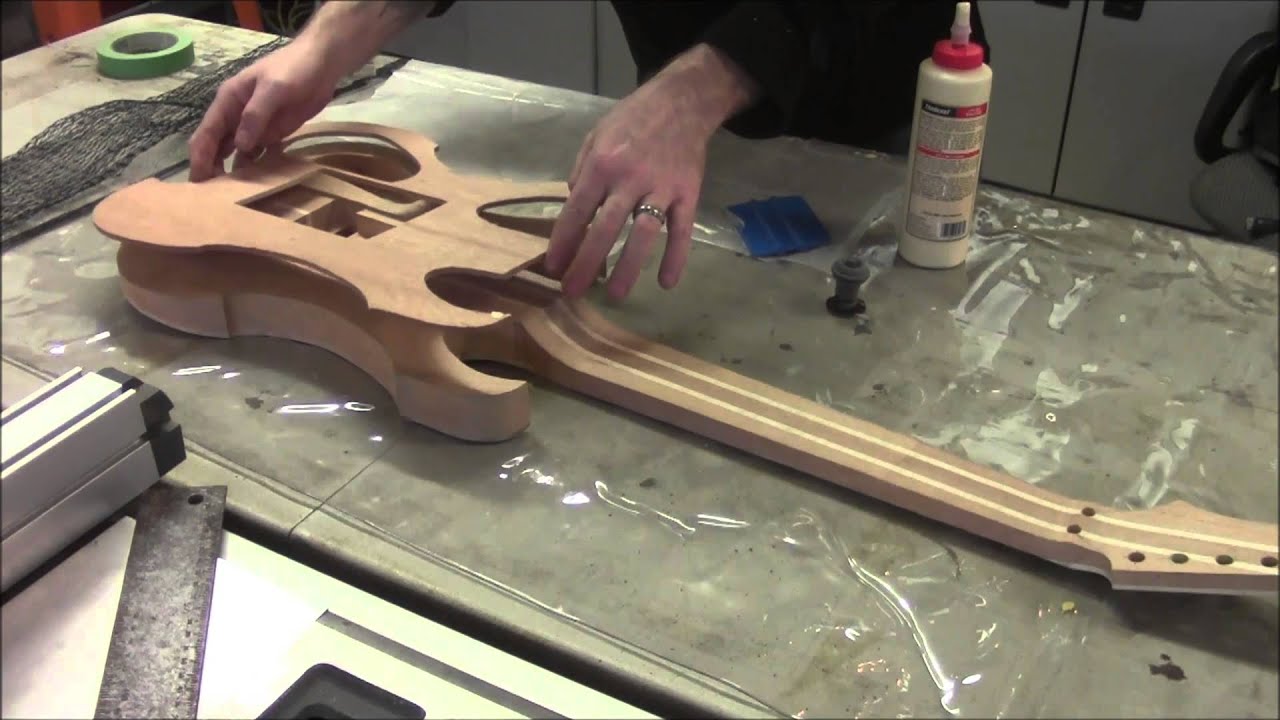
Cutting and Shaping the Wood
Once you’ve finalized the design of your electric guitar body, it’s time to bring that vision to life by cutting and shaping the selected wood. This phase of the build demands precision, attention to detail, and a methodical approach to ensure the body takes form according to your design. Here’s a step-by-step guide to cutting and shaping the wood for your electric guitar:
Prepare the Wood:
Begin by acquiring high-quality wood in the dimensions required for the body and neck. Ensure that the wood is properly cured and acclimated to prevent warping or shifting during the construction process. Mark the wood according to your design template, clearly outlining the body shape, neck profile, and any cavities for electronics.
Cutting the Body and Neck:
Use a precision saw to cut the wood to the rough outline of the body and neck, leaving ample margin for shaping and refining the contours. Exercise caution and patience during this stage, as precise cuts are essential for achieving the desired dimensions and proportions.
Shaping and Contouring:
Employ a combination of rasps, files, and sanders to meticulously shape the body and neck, refining the contours and bevels according to your design. Pay close attention to the ergonomics and comfort of the body shape, ensuring a seamless and visually appealing transition between surfaces.
Routing Cavities and Openings:
Utilize a router and appropriate templates to carve out the control cavities, pickup routes, and any other openings specified in your design. Exercise caution and precision to achieve clean and accurate cavities, allowing for seamless installation of the electronics and hardware.
Test Fit and Fine-Tune:
Periodically test fit the components, such as pickups, bridge, and neck, to ensure proper alignment and fit within the body. Make any necessary adjustments to the wood to accommodate the hardware and electronics, ensuring a snug and secure fit.
Throughout the cutting and shaping process, prioritize safety measures, such as wearing protective gear and using appropriate tools for each task. Remember that patience and attention to detail are paramount, as the precision of this phase significantly influences the final outcome of your custom electric guitar.
Installing the Electronics
With the body and neck taking shape, the next critical phase in building your electric guitar involves installing the electronic components. This step requires a meticulous approach to ensure the seamless integration of pickups, controls, and wiring, ultimately shaping the instrument’s tonal capabilities. Here’s a comprehensive guide to installing the electronics:
Preparing the Control Cavities:
Begin by carefully routing and preparing the control cavities in the body according to your design specifications. Ensure that the cavities accommodate the pickups, potentiometers, switches, and output jack, allowing for easy access and maintenance of the electronics.
Installing Pickups:
Position and mount the pickups in their designated locations, ensuring proper alignment and height adjustment for balanced output and tonal characteristics. Secure the pickups firmly in place, taking care not to damage the delicate coil windings during installation.
Wiring the Components:
Adhere to the wiring diagram for your selected pickup configuration and electronic setup. Solder the connections meticulously, ensuring proper insulation and strain relief to prevent short circuits and signal interference. Organize the wiring neatly within the control cavities, allowing for future maintenance and modifications.
Mounting the Controls and Output Jack:
Secure the potentiometers, switches, and output jack in the designated positions, ensuring a snug fit and smooth operation. Check the functionality of the controls and test the output jack for a secure connection before proceeding to the final assembly of the guitar.
Shielding and Grounding:
Implement shielding techniques, such as copper foil or conductive paint, to minimize electromagnetic interference and noise in the electronic circuitry. Properly ground the components to ensure a quiet and noise-free signal path, enhancing the overall performance of the guitar’s electronics.
Throughout the installation process, approach each step with precision and attention to detail, as the quality of the electronic installation significantly impacts the instrument’s functionality and tonal characteristics. By meticulously integrating the pickups, controls, and wiring, you’ll lay the foundation for a responsive and versatile electric guitar that’s ready to resonate with your musical expression.
Attaching the Neck
Attaching the neck to the guitar body is a pivotal step that directly influences the instrument’s playability, stability, and overall performance. Whether you’re building a bolt-on, set-neck, or neck-through design, the proper installation of the neck ensures optimal string action, intonation, and resonance. Here’s a detailed guide to attaching the neck to your electric guitar:
Prepping the Neck and Body:
Ensure that the neck and body mating surfaces are clean, flat, and free from debris or irregularities. This preparation is crucial for achieving a solid and stable connection between the neck and body, promoting optimal vibration transfer and sustain.
Aligning the Neck:
Position the neck on the body, aligning it accurately with the centerline and ensuring proper scale length and fretboard overhang. Use precision measuring tools to verify the alignment and make any necessary adjustments to achieve symmetrical placement.
Securing the Neck Joint:
For bolt-on necks, attach the neck to the body using the designated hardware, such as screws or bolts. Ensure that the neck is firmly secured, applying the appropriate amount of torque to the fasteners without over-tightening, which could compromise the wood or hardware.
Gluing Set Necks or Neck-Through Designs:
If you’re working with a set-neck or neck-through configuration, apply a high-quality wood glue to the neck joint, ensuring even coverage and a secure bond. Clamp the neck firmly to the body, allowing the glue to cure according to the manufacturer’s recommendations.
Checking Alignment and Fit:
Verify the alignment and fit of the neck joint, ensuring that the fretboard is flush with the body and the neck angle promotes proper string action and intonation. Make any necessary adjustments to achieve optimal alignment before proceeding to the next construction phase.
Attaching the neck is a critical step that demands precision and meticulous attention to detail. By ensuring a solid and seamless connection between the neck and body, you’ll lay the foundation for a stable and responsive instrument that’s poised to deliver exceptional playability and sonic performance.
Fretting and Fretboard Installation
As you progress in building your electric guitar, the fretting process and installation of the fretboard are crucial steps that directly impact the instrument’s playability and intonation. From determining the fret positions to securing the fretboard to the neck, each aspect demands precision and care to ensure a smooth and responsive playing experience. Here’s a comprehensive guide to fretting and fretboard installation:
Calculating Fret Positions:
Utilize a precise fret calculator or scaling method to determine the exact positions for each fret along the fretboard. Accurate fret placement is essential for achieving proper intonation and harmonic balance across the entire neck.
Cutting Fret Slots:
With the fret positions marked, carefully cut fret slots into the fretboard using a specialized fret saw or fretting miter box. Exercise caution and precision to achieve clean and accurately spaced fret slots that accommodate the fret wire without compromising the integrity of the fretboard.
Installing Fret Wire:
Gently hammer the fret wire into the fret slots, ensuring a secure and uniform seating of the wire. Be mindful of the tang orientation and avoid bending or damaging the fret wire during installation. Trim the excess wire and file the edges flush with the fretboard surface for a smooth and seamless finish.
Securing the Fretboard:
If working with a bolt-on neck design, ensure that the fretboard is securely attached to the neck, promoting optimal stability and resonance. For set-neck or neck-through guitars, the fretboard should be firmly glued to the neck, providing a solid and resonant connection.
Dressing and Leveling Frets:
Once the fret wire is installed, meticulously level and dress the frets to achieve a uniform and smooth playing surface. Use specialized fret files and leveling tools to eliminate any protrusions or inconsistencies, ensuring even string action and playability across the entire fretboard.
The fretting and fretboard installation phase requires patience and precision, as the quality of this process significantly influences the guitar’s playability and intonation. By meticulously calculating fret positions, securing the fretboard, and dressing the frets, you’ll set the stage for a responsive and harmonically balanced instrument that’s ready to come to life in your hands.
Assembling the Guitar
As you near the completion of your electric guitar build, the assembly phase brings together all the meticulously crafted components, culminating in the realization of your custom instrument. From integrating the body and neck to installing hardware and fine-tuning the setup, the assembly process marks the transition from individual parts to a cohesive and playable guitar. Here’s a comprehensive guide to assembling your electric guitar:
Body and Neck Integration:
Align the neck with the body, ensuring a snug and secure fit that promotes optimal string action and playability. Whether it’s a bolt-on, set-neck, or neck-through design, the seamless integration of the neck and body is essential for a stable and resonant instrument.
Installing Hardware:
Mount the hardware components, including the tuning machines, bridge, and nut, ensuring proper alignment and functionality. Pay close attention to the string spacing, intonation adjustments, and overall balance of the hardware to facilitate smooth and reliable performance.
Stringing the Guitar:
Carefully string up the guitar with the desired set of strings, following the recommended winding techniques and ensuring proper tension and alignment. This step allows you to gauge the string action and make any necessary adjustments to achieve optimal playability.
Setup and Adjustments:
Perform a comprehensive setup, including adjustments to the truss rod, bridge height, and intonation to achieve the desired string action and playability. Fine-tune the nut slots and string height to optimize the instrument’s responsiveness and tonal characteristics.
Electronics Testing:
Verify the functionality of the electronic components, such as pickups, controls, and output jack, ensuring proper signal output and tonal versatility. Address any wiring or grounding issues to achieve a noise-free and responsive electronic setup.
Throughout the assembly process, maintain a methodical approach, double-checking each step to ensure precision and attention to detail. By seamlessly integrating the components and fine-tuning the setup, you’ll transform the individual parts into a cohesive and responsive electric guitar that’s ready to resonate with your musical expression.
Wiring and Testing
The wiring and testing phase of building your electric guitar is a critical juncture that determines the functionality and sonic capabilities of the instrument. From meticulously connecting the electronic components to rigorously testing the circuitry, this phase demands precision and attention to detail to ensure optimal performance. Here’s a comprehensive guide to wiring and testing your electric guitar:
Soldering the Electronics:
Methodically solder the connections for the pickups, potentiometers, switches, and output jack, adhering to the wiring diagram for your selected configuration. Ensure secure and insulated connections to prevent signal interference and ensure reliable performance.
Shielding and Grounding:
Implement shielding techniques, such as copper foil or conductive paint, to minimize electromagnetic interference and noise in the electronic circuitry. Properly ground the components to ensure a quiet and noise-free signal path, enhancing the overall performance of the guitar’s electronics.
Testing the Circuitry:
Rigorously test the electronic circuitry for proper functionality, verifying the signal continuity, tone control, and pickup selection. Address any wiring or soldering issues to ensure a responsive and versatile electronic setup that facilitates a wide range of tonal possibilities.
Potentiometer and Switch Operation:
Verify the smooth and reliable operation of the potentiometers and switches, ensuring that they function seamlessly without crackling, static, or erratic behavior. Address any anomalies to guarantee consistent and predictable control over the instrument’s sonic characteristics.
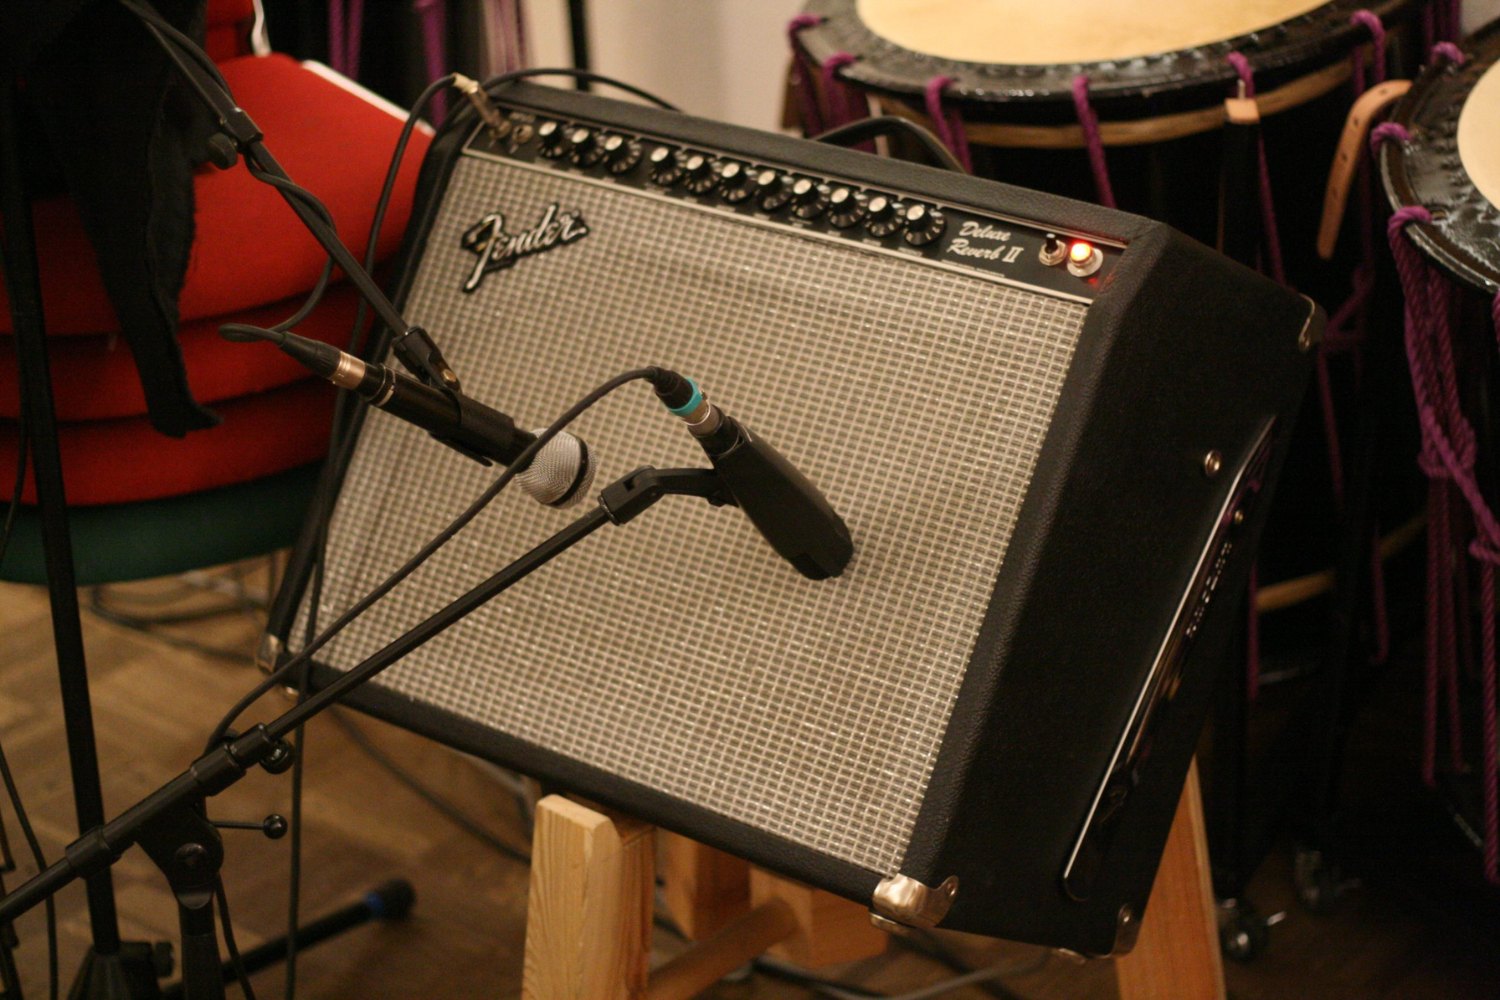
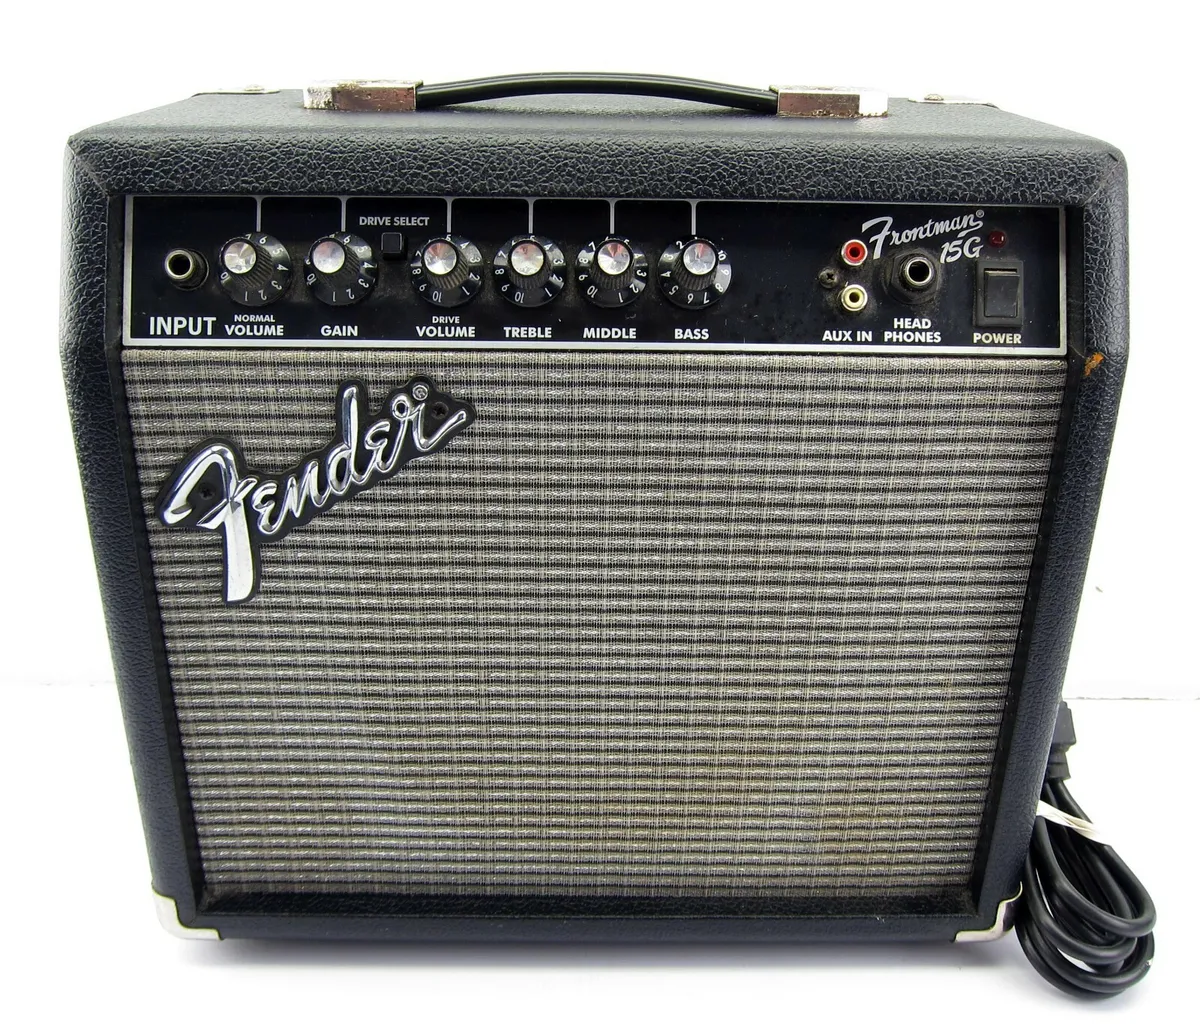
Output Signal and Tone Evaluation:
Connect the guitar to an amplifier and evaluate the output signal, assessing the tonal characteristics and responsiveness of the instrument. Fine-tune the electronic setup to achieve the desired tonal versatility and dynamic range, ensuring that the guitar’s sonic capabilities align with your musical preferences.
Throughout the wiring and testing phase, meticulous attention to detail and methodical testing are essential to ensure the reliability and sonic performance of your custom electric guitar. By rigorously evaluating the circuitry and fine-tuning the electronic setup, you’ll lay the foundation for a responsive and versatile instrument that’s poised to bring your musical vision to life.
Final Setup and Adjustments
As you approach the completion of your electric guitar build, the final setup and adjustments are pivotal in refining the instrument’s playability, intonation, and overall performance. This phase encompasses a series of meticulous adjustments and fine-tuning measures to ensure that the guitar meets your expectations in terms of comfort, tone, and responsiveness. Here’s a comprehensive guide to the final setup and adjustments for your custom electric guitar:
Truss Rod Adjustment:
Assess the neck relief and make necessary adjustments to the truss rod to achieve the optimal amount of bow in the neck. This step is crucial for controlling the string action and ensuring a comfortable playing experience across the entire fretboard.
Bridge and Nut Height:
Fine-tune the bridge height and nut slots to establish the desired string action, promoting ease of play and optimal string vibration. Ensure that the string height and spacing facilitate smooth fretting and accurate intonation across the entire neck.
Intonation Adjustment:
Verify the intonation of each string and make precise adjustments to the saddle positions to achieve accurate pitch at various fret positions. This step ensures that the guitar produces harmonically balanced and in-tune notes across the entire fretboard.
Nut and Fret Polishing:
Polish the nut slots and frets to eliminate any rough edges or protrusions, ensuring smooth string movement and minimizing fretting hand discomfort. A polished nut and frets contribute to the instrument’s playability and overall comfort during extended playing sessions.
Hardware Functionality:
Verify the functionality of the tuning machines, ensuring smooth and reliable tuning stability. Check the functionality of the tremolo system, if applicable, and make any necessary adjustments to optimize its performance and responsiveness.
Throughout the final setup and adjustments, meticulous attention to detail and precision are essential to ensure that your custom electric guitar meets the highest standards of playability and sonic performance. By fine-tuning the truss rod, bridge, and nut, as well as verifying the functionality of the hardware, you’ll refine the instrument to deliver a responsive and enjoyable playing experience that resonates with your musical expression.