Introduction
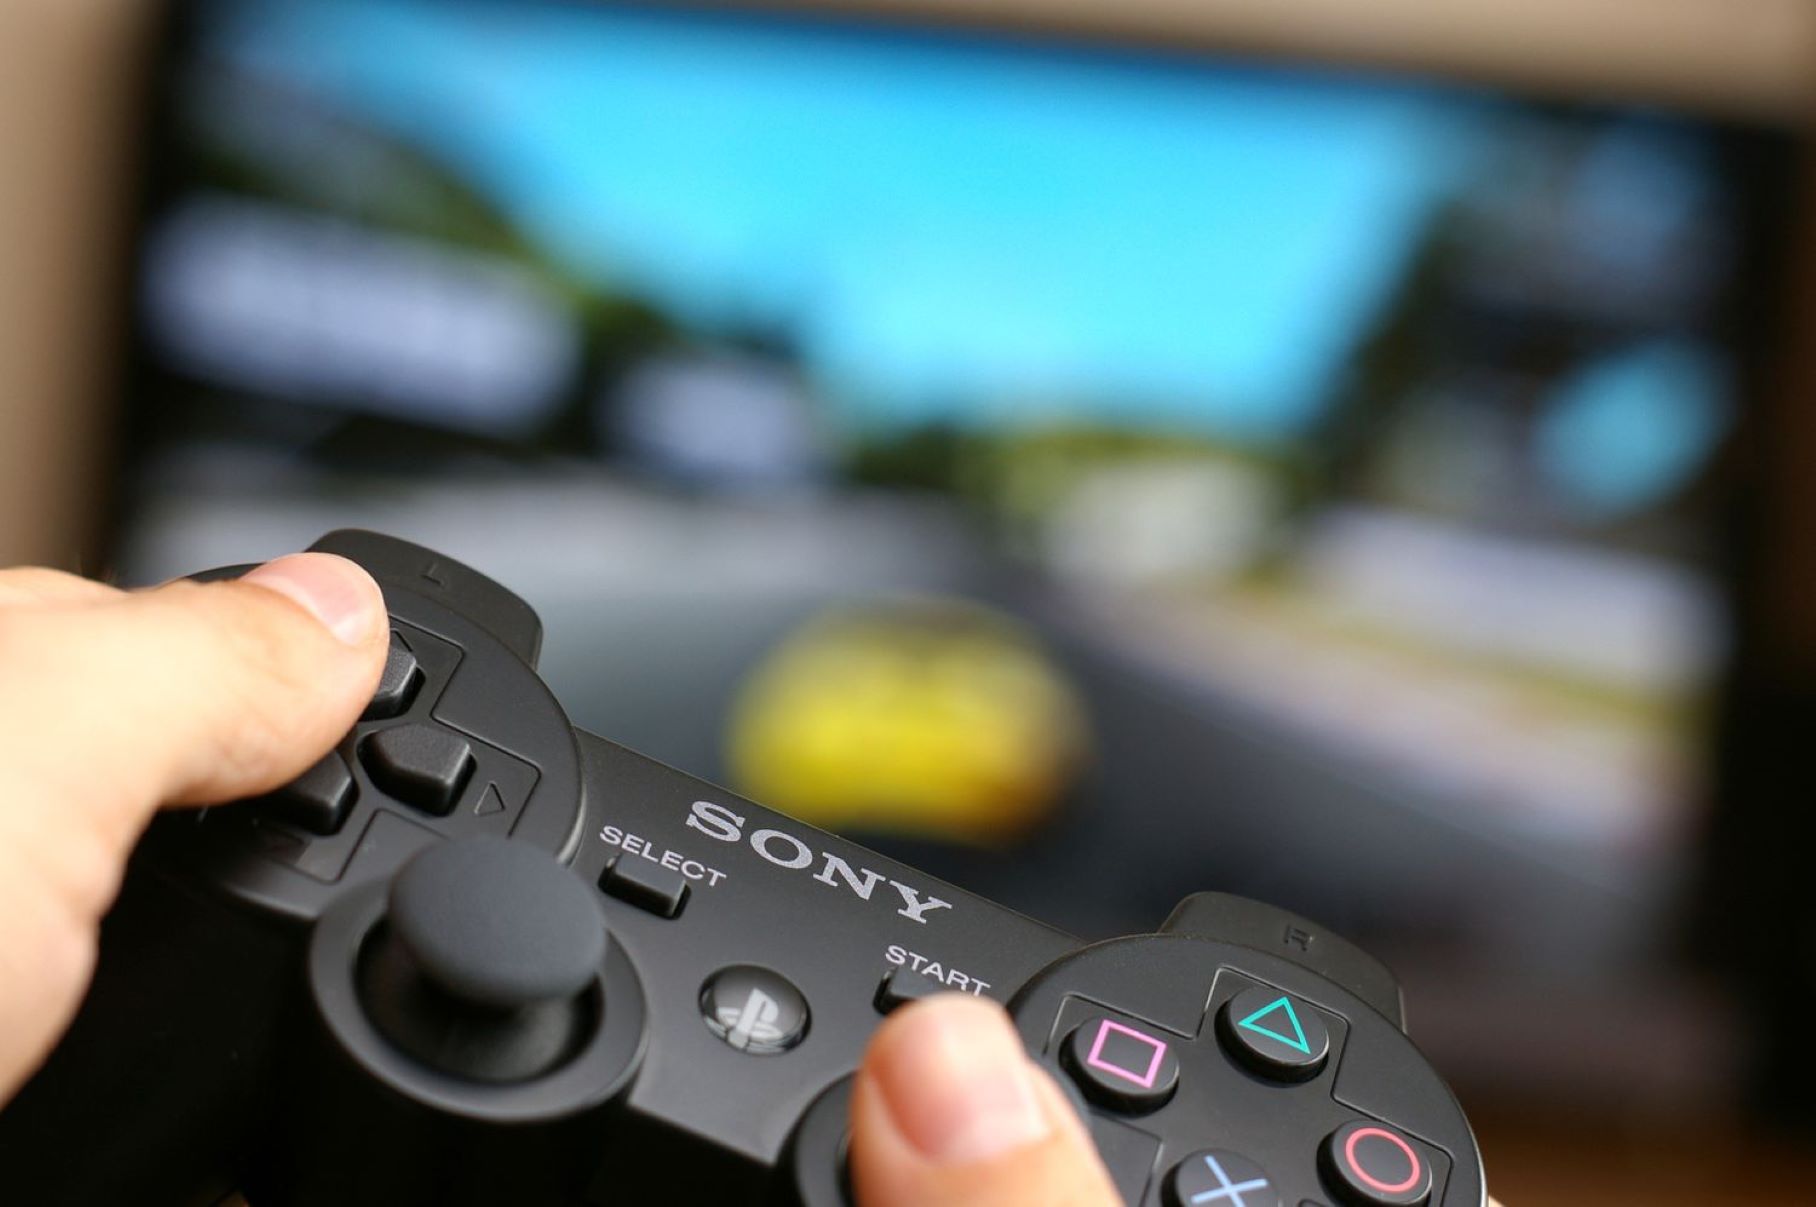
The PS3 Game Controller: A Gamer's Lifeline
The PlayStation 3 (PS3) game controller is the primary interface between players and the virtual worlds they inhabit. As an essential tool for navigating gameplay, the controller's functionality and reliability are paramount to an enjoyable gaming experience. However, like any electronic device, PS3 controllers are susceptible to wear and tear, leading to various issues that can hinder their performance. Fortunately, many common problems with PS3 controllers can be addressed through simple troubleshooting and repair techniques, allowing gamers to restore their beloved controllers to optimal working condition.
In this comprehensive guide, we will explore the most prevalent issues that plague PS3 game controllers and provide step-by-step instructions on how to rectify them. Whether it's stick drift, unresponsive buttons, or a dwindling battery life, this guide will equip you with the knowledge and tools necessary to breathe new life into your trusty PS3 controller. From cleaning and maintenance to battery replacement and button repair, we've got you covered. So, grab your controller and let's embark on a journey to revive, rejuvenate, and reignite the gaming experience with your PS3 controller.
Common Issues with PS3 Game Controllers
PS3 game controllers, while durable and reliable, are not immune to malfunctions. Over time, these essential gaming peripherals may exhibit a range of issues that can impede gameplay and frustrate users. Understanding the common problems encountered with PS3 controllers is the first step toward resolving these issues effectively.
One prevalent issue is stick drift, where the analog sticks register movement even when untouched, leading to erratic camera or character movement in games. Additionally, unresponsive buttons, a diminishing battery life, and connectivity issues are frequently reported by PS3 gamers. These problems can disrupt the immersive gaming experience and hinder overall performance.
Another common concern is the wear and tear of the controller’s exterior, including the accumulation of dirt, dust, and grime, which can affect the responsiveness and tactile feel of the buttons and triggers. Furthermore, internal components such as the battery may degrade over time, resulting in shorter usage durations and frequent recharging.
By identifying these common issues, gamers can take proactive measures to address and rectify them, ensuring that their PS3 controllers remain in optimal working condition for extended periods. In the following sections, we will delve into the specific tools and techniques required to troubleshoot and resolve these prevalent issues, empowering gamers to reclaim the full functionality and reliability of their PS3 game controllers.
Tools Needed for Fixing PS3 Game Controllers
Before embarking on the journey to restore your PS3 game controller to its former glory, it’s essential to gather the necessary tools to facilitate the repair process. Having the right equipment at your disposal will streamline the troubleshooting and maintenance tasks, ensuring that you can address the controller’s issues effectively.
The following tools are indispensable for fixing common problems with PS3 game controllers:
- Cotton Swabs and Isopropyl Alcohol: These are essential for cleaning the exterior and interior components of the controller, including the buttons, triggers, and analog sticks.
- Small Phillips Head Screwdriver: Required for disassembling the controller and accessing its internal components for cleaning and repair.
- New Battery: If the controller’s battery is no longer holding a charge or exhibiting diminished performance, a replacement battery compatible with the PS3 controller model is necessary.
- Replacement Buttons or Analog Sticks: In cases where buttons are unresponsive or the analog sticks suffer from drift, having replacement components on hand can expedite the repair process.
- Compressed Air: Useful for removing dust and debris from hard-to-reach areas within the controller without causing damage.
- Plastic Opening Tools: These non-conductive tools are ideal for prying open the controller’s casing without scratching or damaging its exterior.
By ensuring that these tools are readily available, you can approach the task of fixing your PS3 game controller with confidence and preparedness. With the right tools and a methodical approach, you’ll be well-equipped to address a range of common issues, from stick drift and unresponsive buttons to battery replacement and thorough cleaning.
Cleaning the Controller
Over time, the accumulation of dirt, dust, and debris can compromise the functionality and tactile response of a PS3 game controller. Cleaning the controller regularly is essential for maintaining its performance and prolonging its lifespan. Before delving into more complex repairs, it’s crucial to start with a thorough cleaning process to address any external factors contributing to the controller’s issues.
The following steps outline an effective method for cleaning a PS3 game controller:
- Prepare the Work Area: Find a clean, well-lit workspace where you can comfortably disassemble and clean the controller without the risk of losing small components.
- Disassemble the Controller: Using a small Phillips head screwdriver, carefully remove the screws securing the controller’s casing. Gently pry open the casing using plastic opening tools to avoid damaging the exterior.
- Clean the Exterior: Using a soft cloth dampened with isopropyl alcohol, wipe down the exterior of the controller to remove dirt, oils, and grime. Pay special attention to the areas around the buttons, triggers, and analog sticks.
- Clean the Interior Components: Dip a cotton swab in isopropyl alcohol and carefully clean the button contacts, circuit board, and other internal components. Ensure that no excess liquid seeps into the controller’s sensitive electronics.
- Remove Dust and Debris: Use compressed air to blow away any dust or debris that may have accumulated inside the controller, particularly around the buttons and triggers.
- Reassemble the Controller: Once the cleaning process is complete, carefully reassemble the controller, ensuring that all components are properly aligned and secured. Avoid overtightening the screws to prevent damage to the casing.
By following these steps, you can effectively clean your PS3 game controller, addressing external factors that may be contributing to its performance issues. Regular maintenance and cleaning can significantly improve the responsiveness and overall feel of the controller, providing a more enjoyable gaming experience.
Replacing the Battery
The battery is a critical component of the PS3 game controller, providing the power necessary to sustain extended gaming sessions. Over time, the battery’s capacity may diminish, leading to shorter usage durations and frequent recharging. If you find that your controller struggles to hold a charge or powers off unexpectedly, replacing the battery is a straightforward solution to restore its longevity and performance.
Here’s a step-by-step guide to replacing the battery in a PS3 game controller:
- Prepare the Workspace: Find a well-lit and uncluttered workspace where you can comfortably work on the controller without misplacing small components.
- Disassemble the Controller: Using a small Phillips head screwdriver, carefully remove the screws securing the controller’s casing. Gently pry open the casing using plastic opening tools to avoid damaging the exterior.
- Locate the Battery: Once the controller is open, locate the battery pack, typically positioned near the center of the controller’s housing.
- Remove the Old Battery: Disconnect the old battery from the controller’s circuit board, taking note of its orientation and how it is secured in place.
- Install the New Battery: Insert the new battery into the designated slot, ensuring that it is oriented correctly and securely connected to the controller’s circuit board.
- Reassemble the Controller: Carefully reassemble the controller, ensuring that all components are properly aligned and secured. Avoid overtightening the screws to prevent damage to the casing.
- Charge the Controller: Once the battery is replaced, charge the controller fully before use to ensure optimal performance.
By following these steps, you can effectively replace the battery in your PS3 game controller, rejuvenating its power source and extending its usability. With a new battery in place, you can enjoy uninterrupted gaming sessions without the inconvenience of frequent recharging or sudden power loss.
Fixing Stick Drift
Stick drift is a common issue experienced with PS3 game controllers, characterized by unintended and erratic movement of the analog sticks even when they are not being touched. This can significantly disrupt gameplay, affecting the precision and control required for immersive gaming experiences. Fortunately, addressing stick drift is possible through a series of targeted steps that can recalibrate or repair the analog sticks, restoring their functionality and responsiveness.
Here’s a comprehensive guide to fixing stick drift in a PS3 game controller:
- Assess the Severity: Determine the extent of the stick drift by navigating the controller’s settings and observing the analog sticks’ behavior in various games and applications.
- Calibration: Some instances of stick drift can be resolved through calibration. Access the controller’s settings on the PS3 console and look for calibration options. Follow the on-screen instructions to recalibrate the analog sticks, which may alleviate minor instances of drift.
- Cleaning the Analog Sticks: Disassemble the controller and carefully clean around the base of the analog sticks using isopropyl alcohol and cotton swabs. Dust and debris around the analog sticks can contribute to drift and affect their performance.
- Inspect and Repair: Examine the internal components of the analog sticks for signs of wear, damage, or misalignment. If the analog sticks show visible signs of damage or wear, consider replacing them with new components compatible with the PS3 controller model.
- Reassemble the Controller: Once the necessary repairs and cleaning have been performed, reassemble the controller, ensuring that all components are properly aligned and secured.
By following these steps, you can effectively address stick drift in your PS3 game controller, restoring the precision and reliability of the analog sticks. Whether through recalibration, cleaning, or component replacement, resolving stick drift will enhance your gaming experience, allowing for seamless and accurate control during gameplay.
Repairing Button Issues
Unresponsive or malfunctioning buttons on a PS3 game controller can significantly impede gameplay, affecting the player’s ability to execute commands and engage with the game effectively. Whether it’s a sticky button, a non-registering input, or excessive wear affecting the tactile response, addressing button issues is crucial for restoring the controller’s functionality and ensuring a seamless gaming experience.
Here’s a comprehensive guide to repairing button issues in a PS3 game controller:
- Identify the Problematic Buttons: Test each button on the controller to pinpoint the specific buttons exhibiting issues, such as unresponsiveness, sticking, or inconsistent input registration.
- Cleaning the Buttons: Disassemble the controller and carefully clean around the buttons and their contacts using isopropyl alcohol and cotton swabs. This process can remove dirt, debris, and residue that may be impeding the buttons’ functionality.
- Inspect and Adjust Button Contacts: Examine the button contacts and the circuit board for signs of wear, corrosion, or misalignment. Gently adjust the contacts to ensure proper alignment and electrical connectivity.
- Replacement of Buttons: If cleaning and adjustments do not resolve the button issues, consider replacing the problematic buttons with new components compatible with the PS3 controller model. This ensures optimal functionality and responsiveness.
- Reassemble the Controller: Once the necessary cleaning, adjustments, or component replacements have been performed, reassemble the controller, ensuring that all components are properly aligned and secured.
By following these steps, you can effectively address button issues in your PS3 game controller, restoring the responsiveness and tactile feel of the controller’s buttons. Whether through cleaning, adjustments, or component replacement, resolving button issues is essential for enjoying uninterrupted and precise control during gaming sessions.
Conclusion
Reviving and maintaining the functionality of your PS3 game controller is essential for preserving the immersive and enjoyable gaming experience it provides. By addressing common issues such as stick drift, unresponsive buttons, battery degradation, and cleanliness, you can extend the lifespan of your controller and ensure optimal performance for countless gaming sessions.
Through this comprehensive guide, you’ve gained insights into the tools and techniques necessary for troubleshooting and repairing your PS3 game controller. From the meticulous process of cleaning and maintaining the controller’s components to the strategic replacement of batteries, buttons, and analog sticks, you now possess the knowledge to tackle a range of issues effectively.
Remember, regular maintenance and proactive troubleshooting can prevent minor issues from escalating into major impediments to your gaming experience. By incorporating these repair and maintenance practices into your gaming routine, you can enjoy uninterrupted gameplay with a responsive and reliable PS3 game controller.
As you embark on the journey to fix and rejuvenate your PS3 game controller, approach each step with patience and precision, ensuring that you handle the controller’s components with care and attention to detail. With the right tools, techniques, and a proactive mindset, you can breathe new life into your trusty PS3 controller and continue to immerse yourself in the captivating worlds of your favorite games.