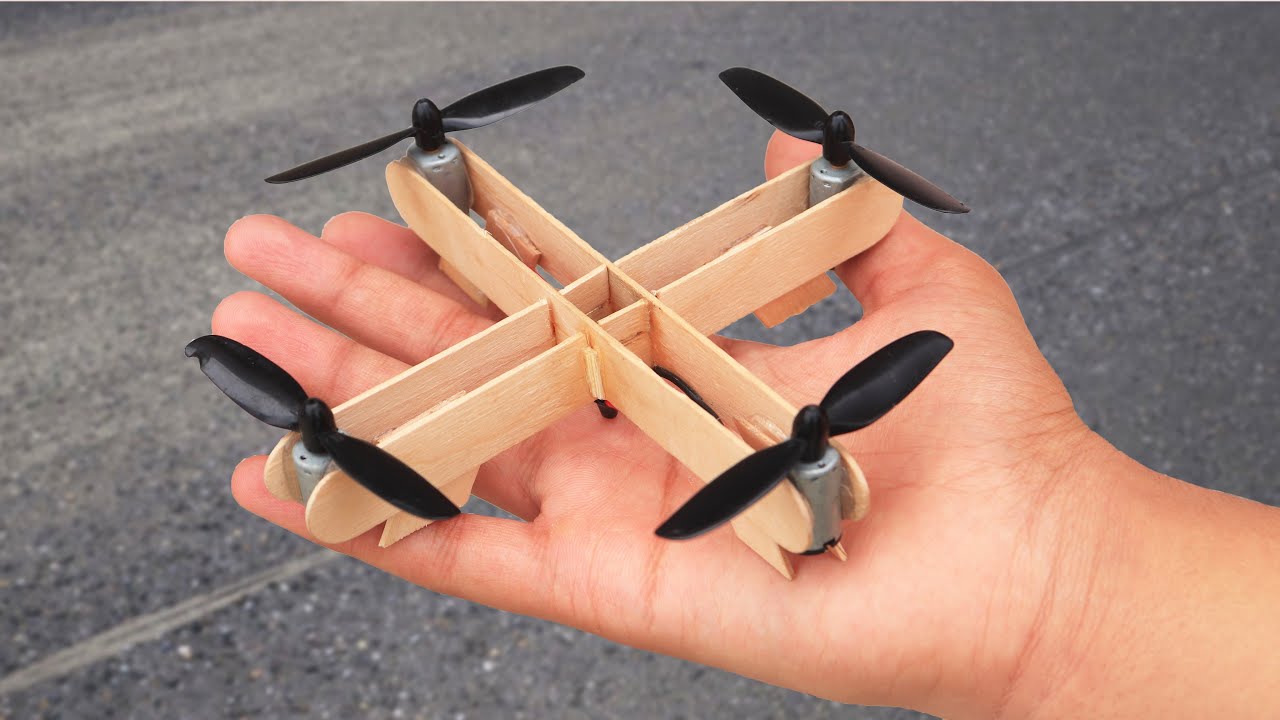
Introduction
Drones have become increasingly popular in recent years, offering a unique perspective and endless possibilities for aerial photography, videography, and exploration. However, like any technological device, drones can encounter issues that may require troubleshooting and repairs. If you’re facing problems with your drone, fear not — in this article, we’ll guide you through the process of fixing common drone issues.
Before we dive into troubleshooting steps, it’s essential to have the right tools on hand. These tools will help you diagnose and fix the problems effectively. Additionally, we’ll discuss some safety precautions to ensure your well-being and maintain the longevity of your drone.
Whether your drone is not powering on, not hovering properly, not responding to the remote control, or its camera isn’t working, we’ve got you covered. By following the troubleshooting steps outlined in this article, you’ll be able to identify and resolve many common issues yourself, saving you time and money on professional repairs.
Lastly, we’ll address the problem of a drone battery that won’t hold a charge. This issue can be frustrating, but with a few straightforward steps, you can determine whether the battery needs replacement or if there are alternative solutions to improve its performance.
So, whether you’re a professional aerial photographer or a drone enthusiast looking to get back in the air, join us as we explore the troubleshooting process and get your drone up and running again!
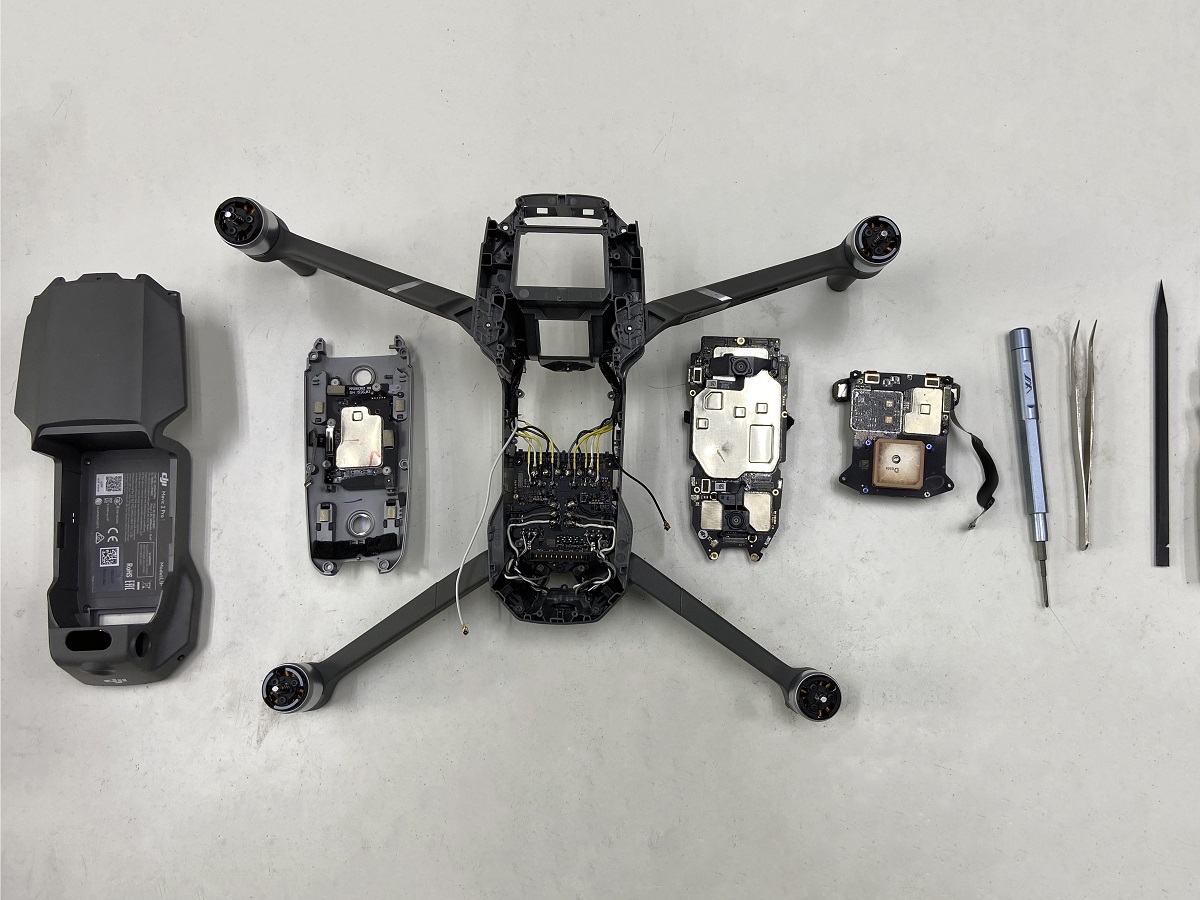
Tools Needed
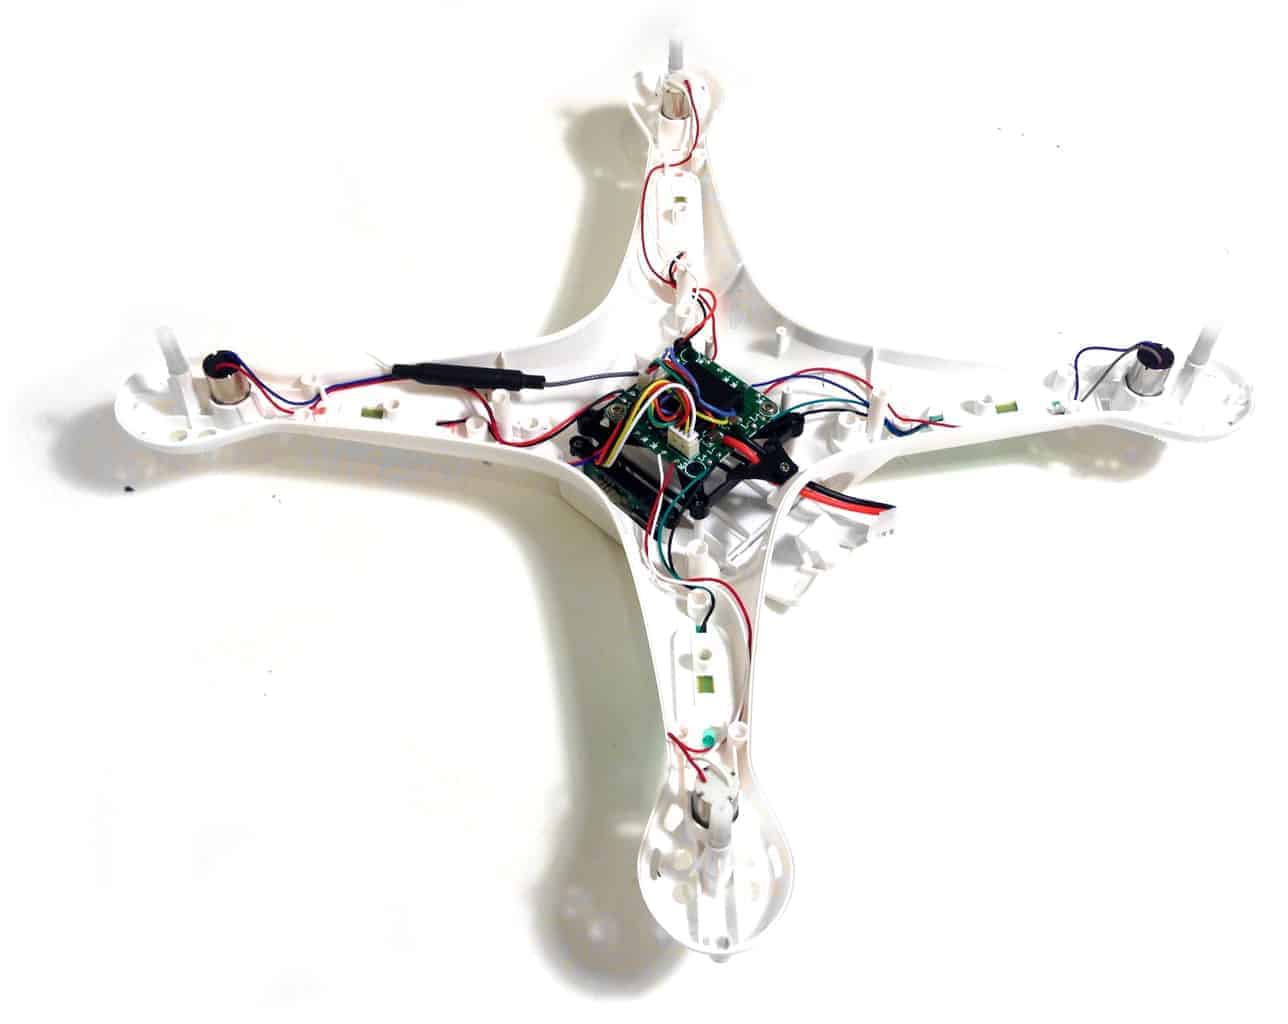
Before you start troubleshooting your drone, it’s important to gather the necessary tools to ensure a smooth and efficient repair process. Having the right tools at your disposal will help you identify and fix the issues more effectively. Here are the essential tools you’ll need:
- Screwdriver Set: A set of precision screwdrivers will be necessary for accessing the internal components of your drone. Make sure to have both flathead and Phillips head screwdrivers in various sizes to accommodate different screw types.
- Tweezers: Tweezers can come in handy for removing small debris or adjusting delicate parts during the repair process.
- Plastic Pry Tools: These tools are designed to help you safely detach and maneuver delicate components, such as the drone’s shell or camera gimbal.
- Anti-Static Wrist Strap: To prevent static electricity from damaging sensitive electronic components, it’s recommended to use an anti-static wrist strap while working on your drone.
- Multimeter: A multimeter is an invaluable tool for diagnosing electrical issues. It allows you to measure voltage, resistance, and continuity and can help determine if certain components are faulty.
- Cleaner and Brush: Dust and debris can accumulate on your drone’s motors and sensors, impairing its performance. Having a can of compressed air and a small brush will allow you to clean these areas effectively.
Remember to have a clean and organized workspace before you begin working on your drone. This will ensure that you have enough space to lay out the components and tools properly, reducing the risk of misplacing or damaging anything during the repair process.
Now that you have gathered the necessary tools, let’s move on to the next section, where we’ll discuss some important safety precautions to keep in mind as you troubleshoot your drone.
Safety Precautions
When it comes to working on your drone, safety should always be your top priority. Adhering to proper safety precautions will not only protect you from harm but also ensure the integrity of your drone throughout the repair process. Here are some important safety measures to keep in mind:
- Disconnect the Battery: Before you begin any repairs, make sure to disconnect and remove the battery from your drone. This will help prevent accidental power-ups and reduce the risk of electric shock while working on sensitive components.
- Work in a Well-Ventilated Area: Repairing your drone can involve using chemicals or substances that may emit fumes. It’s crucial to work in a well-ventilated area to avoid inhaling any potentially harmful particles. If possible, consider working near an open window or using a fan to improve airflow.
- Use ESD Protection: Electrostatic discharge (ESD) can damage sensitive electronic components in your drone. To protect against this, always wear an anti-static wrist strap and handle the components with care. Avoid wearing clothing that can generate static electricity, such as wool or synthetic fabrics.
- Avoid Overexertion: Drones can be complex machines, and troubleshooting may require a fair amount of manual dexterity and concentration. Take breaks when needed and avoid working on your drone when you’re tired or distracted. This will help prevent accidents and ensure that you have a clear mindset when working on intricate repairs.
- Refer to the Manufacturer’s Guides: Every drone model is unique, and it’s essential to consult the manufacturer’s guides and documentation before attempting any repairs. These guides often provide specific safety instructions and guidelines for handling and troubleshooting your particular drone model.
- Protective Gear: When working on your drone, consider wearing safety goggles to protect your eyes from any debris or particles that may be dislodged during the repair process. Additionally, wearing gloves can help prevent any injuries from sharp edges or hot components.
By following these safety precautions, you’ll create a secure working environment and minimize the risk of accidents or damage to yourself and your drone. With the necessary tools and safety measures in place, you’re now ready to tackle the troubleshooting process. In the next section, we’ll discuss the common issues you may encounter and the steps to troubleshoot and fix them.
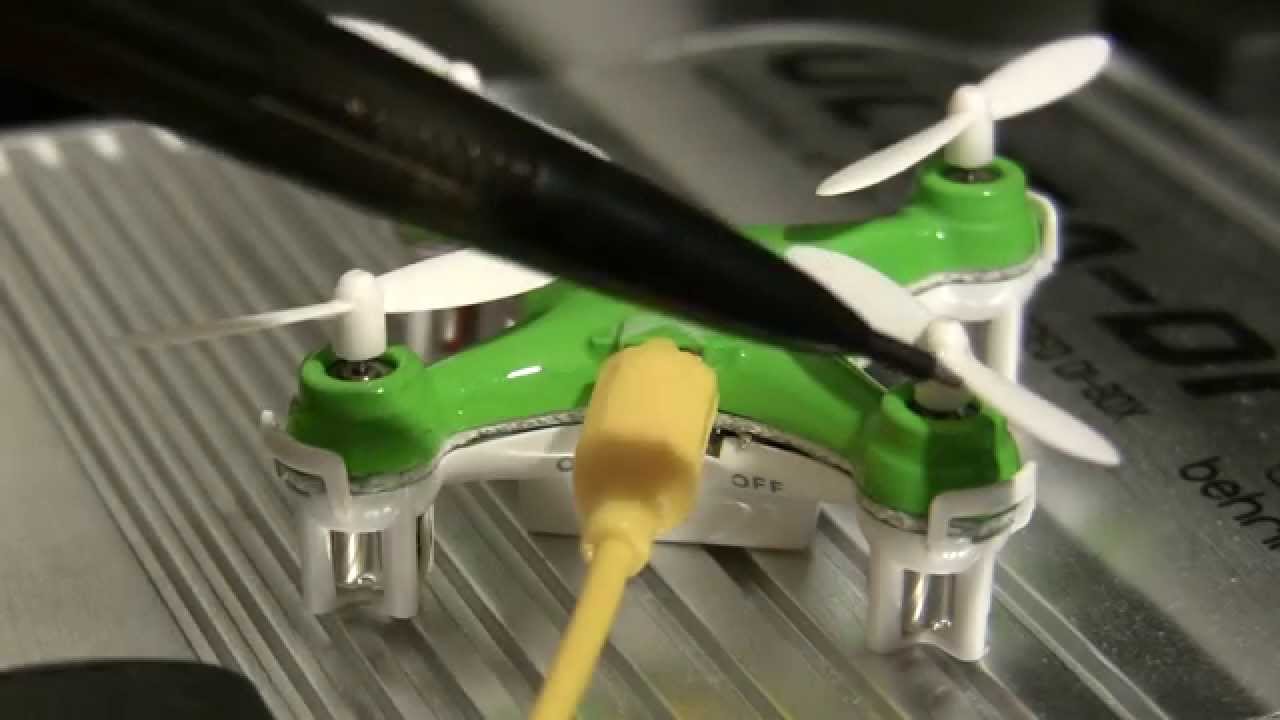
Troubleshooting Steps
When your drone encounters issues, identifying and troubleshooting the problem is the first step towards getting it back in the air. In this section, we’ll outline the step-by-step troubleshooting process for some common drone issues. Let’s dive in:
- Drone Won’t Power On: If your drone isn’t turning on, start by checking the battery connection. Ensure that the battery is securely inserted and properly charged. If the battery is functioning correctly, inspect the power switch and wiring for any loose or damaged connections. Try using a different battery or charger to rule out any issues with the power source.
- Drone Isn’t Hovering Properly: If your drone struggles to maintain a stable hover, begin by calibrating the gyroscope. This can usually be done through the drone’s companion app or remote control. If calibration doesn’t solve the issue, check the propellers for damage or obstructions. Imbalanced or damaged propellers can affect the drone’s stability. Additionally, check the motor and ESC (Electronic Speed Controller) connections for any faults or loose wires.
- Drone Isn’t Responding to Remote Control: If your drone is unresponsive to the remote control commands, the first step is to ensure that both the drone and remote control batteries are fully charged. Next, recalibrate the remote control and ensure that it’s properly synced with the drone. Check for any interference from nearby electronic devices or strong radio signals. If the issue persists, inspect the drone’s receiver and remote control antennas for any damage.
- Drone’s Camera Isn’t Working: If you’re experiencing issues with your drone’s camera, start by checking the camera connections. Make sure that the cables are securely plugged in and free from any damage. If your drone has a removable camera module, try reattaching it or using a different camera to isolate the issue. Verify if the camera settings are correctly configured in the companion app or software, and ensure that there is sufficient storage space on the SD card.
- Drone’s Battery Won’t Hold a Charge: If your drone’s battery isn’t holding a charge, start by inspecting the battery for any visible damage or swelling. If the battery appears to be in good condition, try performing a full discharge and recharge cycle to recalibrate its power management system. If the issue persists, it may be time to consider replacing the battery with a new one.
Remember, these are general troubleshooting steps, and the specific solutions may vary depending on your drone model and manufacturer. Always refer to the manufacturer’s documentation and support resources for detailed troubleshooting instructions. With patience, careful observation, and these troubleshooting steps, you’ll be well on your way to fixing common drone issues and getting your drone back in the air!
Drone Won’t Power On
One of the most frustrating issues you may encounter with your drone is when it refuses to power on. If you’re facing this problem, don’t worry, as there are several potential solutions to get your drone up and running again. Follow these steps to troubleshoot a drone that won’t power on:
- Check Battery Connection: The first thing to do is to ensure that the battery is securely inserted into the drone. Sometimes, a loose or improperly connected battery can prevent the drone from powering on. Remove the battery and reinsert it, making sure it fits snugly in its compartment.
- Charge the Battery: If your drone’s battery is low on charge or completely drained, it may not have enough power to turn on. Connect the battery to the charger and allow it to charge fully. Ensure that you’re using the correct charger specifically designed for your drone’s battery.
- Inspect the Power Switch: Examine the power switch on your drone to ensure it’s in the proper position. Sometimes, the switch may have been accidentally turned off or become jammed. Toggle the switch a few times to make sure it’s functioning correctly.
- Check for Damaged Wires or Connections: Inspect the wiring and connections inside your drone for any signs of damage. Look for loose or disconnected wires, especially near the battery compartment and power switch. If you find any issues, carefully reconnect or replace the damaged parts as necessary.
- Try an Alternative Battery or Charger: If you have access to another compatible battery or charger, try using them to rule out any potential defects with your current equipment. Sometimes, a faulty battery or charger can be the culprit behind the power issue.
By going through these steps, you’ll be able to diagnose and resolve many common reasons why a drone may not power on. If none of these steps work, it may be necessary to contact the manufacturer or seek professional repair services to further investigate and fix the problem.
Remember, it’s important to follow safety precautions while working on your drone and to consult the manufacturer’s guides for specific instructions that apply to your drone model. With patience and persistence, you can overcome this issue and enjoy the exhilarating experience of flying your drone once again!
Drone Isn’t Hovering Properly
If your drone is having difficulty maintaining a stable hover, it can make flying challenging and potentially lead to unexpected flight behavior. Here are some troubleshooting steps to help you address this issue and get your drone hovering properly again:
- Calibrate the Gyroscope: The gyroscope is responsible for measuring the drone’s orientation and stability. Begin by calibrating the gyroscope, following the instructions provided by the manufacturer. This process usually involves placing the drone on a level surface and initiating the calibration through the companion app or remote control.
- Check Propellers: Damaged or imbalanced propellers can cause instability during flight. Inspect each propeller for any visible signs of damage, such as cracks or missing pieces. Replace any damaged propellers with new ones, ensuring that they are securely attached and balanced.
- Inspect Motor and ESC Connections: Loose or faulty connections between the motors and Electronic Speed Controllers (ESCs) can impact the drone’s performance. Check each motor and ESC connection, ensuring they are secure and free from any loose wires or debris. Reconnect any loose wires and clean any debris that may be interfering with the connections.
- Balance the Drone: An imbalanced drone can cause stability issues. To balance your drone, use a propeller balancer or a level surface. Attach each propeller one at a time and ensure they are perfectly balanced. Balancing the drone will help distribute the weight evenly and improve flight performance.
- Perform Firmware Updates: Check if there are any firmware updates available for your drone and its controller. Outdated firmware can sometimes cause flight instability. Refer to the manufacturer’s website or companion app for instructions on updating the firmware, and follow the update process carefully.
By following these troubleshooting steps, you’ll be able to address common issues that can cause your drone to hover improperly. It’s important to remember that different drone models may have unique features or specific calibration procedures, so referencing the manufacturer’s documentation is crucial for accurate troubleshooting.
If the problem persists even after following these steps, it may be necessary to contact the manufacturer’s support or consult with a professional drone repair service. They can provide further guidance and assistance in diagnosing and resolving more complex issues affecting your drone’s hovering capabilities.
Maintaining a stable hover is key to capturing stunning aerial photos and videos, so don’t let this issue hold you back from enjoying your drone to its fullest potential. With patience and careful troubleshooting, you’ll soon have your drone hovering smoothly once again!
Drone Isn’t Responding to Remote Control
If your drone is not responding to the commands from the remote control, it can be frustrating and hinder your ability to fly and control it effectively. Here are some troubleshooting steps you can take to address this issue and regain control over your drone:
- Check Batteries: Ensure that both the drone and remote control batteries are fully charged. Low or depleted batteries can result in erratic or no response. Replace the batteries if necessary and verify that they are inserted correctly.
- Recalibrate the Remote Control: Some drones require periodic recalibration of the remote control to ensure accurate signal transmission. Consult the drone’s user manual or manufacturer’s instructions to learn how to recalibrate your specific remote control model.
- Synchronize the Drone and Remote Control: Verify that the drone and remote control are properly synchronized. Refer to the user manual to find the correct synchronization process for your drone model. Typically, this involves turning on the drone first, followed by the remote control, while maintaining a close distance between the two devices.
- Check for Interference: Nearby electronic devices or strong radio signals can interfere with the drone’s communication signals. Move away from potential sources of interference, such as Wi-Fi routers or power lines, and try flying the drone in a different location to see if the responsiveness improves.
- Inspect Receiver and Antennas: Examine the drone’s receiver and the remote control’s antennas for any damage or loose connections. Ensure that the antennas are fully extended and positioned correctly for optimal signal transmission. If there is any damage, consult the manufacturer for replacement parts.
By following these troubleshooting steps, you’ll have a better chance of regaining control over your drone and ensuring a responsive flying experience. Remember to familiarize yourself with the specific instructions provided by the drone’s manufacturer, as different models may have unique synchronization and calibration processes.
If the issue persists even after attempting these troubleshooting steps, it may be necessary to contact the manufacturer’s support or seek professional assistance. They can provide further guidance and help diagnose any underlying technical issues with your drone and its remote control system.
Regaining control over your drone is crucial for safe and enjoyable flying. Take the time to troubleshoot the issue, and don’t hesitate to reach out for assistance if needed. With persistence and patience, you’ll soon be back in command of your drone, ready to explore the skies!
Drone’s Camera Isn’t Working
The camera is an essential component of a drone, allowing you to capture stunning aerial photos and videos. If your drone’s camera isn’t functioning correctly, it can be disappointing. However, there are several troubleshooting steps you can take to address this issue and get your camera working again:
- Check Camera Connections: Ensure that all the cables connecting the camera to the drone are securely plugged in. Loose or disconnected cables can lead to camera malfunctions. Gently reseat the cables to make sure they are properly connected.
- Verify Camera Settings: Check the camera settings in the drone’s companion app or software. Ensure that the camera is not in a mode that may prevent it from capturing images or recording videos. Adjust the settings as necessary and test the camera’s functionality again.
- Inspect the Camera Lens: Examine the camera lens for any dirt, smudges, or damage that may affect image quality. Clean the lens using a microfiber cloth or lens cleaning solution to remove any debris or fingerprints. Be gentle to avoid scratching the lens surface.
- Reset Camera Settings: If you have made any changes to the camera settings that may have caused the issue, try resetting the camera settings to their default values. Refer to the drone’s user manual or the manufacturer’s instructions for specific steps on how to perform a camera settings reset.
- Replace or Update Firmware: Check if there are any firmware updates available for your drone’s camera. Outdated firmware can sometimes cause camera malfunctions. Refer to the manufacturer’s website or companion app for instructions on updating the camera’s firmware.
- Test with a Different Camera: If possible, try using a different camera module (if available) to determine if the issue lies with the camera itself or the drone’s internal components. This will help you isolate the problem and identify whether a camera replacement is necessary.
Remember to consult the drone’s user manual and the manufacturer’s support resources for specific troubleshooting instructions related to your drone model’s camera. If the problem persists even after attempting these troubleshooting steps, it may be necessary to contact the manufacturer’s support or seek professional assistance to diagnose and repair the camera issue.
Having a working camera is crucial for capturing memorable aerial footage. By following these troubleshooting steps and seeking expert help if needed, you’ll be back to capturing breathtaking aerial images and videos in no time!
Drone’s Battery Won’t Hold a Charge
One of the common issues drone owners face is a battery that won’t hold a charge. If you’re experiencing this problem, it can be frustrating, as it limits your flight time. However, there are a few troubleshooting steps you can take to address this issue and potentially improve your drone’s battery performance:
- Inspect the Battery: Check the battery for any physical damage, bloating, or leaks. If you notice any of these signs, it’s important to replace the battery immediately for safety reasons. Damaged batteries can be dangerous and may affect their ability to hold a charge.
- Perform a Full Discharge and Recharge Cycle: Sometimes, the battery’s power management system can become unbalanced, leading to inaccurate readings of the battery level. To recalibrate the battery, fully discharge it by flying the drone until it automatically shuts down. Then, recharge the battery fully. This process may help restore the battery’s capacity.
- Ensure Proper Charging: Check that you are using the correct charger specifically designed for your drone’s battery. Different drones may require different chargers, so using an incompatible charger can affect the battery’s performance. Make sure the charger is securely connected and that the charging process is uninterrupted.
- Store the Battery Properly: Improper storage can contribute to battery degradation. Ensure that you store your drone’s battery in a cool and dry place, away from direct sunlight and extreme temperatures. Avoid leaving the battery fully charged or completely discharged for extended periods, as both conditions can reduce its lifespan.
- Consider a Battery Replacement: If you have tried the above troubleshooting steps and your drone’s battery still doesn’t hold a charge or its performance has significantly diminished, it may be time to consider replacing the battery. Contact the drone manufacturer or reputable retailers to purchase a compatible and reliable replacement battery.
It’s worth noting that batteries have a finite lifespan, and their performance may naturally degrade over time. If your drone’s battery is several years old and has been heavily used, replacing it might be the most effective solution to ensure optimal flight performance.
Remember to follow proper safety precautions when handling and disposing of batteries, especially damaged ones. Consult the manufacturer’s guidelines for specific information on battery safety, storage, and disposal procedures for your drone model.
By taking these troubleshooting steps and maintaining good battery care practices, you can potentially extend the lifespan of your drone’s battery and maximize your flight time for more enjoyable drone flying experiences.
Conclusion
In this article, we’ve explored various troubleshooting steps to help you fix common issues with your drone. Whether your drone won’t power on, isn’t hovering properly, isn’t responding to the remote control, has a malfunctioning camera, or a battery that won’t hold a charge, following these steps can often resolve the problems and get your drone back in the air.
We discussed the importance of having the right tools for the job, as well as the need to take safety precautions throughout the repair process. By gathering the necessary tools and following safety guidelines, you can ensure a smooth and secure troubleshooting experience.
From there, we dived into troubleshooting steps for specific issues, such as power-related problems, stability issues, unresponsiveness to the remote control, camera malfunctions, and battery performance concerns. By following the outlined steps for each issue, you’ll be able to diagnose and fix many common drone problems.
Remember that each drone model may have specific troubleshooting procedures and features, so referring to the manufacturer’s documentation is essential for accurate diagnostics and repairs. If the troubleshooting steps don’t resolve the problem, don’t hesitate to seek assistance from the manufacturer’s support or professional repair services.
Maintaining your drone and keeping it in good working condition is vital for a successful and enjoyable flying experience. By troubleshooting and addressing these common drone issues, you can extend the lifespan of your drone, capture breathtaking aerial shots, and continue to explore the skies with confidence.
So go ahead, dive into the troubleshooting process, and get your drone up and running again. Happy flying!