Introduction
Welcome to the world of electric guitar maintenance! Whether you're a seasoned musician or a beginner, knowing how to change the strings on your Fender Squier electric guitar is an essential skill. Fresh strings not only improve the sound quality and playability of your instrument but also prevent potential damage to the frets and neck. In this guide, we'll walk through the step-by-step process of changing electric guitar strings on a Fender Squier, ensuring that you can keep your instrument in top condition and ready to rock at a moment's notice.
Changing guitar strings may seem like a daunting task, especially for those new to the world of guitar maintenance. However, with the right tools and a clear understanding of the process, it can be a straightforward and rewarding experience. By following this guide, you'll not only learn a valuable skill but also gain a deeper understanding of your instrument's mechanics and care requirements.
As we delve into the intricacies of string replacement, you'll discover the importance of proper maintenance for achieving the best sound and performance from your Fender Squier electric guitar. From loosening the old strings to tuning the new ones, each step plays a crucial role in ensuring that your guitar remains in optimal playing condition. So, grab your tools, set aside some time, and let's embark on this journey to revitalize your Fender Squier electric guitar with a fresh set of strings.
Step 1: Gather the Necessary Tools
Before diving into the process of changing the strings on your Fender Squier electric guitar, it’s essential to gather the necessary tools. Having the right equipment at your disposal will streamline the string replacement process and ensure that you can carry out each step with precision and ease. Here’s a rundown of the tools you’ll need:
- New Set of Strings: Ensure that you have a compatible set of electric guitar strings for your Fender Squier. Different guitars may require specific string gauges, so it’s important to select the appropriate set for your instrument.
- String Winder: A string winder is a valuable tool that facilitates the speedy removal and installation of guitar strings. It also helps in achieving proper tension and prevents hand fatigue during the winding process.
- Wire Cutters: Precision wire cutters are essential for trimming the excess string length after installation. They ensure a clean and tidy appearance while preventing any sharp ends from protruding and causing discomfort during play.
- Tuner: A reliable tuner is indispensable for achieving accurate pitch and ensuring that your guitar is in tune once the new strings are installed. Electronic tuners or tuning apps can help you achieve precise tuning quickly.
- Cleaning Cloth: Keeping a soft cleaning cloth handy allows you to wipe down the guitar’s body, fretboard, and headstock. This helps in removing any accumulated dust, fingerprints, or residue, ensuring a clean surface for the new strings.
- String Lubricant (Optional): While not essential, a small amount of string lubricant can be beneficial for reducing friction at the nut and bridge, promoting smooth string movement and enhancing tuning stability.
By ensuring that you have all these tools within reach, you’ll be well-prepared to tackle the string replacement process with confidence and efficiency. With the tools in hand, you’re ready to move on to the next step: loosening the old strings from your Fender Squier electric guitar.
Step 2: Loosen the Old Strings
Before removing the old strings from your Fender Squier electric guitar, it’s crucial to loosen them to alleviate tension and facilitate safe removal. Follow these steps to loosen the old strings effectively:
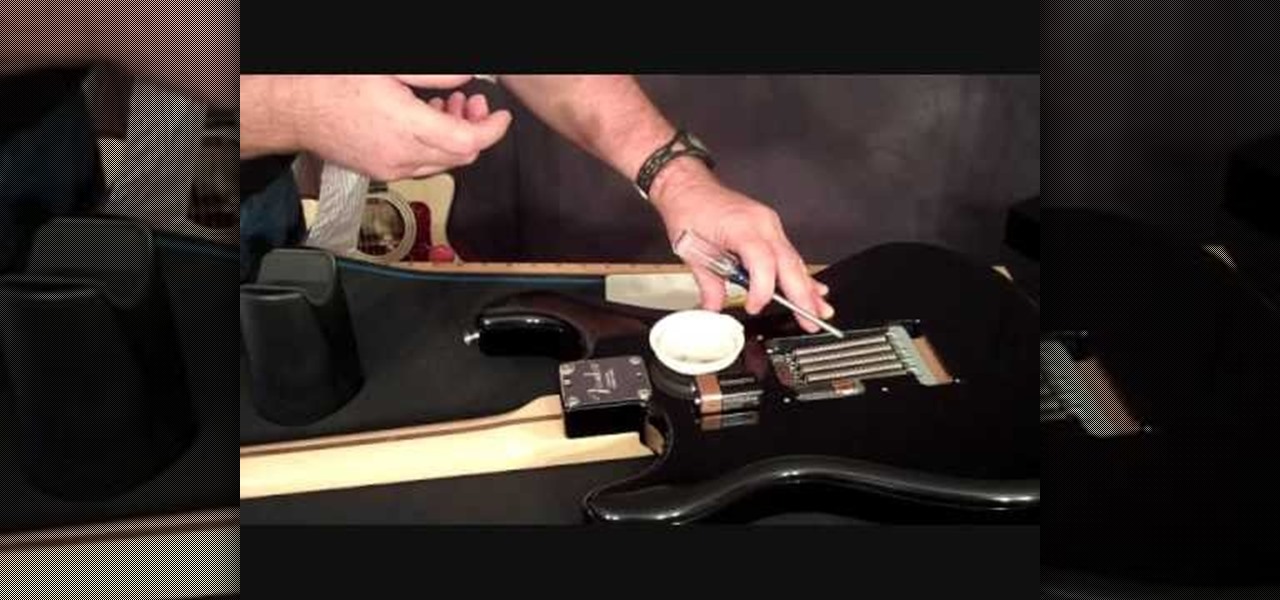
- Prepare the Work Area: Find a comfortable and well-lit space to work on your guitar. Place a soft cloth or towel beneath the instrument to protect its finish from scratches and provide a stable surface for the string replacement process.
- Secure the Guitar: If possible, lay your guitar on a flat surface, such as a workbench or table, ensuring that it is stable and won’t shift during the string loosening process.
- Use the String Winder: Attach the string winder to the tuning peg of the first string you intend to replace. Turning the winder counterclockwise will unwind the string, gradually reducing tension as it loosens.
- Loosen the Strings Incrementally: Work your way through each string, using the string winder to gradually unwind and loosen them. It’s important to release tension slowly and evenly to prevent sudden movements that could damage the guitar or cause injury.
- Check for Slack: As you loosen each string, check for slack by gently pulling it away from the fretboard. This ensures that the string is sufficiently loosened and ready for safe removal.
Loosening the old strings prepares the guitar for their safe removal and minimizes the risk of damage to the instrument or injury to yourself. With the strings sufficiently loosened, you’re now ready to move on to the next step: removing the old strings from your Fender Squier electric guitar.
Step 3: Remove the Old Strings
With the old strings on your Fender Squier electric guitar sufficiently loosened, it’s time to remove them carefully and methodically. Follow these steps to safely remove the old strings:
- Unwind the Strings: Using the string winder, continue unwinding each string until it is completely slack. Ensure that there is no tension left in the strings before proceeding to the next step.
- Remove the Ball End: For strings with ball ends, such as those on an electric guitar, carefully unwind and detach the ball end from the bridge or tremolo block. Gently guide the string out of its respective bridge saddle to free it from the guitar.
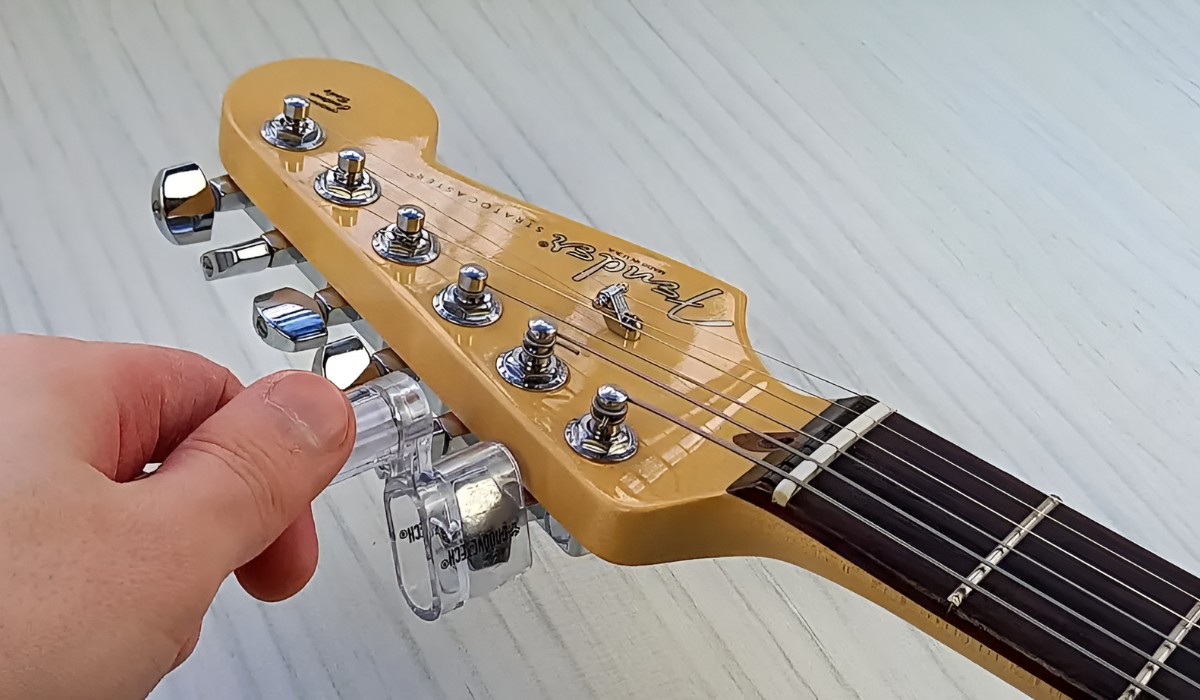
- Unwind from the Tuning Peg: Once the ball end is detached, unwind the string from the tuning peg. Hold the string near the peg as you unwind it to prevent it from flailing and potentially causing damage to the guitar’s finish.
- Discard the Old Strings: As each string is removed, set it aside for proper disposal. Avoid leaving old strings lying around, as they can pose a safety hazard and contribute to a cluttered work area.
- Clean the Guitar: With the old strings removed, take the opportunity to clean the fretboard, bridge, and headstock using a soft cloth. This helps remove any accumulated grime and prepares the guitar for the installation of new strings.
By following these steps, you can safely and effectively remove the old strings from your Fender Squier electric guitar, setting the stage for the next crucial phase: cleaning the guitar in preparation for the installation of new strings.
Step 4: Clean the Guitar
After removing the old strings from your Fender Squier electric guitar, it’s essential to take the time to clean the instrument thoroughly. Cleaning not only enhances the visual appeal of the guitar but also contributes to its overall maintenance and longevity. Follow these steps to clean your guitar effectively:
- Remove Dust and Residue: Use a soft, lint-free cloth to gently wipe down the entire guitar, including the body, fretboard, and headstock. This helps remove any accumulated dust, fingerprints, and other surface residue that may have collected during regular play.
- Clean the Fretboard: If the fretboard appears dirty or dry, consider using a specialized fretboard cleaner or conditioner to nourish and protect the wood. Apply a small amount of the cleaner to a clean cloth and gently rub it into the fretboard, following the wood grain for best results.
- Polish the Guitar Body: Using a high-quality guitar polish, carefully buff the body of the guitar to restore its luster and shine. Be sure to use a polish that is suitable for the guitar’s finish, whether it’s gloss or satin, to avoid any potential damage.
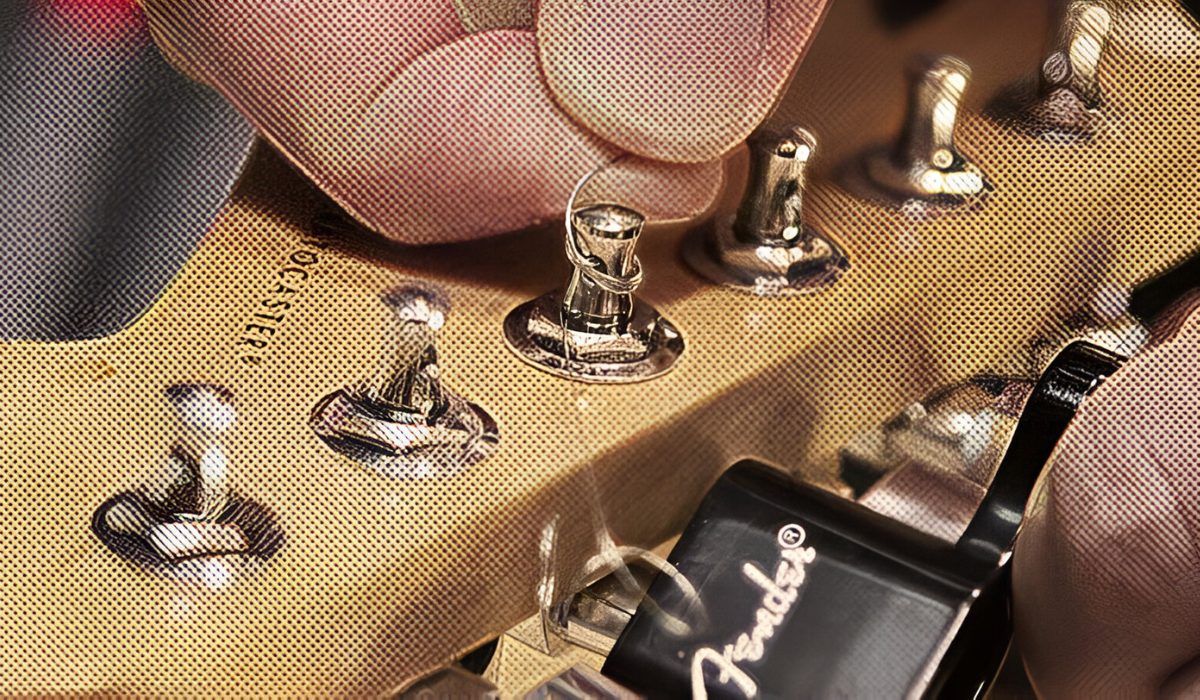
- Clean the Hardware: Take a moment to clean the bridge, tuning pegs, and any other hardware on the guitar. A small, soft-bristled brush can be useful for reaching tight spaces and ensuring that the hardware is free from debris or buildup.
- Inspect for Damage: While cleaning, take the opportunity to inspect the guitar for any signs of damage, such as loose hardware, cracks, or excessive wear. Addressing any issues promptly can prevent them from escalating and affecting the guitar’s playability.
By dedicating time to clean your Fender Squier electric guitar, you not only maintain its aesthetic appeal but also contribute to its overall well-being. With the guitar now clean and refreshed, you’re ready to proceed to the next step: installing the new strings to breathe new life into your instrument.
Step 5: Install the New Strings
With your Fender Squier electric guitar cleaned and prepped, it’s time to install the new set of strings. This step is crucial in revitalizing the instrument’s sound and playability. Follow these steps to effectively install the new strings on your guitar:
- Select the Correct String Gauge: Ensure that the new set of strings matches the appropriate gauge and type for your Fender Squier electric guitar. Different string gauges and materials can significantly impact the instrument’s tone and feel.
- Begin with the Low E String: Starting with the low E string, insert the plain end into the bridge saddle and guide it through the corresponding tuning peg. Leave a few inches of slack to work with during the winding process.
- Secure the String at the Bridge: For strings with ball ends, ensure that the ball is properly seated in the bridge saddle. This provides stability and proper alignment for the string as it is brought to tension.
- Wind the String onto the Tuning Peg: Using the string winder, begin winding the string onto the tuning peg, ensuring that the coils are neat and evenly spaced. As you wind the string, maintain tension to prevent slack and ensure a secure fit.
- Cut Excess String Length: Once the string is securely wound and tuned to pitch, use wire cutters to trim any excess string length near the tuning peg. Be cautious to leave a reasonable amount of slack to prevent the string from unraveling.
- Repeat for Remaining Strings: Follow the same process for each remaining string, working from the low E string to the high E string. Ensure that each string is properly seated at the bridge and wound onto the tuning pegs with consistent tension.
By methodically installing the new strings, you can breathe new life into your Fender Squier electric guitar, setting the stage for the final step: tuning the guitar to achieve optimal pitch and playability.
Step 6: Tune the Guitar
After installing the new strings on your Fender Squier electric guitar, the final step is to tune the instrument to achieve optimal pitch and playability. Tuning ensures that the strings are at the correct tension, allowing your guitar to produce the desired musical notes accurately. Follow these steps to tune your guitar effectively:
- Use a Reliable Tuner: Whether it’s a digital tuner or a tuning app, ensure that you have a reliable tool to assist you in achieving accurate pitch for each string.
- Tune the Low E String: Starting with the low E string, pluck the string and observe the tuner’s display. Adjust the tuning peg as needed to bring the string to the correct pitch, indicated by the tuner’s visual or auditory cues.
- Progress through the Strings: Once the low E string is tuned, proceed to tune the remaining strings in sequence, following the standard tuning of E-A-D-G-B-E for a 6-string guitar.
- Check for Intonation: After tuning each string, play fretted notes at various positions along the neck to ensure that the guitar’s intonation is accurate. Adjustments may be necessary to ensure that the instrument plays in tune across the entire fretboard.
- Retune as Needed: As you progress through the tuning process, it’s common for the tension on the strings to settle, requiring periodic retuning to achieve stability. Continue to tune and check the guitar’s intonation until it plays in tune across the fretboard.
By meticulously tuning your Fender Squier electric guitar, you ensure that it is ready to deliver the desired tones and melodies with precision and clarity. With the guitar now in tune, you can confidently pick up your instrument and enjoy the revitalized sound and playability brought about by the fresh set of strings.
Conclusion
Congratulations! You’ve successfully navigated the process of changing electric guitar strings on a Fender Squier, equipping yourself with essential maintenance skills and a deeper understanding of your instrument. By following the step-by-step guide outlined in this article, you’ve not only revitalized the sound and playability of your guitar but also contributed to its overall maintenance and longevity.
As you reflect on the journey from loosening the old strings to meticulously tuning the new ones, you’ve gained valuable insights into the care and maintenance of your Fender Squier electric guitar. The attention to detail in cleaning the instrument and the precision in installing and tuning the new strings have all contributed to enhancing the overall performance and aesthetics of your guitar.
Remember, the process of changing guitar strings is not just a maintenance task; it’s an opportunity to connect with your instrument on a deeper level. As you play your freshly strung Fender Squier, you’ll appreciate the renewed tonal qualities and responsiveness that the new strings provide, inspiring you to create music with renewed vigor and creativity.
By mastering the art of string replacement, you’ve empowered yourself to keep your Fender Squier electric guitar in prime playing condition, ensuring that it continues to be a reliable companion on your musical journey. So, pick up your guitar, strum a few chords, and revel in the satisfying sound and feel of your revitalized instrument.