Introduction
Welcome to the world of electric guitars! If you’re an acoustic guitar player looking to expand your sonic possibilities, converting your acoustic guitar into an electric one is a great option. With an electric pickup, you can transform the warm, woody tones of your acoustic instrument into a versatile and amplified sound. Whether you’re a seasoned musician or a hobbyist, this guide will walk you through the steps of making your acoustic guitar electric.
By undertaking this transformation, you’ll enter a realm of new possibilities. You’ll be able to experiment with different effects, play in larger venues, and join bands or jam sessions with ease. So let’s dive in and explore the exciting process of electrifying your acoustic guitar!
Before we get started, it’s worth mentioning that this conversion process requires a basic understanding of your guitar’s components and some hands-on experience with wiring. If you’re not comfortable with these tasks, seeking the assistance of a professional guitar technician is always an option.
So, are you ready to take your acoustic guitar to the next level? Let’s begin by discussing how to choose the right acoustic guitar for conversion into an electric one.
Choosing the Right Acoustic Guitar
When it comes to converting your acoustic guitar into an electric one, selecting the right instrument is essential. While any acoustic guitar can be converted, certain factors can greatly affect the success and quality of the final electric sound.
1. Acoustic Guitar Type: Different types of acoustic guitars produce unique tones. Consider the sound you want to achieve and choose a guitar that aligns with that. Dreadnought, concert, and jumbo guitars are popular choices due to their versatility and projection.
2. Playability: Pay attention to the playability of the guitar. It should have a comfortable neck shape, suitable string action, and good intonation. A guitar that feels good to play will contribute to your overall enjoyment of the instrument once it’s electric.
3. Sound Quality: Acoustic guitars with a rich and balanced tone tend to convert well into electric guitars. Look out for guitars with solid tops and quality tonewoods, as they often produce a better sound when amplified.
4. Structural Integrity: Inspect the guitar for any structural issues such as cracks or bulges. A guitar in good structural shape will handle the installation of an electric pickup better, ensuring a solid and stable conversion.
5. Budget: Consider your budget when choosing an acoustic guitar for conversion. Keep in mind that the cost of the guitar itself, along with the electric pickup and any additional accessories, will factor into your overall expenses.
Take your time when selecting the right acoustic guitar for conversion. Visit local music stores, try out different models, and consult with knowledgeable staff. Once you’ve found the perfect match, you’re ready to move on to the next step: understanding the components involved in the conversion process.
Understanding the Components
Before diving into the process of converting your acoustic guitar into an electric one, it’s essential to familiarize yourself with the key components that make up an electric guitar. Understanding these components will give you a clearer picture of how the conversion process works.
1. Electric Pickup: The most crucial component in the conversion process is the electric pickup. This device converts the vibrations of the guitar strings into electrical signals, which are then amplified to produce sound. There are several types of pickups, including magnetic, piezo, and combination pickups, each with its own tonal characteristics.
2. Volume and Tone Controls: Electric guitars typically feature volume and tone controls. These knobs allow you to adjust the output level and tonal qualities of your electric guitar. They play a significant role in shaping your sound and achieving the desired tones.
3. Output Jack: The output jack is where you connect your guitar cable. This is the point where the electrical signals from the pickup are sent to the amplifier. It is crucial to ensure the output jack is properly wired during the conversion process.
4. Pickguard: The pickguard is a protective plate located near the soundhole of the guitar. While primarily serving as a guard against pick scratches, some electric pickups are mounted on or under the pickguard for convenience and aesthetics.
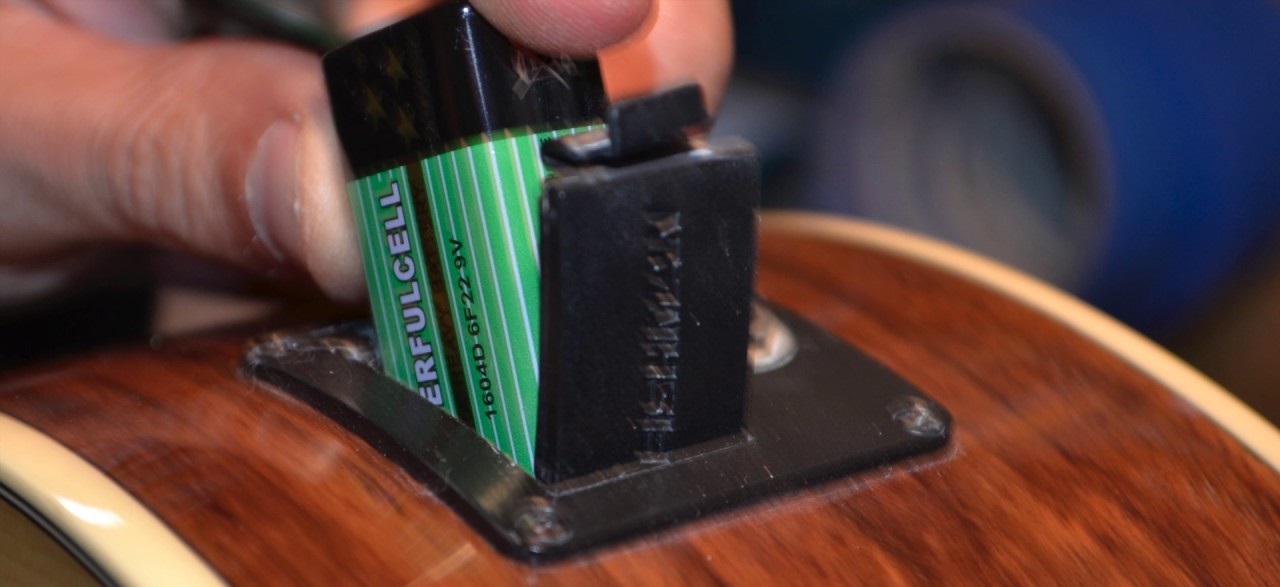
5. Battery Compartment (if applicable): If you opt for an active electric pickup, it may require a battery for operation. Some pickups have a built-in battery compartment, usually accessible through the guitar’s side or back. Make sure to consider this if you choose an active pickup.
By familiarizing yourself with these components, you’ll have a better understanding of how they all work together to produce the electric sound. Next, let’s delve into the anatomy of an electric pickup to gain further insight into this essential element of the conversion process.
The Anatomy of an Electric Pickup
An electric pickup is the heart and soul of an electric guitar. It captures the vibrations of the guitar strings and converts them into the electrical signals that create sound. Understanding the various parts of an electric pickup will help you make informed decisions when choosing one for your acoustic guitar conversion.
1. Coils: The coils are the wire windings that surround magnets in a pickup. Magnetic pickups can have either single-coil or humbucker (dual-coil) designs. Single-coil pickups tend to produce bright and crisp tones, while humbuckers offer a smoother, warmer sound with reduced hum interference.
2. Magnets: Magnets play a crucial role in a pickup’s operation. They create a magnetic field that interacts with the guitar string vibrations and induces electrical signals in the coils. Common types of magnets used in pickups include Alnico and ceramic magnets, each with their own tonal characteristics.
3. Pole Pieces: Pole pieces are small metal rods placed beneath the strings in a pickup. They help balance the volume and tonal response of each string. Adjusting the height of the pole pieces allows for fine-tuning the pickup’s output and achieving a balanced sound across all strings.
4. Baseplate: The baseplate is a metal plate located underneath the coils. It assists in transferring the string vibrations to the coils, contributing to the pickup’s overall tone and responsiveness.
5. Cover: The cover is a cosmetic element often found on pickups. It can have an impact on the pickup’s appearance but does not significantly alter the sound. Some covers, particularly on humbuckers, may also serve as shielding against electromagnetic interference.
6. Mounting Options: Electric pickups can be mounted in different ways, including under the saddle, on the soundboard or pickguard, or even internally through a soundhole or a routed cavity. The mounting option you choose will depend on the type of pickup and the desired aesthetics for your converted electric guitar.
Understanding the anatomy of an electric pickup will help you make informed decisions when selecting the right pickup for your acoustic guitar conversion. Now that you’re familiar with electric pickups, let’s explore how to assess your acoustic guitar’s readiness for the conversion process.
Assessing Your Acoustic Guitar’s Readiness
Before undertaking the conversion process, it’s important to evaluate whether your acoustic guitar is ready for the transformation into an electric instrument. Assessing your guitar’s readiness will help you identify any potential challenges and ensure a successful conversion.
1. Structural Integrity: Examine your acoustic guitar for any structural issues such as cracks, warping, or loose joints. These issues can affect the stability of the guitar and may complicate the installation of the electric pickup. If you notice any significant structural problems, it’s advisable to address them before proceeding with the conversion.
2. Sound Quality: Evaluate the overall sound quality of your acoustic guitar. If the guitar has a desirable tone and a balanced sound, it has the potential to translate well into an electric instrument. However, if your guitar’s sound is dull, lacks clarity, or has excessive buzz, it might be worth considering a setup or repair before proceeding with the conversion.
3. Playability: Assess the playability of your acoustic guitar, including its neck, action (string height), and intonation. A guitar with a comfortable neck shape, suitable action, and accurate intonation will make the conversion process smoother and ensure a more satisfying playing experience once the instrument is electric.
4. Compatibility with an Electric Pickup: Determine if your guitar is compatible with the installation of an electric pickup. Some acoustic guitars have preamps or built-in pickups that can be easily integrated into the conversion process. However, if your guitar doesn’t have these features, it may require additional modifications or routing to accommodate the pickup.
5. Personal Attachment and Value: Consider the sentimental value and personal attachment you have towards your acoustic guitar. Converting it to an electric instrument will alter its original character and sound. If your acoustic guitar holds significant sentimental or historical value, it may be best to preserve its integrity and consider purchasing a separate electric guitar.
By carefully assessing your acoustic guitar’s readiness, you’ll be able to identify any potential issues and make informed decisions about proceeding with the conversion process. Once you’ve determined that your guitar is suitable for the transformation, the next step is to choose and purchase an electric pickup.
Purchasing an Electric Pickup
Choosing the right electric pickup is a crucial step in converting your acoustic guitar into an electric instrument. There are various types of pickups available, each with its own unique characteristics and sonic qualities. Here are some factors to consider when purchasing an electric pickup.
1. Pickup Type: Determine the type of pickup that best suits your desired sound and playing style. Magnetic pickups, such as single-coils and humbuckers, are the most common and offer a range of tones. Piezo pickups, on the other hand, capture the vibrations of the guitar’s bridge and produce a more natural acoustic sound.
2. Tonality: Consider the tonal qualities you’re looking to achieve with your electric guitar. Different pickups have distinct tonal characteristics. Single-coil pickups are known for their bright and clear tones, while humbuckers offer a warmer and thicker sound. Piezo pickups often provide a more balanced and natural acoustic tone.
3. Budget: Set a budget for your electric pickup purchase. Prices can vary widely, depending on the brand, quality, and features of the pickup. While there are affordable options available, investing in a higher-quality pickup can yield better sound and durability.
4. Installation Requirements: Consider your level of expertise and the installation requirements of the pickup. Some pickups are designed for DIY installation, while others may require professional assistance or modification to your guitar. Ensure you are comfortable with the installation process or are willing to seek assistance if needed.
5. Compatibility: Ensure that the pickup you choose is compatible with your acoustic guitar. Consider factors such as the size and shape of the guitar’s body, the available mounting options, and any additional modifications that may be required for installation.
6. Reviews and Recommendations: Read reviews and seek recommendations from other guitarists to get insights into the performance and reliability of different pickups. Pay attention to reviews that align with your playing style and genre preferences.
By considering these factors and doing thorough research, you’ll be better equipped to make an informed decision when purchasing an electric pickup for your acoustic guitar conversion. Once you’ve acquired the right pickup, it’s time to move on to the next step: installing the electric pickup onto your acoustic guitar.
Installing the Electric Pickup
Installing an electric pickup onto your acoustic guitar is a significant step in the conversion process. While the installation may vary depending on the type of pickup and the specific guitar model, here are some general guidelines to help you through the process.
1. Gather the Required Tools: Before beginning the installation, gather all the necessary tools. This may include screwdrivers, wire cutters, soldering iron, solder, and electrical tape. Having these tools on hand will make the installation process smoother.
2. Determine the Pickup Position: Decide on the placement of the electric pickup on your guitar. The most common positions are under the saddle or on the soundboard near the bridge. Refer to the pickup’s instructions or consult with a professional guitar technician for guidance on optimal placement.
3. Prepare the Pickup and Guitar: Follow the instructions provided by the pickup manufacturer for preparing the pickup and the guitar. This may involve removing the strings, loosening the strings to create space, and ensuring the guitar’s surface is clean and free from debris.
4. Mount the Pickup: Attach the electric pickup to the designated position on the guitar. For pickups mounted under the saddle, you may need to remove the saddle temporarily for installation. If the pickup requires adhesive, make sure to apply it correctly and evenly for a secure fit.
5. Connect the Pickup Wires: Connect the pickup wires to the output jack following the wiring diagram provided with the pickup. This typically involves soldering the wires to the appropriate connectors. Take care to ensure a strong and secure connection and utilize electrical tape to insulate the soldered joints.
6. Test the Pickup: After the installation is complete, restring the guitar and connect it to an amplifier or audio interface. Test the pickup to ensure it is functioning correctly. Adjust the pickup height and pole pieces, if necessary, to optimize the sound quality and balance across the strings.
7. Professional Assistance: If you are unsure about any aspect of the installation process or feel uncomfortable performing it yourself, it’s wise to seek the assistance of a professional guitar technician. They have the expertise and experience to ensure a proper installation and can address any potential issues that may arise.
Remember to carefully follow the specific instructions provided by the pickup manufacturer and refer to your guitar’s documentation when performing the installation. With the electric pickup successfully installed, it’s time to proceed to the next step: wiring the pickup to the output jack.
Wiring the Pickup to the Jack
Wiring the electric pickup to the output jack is a crucial step in converting your acoustic guitar into an electric instrument. It involves connecting the pickup wires to the appropriate terminals on the output jack to ensure a proper electrical connection. Here’s a step-by-step guide to help you with the wiring process:
1. Gather the Required Tools: Before starting the wiring process, gather the necessary tools, including a soldering iron, solder, wire cutters, and electrical tape. Having these tools readily available will make the process more efficient.
2. Identify the Pickup Wires: Start by identifying the pickup wires. Most pickups have a hot wire (signal wire) and a ground wire (shielding wire). The hot wire carries the electrical signal from the pickup, while the ground wire helps eliminate unwanted noise and interference.
3. Strip and Tin the Wires: Strip a small portion of insulation from the ends of the pickup wires, exposing the bare metal. Once stripped, tin the wire ends by applying a small amount of solder. This helps create a strong and secure connection during the wiring process.
4. Locate the Output Jack Terminals: Locate the terminals on the output jack. There should be two terminals, often labeled “hot” or “signal” and “ground.” Refer to the wiring diagram provided with your pickup or consult the manufacturer’s instructions to ensure the correct terminals are identified.
5. Connect the Hot Wire: Connect the tinned end of the pickup’s hot wire to the terminal labeled “hot” or “signal” on the output jack. Heat the terminal with the soldering iron and apply solder to create a secure connection. Take care to avoid excessive heat that could damage the output jack or pickup wires.
6. Connect the Ground Wire: Next, connect the tinned end of the pickup’s ground wire to the terminal labeled “ground.” Again, apply heat to the terminal and solder to create a solid connection. Ensure that the ground wire is securely attached to prevent any unwanted noise or interference.
7. Insulate and Secure the Connections: After soldering the wires, carefully inspect the connections for any loose strands or exposed wire. Use electrical tape or heat shrink tubing to insulate the connections, protecting them from accidental short circuits or damage.
8. Perform a Cable Test: To ensure the wiring is properly done, perform a cable test. Connect your guitar to an amplifier or audio interface and test the signal. Listen for any unwanted noise, hum, or loss of signal. If you encounter any issues, double-check the wiring connections and fix any problems accordingly.
If you are unsure about your soldering skills or prefer not to handle the wiring process yourself, it is recommended to seek the assistance of a professional guitar technician who can ensure a proper and reliable wiring job.
Once the pickup is successfully wired to the output jack, you’re one step closer to experiencing your newly converted electric guitar. The next section will cover testing your electric guitar conversion and making any necessary adjustments to achieve your desired sound.
Testing Your Electric Guitar Conversion
After completing the installation and wiring of the electric pickup, it’s time to test your newly converted electric guitar. This testing phase is crucial to ensure that everything is working correctly and to make any necessary adjustments to achieve the desired sound. Here are some steps to follow when testing your electric guitar conversion:
1. Connect to an Amplifier: Connect your guitar to an amplifier using an instrument cable. Ensure that the amplifier is turned on and set to a reasonable volume level before proceeding.
2. Test the Pickup: Play each string individually and listen for the sound coming through the amplifier. Pay attention to the volume level, clarity, and tonal qualities of each string.
3. Adjust Pickup Height: Listen carefully to how each string responds to the pickup. If any strings are too loud or overly dominant, you may need to adjust the height of the pickup. Lowering the pickup can reduce the volume, while raising it can increase the output. Make adjustments gradually and test after each adjustment to find the desired balance.
4. Fine-tune the Pole Pieces: Some pickups have adjustable pole pieces underneath each string. Use a screwdriver to make subtle adjustments to the height of the pole pieces to achieve a more balanced volume across all strings.
5. Test Tone Controls: Experiment with the volume and tone controls on your electric guitar. Observe how they affect the overall sound and make adjustments to achieve the desired tonal qualities. The tone controls allow you to shape the sound and achieve a range of tones, from bright and twangy to warm and mellow.
6. Assess Overall Performance: Evaluate the overall performance of your electric guitar conversion. Pay attention to the sustain, response, and playability of the instrument. Take note of any potential issues, such as excessive buzzing or unwanted noise, and make any necessary adjustments or seek professional assistance to address them.
7. Experiment with Different Settings and Effects: Once you have tested the basic functionality of your electric guitar conversion, feel free to experiment with different settings and effects. Try different amplifier settings, pedal effects, and playing techniques to explore the full potential of your newly transformed instrument.
Remember, the testing phase is an important part of the conversion process. Take your time to fully explore the sound and capabilities of your electric guitar conversion. Enjoy the process of discovering new tones and possibilities as you continue to fine-tune and customize your instrument to suit your musical preferences.
Fine-tuning Your Electric Sound
Once you have tested your electric guitar conversion and made initial adjustments, it’s time to fine-tune your electric sound. Fine-tuning involves tweaking various factors to achieve your desired tone and optimize the performance of your newly converted instrument. Here are some steps to help you in this process:
1. Experiment with Pickup Height: Fine-tuning the pickup height can greatly impact the overall sound of your electric guitar. Adjust the pickup height for each string to find the sweet spot. Raising the pickup closer to the strings can result in a stronger output and more pronounced attack, while lowering it can provide a smoother and more balanced sound.
2. Adjust Pole Piece Balance: Take the time to fine-tune the individual pole piece heights on your pickup. This allows you to achieve better string balance and optimize the response of each string. Experiment with adjusting the pole pieces to balance the volume and tone across all strings.
3. Explore Tone Control Options: Spend time experimenting with the tone controls on your electric guitar. Test how each control affects the overall sound and tonal characteristics. You can achieve a wide range of tones by adjusting the tone controls, from bright and twangy to warm and mellow.
4. Try Different Playing Techniques: Vary your playing techniques to explore the potential nuances of your electric sound. Experiment with different dynamics, picking styles, and articulations to discover how your guitar responds and the range of tones you can produce.
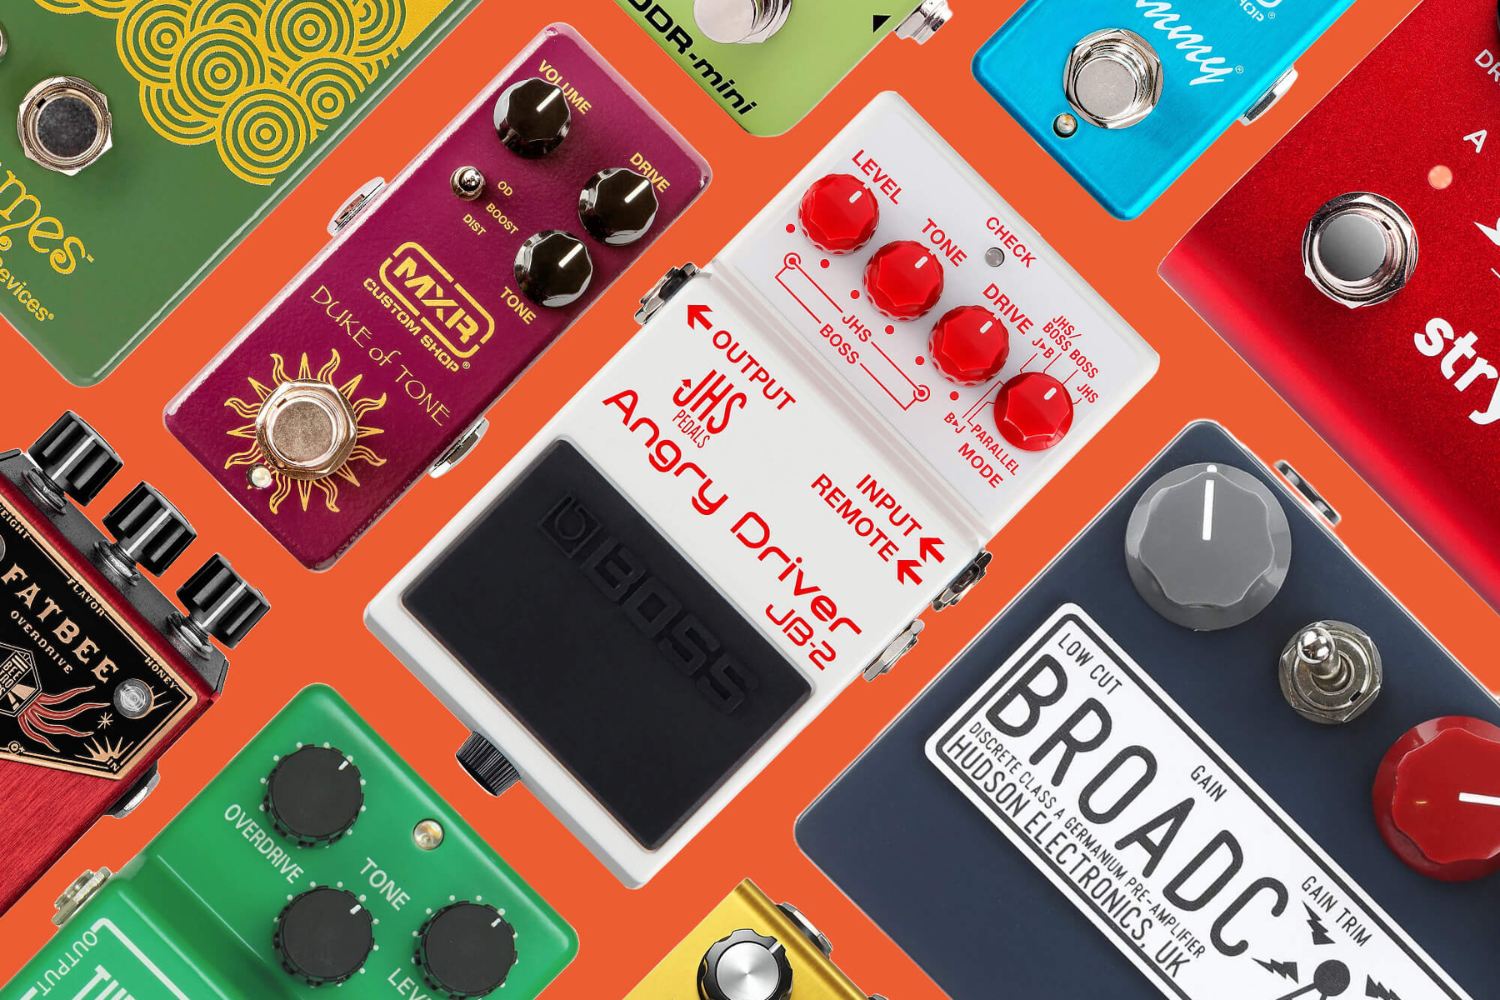
5. Use Effects and Pedals: Incorporate effects and pedals into your setup to further enhance and shape your electric sound. Experiment with different types of effects, such as distortion, delay, modulation, and wah-wah, to create unique textures and atmospheres. Be mindful of the balance between your guitar’s natural tone and the effects you add.
6. Consider Feedback and Resonance: Electric guitars are known for their ability to create controlled feedback and sustain. Experiment with positioning yourself in relation to the amplifier to find the optimal location for achieving these effects. Explore different volume levels and note sustain to find the right balance.
7. Seek Advice and Feedback: Don’t hesitate to seek advice and feedback from other guitarists or audio professionals. Share your sound samples and ask for their input. They may offer insights and suggestions that can further enhance your electric sound.
Fine-tuning your electric sound is an ongoing process. It requires patience, experimentation, and an openness to explore different possibilities. Trust your ears and follow your musical instincts to achieve the sound that resonates with you. Enjoy the journey of discovering your own unique electric sound and let it inspire your musical expression.
Conclusion
Congratulations on successfully converting your acoustic guitar into an electric instrument! By following the steps outlined in this guide, you have opened up a world of new sonic possibilities and expanded your musical horizons. While the process may have required patience and attention to detail, the end result is a unique and personalized electric guitar that suits your playing style and preferences.
From choosing the right acoustic guitar for the conversion to understanding the components, installing the electric pickup, and fine-tuning your electric sound, each step has contributed to the transformation of your instrument into a versatile and amplified powerhouse.
As you continue your journey with your newly converted electric guitar, remember that experimentation and exploration are key. Take the time to familiarize yourself with the different tones and effects you can achieve, and use that knowledge to develop your signature sound. Don’t be afraid to step outside of your comfort zone and try new playing techniques or incorporate various effects to push the boundaries of your creativity.
If at any point you encounter challenges or feel unsure about any aspect of the conversion process, don’t hesitate to seek assistance from a professional guitar technician. They can provide guidance, address any technical difficulties, and ensure your guitar is performing at its best.
Now, armed with your electric guitar, go forth and share your music with the world. Explore new genres, join bands, perform live, or simply enjoy the freedom of expressing yourself through the amplified sound of your instrument. Remember that the joy of playing an electric guitar lies not only in the sound it produces but also in the connection it creates between you, your music, and your audience.
Enjoy the journey of being an electric guitar player, and may it bring you endless inspiration and satisfaction. Rock on!


