Introduction
So, you've got your hands on an electric guitar and you're ready to rock out like a pro. But before you can unleash those killer riffs and mesmerizing solos, you need to know how to properly plug in your electric guitar. Whether you're a beginner picking up the instrument for the first time or an experienced player looking for a quick refresher, this guide will walk you through the essential steps to get your electric guitar up and running.
Plugging in an electric guitar may seem like a straightforward task, but there are a few key points to keep in mind to ensure you get the best sound and performance from your instrument. From gathering the necessary equipment to adjusting your amp settings, each step plays a crucial role in the overall sound quality and playability of your electric guitar.
This guide is designed to be a comprehensive yet accessible resource for anyone looking to connect their electric guitar to an amplifier. By following these simple steps, you'll be able to plug in your guitar with confidence and start making music in no time. So, grab your guitar, fire up your amp, and let's dive into the essential steps for plugging in an electric guitar.
Step 1: Gather Your Equipment
Before you can start shredding on your electric guitar, it’s important to gather the necessary equipment to ensure a smooth and successful setup. Here’s what you’ll need:
- Electric Guitar: Of course, the first item on your list is your electric guitar. Whether you have a classic Stratocaster, a sleek Les Paul, or any other model, make sure it’s in good condition and ready to be plugged in.
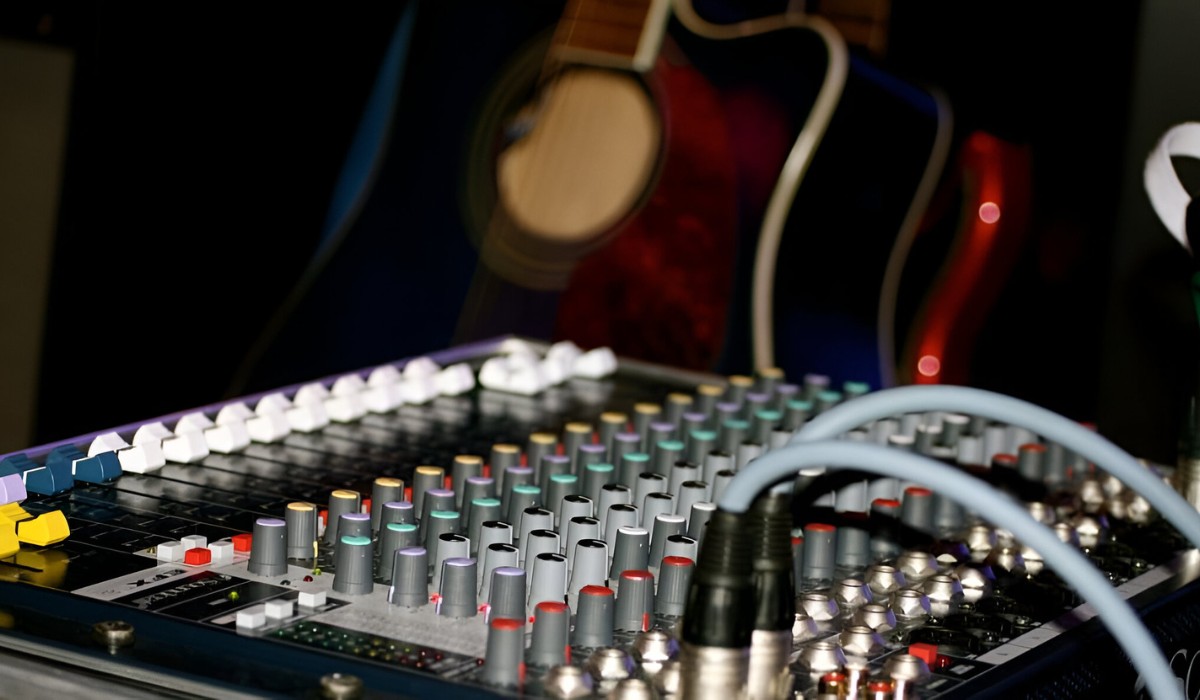
- Amplifier: Your electric guitar will need an amplifier to produce sound. Choose an amp that suits your playing style and the environment in which you’ll be performing.
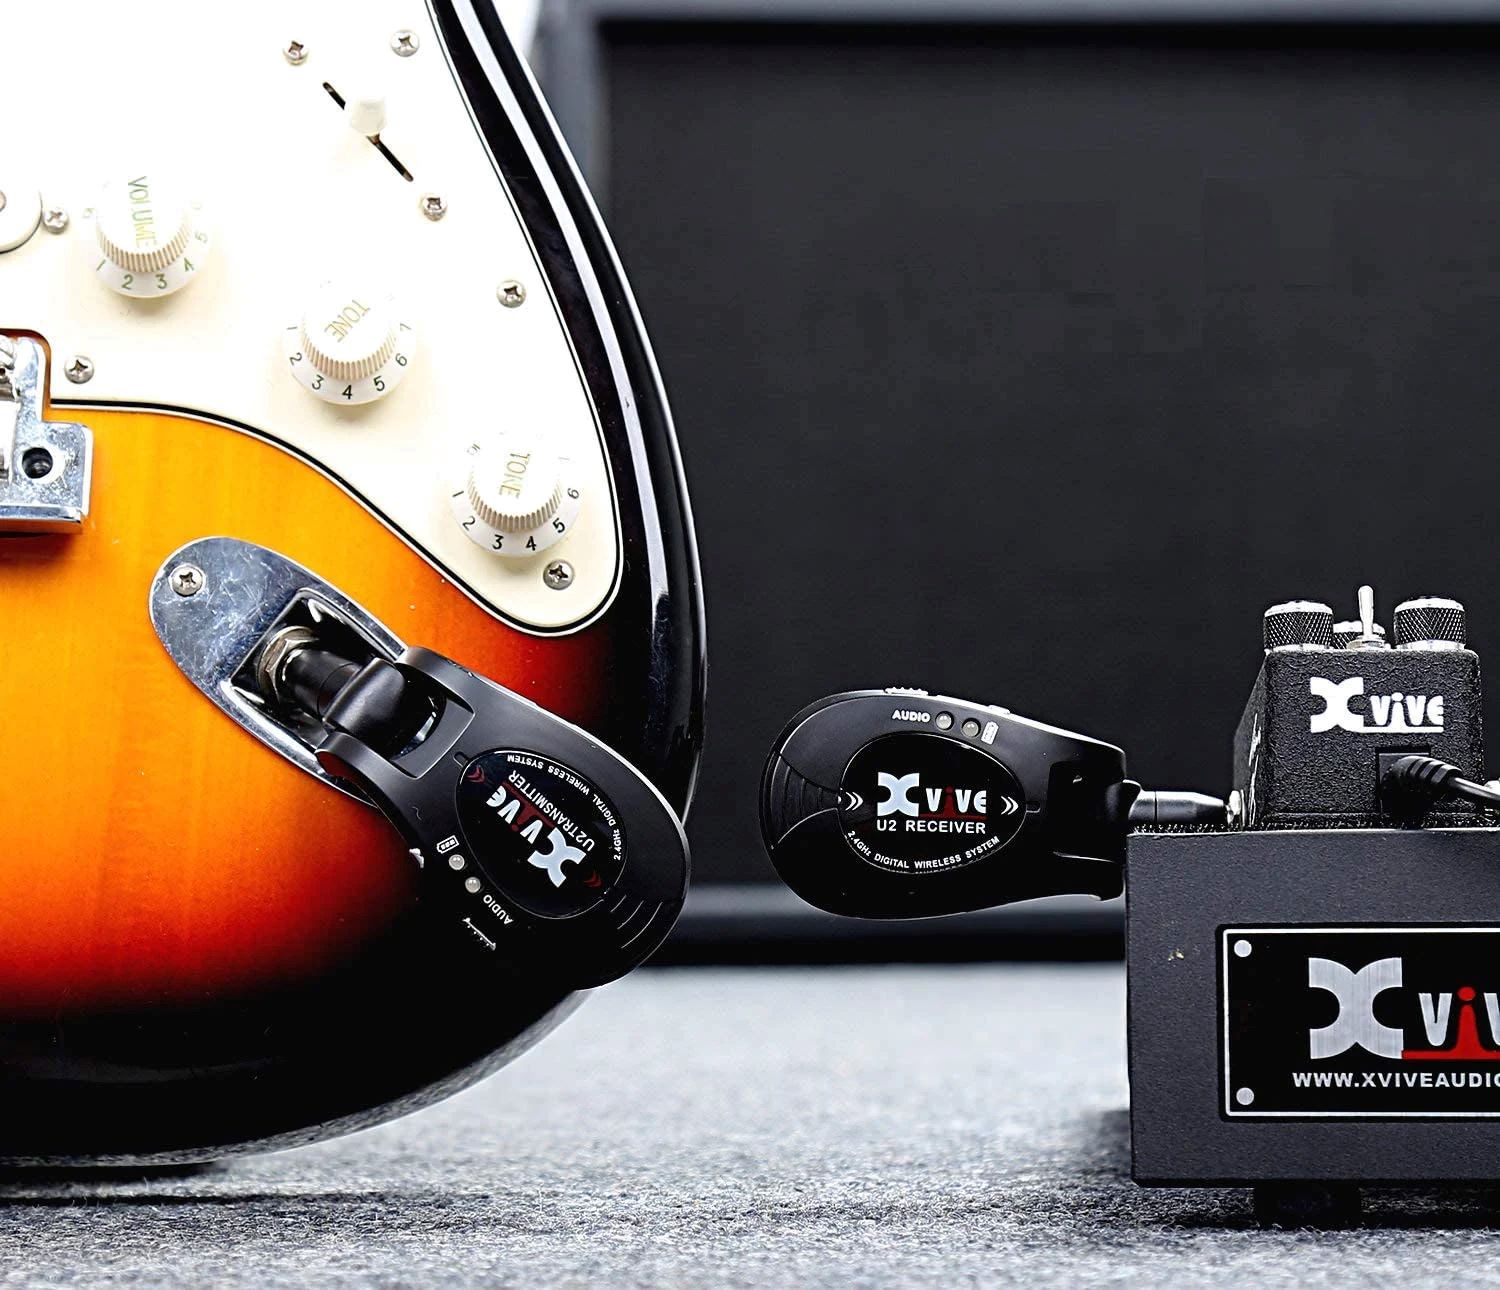
- Instrument Cable: An instrument cable is essential for connecting your electric guitar to the amplifier. Make sure it’s in good working condition and long enough to provide flexibility in your setup.
- Plectrum (Optional): If you prefer using a plectrum (or pick) to play your electric guitar, have one handy for when you’re ready to start jamming.
Once you have all these items at your disposal, you’ll be fully equipped to move on to the next step of plugging in your electric guitar. Having everything prepared in advance will streamline the setup process and allow you to focus on getting the best sound out of your instrument.
Step 2: Turn on Your Amp
With your equipment gathered, the next step in plugging in your electric guitar is to power up your amplifier. Follow these simple guidelines to ensure a seamless setup:
- Position Your Amp: Place your amplifier in a suitable location, ensuring that it’s stable and positioned for optimal sound projection.
- Power Connection: Locate the power outlet near your amp and plug in the power cable. Make sure the power switch on the amp is in the “off” position before connecting the power.
- Power On: Once the power cable is securely connected, switch on your amplifier. Allow a few moments for the amp to power up and stabilize before proceeding to the next step.
- Standby Mode (Optional): Some amplifiers have a standby mode. If applicable, engage the standby mode and wait for the recommended warm-up time specified in your amp’s manual.
By following these steps, you’ll ensure that your amplifier is ready to receive the signal from your electric guitar and produce the desired sound. A properly powered and positioned amp sets the stage for an enjoyable and productive practice or performance session.
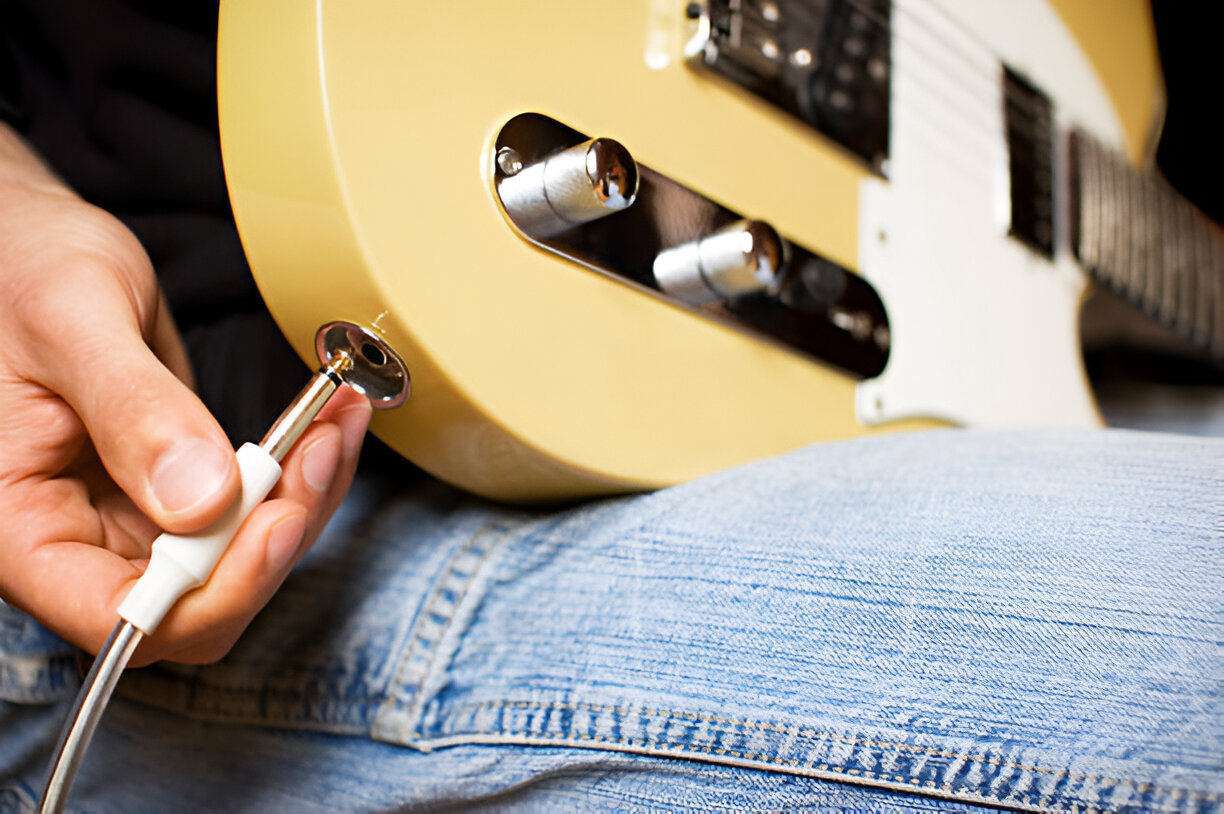
Step 3: Plug in Your Guitar
Now that your amplifier is powered up and ready to go, it’s time to connect your electric guitar. Follow these steps to ensure a secure and efficient connection:
- Locate the Input Jack: On your amplifier, identify the input jack designated for the electric guitar. It’s typically labeled as “Input” or “Guitar In” and is located on the front or top panel of the amp.
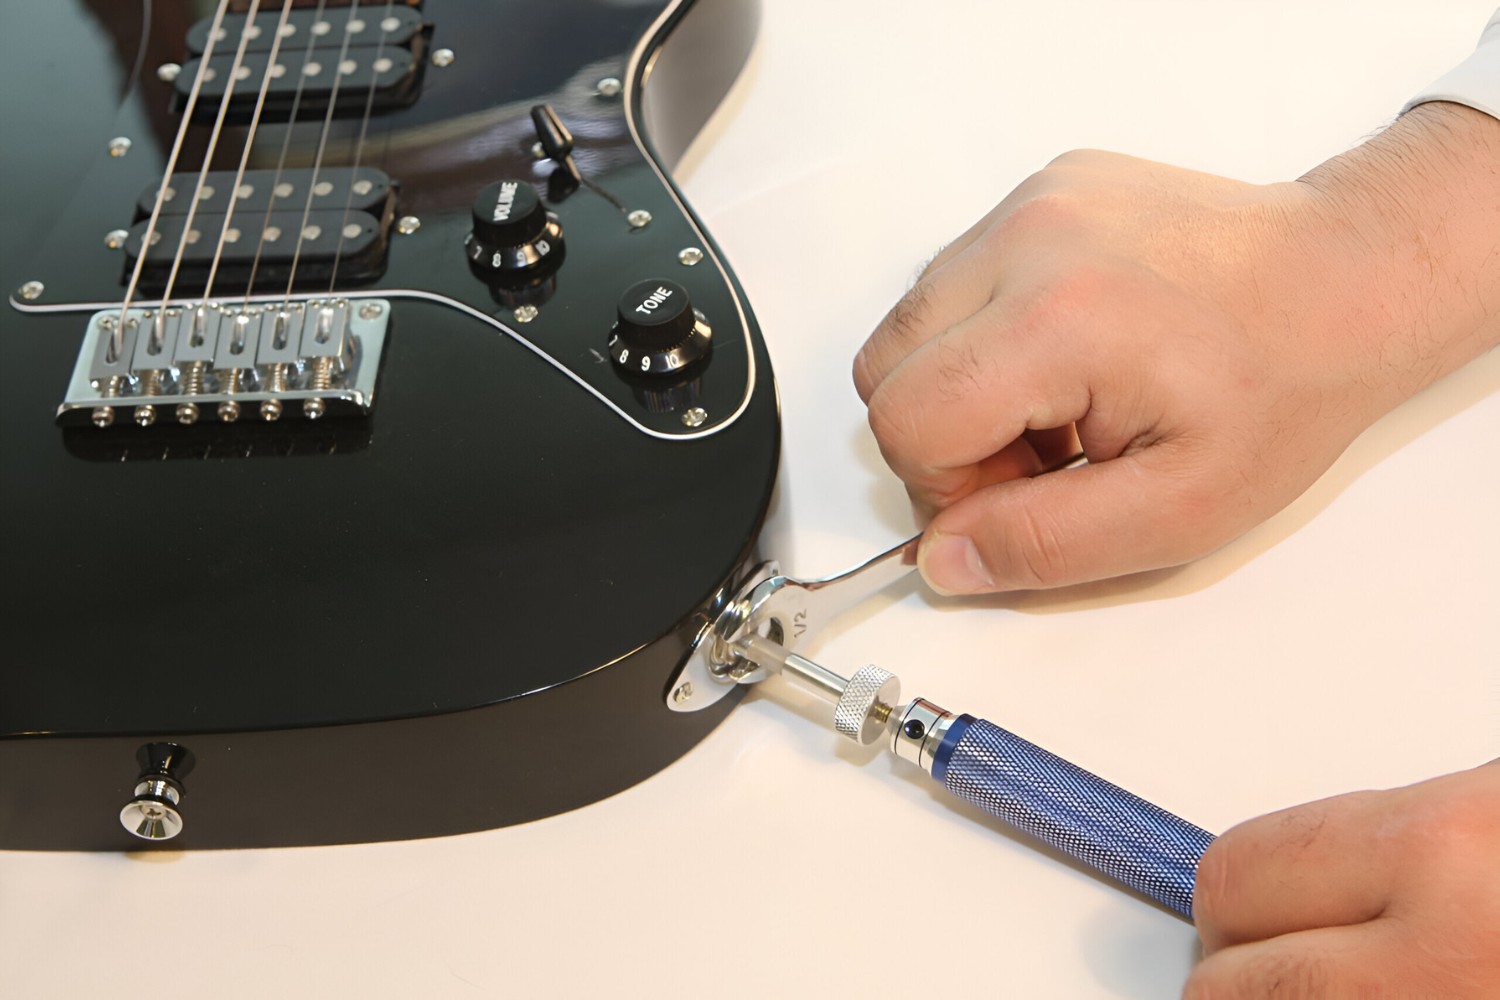
- Prepare Your Instrument Cable: Take your instrument cable and ensure that both the guitar and amp ends are free from any obstructions or damage. This will help establish a clean and uninterrupted connection.
- Connect Your Guitar: With the amp turned on and the instrument cable in hand, plug one end of the cable into the output jack of your electric guitar. Ensure a snug fit to prevent any accidental disconnection during play.
- Connect to the Amp: With the guitar end securely plugged in, take the other end of the instrument cable and insert it into the designated input jack on your amplifier. Apply gentle pressure to seat the connector firmly in place.
By following these steps, you’ll establish a reliable connection between your electric guitar and amplifier, setting the stage for a satisfying playing experience. A secure and properly connected setup is crucial for achieving the best sound quality and minimizing the risk of signal interference or disruptions.
Step 4: Adjust Your Volume and Tone
Once your electric guitar is plugged into the amplifier, it’s essential to fine-tune the volume and tone settings to achieve the desired sound. Follow these steps to make the necessary adjustments:
- Set Initial Levels: Begin by setting the volume and tone controls on your amplifier to their midpoint or neutral positions. This will provide a balanced starting point for further adjustments.
- Adjust Volume: Play a few test notes on your electric guitar while gradually increasing the volume on the amplifier. Listen for clarity and balance in the sound as you adjust the volume to your preferred level.
- Tone Control: Experiment with the tone controls on your amplifier to achieve the desired tonal characteristics. Depending on your amp’s features, you may have separate controls for bass, midrange, and treble. Make subtle adjustments to tailor the sound to your liking.
- Test Different Settings: Play various chords, scales, or riffs on your electric guitar while making incremental adjustments to the volume and tone controls. Pay attention to how different settings affect the overall sound and adjust accordingly.
By carefully adjusting the volume and tone settings on your amplifier, you can customize the sound of your electric guitar to suit your playing style and musical preferences. Taking the time to fine-tune these settings will enhance your overall playing experience and allow you to achieve the ideal sound for your practice or performance session.
Step 5: Test Your Sound
With your electric guitar plugged in and the amplifier settings adjusted, it’s time to test the sound and ensure everything is dialed in to your satisfaction. Follow these steps to evaluate and fine-tune your sound:
- Play Various Musical Passages: Begin by playing different musical passages, such as chords, scales, or a favorite riff, to assess the overall sound quality and tonal characteristics of your electric guitar through the amplifier.
- Listen for Clarity and Balance: Pay attention to the clarity and balance of the sound as you play. Ensure that each note and chord resonates clearly and that the overall sound is well-balanced across the frequency spectrum.
- Adjust as Needed: If you notice any inconsistencies or areas for improvement in the sound, make incremental adjustments to the volume, tone, or other settings on your amplifier to refine the sound to your liking.
- Experiment with Playing Dynamics: Explore playing dynamics by varying your picking or strumming intensity. Observe how the amplifier responds to these changes and make adjustments to accommodate different playing styles.
By thoroughly testing your sound and making necessary adjustments, you’ll ensure that your electric guitar is delivering the desired tone and responsiveness through the amplifier. This step is crucial for fine-tuning your setup and achieving an optimal sound that inspires confidence and creativity in your playing.