Introduction
So, you've got an electric guitar and a mixer, and you're eager to blend the raw power of your guitar with the versatility of a mixer to create some mind-blowing music. Congratulations! You're about to embark on an exciting journey into the world of sound engineering and music production. Connecting your electric guitar to a mixer opens up a world of possibilities, allowing you to experiment with different effects, levels, and tones to craft your unique sonic signature.
In this guide, we'll walk you through the process of hooking up your electric guitar to a mixer, providing step-by-step instructions and valuable tips to ensure a seamless and rewarding experience. Whether you're a seasoned musician or a budding enthusiast, this guide will equip you with the knowledge and confidence to harness the full potential of your electric guitar and mixer combination.
By the end of this tutorial, you'll have a solid understanding of how to set up your equipment, make the necessary connections, and fine-tune the settings to achieve the perfect balance of sound. So, grab your gear, plug in, and let's dive into the fascinating realm of electric guitar-mixer integration. Get ready to unleash your creativity and elevate your musical prowess as we delve into the intricacies of connecting your electric guitar to a mixer!
Step 1: Gather the Necessary Equipment
Before embarking on the process of connecting your electric guitar to a mixer, it’s crucial to ensure that you have all the essential equipment at your disposal. Here’s a comprehensive list of the items you’ll need to gather:
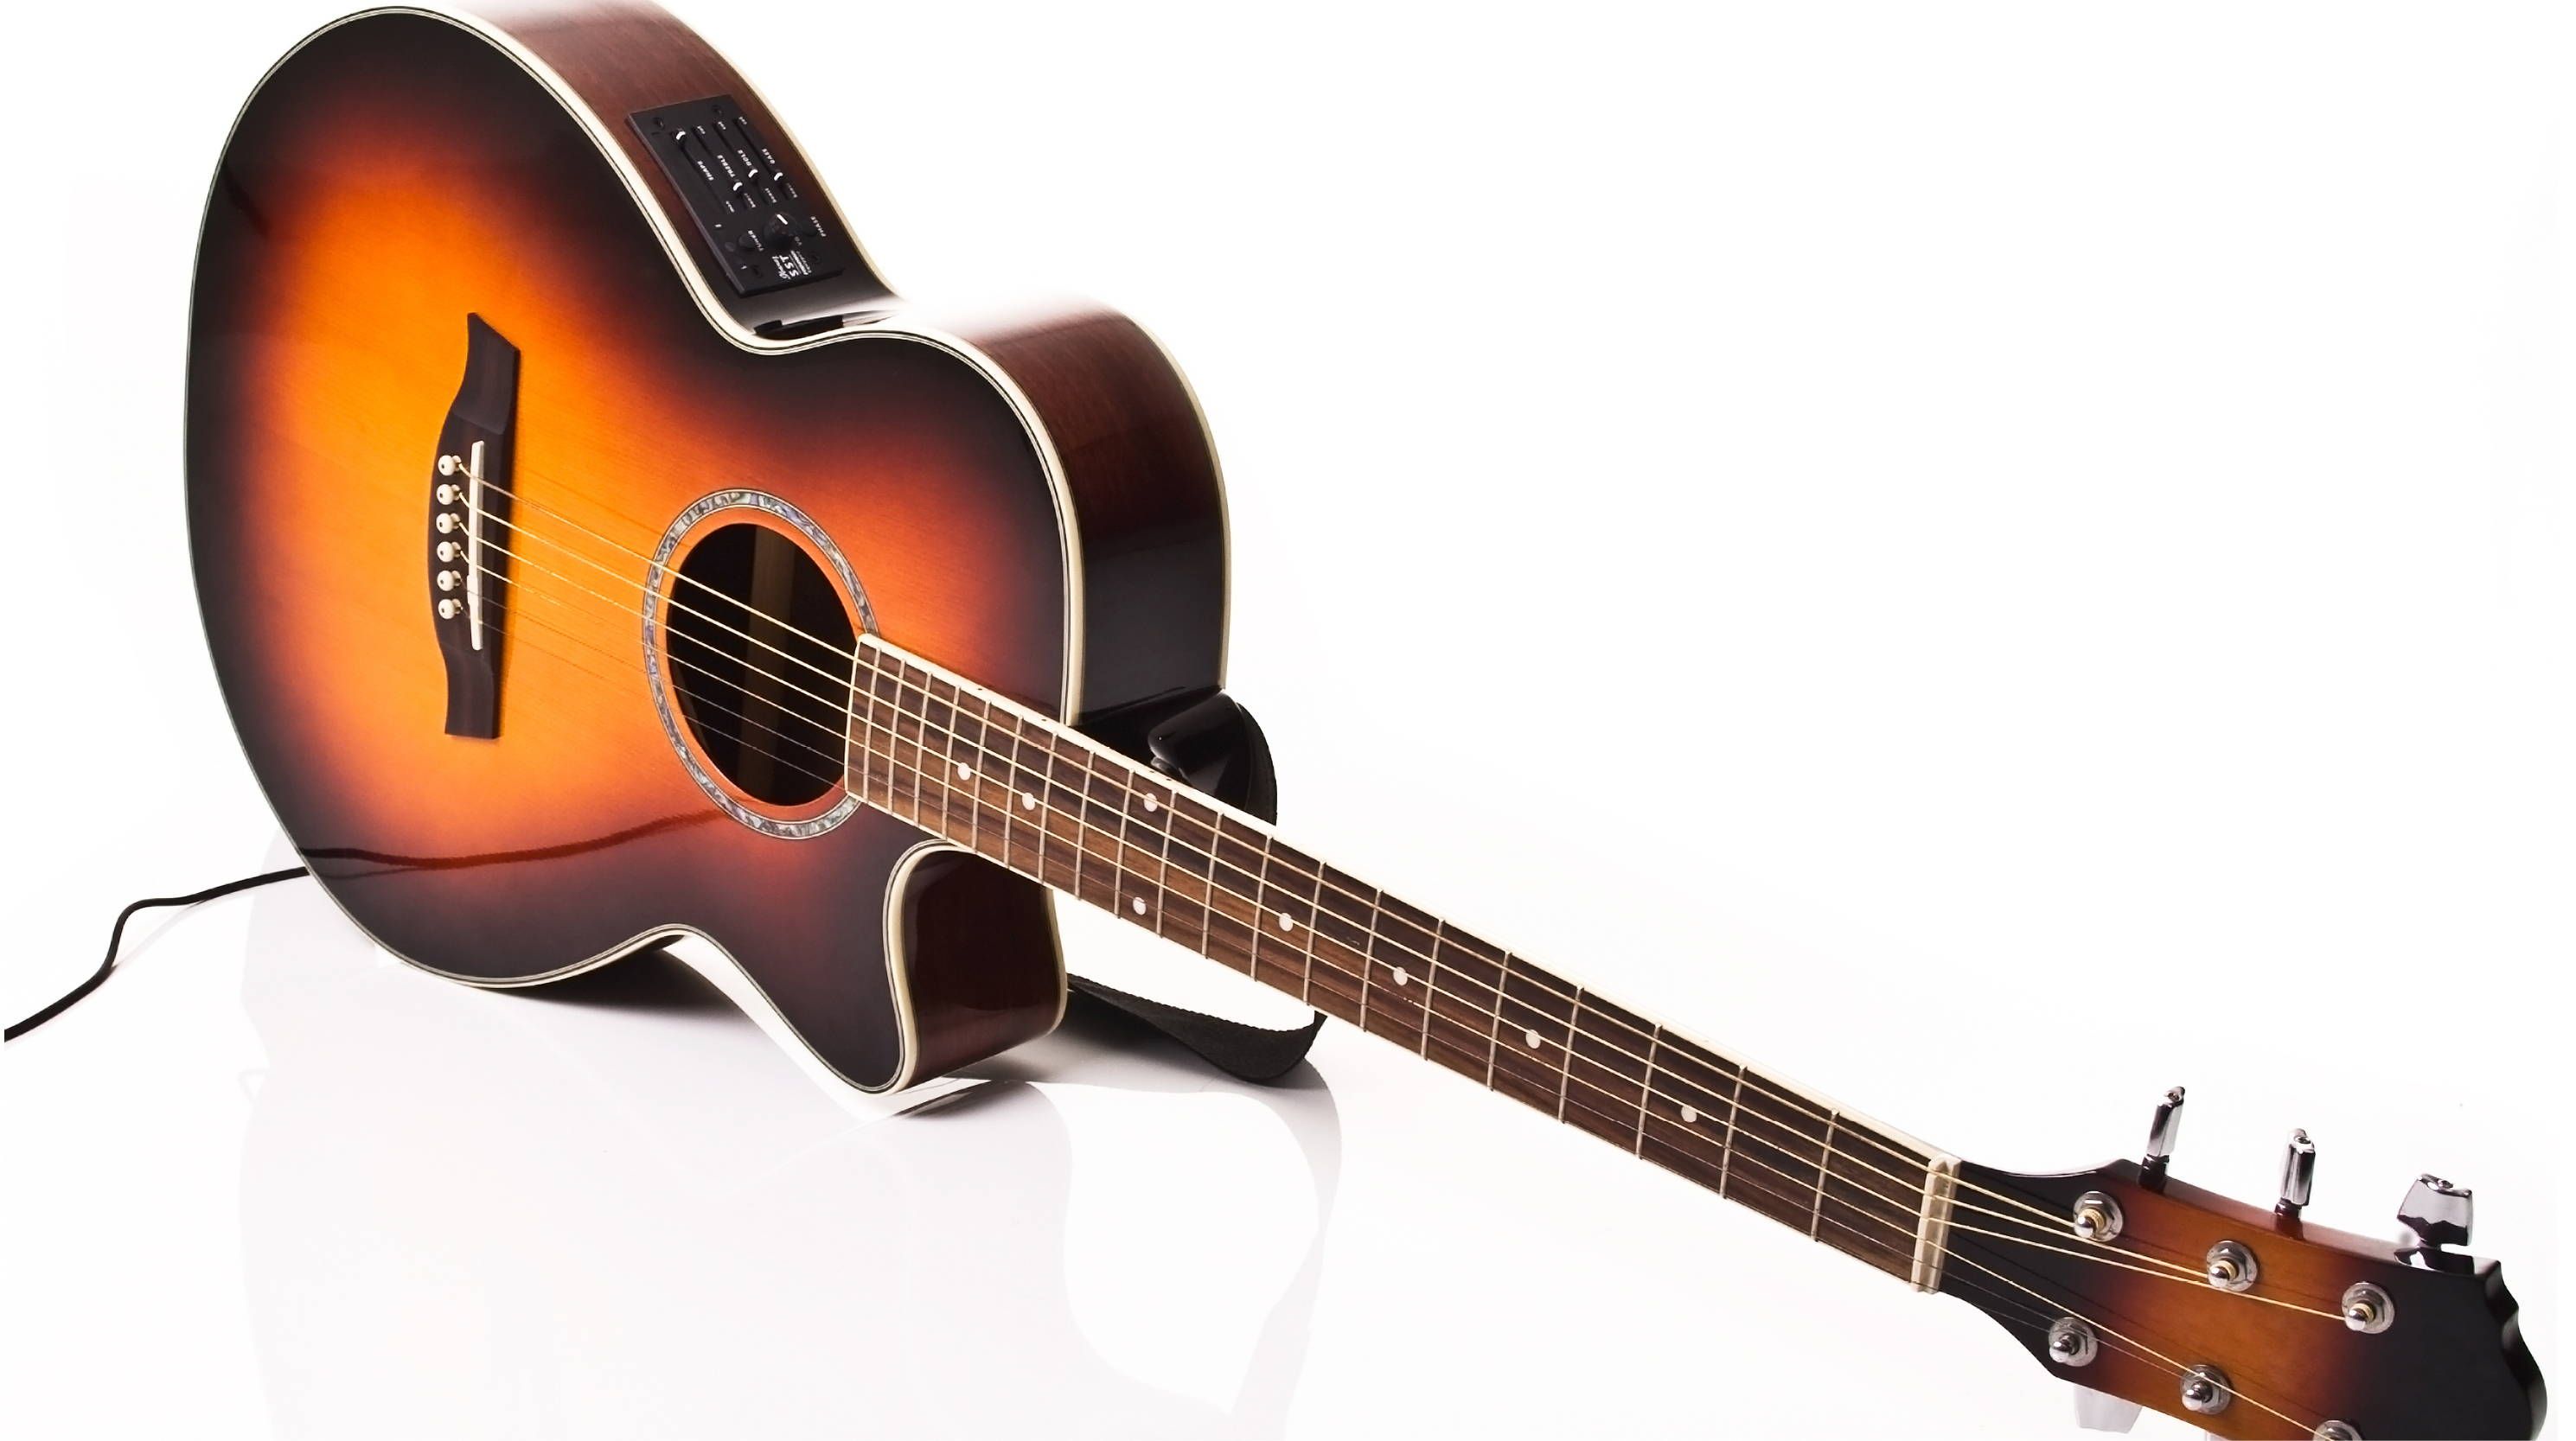
- Electric Guitar: The heart and soul of your musical setup, the electric guitar serves as the primary source of sound that will be integrated with the mixer.
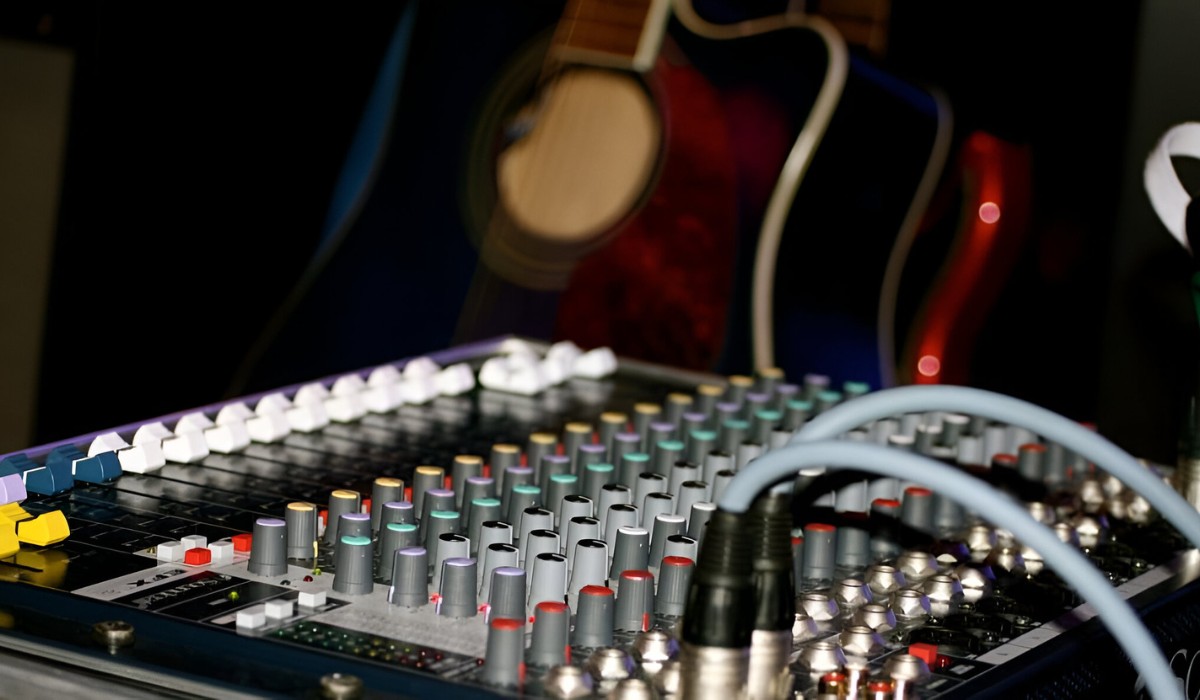
- Mixer: Select a mixer that suits your specific requirements, whether it’s a compact, portable unit for personal use or a more elaborate model for professional applications.
- Instrument Cable: This cable is essential for connecting your electric guitar to the mixer. Ensure that it’s in good condition to prevent any signal loss or interference.
- Audio Interface (Optional): If you intend to record the output of your mixer, an audio interface may be necessary to facilitate the connection between the mixer and your recording device, such as a computer or digital audio workstation (DAW).
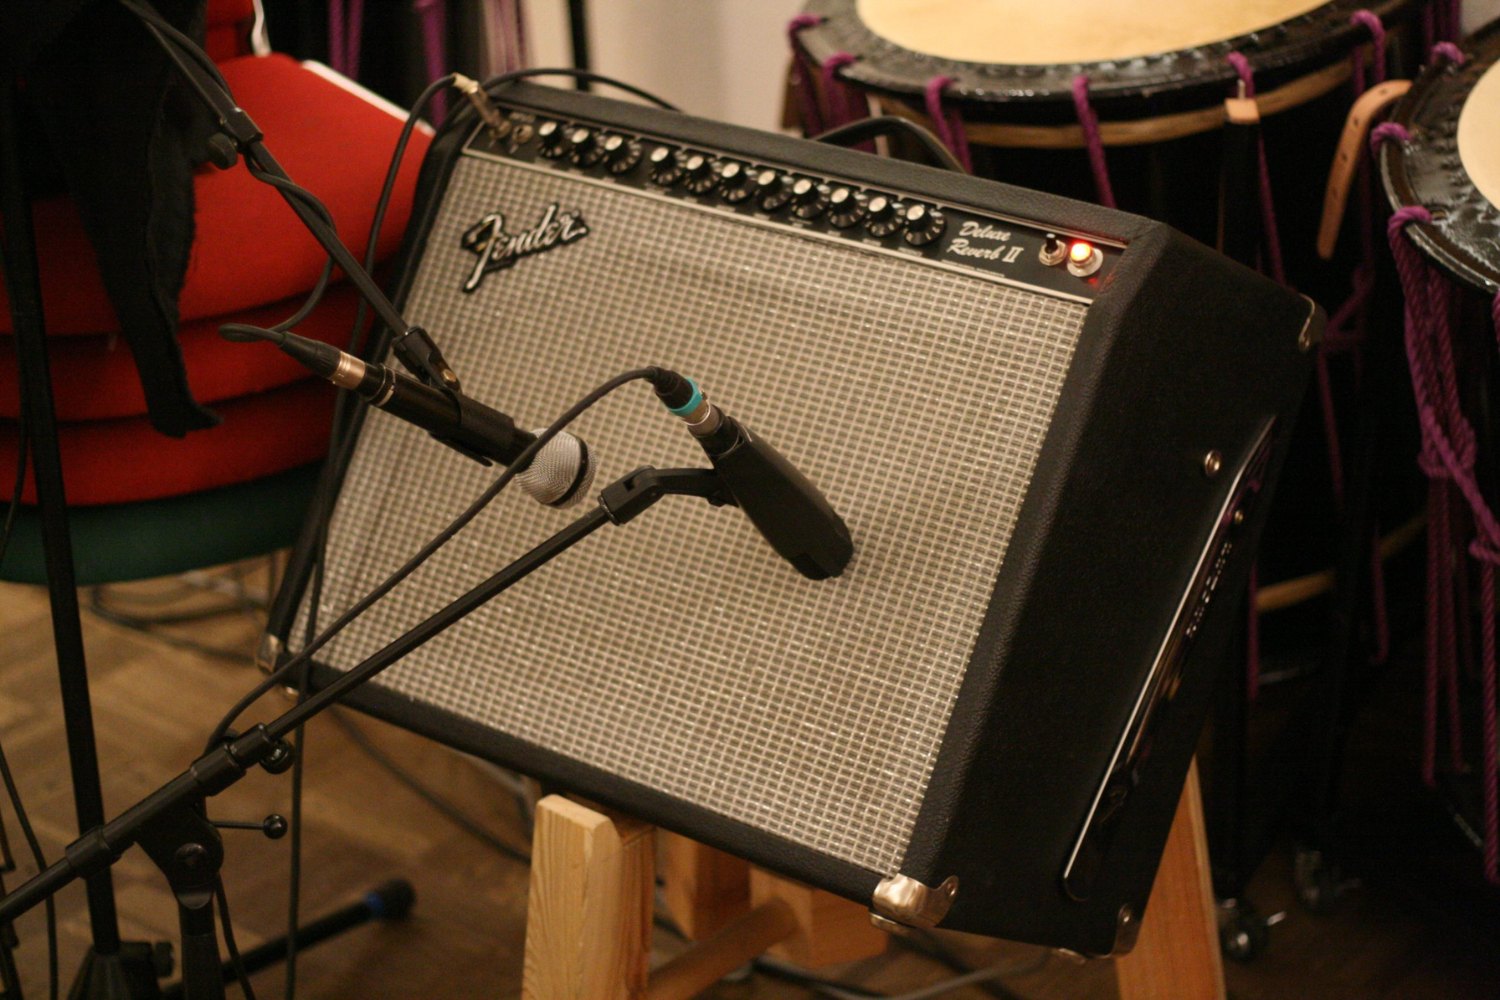
- Amplifier (Optional): If you prefer to use an amplifier in conjunction with your mixer, ensure that it’s in working order and equipped with the necessary cables for integration.
- Microphones (Optional): If you plan to mic your amplifier or capture other sound sources, such as vocals or acoustic instruments, ensure that you have the required microphones and cables.
- Headphones/Speakers: To monitor the output of your mixer, you’ll need a reliable pair of headphones or speakers that provide accurate sound reproduction.
- Power Supply/Adapters: Ensure that your mixer, amplifier, and any other electronic devices are equipped with the appropriate power supply or adapters to avoid any interruptions during the setup process.
By gathering these essential components, you’ll be well-prepared to proceed with the subsequent steps, ensuring a smooth and efficient integration of your electric guitar with the mixer. Now that you have all the necessary equipment at your disposal, let’s move on to the next step of setting up the mixer.
Step 2: Setting Up the Mixer
Now that you have assembled all the required equipment, it’s time to focus on setting up the mixer to prepare for the integration of your electric guitar. Follow these steps to ensure that your mixer is configured correctly:
- Power On the Mixer: Before making any connections, power on the mixer and ensure that it’s functioning properly. Familiarize yourself with the controls and features to prepare for the subsequent adjustments.
- Adjust Input Levels: Identify the input channels on the mixer designated for instrument or line-level inputs. Adjust the input gain or level knobs for these channels to an initial setting that prevents distortion while providing an adequate signal level.
- Set EQ and Effects (Optional): If your mixer includes built-in equalization (EQ) and effects processing, consider setting these parameters based on your preferences. Experiment with different EQ settings and effects to tailor the sound to your liking.
- Connect Microphones or Additional Instruments (Optional): If you plan to incorporate microphones or other instruments into your setup, ensure that the corresponding input channels are available and properly configured on the mixer.
- Monitor Outputs: Familiarize yourself with the mixer’s monitoring options, including headphone outputs and main mix outputs. Verify that the monitoring levels are set appropriately to avoid any sudden loud sounds when testing the setup.
- Review User Manual (If Applicable): If you’re using a new or unfamiliar mixer, refer to the user manual for specific setup instructions and recommended practices. Understanding the capabilities of your mixer will empower you to maximize its potential.
By following these steps, you’ll establish a solid foundation for integrating your electric guitar with the mixer, ensuring that the mixer is primed and ready to receive and process the incoming signal. With the mixer set up and optimized for your requirements, you’re now prepared to proceed to the next crucial step: connecting your electric guitar to the mixer.
Step 3: Connecting the Guitar to the Mixer
With the mixer set up and awaiting the integration of your electric guitar, it’s time to establish the necessary connections to ensure a seamless audio pathway. Follow these steps to connect your electric guitar to the mixer:
- Locate the Instrument Input: Identify the input channel on the mixer designated for instrument-level inputs. This channel is typically labeled as “Instrument,” “Hi-Z,” or “Guitar,” and is optimized to receive the signal from your electric guitar.
- Use an Instrument Cable: Select a high-quality instrument cable with a standard 1/4-inch (6.35mm) TS (Tip-Sleeve) connector on each end. Plug one end of the cable into the output jack of your electric guitar, ensuring a secure connection.
- Connect to the Mixer: Plug the other end of the instrument cable into the designated instrument input on the mixer. Ensure that the connection is firm and secure to prevent any signal loss or intermittent contact.
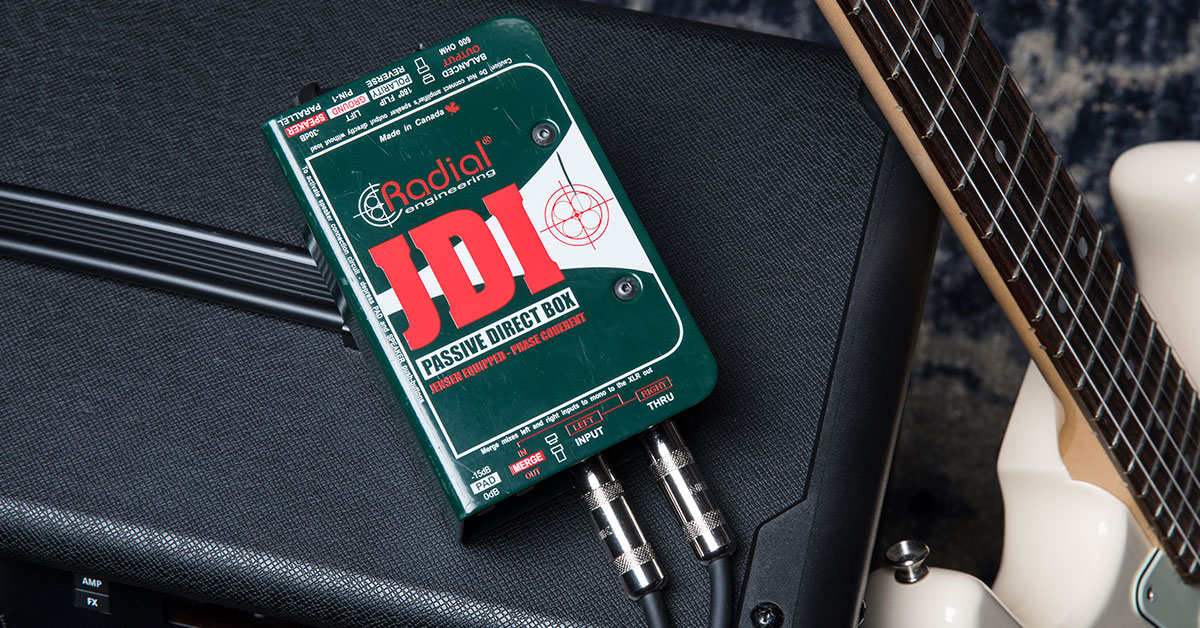
- Engage Phantom Power (If Required): If you’re using a condenser microphone or an active direct input box (DI) in conjunction with your electric guitar, ensure that phantom power is activated on the corresponding input channel, if applicable.
- Verify Signal Flow: Strum the strings of your electric guitar and monitor the mixer’s input level meters to confirm that the signal is reaching the mixer at an appropriate level. Make adjustments to the input gain or level as needed to achieve optimal signal strength without distortion.
- Check for Grounding Issues: If you encounter any unwanted hum or noise, check the grounding of your electric guitar and the mixer. Ensure that both devices are properly grounded to mitigate potential interference.
By following these steps, you’ll establish a direct and reliable connection between your electric guitar and the mixer, laying the groundwork for seamless signal transmission and processing. With the guitar successfully connected to the mixer, you’re now ready to proceed to the next step: adjusting the levels and settings to fine-tune the audio output.
Step 4: Adjusting the Levels and Settings
Once your electric guitar is connected to the mixer, it’s essential to fine-tune the levels and settings to ensure optimal sound quality and signal integrity. Follow these steps to adjust the levels and settings on the mixer:
- Set Input Gain: Adjust the input gain or level control for the instrument input channel on the mixer to optimize the signal level from your electric guitar. Aim for a healthy signal level that avoids clipping or distortion while maximizing the available headroom.
- Apply EQ (Optional): If your mixer features dedicated EQ controls for individual input channels, experiment with the equalization to sculpt the tonal characteristics of your electric guitar. Adjust the bass, midrange, and treble frequencies to achieve the desired sonic profile.
- Engage Effects (If Desired): If your mixer offers built-in effects processing, consider applying effects such as reverb, delay, or modulation to enhance the sound of your electric guitar. Experiment with different effects settings to add depth and dimension to your playing.
- Balance the Mix: If you’re blending the sound of your electric guitar with other audio sources on the mixer, ensure that the relative levels are balanced to achieve a cohesive and harmonious mix. Use the mixer’s faders or level controls to adjust the balance as needed.
- Monitor the Output: Use the mixer’s headphone output or connect external speakers to monitor the output of your electric guitar. Listen attentively to the sound and make adjustments to the levels, EQ, and effects to achieve the desired sonic result.
- Test Dynamic Range: Play softly and then aggressively on your electric guitar to test the dynamic range and responsiveness of the mixer’s input settings. Ensure that the mixer accurately captures the nuances of your playing style without sacrificing clarity or fidelity.
By carefully adjusting the levels and settings on the mixer, you’ll optimize the audio output from your electric guitar, allowing your musical expression to shine through with clarity and impact. With the levels and settings appropriately configured, you’re now poised to move on to the final step: testing the setup to ensure that everything is functioning as intended.
Step 5: Testing the Setup
With your electric guitar connected to the mixer and the levels and settings adjusted, it’s time to put the setup to the test to ensure that everything is functioning as intended. Follow these steps to thoroughly test the integration of your electric guitar with the mixer:
- Play Your Electric Guitar: Strum a few chords or play a riff on your electric guitar to generate sound and send the signal to the mixer. Listen attentively to the sound emanating from the mixer’s outputs to gauge the clarity and fidelity of the audio.
- Verify Signal Integrity: Monitor the mixer’s input level meters to ensure that the signal from your electric guitar is consistently reaching the desired levels without distortion or excessive noise. Make adjustments as necessary to maintain a clean and robust signal.
- Explore Effects and EQ: Experiment with the effects and EQ settings applied to your electric guitar’s signal. Evaluate the impact of these adjustments on the overall sound and determine whether they align with your creative vision.
- Record and Playback (If Applicable): If you’re using an audio interface to record the output of your mixer, engage the recording function and capture a short segment of your playing. Playback the recorded audio to assess the quality and fidelity of the recorded signal.
- Adjust as Needed: If you identify any discrepancies or areas for improvement during the testing phase, don’t hesitate to make further adjustments to the mixer’s settings, input levels, or signal processing to refine the sound to your satisfaction.
By thoroughly testing the setup, you’ll gain valuable insights into the performance and capabilities of your integrated electric guitar and mixer system. This testing phase serves as a crucial opportunity to fine-tune the setup and address any potential issues before engaging in extensive recording or live performances. With the setup successfully tested and optimized, you’re now well-equipped to unleash your creativity and musical prowess through the dynamic fusion of your electric guitar and mixer.
Conclusion
Congratulations! You’ve successfully navigated the process of connecting your electric guitar to a mixer, unlocking a world of sonic possibilities and creative expression. By following the comprehensive steps outlined in this guide, you’ve gained valuable insights into the seamless integration of your electric guitar with a mixer, empowering you to harness the full potential of your musical setup.
From gathering the necessary equipment to fine-tuning the levels and settings, each step has contributed to the establishment of a cohesive and efficient audio pathway, allowing your electric guitar’s raw energy to be channeled, processed, and amplified through the capabilities of the mixer. The harmonious marriage of these elements sets the stage for captivating performances, pristine recordings, and boundless experimentation with sound.
As you embark on your musical journey with your electric guitar and mixer in tandem, remember that the process of connecting and configuring your equipment is not merely technical; it’s an opportunity to infuse your unique style and personality into every note and chord. Embrace the sonic palette at your disposal, explore the nuances of effects and EQ, and unleash your creativity with confidence.
Whether you’re crafting intricate studio productions, delivering electrifying live performances, or simply immersing yourself in the joy of playing, the synergy between your electric guitar and mixer is the gateway to a world of sonic exploration and artistic fulfillment. Embrace the journey, continue to refine your setup based on your evolving preferences, and let your passion for music propel you to new heights of sonic excellence.
With the knowledge and skills acquired from this guide, you’re well-positioned to embark on a musical odyssey filled with innovation, expression, and the boundless potential of your electric guitar and mixer collaboration. So, plug in, turn up the volume, and let your musical aspirations soar as you master the art of connecting your electric guitar to a mixer!