Introduction
Introduction
Restringing an electric guitar with a floating bridge can seem like a daunting task, but with the right guidance and a bit of practice, it can become a straightforward and rewarding part of maintaining your instrument. A floating bridge, also known as a tremolo bridge, adds versatility to your guitar by allowing you to manipulate the pitch of the strings, creating subtle vibrato or dramatic pitch bends. However, this design also requires careful attention when restringing to ensure the bridge remains properly balanced and the guitar stays in tune.
Whether you're a seasoned guitarist or just starting out, understanding the process of restringing an electric guitar with a floating bridge is essential for keeping your instrument in top playing condition. This guide will walk you through the step-by-step process, providing helpful tips and insights to make the task manageable and even enjoyable. By following these instructions and gaining hands-on experience, you'll develop the confidence and skills needed to maintain your guitar and explore its sonic capabilities to the fullest.
Restringing your electric guitar with a floating bridge is an opportunity to connect with your instrument on a deeper level, gaining insight into its mechanics and learning how to optimize its performance. With a clear understanding of the process and a willingness to learn, you can transform restringing from a daunting chore into a gratifying aspect of your musical journey. So, grab your tools, set aside some time, and let's dive into the art of restringing an electric guitar with a floating bridge.
Tools and Materials Needed
Before diving into the process of restringing your electric guitar with a floating bridge, it’s essential to gather the necessary tools and materials to ensure a smooth and efficient experience. Here’s a comprehensive list of items you’ll need:
- Guitar Strings: Select the appropriate gauge of strings for your playing style and musical preferences. Ensure that the strings are designed for use with a floating bridge system.
- String Winder: This tool makes winding the new strings quicker and helps maintain proper tension during installation.
- Wire Cutters: Used for trimming the excess string length after installation.
- Tuner: An electronic tuner or tuning app to ensure accurate pitch and tone once the new strings are installed.
- Clean Cloth: Use a soft, lint-free cloth to wipe down the guitar and remove any debris from the fretboard and body.
- Allen Wrenches: Floating bridges often require adjustments using specific-sized Allen wrenches. Check your guitar’s manual or manufacturer’s guidelines to determine the correct sizes needed.
- Lubricant (Optional): Some guitarists prefer using a small amount of lubricant on the bridge saddles to reduce friction and aid in tuning stability.
- Work Surface: Lay down a soft cloth or towel to protect the guitar’s finish and provide a comfortable workspace.
By ensuring you have all the necessary tools and materials at hand, you’ll be well-prepared to tackle the restringing process with confidence and precision. Additionally, setting up a well-organized workspace will contribute to a positive restringing experience, allowing you to focus on the task at hand without any unnecessary interruptions.
Removing the Old Strings
Before installing new strings on your electric guitar with a floating bridge, it’s crucial to remove the old strings methodically. Follow these steps to ensure a smooth and safe removal process:
- Prepare the Work Area: Find a comfortable and well-lit space to work on your guitar. Lay down a soft cloth or towel to protect the guitar’s finish and provide a clean surface for the restringing process.
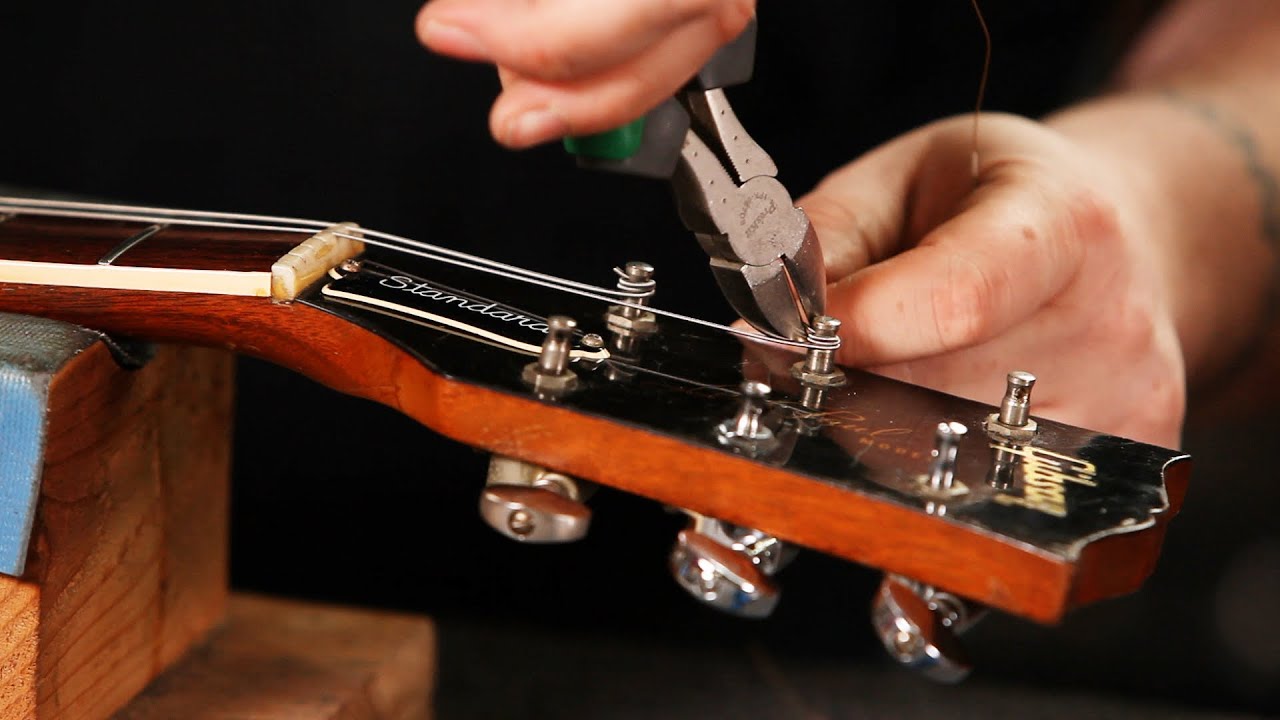
- Loosen the Tuning Pegs: Starting with the low E string, use a string winder to loosen the tension and unwind the string from the tuning peg. Continue this process for all six strings, carefully detaching them from the pegs.
- Remove the Bridge Pins: If your guitar features bridge pins to secure the strings at the bridge, carefully remove them using a bridge pin puller or a suitable tool. Keep the pins in a safe place to prevent misplacement.
- Release Tension from the Tremolo System: If your guitar has a floating bridge with a tremolo system, gradually release the tension from the bridge by loosening the spring claw at the back of the guitar using an appropriate-sized screwdriver. This step is crucial for preventing damage to the bridge and maintaining its equilibrium.
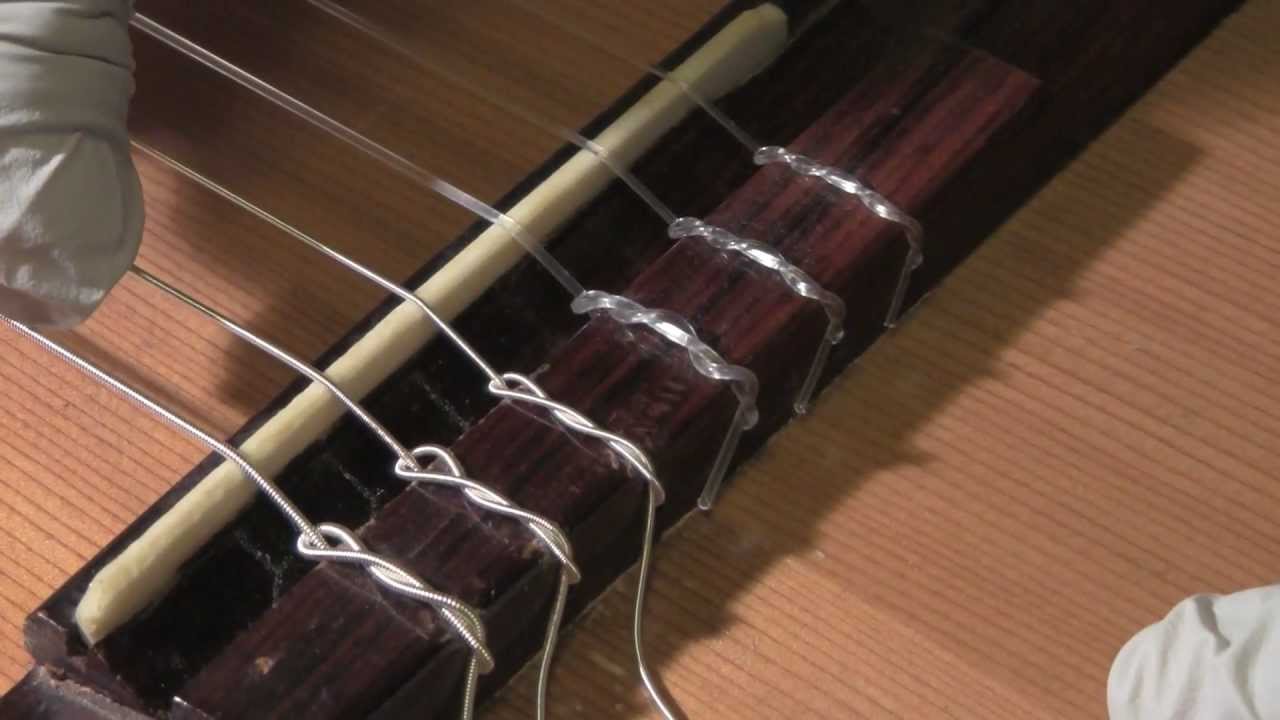
- Detach the Strings from the Bridge: With the tension released, carefully remove the old strings from the bridge saddles, taking note of their original positioning for reference during the installation of the new strings.
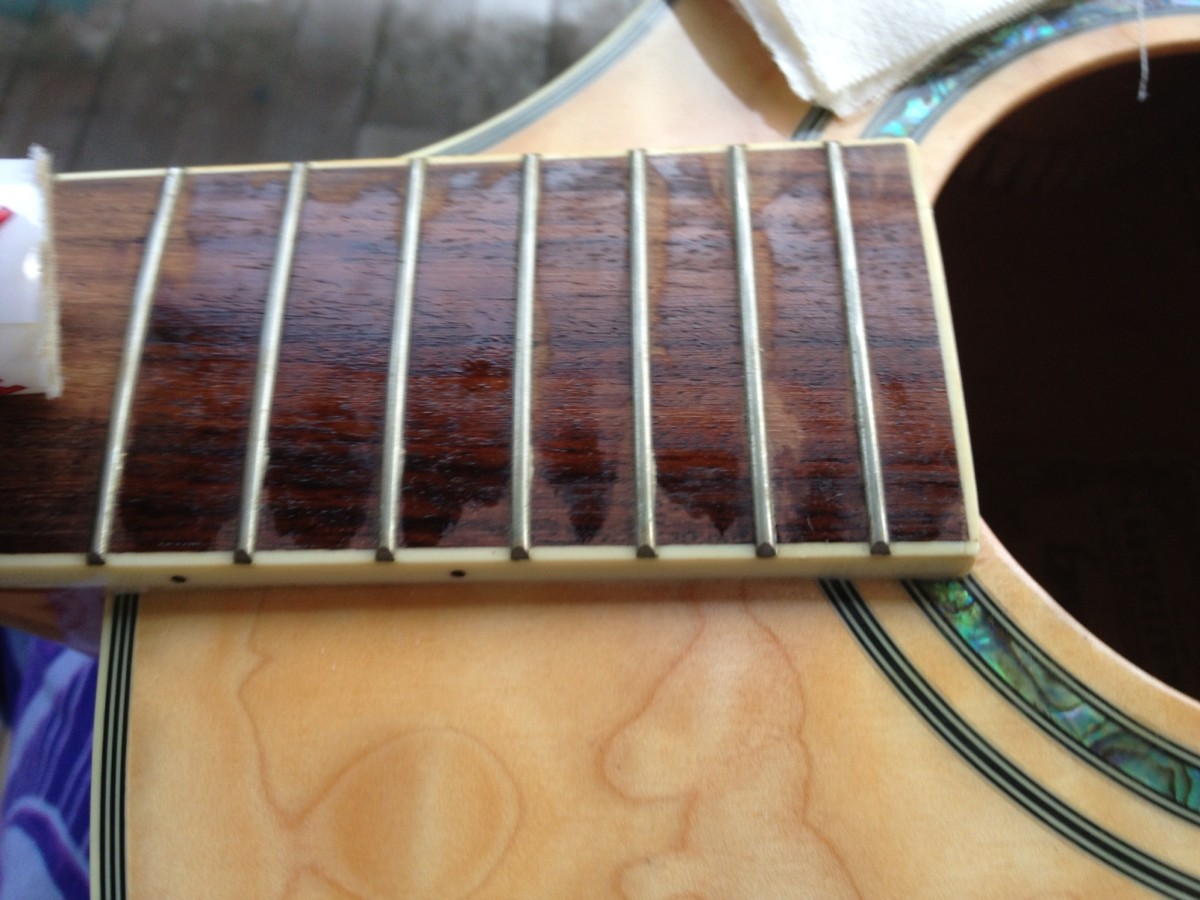
- Clean the Guitar: With the old strings removed, take the opportunity to clean the fretboard, body, and any hard-to-reach areas of the guitar. Use a clean cloth to wipe away any accumulated dust and debris, ensuring a fresh start for the restringing process.
By following these steps, you can safely and effectively remove the old strings from your electric guitar with a floating bridge, setting the stage for the next phase of the restringing process. Taking the time to perform this task with care will contribute to the overall maintenance and longevity of your instrument.
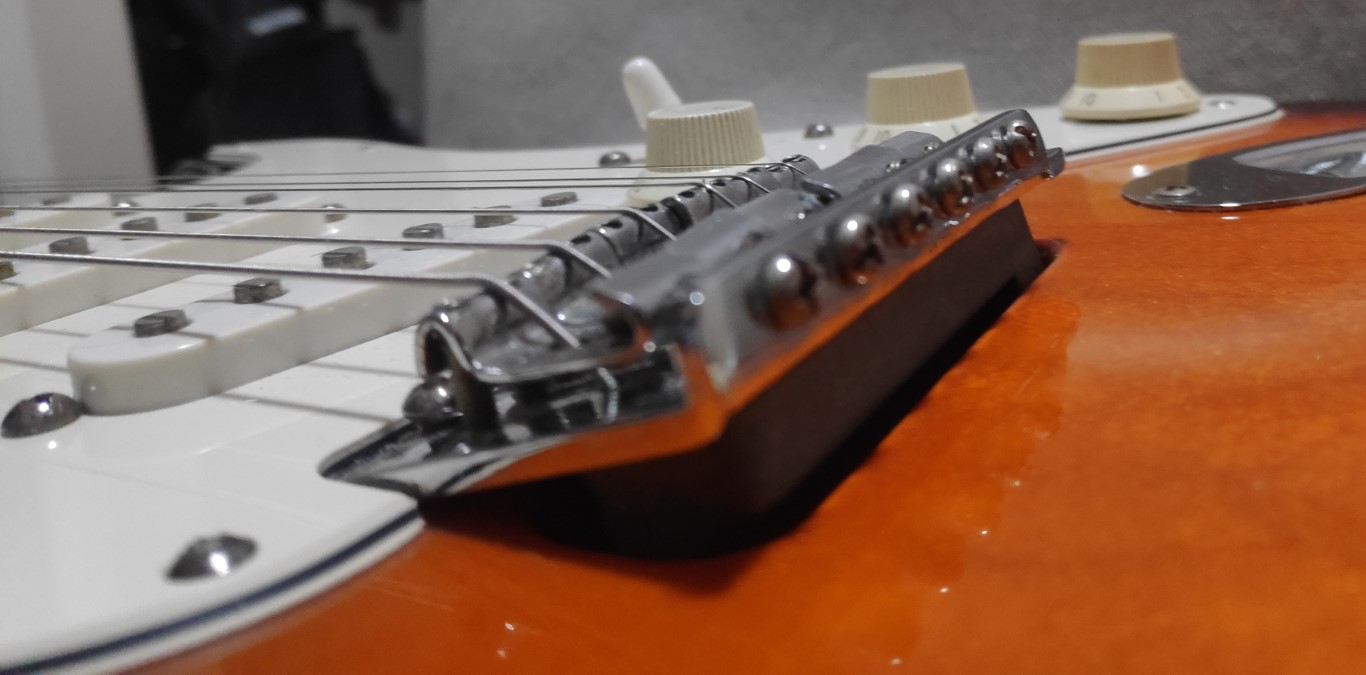
Adjusting the Bridge
When restringing an electric guitar with a floating bridge, it’s essential to adjust the bridge to maintain proper balance and ensure the new strings function optimally. Follow these steps to make the necessary adjustments:
- Restore Spring Tension: If you loosened the spring claw to release tension from the bridge during the old string removal process, use the appropriate screwdriver to carefully tighten the claw, gradually restoring the tension. Ensure the bridge sits parallel to the guitar body, maintaining its equilibrium.
- Check Bridge Position: Verify that the bridge is centered and level with the guitar body. Any misalignment can affect the intonation and tuning stability of the instrument.
- Inspect Bridge Saddles: Ensure that the bridge saddles are free of debris and that they move smoothly. If necessary, use a small amount of lubricant to reduce friction and aid in tuning stability.
- Adjust Intonation (Optional): If you notice any intonation issues with the guitar, you may need to adjust the individual saddle positions to achieve accurate intonation across the fretboard. Use a reliable tuner to check the pitch at the 12th fret and make fine adjustments as needed.
- Stabilize the Bridge: Once the bridge adjustments are complete, ensure that it remains stable and balanced. Any excessive movement or tilting can impact the guitar’s ability to stay in tune and affect the overall playability.
By carefully adjusting the bridge of your electric guitar with a floating bridge, you can maintain its stability and playability, setting the stage for the successful installation of the new strings. Taking the time to perform these adjustments with precision will contribute to the overall performance and longevity of your instrument, ensuring that it remains in optimal playing condition for years to come.
Installing the New Strings
As you embark on the process of installing new strings on your electric guitar with a floating bridge, it’s important to approach each step with care and attention to detail. Follow these guidelines to ensure a successful and effective string installation:
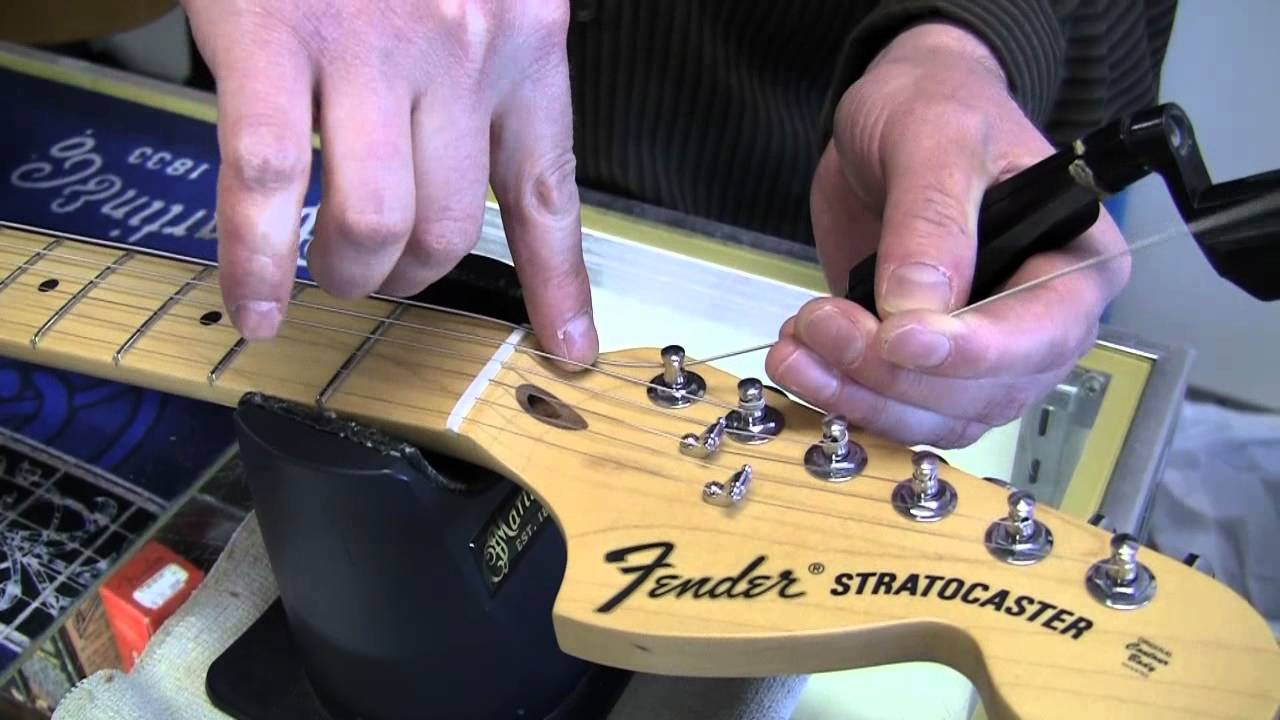
- Begin with the Low E String: Starting with the low E string, carefully thread it through the corresponding bridge saddle, ensuring it rests securely in the saddle groove. If your guitar features bridge pins, insert the string into the appropriate pin hole, and secure it in place.
- Guide the Strings to the Tuning Pegs: Pull the string taut and guide it towards the corresponding tuning peg. Insert the string through the peg hole, leaving a few inches of excess for winding.
- Secure the String at the Tuning Peg: Use the string winder to tighten the string around the tuning peg, ensuring that the winds are neat and consistent. Leave a slight amount of slack to accommodate tuning and stretching.
- Repeat the Process: Proceed to install the remaining strings, following the same method for each string. Maintain consistent tension and winding patterns to promote tuning stability and optimal string performance.
- Stretch and Tune the Strings: Once all the new strings are installed, gently stretch each string to remove excess slack and promote stability. Use a tuner to bring the strings to their respective pitches, making fine adjustments as needed.
By meticulously installing the new strings on your electric guitar with a floating bridge, you can ensure that the instrument’s sonic potential is fully realized, providing a platform for expressive playing and musical exploration. Taking the time to execute this process with precision will contribute to the overall tone, playability, and longevity of your guitar.
Tuning and Testing the Guitar
After completing the installation of new strings on your electric guitar with a floating bridge, the final crucial step is to tune the instrument and perform a series of tests to ensure optimal playability and performance. Follow these essential guidelines to achieve accurate tuning and assess the guitar’s functionality:
- Initial Tuning: Use an electronic tuner or tuning app to bring each string to its correct pitch. Begin with the low E string and progress through the remaining strings, ensuring that they are tuned accurately.
- Check Intonation: Play each string open and then at the 12th fret, verifying that the pitch remains consistent. If necessary, make fine adjustments to the bridge saddle positions to achieve accurate intonation across the fretboard.
- Test Tremolo Functionality: If your guitar features a tremolo system, test its functionality by performing subtle pitch bends and vibrato. Ensure that the bridge remains stable and returns to its original position after using the tremolo arm.
- Assess Tuning Stability: Play a series of chords and scales, paying attention to the tuning stability of the guitar. If any strings exhibit persistent tuning issues, revisit the winding and tension of the affected strings.
- Perform a Playability Check: Assess the overall playability of the guitar by playing through different musical passages and techniques. Verify that the strings feel comfortable under your fingers and that the instrument responds accurately to your playing dynamics.
By meticulously tuning and testing your electric guitar with a floating bridge, you can ensure that it delivers reliable performance and inspires confidence during practice and performances. Taking the time to assess the instrument’s functionality and playability will contribute to a rewarding playing experience and allow you to fully explore its sonic capabilities.