Introduction
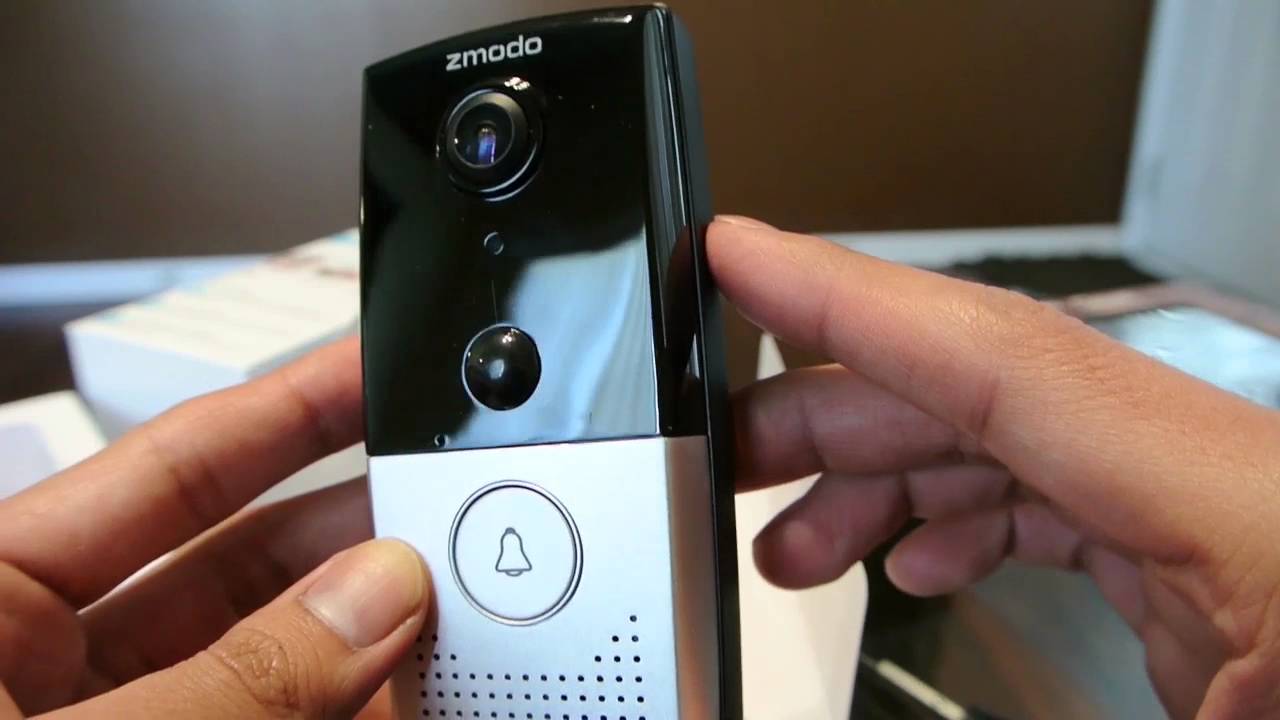
Welcome to this step-by-step guide on how to install the Zmodo Smart Greet Wi-Fi Video Doorbell on a brick wall. The Zmodo Smart Greet is a cutting-edge device that offers enhanced security and convenience by allowing you to see, hear, and speak to visitors at your doorstep through your smartphone. If you have a brick wall at your entrance and want to install this smart doorbell, you’ve come to the right place.
Installing the Zmodo Smart Greet on a brick wall requires some careful planning and the use of the correct tools. In this guide, we will walk you through the entire installation process, including choosing the right location, preparing the tools and materials, drilling holes on the brick wall, mounting the bracket, installing the doorbell, connecting and configuring the device, and finally testing its functionality.
By the end of this guide, you will have the knowledge and confidence to successfully install the Zmodo Smart Greet on your brick wall and enjoy the added security and convenience it provides. So without further ado, let’s dive into the installation process and get started with securing your home!
Choosing the Right Location
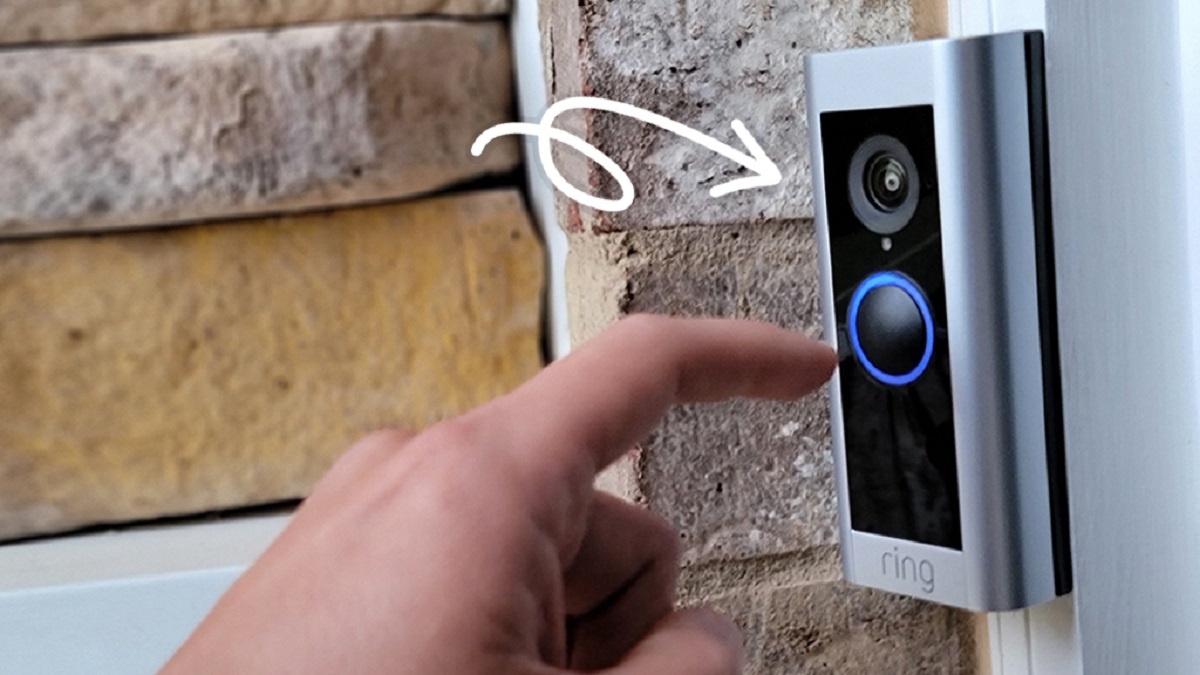
Before you begin the installation process, it is crucial to carefully select the right location for your Zmodo Smart Greet Wi-Fi Video Doorbell. The placement of the doorbell plays a significant role in its functionality and effectiveness. Here are some key factors to consider when choosing the ideal location:
- Clear View of the Entrance: Ensure that the doorbell has a clear line of sight to your front door or entrance. This will provide the best visibility for capturing video footage and identifying visitors.
- Proximity to Power Source: The doorbell requires a power source to operate. Make sure the chosen location is within reach of a power outlet or has the necessary wiring for electrical connection.
- Wi-Fi Coverage: The Zmodo Smart Greet relies on a stable Wi-Fi connection to function properly. Select a location where the doorbell can easily connect to your home’s Wi-Fi network without any obstructions.
- Avoiding Direct Sunlight and Rain: Excessive exposure to direct sunlight or rain can affect the performance and durability of the doorbell. Choose a location that offers some protection from these elements.
- Accessibility: Consider the accessibility of the doorbell for maintenance or future upgrades. Ensure that it can be easily reached and serviced if needed.
Take some time to assess various spots near your entrance that fulfill these criteria. Test the Wi-Fi signal strength and ensure there are no major obstacles blocking the signal. Additionally, check for any potential sources of interference, such as large metal objects or dense vegetation, that may hinder the doorbell’s performance.
Once you have identified the optimal location, you can proceed to the next step: preparing the tools and materials necessary for the installation process.
Preparing the Tools and Materials
Before you start installing the Zmodo Smart Greet Wi-Fi Video Doorbell on your brick wall, it’s essential to gather all the necessary tools and materials. Having everything ready beforehand will streamline the installation process and ensure a smooth and efficient experience. Here’s a list of the items you’ll need:
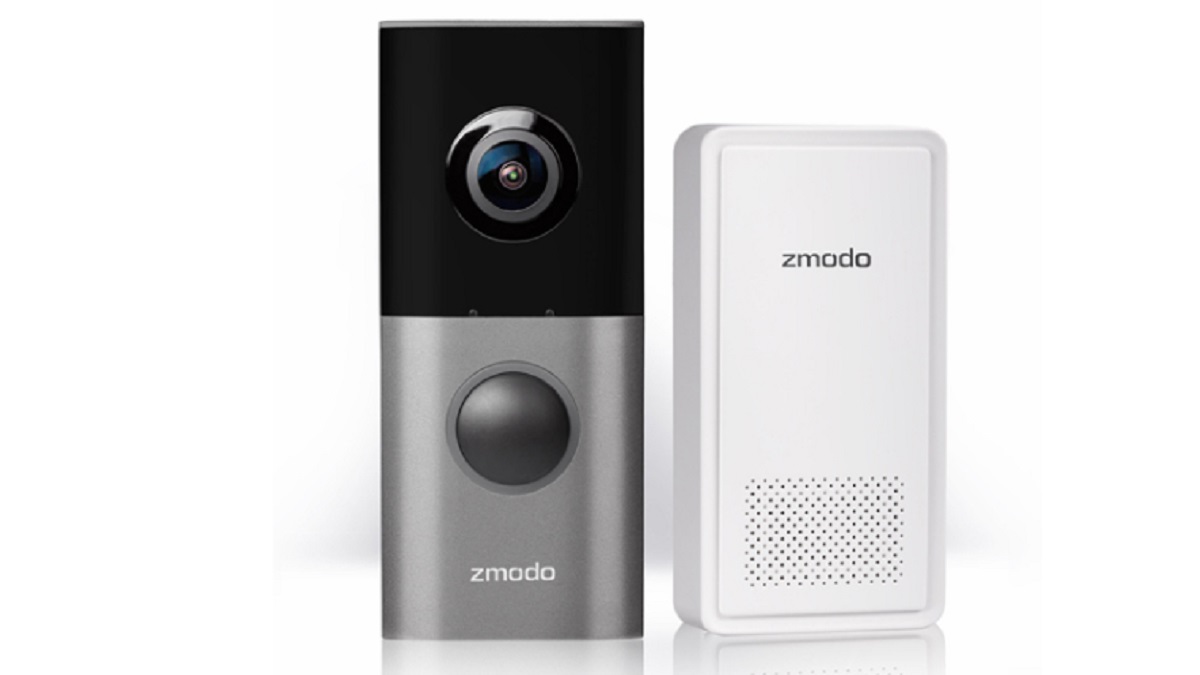
- Zmodo Smart Greet Wi-Fi Video Doorbell: Make sure you have the doorbell itself, including the necessary screws and mounting bracket.
- Power Drill: You’ll need a power drill with a masonry drill bit to make holes in the brick wall.
- Tape Measure: Use a tape measure to accurately measure and mark the placement of the doorbell and the position of the holes.
- Screwdriver: Depending on the type of screws provided with the doorbell, you may need a Phillips head or flathead screwdriver.
- Level: A spirit level will help you ensure that the doorbell and mounting bracket are perfectly aligned and straight.
- Wire Strippers: If your doorbell requires wiring, wire strippers will be necessary to strip the ends of the wires for proper connection.
- Electrical Tape: Electrical tape is useful for securing and protecting the wiring connections.
These are the basic tools and materials required for the installation process. However, it’s important to note that the specific requirements may vary depending on your doorbell model and the instructions provided by the manufacturer. Make sure to read the instruction manual that comes with your Zmodo Smart Greet Wi-Fi Video Doorbell for any additional tools or materials needed.
Having all the necessary tools and materials gathered and readily accessible will save you time and potential frustration during the installation process. Now that you’re well-prepared, let’s move on to the next step: assembling the doorbell.
Assembling the Doorbell
Before we proceed with the installation of the Zmodo Smart Greet Wi-Fi Video Doorbell, it’s important to properly assemble the doorbell itself. Follow these steps to ensure the doorbell is ready for installation:
- Unbox the Doorbell: Carefully remove the doorbell from its packaging, ensuring that all the necessary components are included.
- Attach the Mounting Bracket: Take the provided mounting bracket and align it with the back of the doorbell. Securely attach the bracket using the provided screws or any additional fasteners specified by the manufacturer.
- Prepare the Wiring (If Required): If your doorbell requires wiring for power, carefully strip the ends of the wires using wire strippers. Follow the instructions provided by the manufacturer for the correct wire length and stripping technique.
- Connect the Wires: If applicable, connect the stripped ends of the wires to the appropriate terminals on the back of the doorbell. Ensure a secure connection and use electrical tape to protect and secure the wires.
- Double-Check the Assembly: Once the mounting bracket is securely attached and any wiring is properly connected, double-check that all components are aligned correctly and tightened. This will ensure a stable and secure installation.
Taking the time to carefully assemble the doorbell before installation will ensure that it is ready to be mounted on your brick wall. It’s important to follow the specific instructions provided by the manufacturer, as the assembly process may vary depending on the doorbell model. Read the instruction manual thoroughly and refer to any accompanying diagrams to ensure proper assembly.
With the doorbell now assembled, you’re ready to proceed with the installation process. The next step will guide you through drilling holes on the brick wall to prepare for mounting the doorbell.
Drilling Holes on the Brick Wall
Now that the Zmodo Smart Greet Wi-Fi Video Doorbell is assembled, it’s time to prepare your brick wall for installation. Drilling holes in the brick wall will provide the necessary anchor points for mounting the doorbell. Follow these steps to ensure a successful drilling process:
- Mark the Drill Points: Use a tape measure and a pencil to mark the exact spots where you will be drilling the holes. Ensure that the marks are level and aligned with the mounting bracket of the doorbell.
- Select the Correct Drill Bit: Choose an appropriate masonry drill bit that matches the diameter of the screws or anchors provided with the doorbell. This will ensure that the holes are drilled to the correct size for a secure fit.
- Put on Safety Gear: Don’t forget to wear protective eyewear and a dust mask to shield yourself from any debris or dust that may be generated during the drilling process.
- Start Drilling: Hold the drill firmly and position the drill bit on the first marked spot. Apply steady pressure and begin drilling into the brick wall. Take your time and let the drill bit do the work, ensuring that it remains perpendicular to the wall.
- Monitor Depth: While drilling, periodically check the depth of the hole to ensure it matches the length of the screws or anchors. This will prevent the holes from being too shallow or too deep.
- Repeat the Process: Once you have drilled the first hole, move on to the other marked spots and repeat the drilling process until all the necessary holes are completed.
- Remove Debris: After drilling the holes, clean out any debris or dust left in the holes with a vacuum or a brush. This will ensure a clean and secure fit for the doorbell.
Take your time and be cautious during the drilling process, as working with brick walls can be challenging. It’s important to use steady pressure and avoid forcing or rushing the drilling. Precision is key to ensuring that the holes are drilled accurately and securely.
With the holes drilled, you’re now ready to proceed to the next step: mounting the bracket on the brick wall.
Mounting the Bracket on the Wall
Now that the holes are drilled on your brick wall, it’s time to mount the bracket that will hold the Zmodo Smart Greet Wi-Fi Video Doorbell. Follow these steps to ensure a secure installation of the bracket:
- Align the Bracket: Hold the mounting bracket against the wall, aligning it with the drilled holes. Ensure that the bracket is level and straight using a spirit level.
- Insert Anchors (If Required): If your mounting bracket requires anchors for added stability, insert them into the drilled holes. Gently tap the anchors with a hammer until they are flush with the wall.
- Insert Screws: Place the bracket back over the anchors or directly into the drilled holes. Insert the screws through the bracket and into the anchors or holes. Use a screwdriver or drill to tighten the screws until the bracket is securely attached to the wall.
- Double-Check the Alignment: After tightening the screws, recheck the alignment of the bracket to ensure it is still level and straight. Make any necessary adjustments before proceeding.
It’s crucial to properly secure the bracket to the wall to ensure that the Zmodo Smart Greet Wi-Fi Video Doorbell is securely mounted. The bracket acts as the base for the doorbell, so taking the time to align it correctly and tighten the screws will provide a stable foundation for the device.
Once the bracket is securely mounted, you can move on to the next step: installing the doorbell onto the bracket. We will guide you through this process in the following section.
Installing the Doorbell on the Bracket
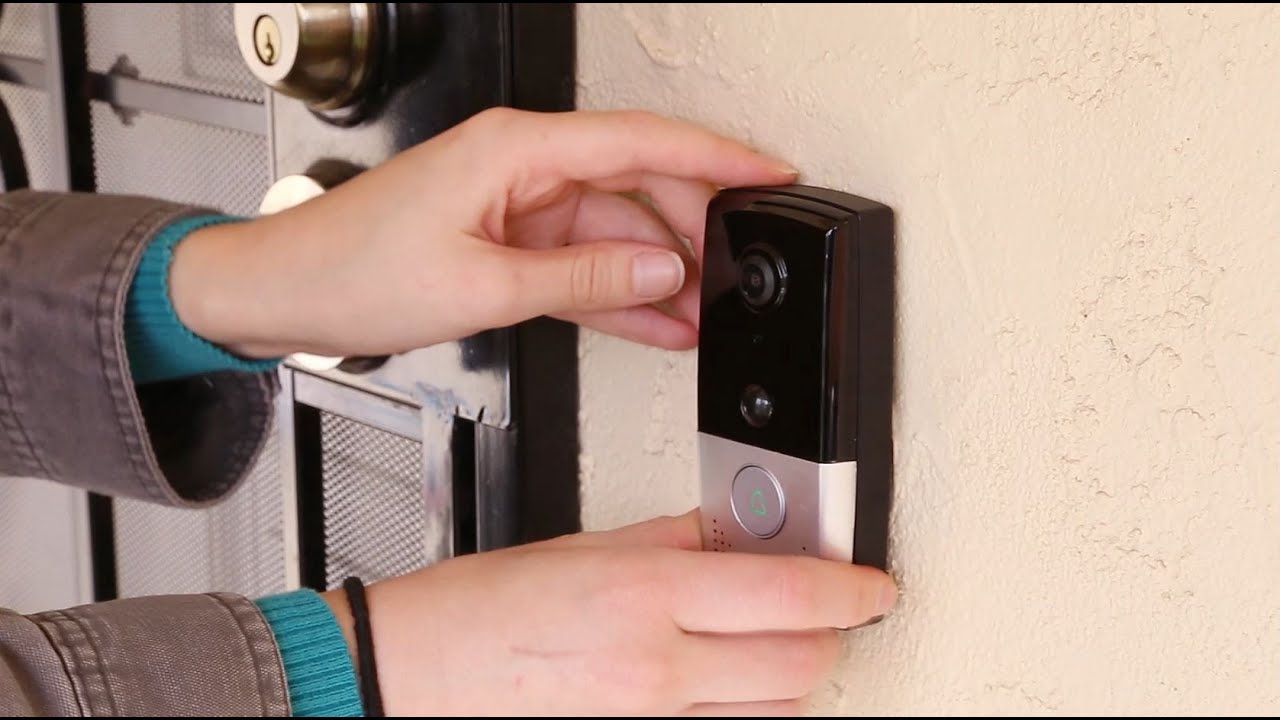
With the bracket securely mounted on the wall, it’s time to install the Zmodo Smart Greet Wi-Fi Video Doorbell onto the bracket. Follow these steps to ensure a proper and secure installation:
- Align the Doorbell: Hold the doorbell near the bracket and align its screw holes with the corresponding holes on the bracket.
- Insert Screws: Insert the provided screws through the doorbell’s screw holes and into the bracket’s holes. Use a screwdriver to tighten the screws, securing the doorbell to the bracket.
- Check Alignment: After tightening the screws, check the alignment of the doorbell to ensure it is positioned correctly. Make any necessary adjustments before proceeding.
It’s important to ensure that the doorbell is securely attached to the bracket to avoid any potential damage or accidental detachment. Gently wiggle the doorbell to confirm that it is firmly attached and does not move or sway.
Take a moment to visually inspect the installation to ensure that the doorbell is level and aligned with the surrounding area. This will result in a professional and aesthetically pleasing look once the installation is complete.
With the doorbell successfully installed on the bracket, you’re ready to move on to the next step: connecting and configuring the doorbell for use.
Connecting and Configuring the Doorbell
Now that the Zmodo Smart Greet Wi-Fi Video Doorbell is securely installed, it’s time to connect and configure it to start enjoying its features. Follow these steps to ensure a seamless setup:
- Connect to Power: Ensure that the doorbell is connected to a power source. If your doorbell requires a direct electrical connection, ensure that it is properly wired and powered.
- Download the App: On your smartphone, download the Zmodo app from the App Store or Google Play Store. This app will serve as your gateway to accessing and managing the doorbell’s features.
- Create an Account: Open the Zmodo app and create a new account. Follow the on-screen instructions to complete the account setup process.
- Add Device: In the Zmodo app, tap on the “Add Device” option and select the Zmodo Smart Greet Wi-Fi Video Doorbell from the list of available devices.
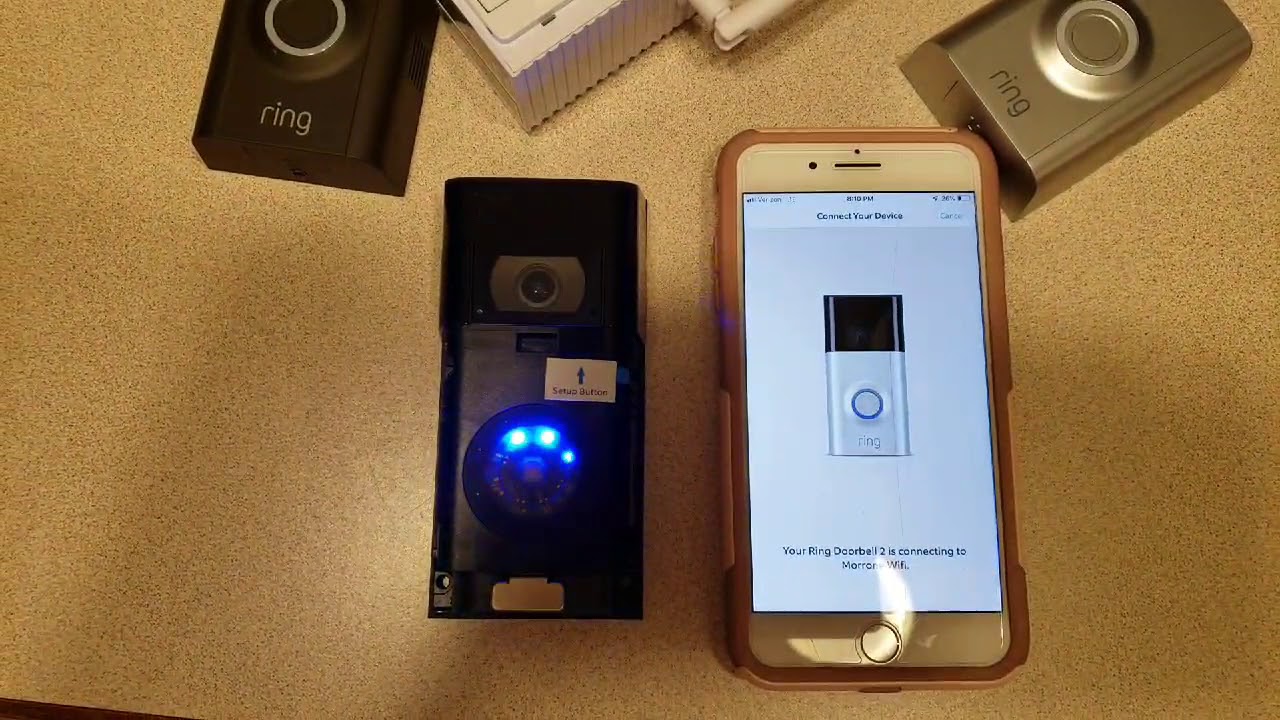
- Follow the App’s Instructions: The app will guide you through the process of connecting the doorbell to your home’s Wi-Fi network. Follow the on-screen instructions and provide the necessary information, such as your Wi-Fi network name and password.
- Configure Settings: Once the doorbell is successfully connected to your Wi-Fi network, you can customize various settings, such as motion detection sensitivity, video recording preferences, and notifications.
- Test the Functionality: With the doorbell connected and configured, test its functionality by ringing the doorbell or simulating a visitor. Verify that you receive live video and audio feed on your smartphone and that two-way communication is working correctly.
During the setup process, ensure that your smartphone is connected to a reliable Wi-Fi network for a smooth and stable connection with the doorbell. It’s also essential to keep the Zmodo app updated to access the latest features and firmware updates for your doorbell.
Once you have completed the connection and configuration process, you’re now ready to enjoy the convenience and security offered by the Zmodo Smart Greet Wi-Fi Video Doorbell. Take a moment to explore the various features and settings to customize your experience.
Testing the Functionality
After connecting and configuring the Zmodo Smart Greet Wi-Fi Video Doorbell, it’s crucial to test its functionality to ensure that everything is working as expected. Follow these steps to perform a thorough functionality test:
- Ring the Doorbell: Press the doorbell button or ask someone to ring it to initiate a live video call on your smartphone. Verify that you receive a prompt notification and can see and hear the visitor at your doorstep.
- Test Two-Way Communication: Engage in a conversation with the person at your door using the two-way communication feature. Verify that you can clearly hear the visitor’s voice and that they can hear you as well.
- Check Video Quality: Assess the video quality during the live call. Ensure that the resolution is clear, allowing you to easily identify and recognize individuals at your door.
- Verify Motion Detection: Walk in front of the doorbell to trigger the motion detection. Check whether you receive a notification on your smartphone and if the device starts recording and capturing motion events.
- Review Recording Playback: Access the recorded videos and review the playback to ensure that they are captured and stored correctly. Check for any delays or issues with retrieving the recorded footage.
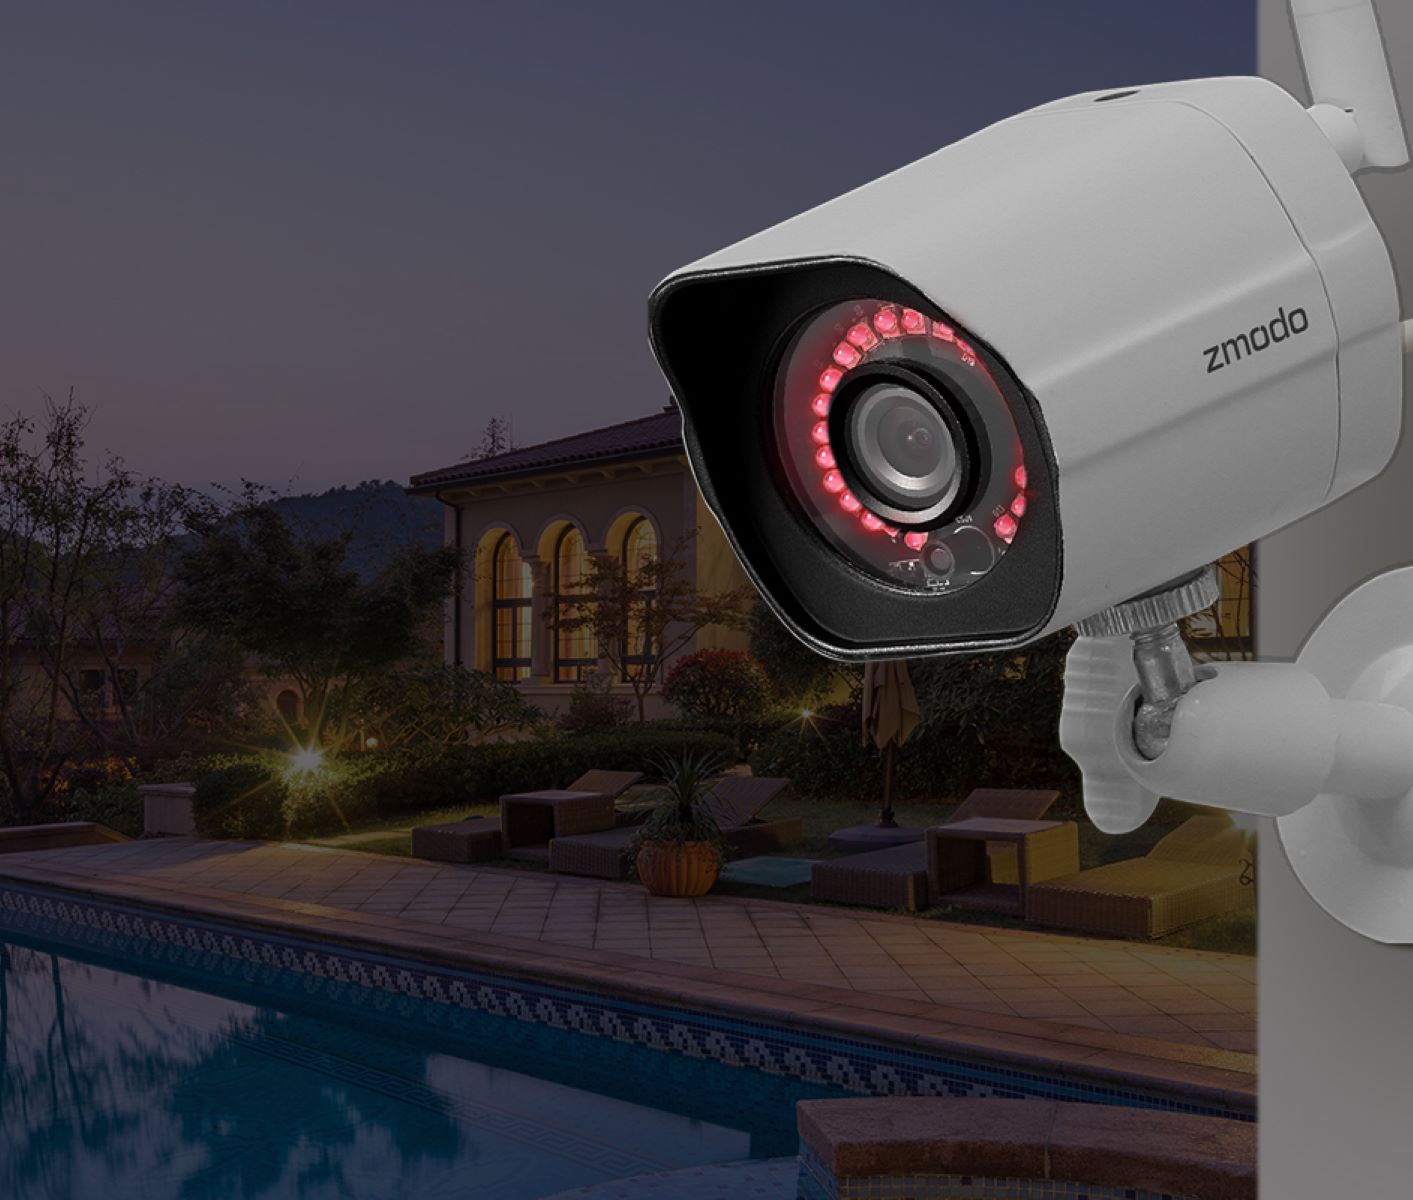
- Test Night Vision: If your doorbell is equipped with night vision capability, test it by turning off the lights or conducting the test during nighttime. Verify that the night vision mode provides clear and detailed visibility in low-light conditions.
- Adjust and Fine-tune Settings: Go through the doorbell’s settings in the app to customize features like motion sensitivity, recording duration, and notifications. Make any necessary adjustments to better suit your preferences.
Testing the functionality of the Zmodo Smart Greet doorbell ensures that it is operating effectively and meets your expectations. If you encounter any issues during the testing process, consult the instruction manual or reach out to Zmodo’s customer support for further assistance.
By thoroughly testing the doorbell’s functionality, you can have peace of mind knowing that it is ready to enhance the security and convenience of your home. With the successful completion of the functionality test, you have now completed the installation process and can enjoy the benefits of the Zmodo Smart Greet Wi-Fi Video Doorbell.
Conclusion
Installing the Zmodo Smart Greet Wi-Fi Video Doorbell on a brick wall can provide you with enhanced security and convenience at your front door. Through this step-by-step guide, we have walked you through the entire installation process, from choosing the right location to testing the functionality of the doorbell. By following these instructions, you can confidently install the doorbell and enjoy its benefits.
First, we discussed the importance of selecting the right location for optimal visibility and Wi-Fi coverage. We emphasized the need to consider proximity to a power source and protection from sunlight and rain. Then, we guided you on how to prepare all the necessary tools and materials to ensure a smooth installation process.
We provided detailed steps on assembling the doorbell, drilling holes on the brick wall, and mounting the bracket securely. We also covered the process of installing the doorbell onto the bracket and connecting it to your Wi-Fi network. Additionally, we discussed how to customize settings and thoroughly test the doorbell’s functionality, including live video calls, two-way communication, motion detection, video quality, and night vision.
By completing these steps, you can rest assured that your Zmodo Smart Greet Wi-Fi Video Doorbell is properly installed and operational, offering you peace of mind and added security for your home.
Remember to consult the manufacturer’s instruction manual for any device-specific guidelines and refer to their customer support if you encounter any issues during the installation process.
Now that you have successfully installed the Zmodo Smart Greet on your brick wall, you can enjoy the convenience of remote video monitoring, seamless communication with visitors, and enhanced home security. Embrace the cutting-edge technology of the Zmodo Smart Greet, and welcome a new level of control and peace of mind to your doorstep.