Introduction
Welcome to the complete guide on how to mount a Ring Video Doorbell! With the increasing popularity of smart home security systems, the Ring Video Doorbell has become a popular choice for homeowners looking to enhance the security of their homes. This innovative device allows you to see, hear, and speak to visitors at your door from anywhere using your smartphone.
Mounting the Ring Video Doorbell is a fairly straightforward process that can be completed by homeowners with basic DIY skills. In this guide, we will take you through each step of the installation process, ensuring that you can enjoy the benefits of a secure and convenient video doorbell system.
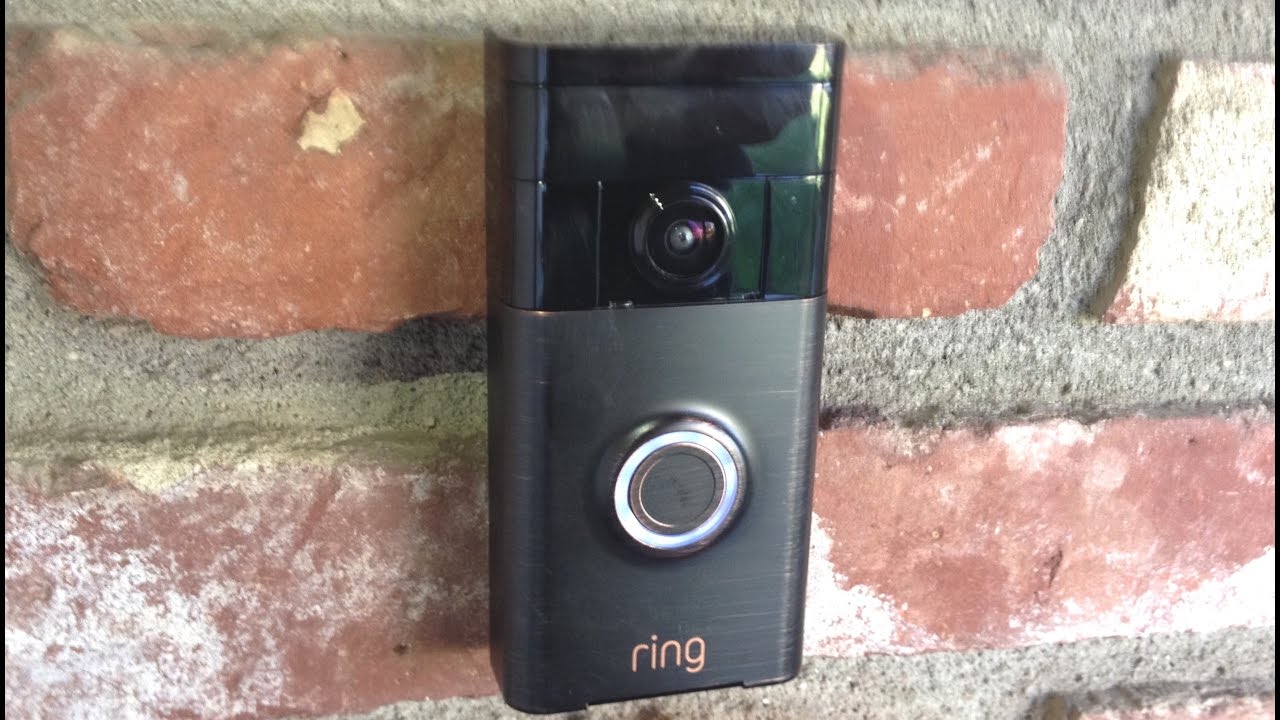
Before we dive into the installation process, let’s take a look at the key features that make the Ring Video Doorbell such a popular choice. First and foremost, the device is equipped with an HD camera that allows you to monitor your front door in real time. By receiving instant alerts on your smartphone, you can easily keep track of any activity at your doorstep, whether it’s a delivery, a visitor, or something suspicious.
The Ring Video Doorbell also features two-way audio, enabling you to communicate with anyone at your door, even if you’re not at home. This can be particularly useful for interacting with delivery drivers, providing instructions to visitors, or even warding off potential intruders. Additionally, the video doorbell is equipped with motion detection sensors that will send an alert to your smartphone whenever motion is detected in the defined area.
Now that we have an understanding of the essential features of the Ring Video Doorbell, let’s move on to the step-by-step process of mounting this device. Make sure you have all the necessary tools and equipment ready, and let’s get started!
Things You’ll Need
Before you begin the installation process, gather the following tools and materials:
- Ring Video Doorbell
- Micro USB charging cable
- Phillips screwdriver
- Drill
- 7/32-inch drill bit
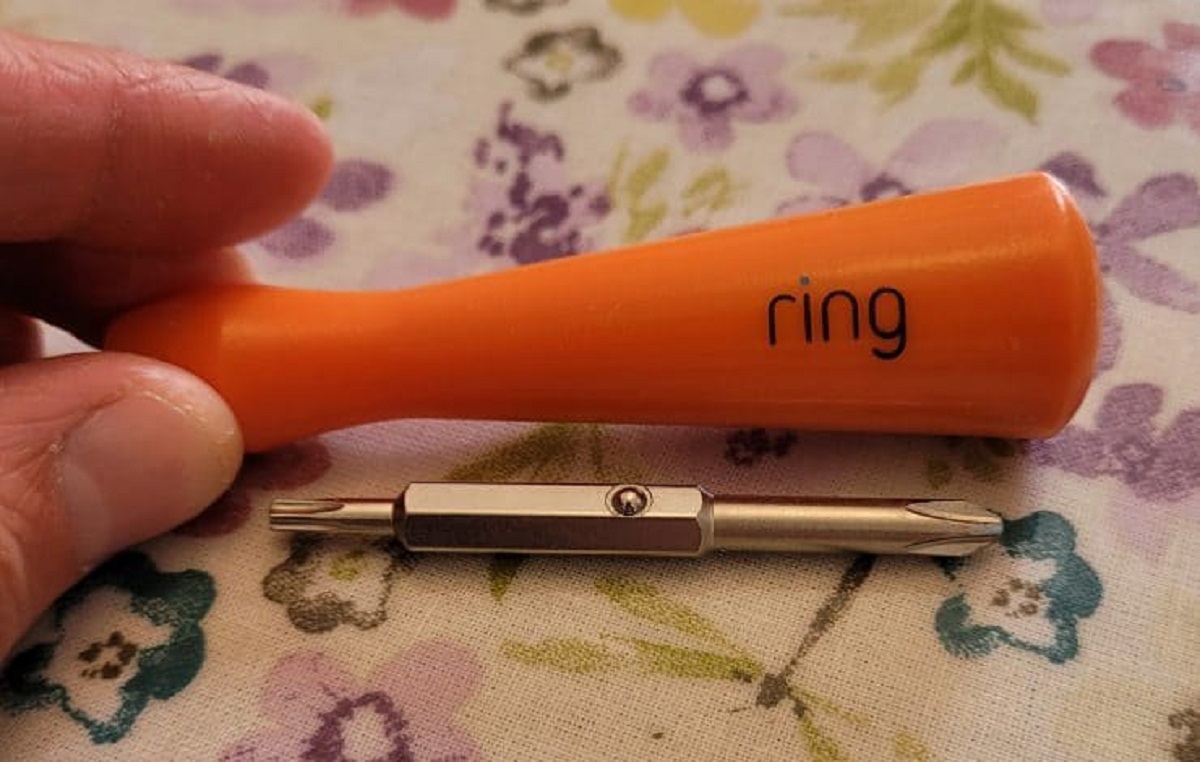
- Screwdriver bit
- Level
- Screws
- Wall anchors
- Wire strippers (if necessary)
It’s important to have all these items ready before you begin the installation process to ensure a smooth and efficient installation.
While the Ring Video Doorbell comes with most of the necessary tools and hardware, you may need additional tools depending on your specific installation requirements. For example, if you need to drill holes in a brick or concrete wall, you’ll need a masonry drill bit.
Make sure you have a fully charged smartphone and a stable internet connection, as you’ll need these for the setup and configuration process of the Ring Video Doorbell.
Lastly, read through the instructional manual provided with the device. Familiarize yourself with the installation steps and safety precautions before proceeding. This will help you avoid any potential pitfalls during the installation process.
Now that you have everything you need, let’s move on to the first step: Preparing for Installation.
Step 1: Preparing for Installation
Before you start mounting your Ring Video Doorbell, there are a few key steps you need to take to ensure a successful installation. Here’s what you need to do:
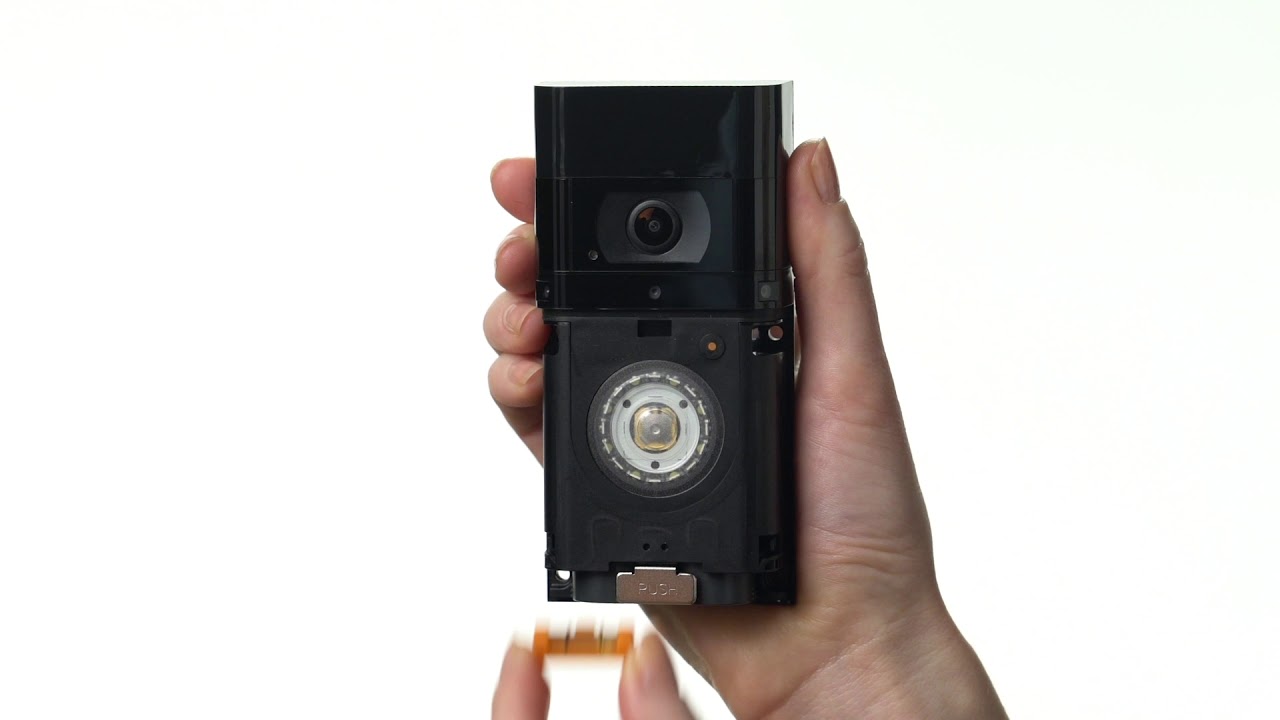
- Charge the Ring Video Doorbell: Before you begin the installation process, make sure your Ring Video Doorbell is fully charged. This will ensure that you have enough battery power for the initial setup and testing.
- Download the Ring app: To set up and configure your Ring Video Doorbell, you’ll need to download the Ring app on your smartphone. The app is available for both iOS and Android devices and can be found in the respective app stores.
- Create a Ring account: Once the app is downloaded, you’ll need to create a Ring account. This will allow you to access and control your Ring Video Doorbell from anywhere.
- Connect to your Wi-Fi network: During the setup process, you’ll be prompted to connect your Ring Video Doorbell to your home’s Wi-Fi network. Make sure you have your Wi-Fi network name and password handy for a seamless connection.
- Perform a Wi-Fi signal strength test: It’s important to ensure that your Ring Video Doorbell has a strong and stable Wi-Fi connection. The Ring app provides a feature to check the Wi-Fi signal strength before mounting the device. This will help you determine if the chosen installation location has a reliable connection.
- Consider subscribing to a Ring Protect plan: While this step is optional, it’s worth considering subscribing to a Ring Protect plan. This will give you access to additional features such as cloud storage for recorded videos, advanced motion detection settings, and extended warranty for your Ring Video Doorbell.
By following these steps, you’ll have a solid foundation for a successful installation process. Once you’ve completed these preparations, you’re ready to move on to the next step: Choosing the Right Mounting Location.
Step 2: Choosing the Right Mounting Location
Choosing the right location for your Ring Video Doorbell is crucial for optimal performance and security. Here are some important factors to consider when selecting the mounting location:
- Visibility: Mount the Ring Video Doorbell in a location where it has a clear view of your front door and the surrounding area. This will ensure that the camera captures a wide field of view and provides accurate motion detection.
- Height: Install the device at a height that allows easy interaction with visitors. Ideally, the camera lens should be positioned at chest level, approximately 48-55 inches from the ground. This will provide a clear view of visitors’ faces and minimize the risk of tampering.
- Accessibility: Ensure that the mounting location is easily accessible for regular maintenance and adjustments. This includes cleaning the camera lens, changing batteries or power cables, and adjusting the angle of the device if necessary.
- Power source: Depending on the model of your Ring Video Doorbell, you may have the option to power it with batteries or connect it to your existing doorbell wiring. Consider the availability of power sources and choose the option that suits your needs best.
- Wi-Fi signal strength: Verify that the chosen location has a strong Wi-Fi signal. This can be done using the Wi-Fi signal strength test feature in the Ring app. A reliable Wi-Fi connection is essential for seamless communication between the Ring Video Doorbell and your smartphone.
- Protection from elements: Choose a mounting location that offers some protection from direct sunlight, heavy rain, and extreme weather conditions. This will help prolong the lifespan of the device and ensure consistent performance over time.
Take your time to evaluate different locations around your front door and consider these factors. Once you have identified the ideal mounting location, you’re ready to proceed to the next step: Installing the Mounting Bracket.
Step 3: Installing the Mounting Bracket
With the ideal mounting location identified, it’s time to install the mounting bracket for your Ring Video Doorbell. Follow these steps:
- Ensure the installation surface is clean: Before attaching the mounting bracket, clean the surface of your chosen location using a cloth or cleaning solution. This will ensure a secure and stable attachment.
- Position the mounting bracket: Hold the mounting bracket against the wall or door frame at the desired height. Use a level to ensure the bracket is straight. Make sure the bracket is aligned properly with any existing doorbell wires or the desired power source.
- Mark the spots for the screw holes: While holding the mounting bracket in place, use a pencil or marker to mark the spots where the screw holes should be drilled. Typically, the mounting bracket will have two or more screw holes to secure it to the surface.
- Drill the holes: Use a drill with a 7/32-inch drill bit to create pilot holes at the marked spots. This will make it easier to secure the mounting bracket to the surface. Be cautious not to drill too deep or damage any underlying wires or cables.
- Attach the mounting bracket: Line up the holes in the mounting bracket with the pilot holes and secure it to the surface using screws. Ensure that the bracket is firmly attached and level by using a level to double-check.
Once the mounting bracket is securely installed, you’re ready to move on to the next step: Connecting the Wiring. If you’re using battery power, skip to Step 5: Mounting the Ring Video Doorbell.
Step 4: Connecting the Wiring
If you have chosen to connect your Ring Video Doorbell to your existing doorbell wiring, follow these steps to ensure a proper connection:
- Turn off the power: Before working with any electrical wiring, it is crucial to turn off the power to your existing doorbell at the circuit breaker. This will prevent any potential electrical accidents during the installation process.
- Remove the old doorbell: If you have an existing doorbell, carefully remove it by unscrewing the mounting screws and disconnecting the wires. Keep the wires accessible for the next step.
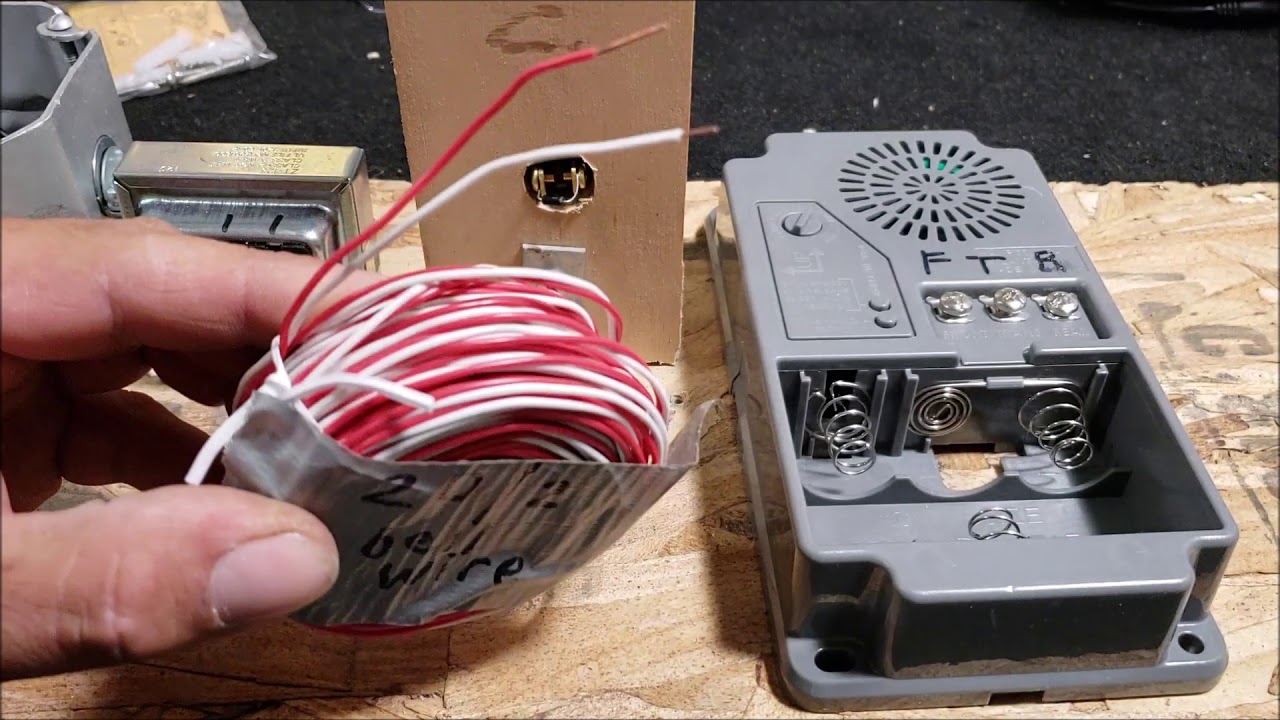
- Prepare the wires: Strip a small portion of the insulation from the ends of the doorbell wires using wire strippers. This will expose the copper wire for proper connection.
- Connect the wiring: Connect the exposed ends of the doorbell wires to the appropriate terminals on the back of your Ring Video Doorbell. Follow the instructions provided with your specific model to ensure proper wiring connections.
- Secure the wiring: Once the wires are securely connected, carefully tuck them into the mounting bracket. Ensure that the wires are not pinched or in the way of any moving parts.
- Turn on the power: After confirming that the wiring is properly connected and secure, turn on the power at the circuit breaker to restore electrical supply to your doorbell.
- Test the connection: Using the Ring app on your smartphone, test the connection by pressing the doorbell button or triggering the motion sensors. Verify that you receive the appropriate notifications and that the Ring Video Doorbell functions as expected.
By following these steps, you will successfully connect your Ring Video Doorbell to your existing doorbell wiring, allowing it to function as a traditional doorbell in addition to its smart features. If you’re using battery power, you can skip this step and proceed to Step 5: Mounting the Ring Video Doorbell.
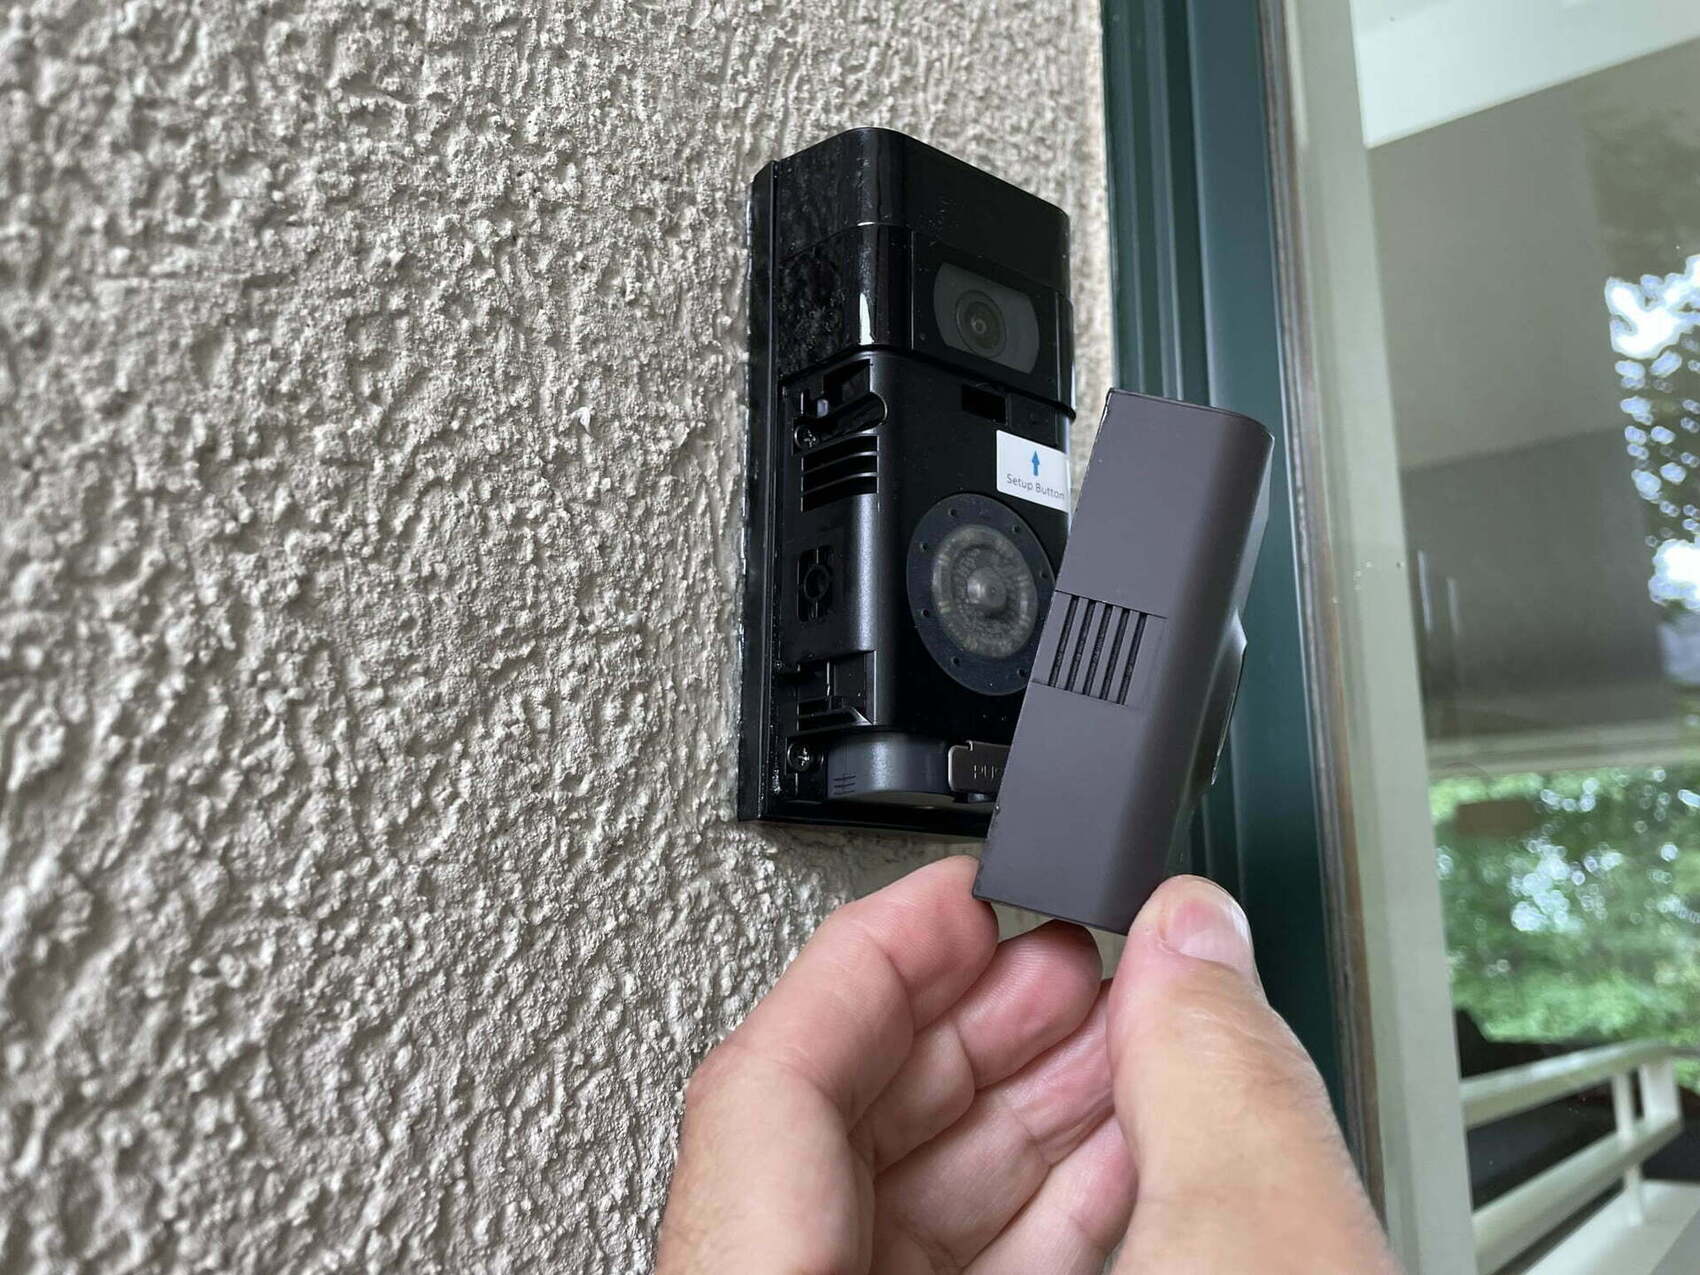
Step 5: Mounting the Ring Video Doorbell
With the mounting bracket and wiring in place, it’s time to mount your Ring Video Doorbell. Follow these steps for a secure and proper installation:
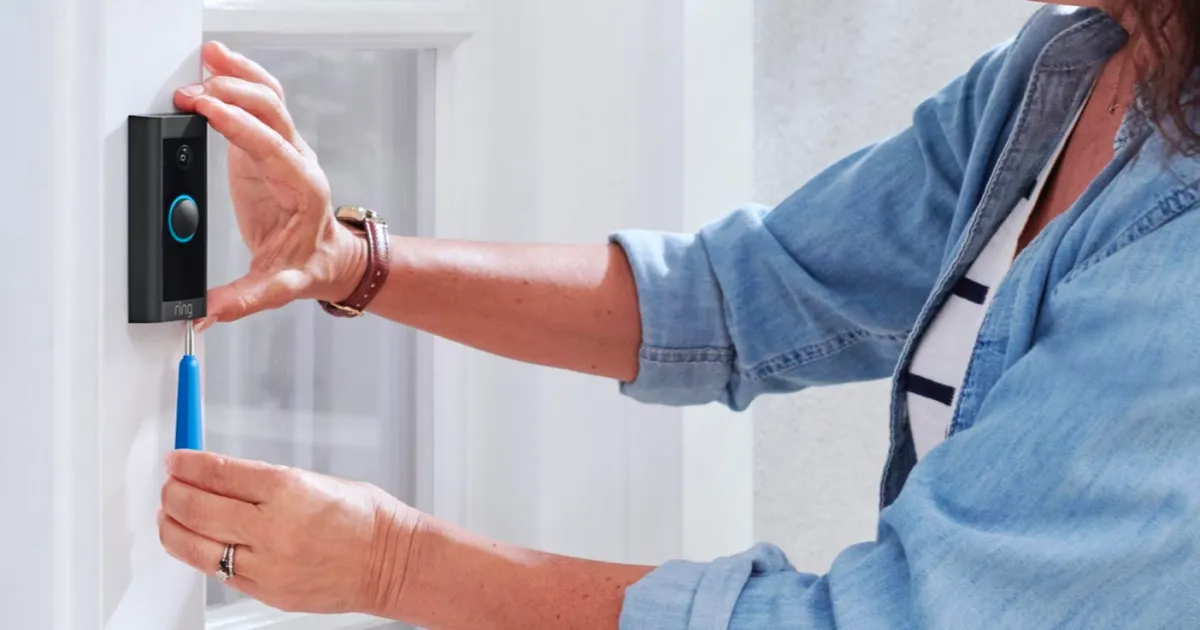
- Attach the Ring Video Doorbell to the mounting bracket: Align the back of the Ring Video Doorbell with the mounting bracket and slide it down until it clicks into place. Ensure that the device is securely attached and level.
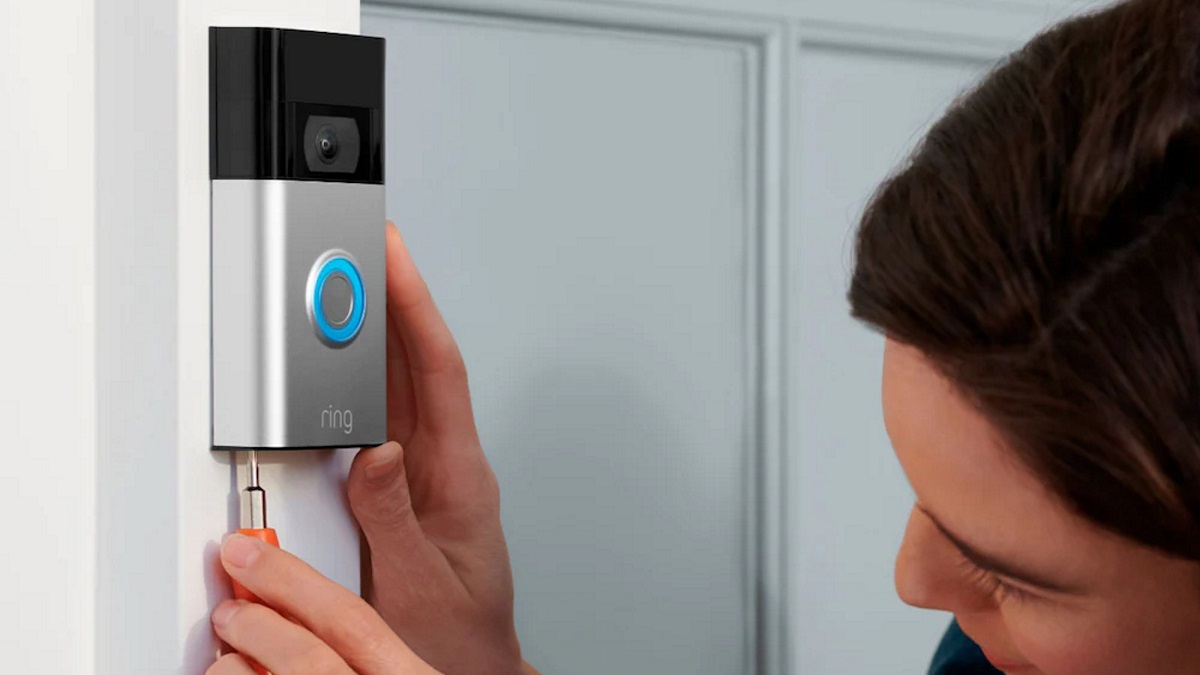
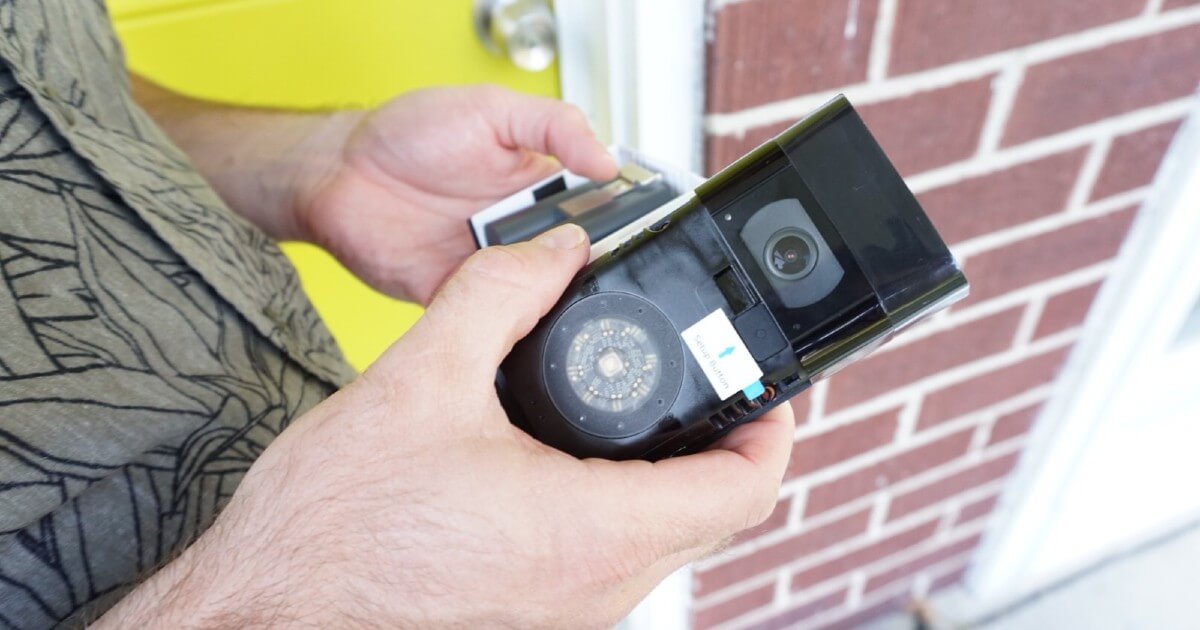
- Tighten the security screws: Using a screwdriver, tighten the security screws on the bottom of the Ring Video Doorbell. This will lock the device in place, preventing it from being easily removed or tampered with.
- Adjust the angle: If necessary, adjust the angle of the Ring Video Doorbell to ensure the camera lens captures the desired field of view. Most models allow for horizontal and vertical adjustments, providing flexibility based on your specific installation needs.
Once your Ring Video Doorbell is securely mounted and properly aligned, you’re ready to move on to the next step: Testing and Adjusting.
Step 6: Testing and Adjusting
After mounting your Ring Video Doorbell, it’s important to test its functionality and make any necessary adjustments. Follow these steps to ensure that everything is working properly:
- Activate the device: Open the Ring app on your smartphone and follow the instructions to activate your Ring Video Doorbell. This will sync the device with your account and allow you to receive alerts and access its features.
- Test the doorbell button: Press the doorbell button to ensure that it triggers the appropriate notification on your smartphone. Verify that you receive an instant alert and can see a live video feed from the camera. You can also test the two-way audio feature by speaking through the app and listening for the response from the doorbell.
- Adjust motion settings: Use the Ring app to customize the motion detection settings according to your preferences. This includes adjusting the sensitivity, defining motion zones, and setting up additional notification preferences. Test these settings by walking in front of the Ring Video Doorbell to ensure that you receive accurate motion alerts.
- Check the video quality: Review the video feed from the Ring Video Doorbell to ensure that the image quality is clear and that you can easily identify people and objects. If necessary, adjust the angle or position of the device to achieve optimal video quality.
- Monitor battery or power status: If you’re using battery power, monitor the battery level in the Ring app and make note of any recommendations for recharging or replacing batteries. If connected to a power source, ensure that the device is receiving a stable power supply.
By thoroughly testing and adjusting your Ring Video Doorbell, you can ensure that it is functioning properly and meeting your security needs. If you encounter any issues or have additional questions, consult the Ring app’s support documentation or reach out to their customer support for assistance.
Conclusion
Congratulations on successfully mounting your Ring Video Doorbell! By following the step-by-step guide in this article, you have taken an important step towards enhancing the security and convenience of your home.
The Ring Video Doorbell offers a range of features that allow you to monitor your front door, communicate with visitors, and receive instant alerts on your smartphone. Whether you’re at home or away, the Ring Video Doorbell provides you with peace of mind and the ability to stay connected to your doorstep.
Remember to periodically check and clean the camera lens, maintain a stable internet connection, and ensure a suitable power source for the Ring Video Doorbell. Regular maintenance and adjustments will help guarantee optimal performance and longevity of the device.
If you have any additional questions or need further assistance, refer to the instructional manual provided with the device or visit the Ring support website. They have a wealth of resources and a knowledgeable support team to help you with any concerns.
Now that you have completed the installation process, enjoy the added security and convenience that the Ring Video Doorbell brings to your home. Your doorstep will now be equipped with advanced features that allow you to always stay in control.