Introduction
Welcome to our step-by-step guide on how to install the Notifi Elite Video Doorbell. The Notifi Elite Video Doorbell is a state-of-the-art device that provides you with advanced security features and the convenience of remotely monitoring and answering your door from anywhere. If you’re looking to enhance the security of your home and have greater control over your front entrance, then this installation guide is perfect for you.
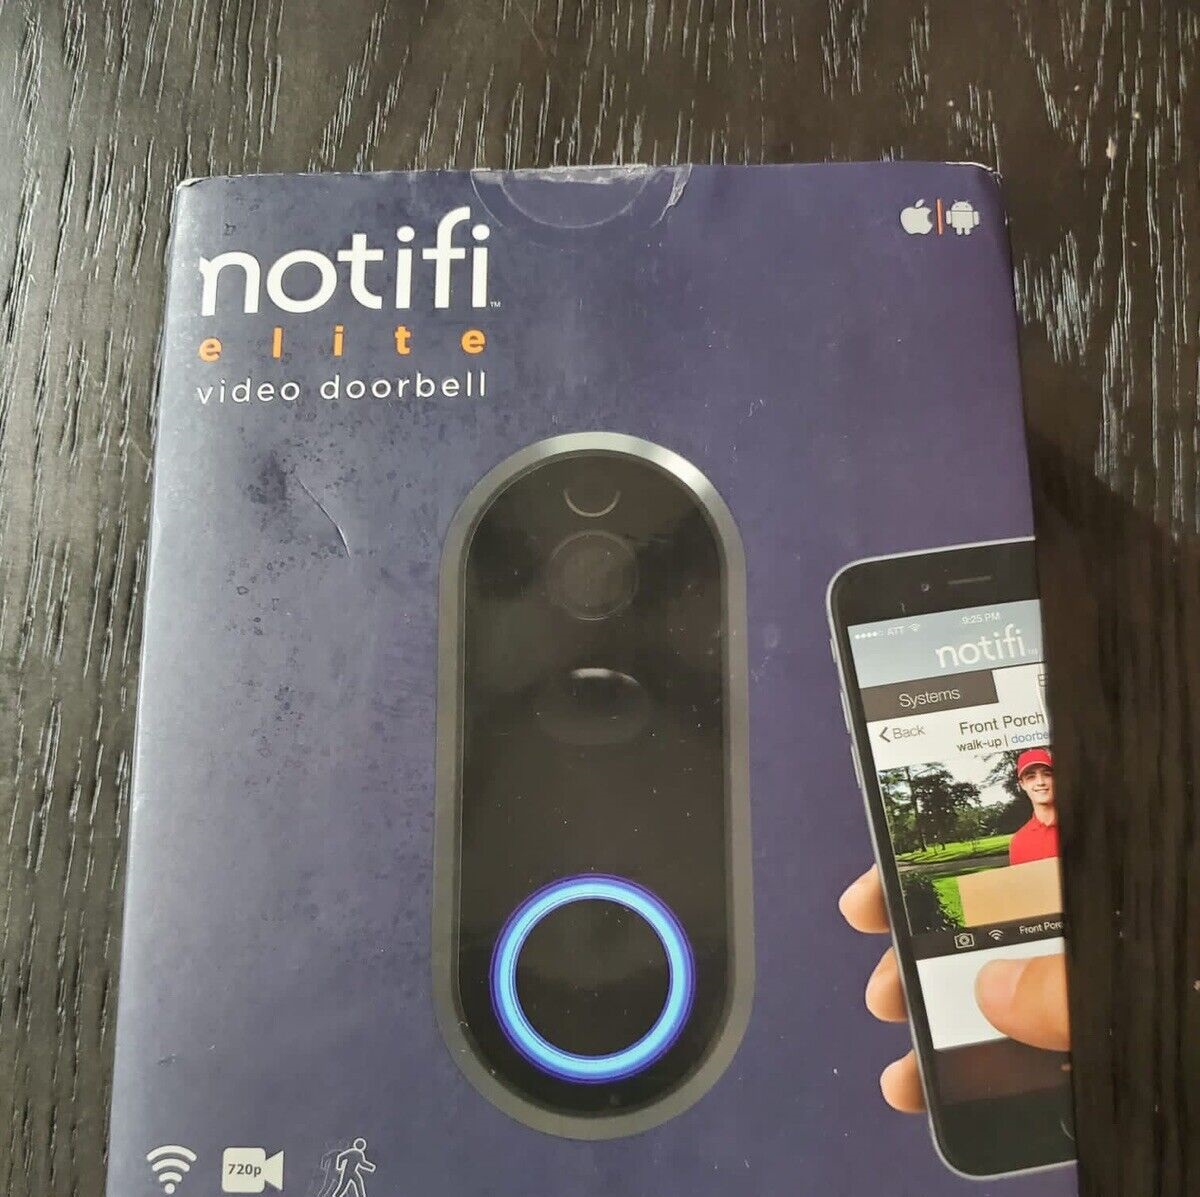
The Notifi Elite Video Doorbell offers a range of impressive features, including high-definition video streaming, two-way audio communication, and motion detection alerts. With its sleek design and easy-to-use interface, this doorbell is a top choice for homeowners who prioritize safety and convenience.
Throughout this guide, we’ll walk you through each step of the installation process, from unboxing the Notifi Elite Video Doorbell to configuring and testing the device. We’ll also provide you with tips and recommendations to ensure a successful installation.
Before we dive into the installation process, make sure you have all the necessary tools and equipment. This includes a screwdriver, a power drill, a ladder (if required), and access to your home’s Wi-Fi network. It’s also important to familiarize yourself with the Notifi Elite Video Doorbell’s user manual, which contains detailed instructions and troubleshooting tips.
Installing the Notifi Elite Video Doorbell may seem daunting at first, but with our guidance, you’ll be able to complete the process smoothly and efficiently. So, let’s get started on transforming your front entrance with the Notifi Elite Video Doorbell!
Step 1: Unboxing the Notifi Elite Video Doorbell
Before you can begin the installation process, you need to unbox the Notifi Elite Video Doorbell. Carefully remove the device from its packaging and ensure that all the components are included.
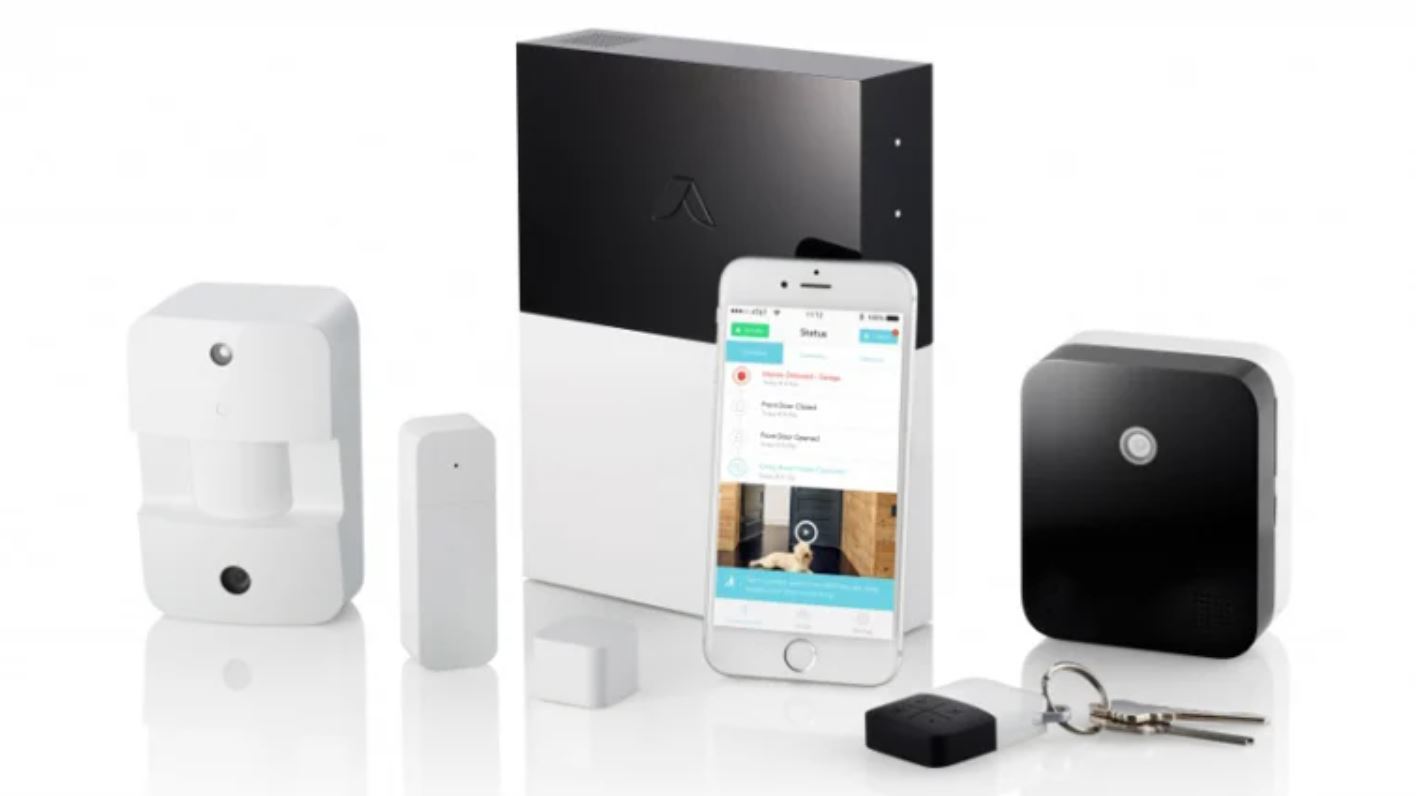
Inside the box, you will find the Notifi Elite Video Doorbell itself, a mounting bracket, screws, a power adapter, a chime module, and an installation guide. Take a moment to familiarize yourself with these components.
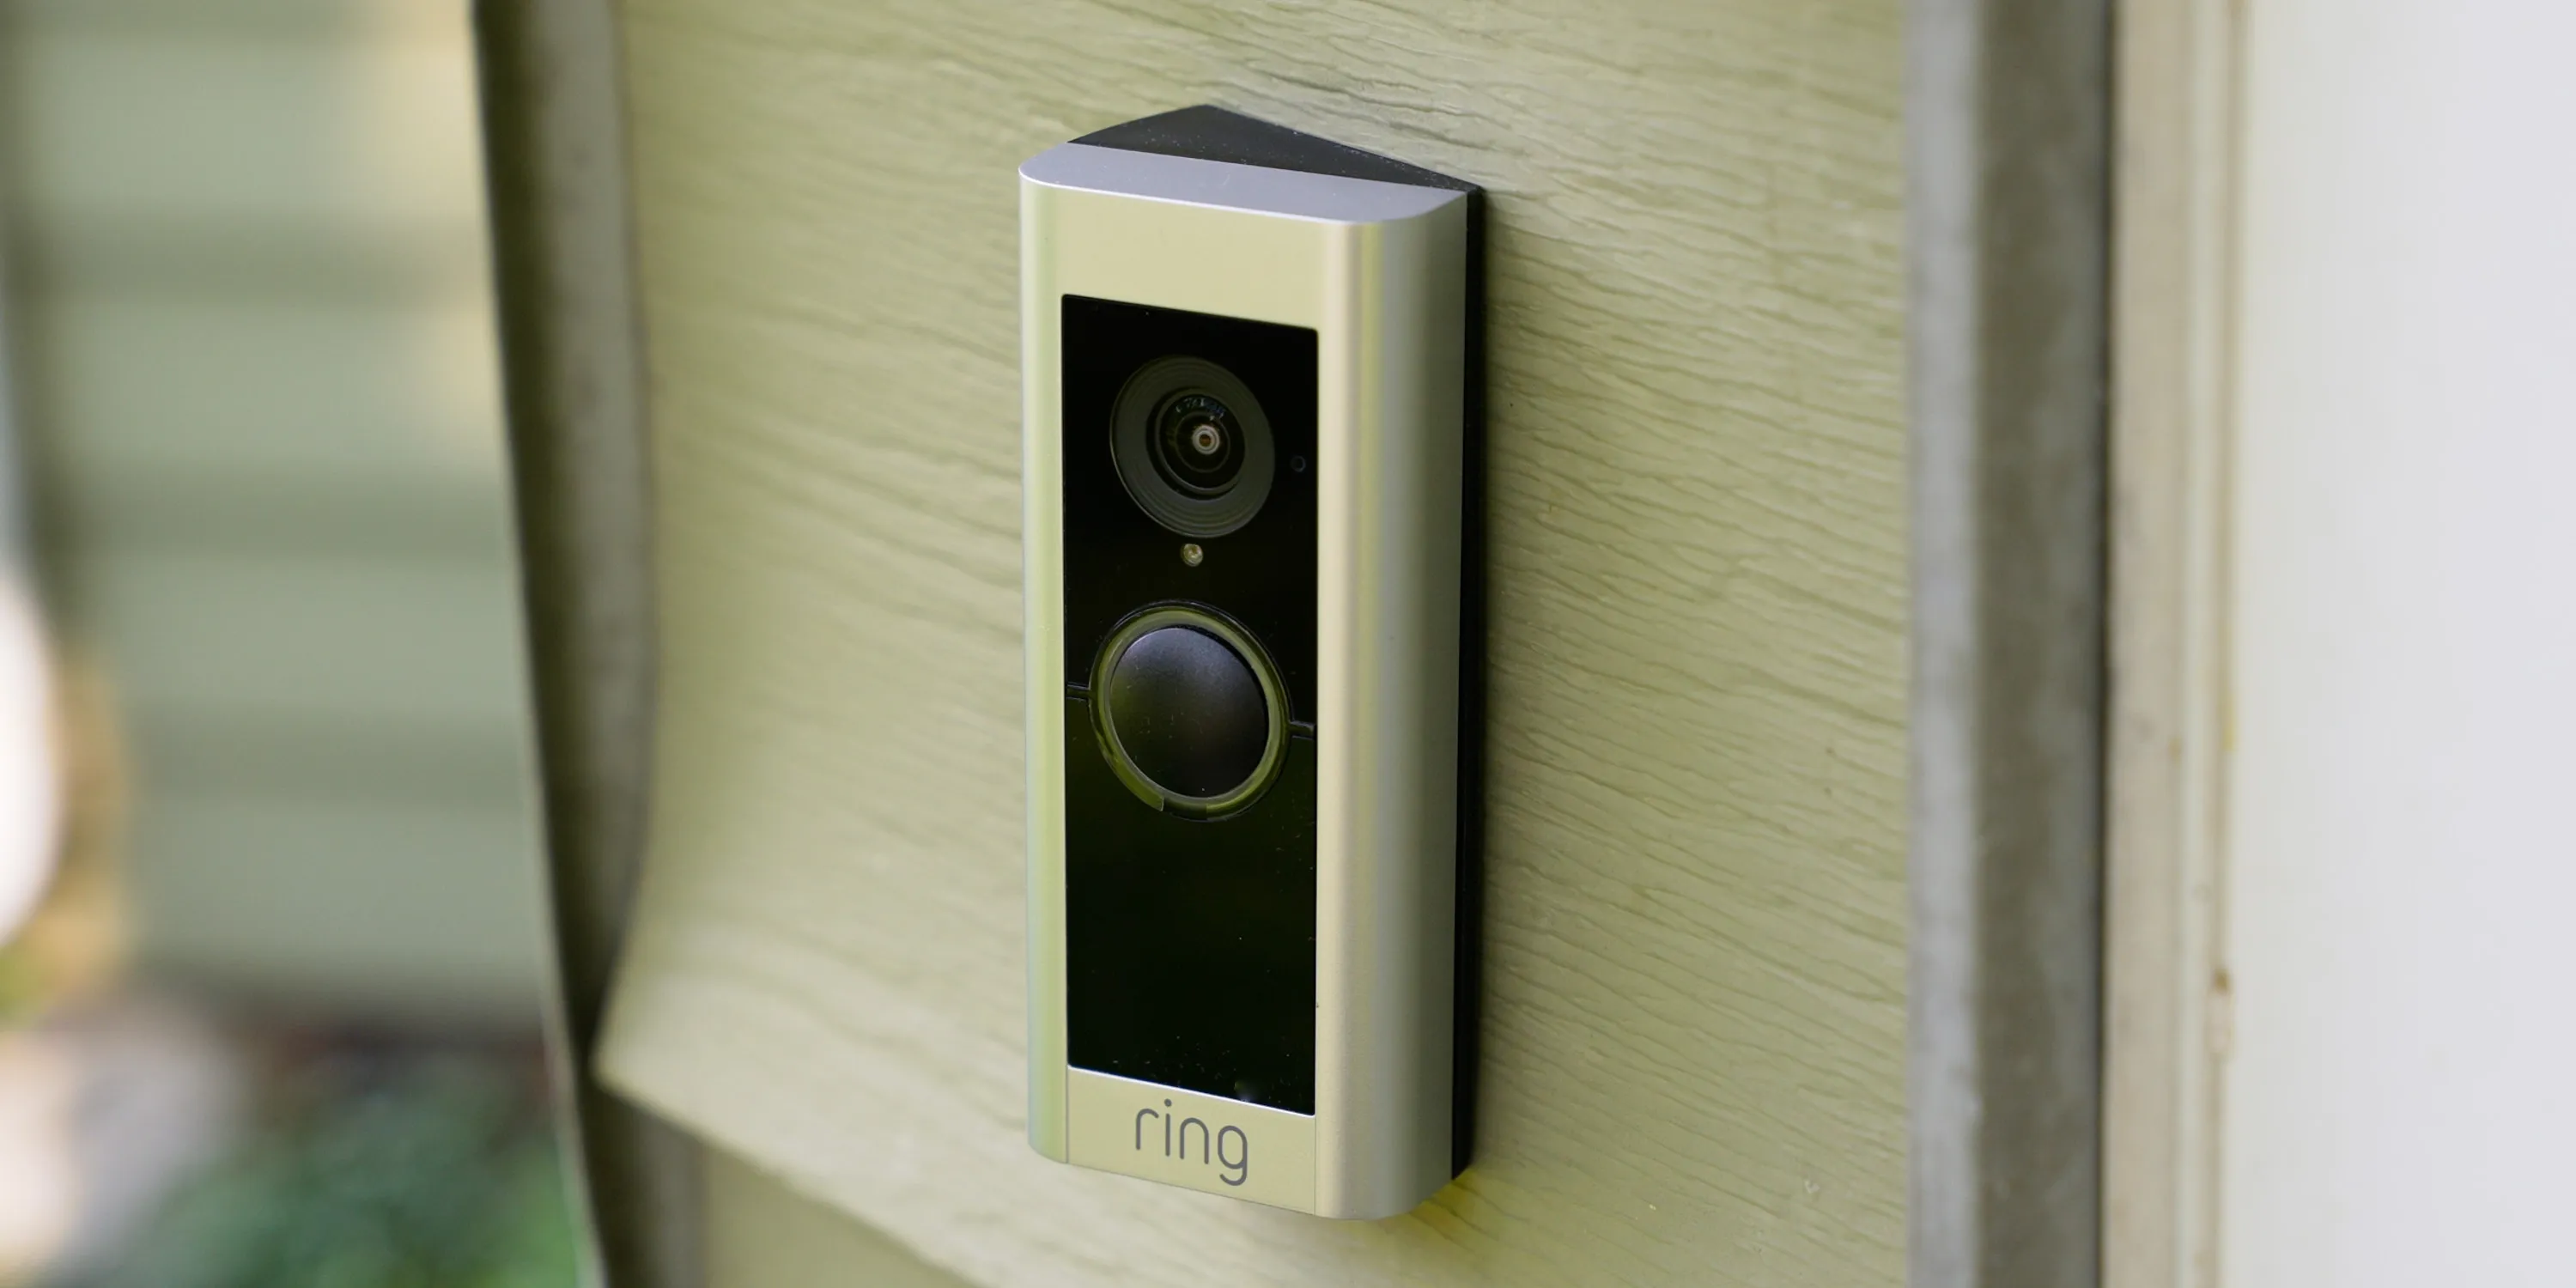
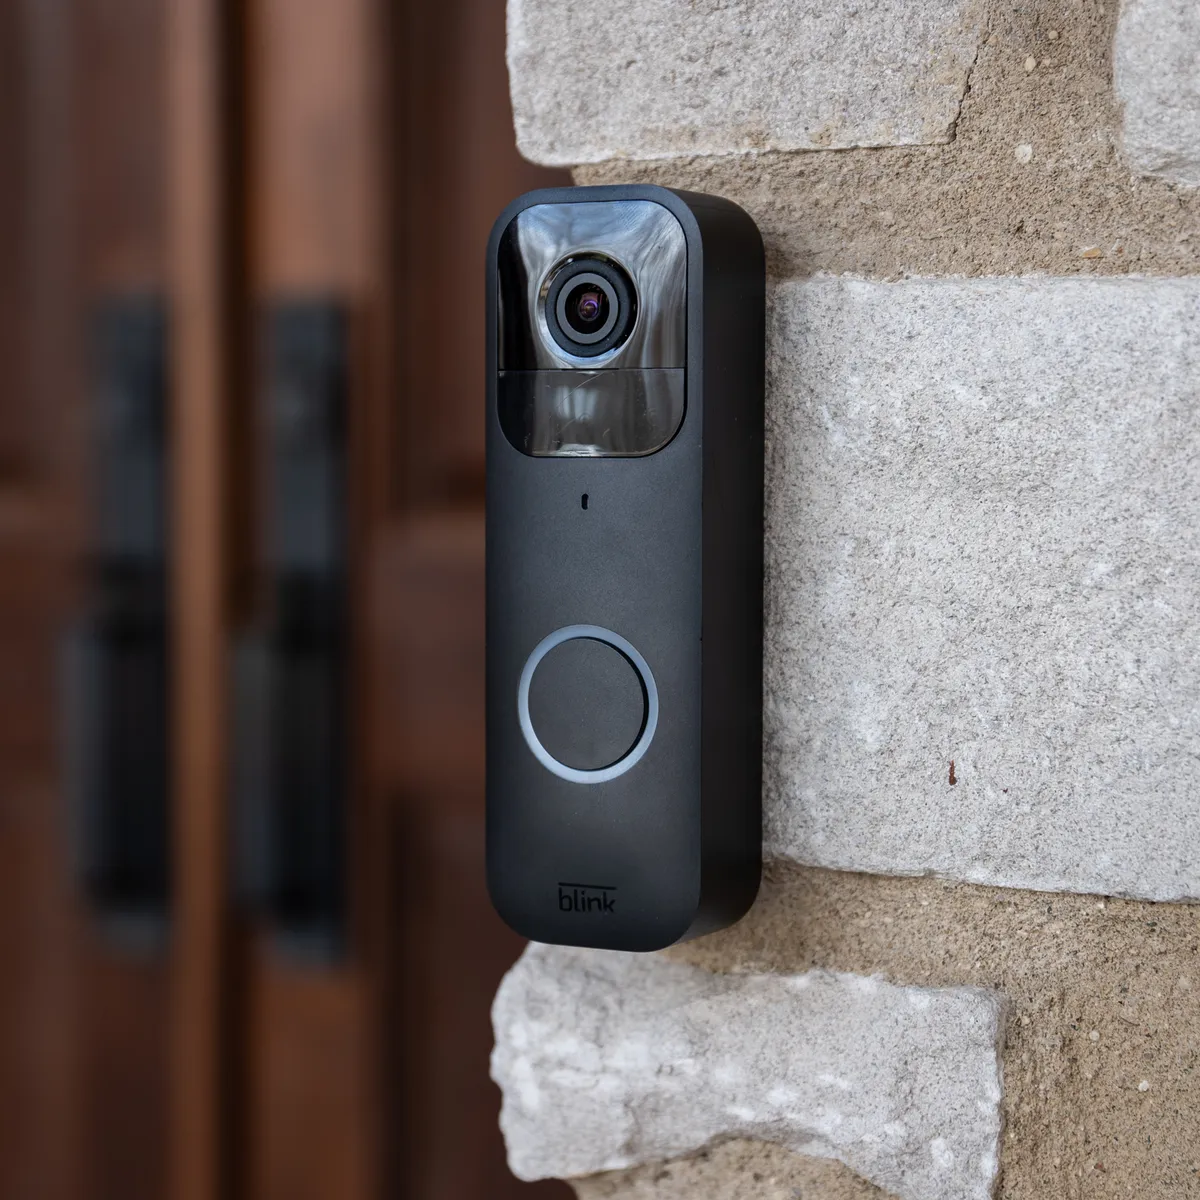
The Notifi Elite Video Doorbell is a sleek and compact device that comes equipped with a high-definition camera, motion sensors, a microphone, and a speaker. It is designed to fit seamlessly into any home exterior.
The mounting bracket is used to secure the doorbell to your wall or door frame. Ensure that it is sturdy and properly aligned before moving forward with the installation.
The screws provided are specifically designed for installing the Notifi Elite Video Doorbell. Make sure you have the correct size screwdriver to ensure a secure installation.
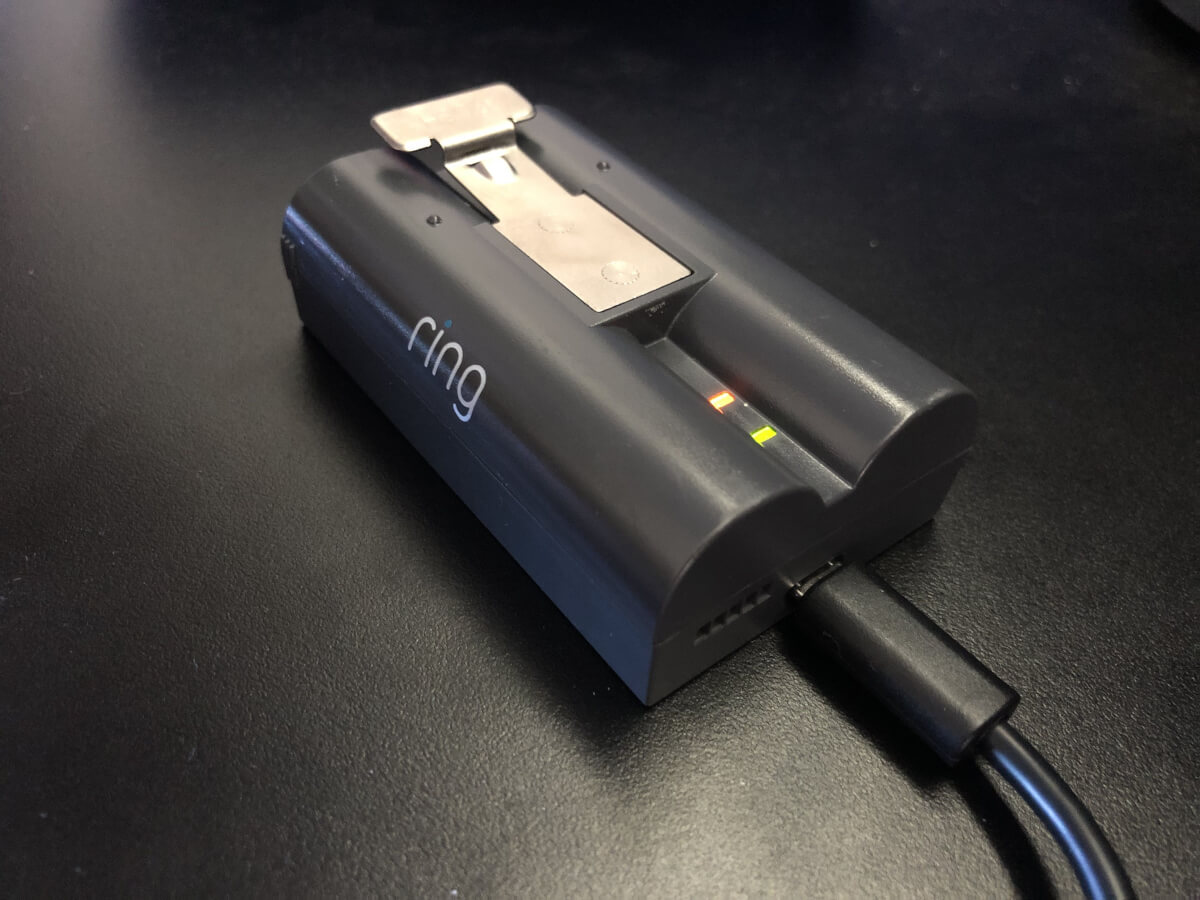
The power adapter is used to connect the doorbell to a power source. Depending on your home’s setup, you may need to use an existing doorbell wiring or opt for a plug-in power adapter.
Last but not least, the chime module is an optional accessory that provides you with an audible alert inside your home when someone presses the doorbell. This can be useful if you want to hear the doorbell ring even when you’re not near your phone or other connected devices.
Once you have confirmed that all the components are present and in good condition, you’re ready to move on to the next step of the installation process.
Step 2: Assessing your Doorbell Setup requirements
Before proceeding with the installation of the Notifi Elite Video Doorbell, it’s crucial to assess your doorbell setup requirements. This step will help you determine whether any adjustments or modifications are needed to ensure a seamless installation.
Start by examining your existing doorbell system. If you already have a traditional doorbell installed, it’s important to understand how it’s currently wired and powered. In some cases, it may be possible to reuse the existing wiring, making the installation process much simpler.
If you don’t have an existing doorbell system or if the current wiring is incompatible, you may need to consider alternative power options. The Notifi Elite Video Doorbell can be powered either through existing doorbell wiring or by using a plug-in power adapter. Evaluate which option works best for your setup and ensure that you have the necessary power source available.
Next, consider the placement of the doorbell. The Notifi Elite Video Doorbell should be mounted at a height that allows for optimal video coverage and clear audio communication. Take into account any obstructions such as walls or protrusions that may obstruct the field of view or audio transmission.
If necessary, use a ladder to access the desired mounting location and ensure that the surface is secure and suitable for installation. Make sure to read the manufacturer’s guidelines for recommended mounting heights and installation surfaces.
In addition to the doorbell itself, consider whether you want to install the optional chime module. This module provides an audible alert inside your home when someone presses the doorbell. If you decide to use the chime module, ensure that you have a power outlet nearby to connect it.
By thoroughly assessing your doorbell setup requirements, you will be able to anticipate any challenges or modifications needed during the installation process. This will help streamline the overall process and ensure a successful installation of the Notifi Elite Video Doorbell.
Step 3: Preparing for Installation
Before you can install the Notifi Elite Video Doorbell, it’s important to properly prepare for the installation process. This step will help ensure a smooth and efficient installation with minimal disruptions.
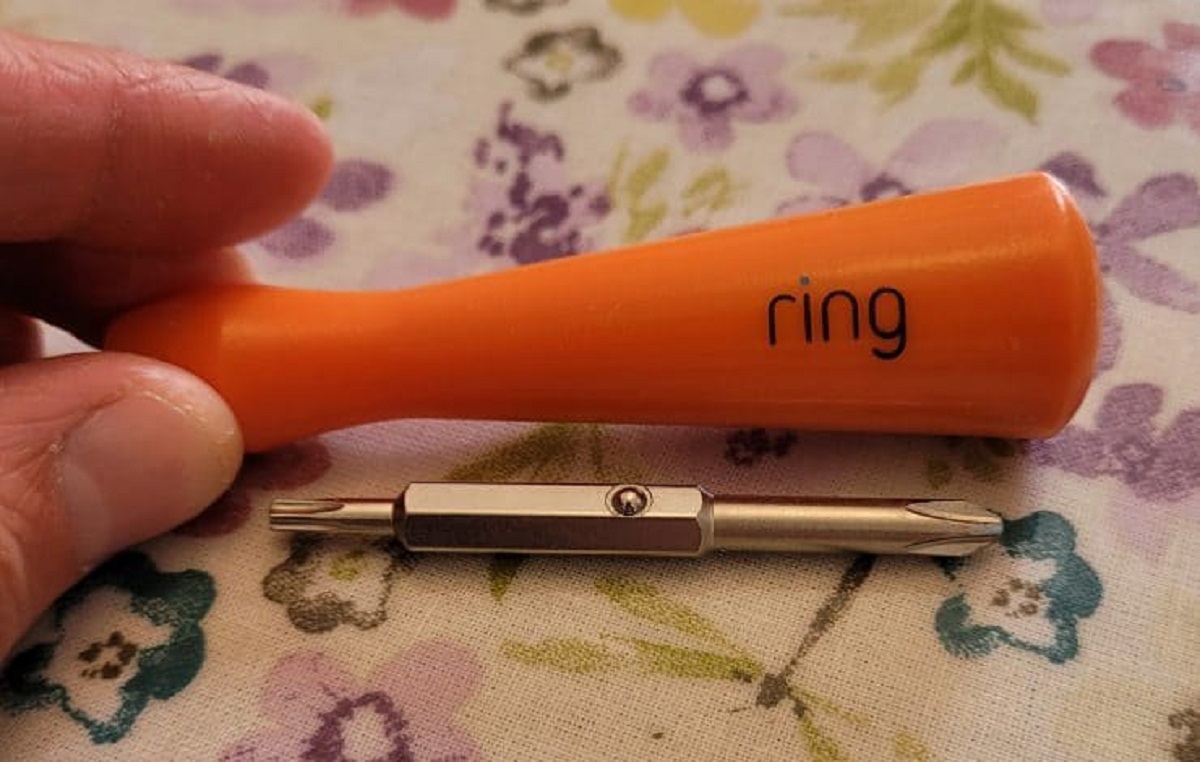
First, gather all the necessary tools and equipment. You’ll need a screwdriver, a power drill (if required for mounting), a ladder (if needed to access the installation location), and safety gear such as gloves and safety glasses.
Next, cut the power to your existing doorbell system. This will prevent any accidental electrical shocks during the installation process. Locate the circuit breaker or fuse box in your home and turn off the power supply to the doorbell circuit.
If you’re using the existing doorbell wiring for power, double-check that the power is indeed turned off by testing the voltage with a voltage tester. Safety should always be a priority when dealing with electrical installations.
Once the power is turned off, carefully remove the faceplate or cover of your existing doorbell to expose the wiring behind it. Inspect the wiring for any signs of damage or wear and make any necessary repairs or replacements before proceeding.
If you’re starting from scratch or using a plug-in power adapter, identify the nearest power outlet or access point. Ensure that it’s in close proximity to the desired mounting location of the Notifi Elite Video Doorbell. You may need to use an extension cord or wire concealment options to ensure a clean and organized installation.
Lastly, clean the installation area and ensure that it’s free from dirt, dust, or debris. A clean and smooth surface allows for secure mounting and helps maintain the longevity of the doorbell’s components.
By properly preparing for the installation, you’ll minimize the risk of accidents, ensure a reliable power source, and create an optimal environment for the Notifi Elite Video Doorbell. Now that you’re fully prepared, you’re ready to move on to the next step: installing the doorbell!
Step 4: Installing the Notifi Elite Video Doorbell
Now that you’ve prepared for the installation, it’s time to install the Notifi Elite Video Doorbell. Follow these step-by-step instructions to ensure a successful installation:
1. Begin by positioning the mounting bracket on the desired location, whether it’s on your wall or door frame. Use a level to ensure that the bracket is perfectly aligned. Mark the screw holes with a pencil for reference.
2. If you’re mounting the doorbell onto a solid surface such as wood or metal, use the provided screws to secure the mounting bracket in place. If you’re mounting onto a different surface, make sure to use appropriate anchors or screws that are suitable for the material.
3. Once the mounting bracket is securely in place, connect the wiring from your existing doorbell or power adapter to the labeled terminals on the back of the Notifi Elite Video Doorbell. If you’re using doorbell wiring, match the appropriate wires (usually labeled “Front” and “Trans”) to their corresponding terminals. Make sure the connections are tight and secure.
4. Carefully slide the Notifi Elite Video Doorbell onto the mounted bracket and press it flush against the wall. Ensure that it’s securely attached, double-checking that it’s properly aligned and level.
5. With the doorbell mounted, re-establish the power supply to your doorbell system. Turn on the power at the circuit breaker or fuse box, or plug in the power adapter.
6. Wait for the Notifi Elite Video Doorbell to power up and initialize. This may take a few moments. The doorbell’s LED indicator should light up, indicating that it’s ready for configuration.
7. Test the doorbell by pressing the button or triggering the motion sensor. If properly installed, you should hear the doorbell chime and see the live video feed on your smartphone or other connected devices.
By following these steps, you’ll have successfully installed the Notifi Elite Video Doorbell. Take a moment to admire your handiwork and move on to the next step: connecting the chime module (optional) for added convenience.
Step 5: Connecting the Chime Module
If you have opted to install the optional chime module, follow these instructions to connect it to your Notifi Elite Video Doorbell:
1. Locate a suitable power outlet inside your home, preferably within close proximity to the Notifi Elite Video Doorbell. Ensure that the power outlet is functional and accessible.
2. Connect the power adapter of the chime module to the power outlet. Make sure it is securely plugged in and receiving power.
3. On the chime module itself, identify the pairing button or switch. Press and hold the pairing button for a few seconds until the LED indicator starts to flash, indicating that it’s ready to pair with the Notifi Elite Video Doorbell.
4. On the Notifi Elite Video Doorbell, access the device’s settings through the associated mobile app or web interface. Look for the option to connect the chime module and follow the on-screen instructions to complete the pairing process.
5. Once the pairing is successful, you should hear a test chime coming from the chime module. This confirms that the connection between the Notifi Elite Video Doorbell and the chime module has been established.
6. Test the doorbell by pressing the button or triggering the motion sensor. You should now hear the chime sound from the chime module inside your home when someone rings the doorbell.
Note: If you experience any difficulties during the pairing process, refer to the user manual for troubleshooting steps or contact the manufacturer’s customer support for assistance.
By connecting the chime module, you enhance the convenience of the Notifi Elite Video Doorbell, ensuring that you can hear and respond to doorbell activity even when you’re not near your smartphone or other connected devices.
You’ve successfully connected the chime module. Now, let’s move on to the next step: configuring the Notifi Elite Video Doorbell!
Step 6: Configuring the Notifi Elite Video Doorbell
After installing the Notifi Elite Video Doorbell and connecting the chime module (if applicable), it’s time to configure the device to match your preferences and ensure optimal functionality. Follow these steps to complete the configuration process:
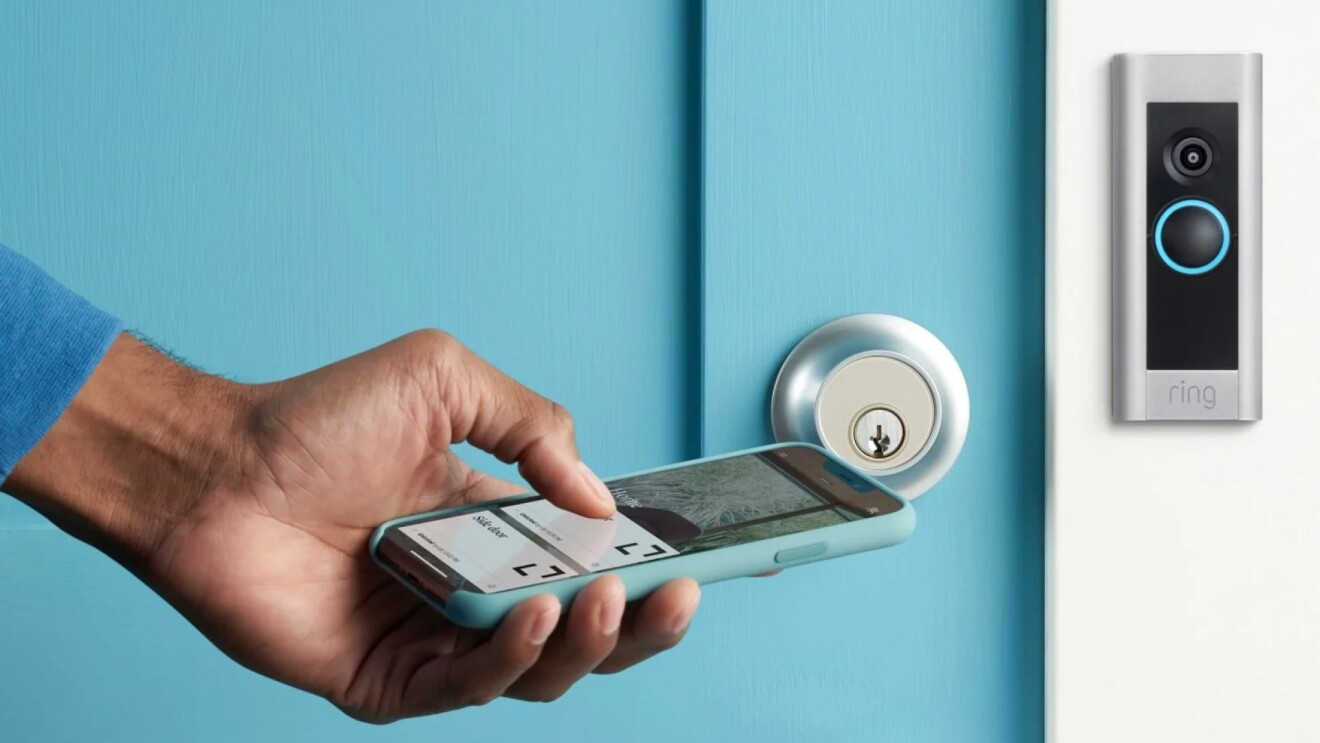
1. Launch the associated mobile app or access the web interface that corresponds with the Notifi Elite Video Doorbell. If you haven’t already downloaded the app, visit the app store on your smartphone and search for the Notifi Elite Video Doorbell app. Install and open the app to access the configuration menu.
2. Create an account or sign in using your existing credentials. Follow the on-screen prompts to complete the account setup process. This account will allow you to access and control your Notifi Elite Video Doorbell remotely.
3. Once you’re signed in, locate the option to add a new device or connect an existing device. Select the appropriate option and follow the instructions provided by the app or web interface to pair the Notifi Elite Video Doorbell with your account.
4. During the configuration process, you may be prompted to connect the device to your home’s Wi-Fi network. Make sure you have the network name (SSID) and password handy. Follow the steps to connect the doorbell to your network, ensuring a stable and secure connection.
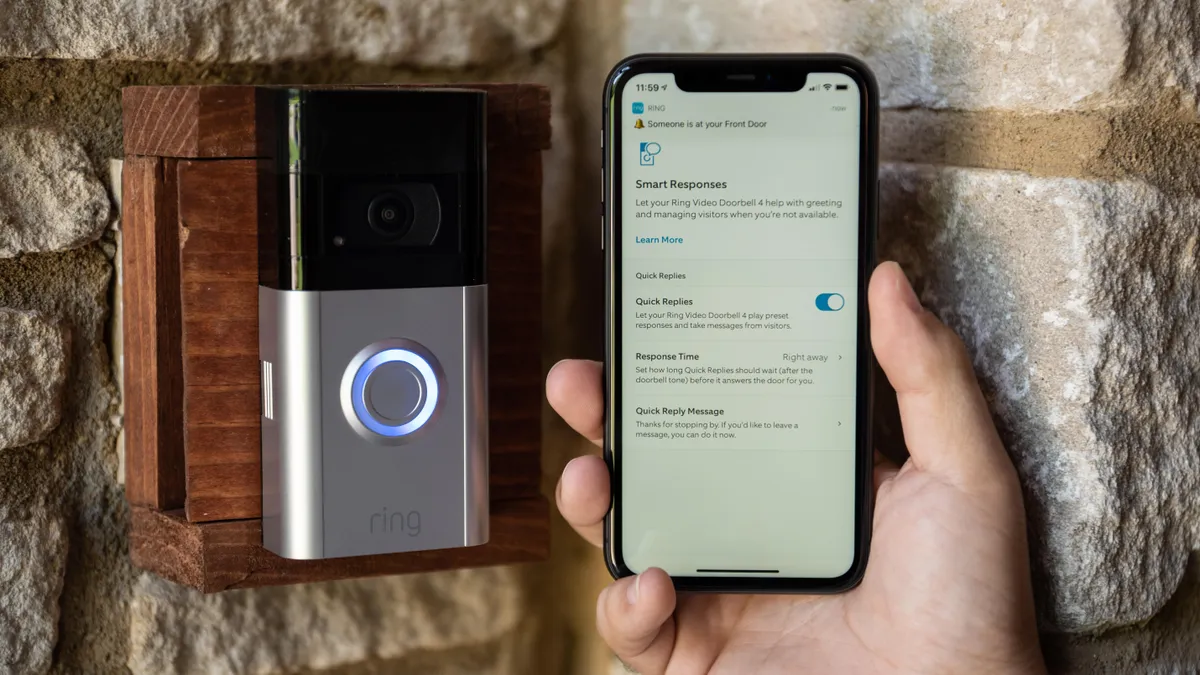
5. Once the Notifi Elite Video Doorbell is connected to your account and Wi-Fi network, explore the app or web interface to customize the device’s settings. Options may include adjusting motion detection sensitivity, enabling alerts and notifications, specifying video recording preferences, and setting up additional features such as facial recognition or two-way audio communication.
6. Take the time to familiarize yourself with the different features and settings available. This will allow you to tailor the Notifi Elite Video Doorbell to suit your specific needs and preferences.
7. Perform a test by ringing the doorbell or triggering the motion sensor to ensure that notifications, live video streaming, and other desired functions are working properly. Make any necessary adjustments to the settings to optimize performance.
By configuring the Notifi Elite Video Doorbell, you personalize the device to meet your specific requirements. This step ensures that you have control over its features and that it aligns with your home security needs.
Now that you’ve successfully configured the Notifi Elite Video Doorbell, it’s time for the final step: testing the device to ensure everything is functioning as expected.
Step 7: Testing the Notifi Elite Video Doorbell
Once you have completed the installation and configuration of the Notifi Elite Video Doorbell, it’s crucial to conduct a thorough test to ensure that all the features are working as expected. Follow these steps to test the functionality of your video doorbell:
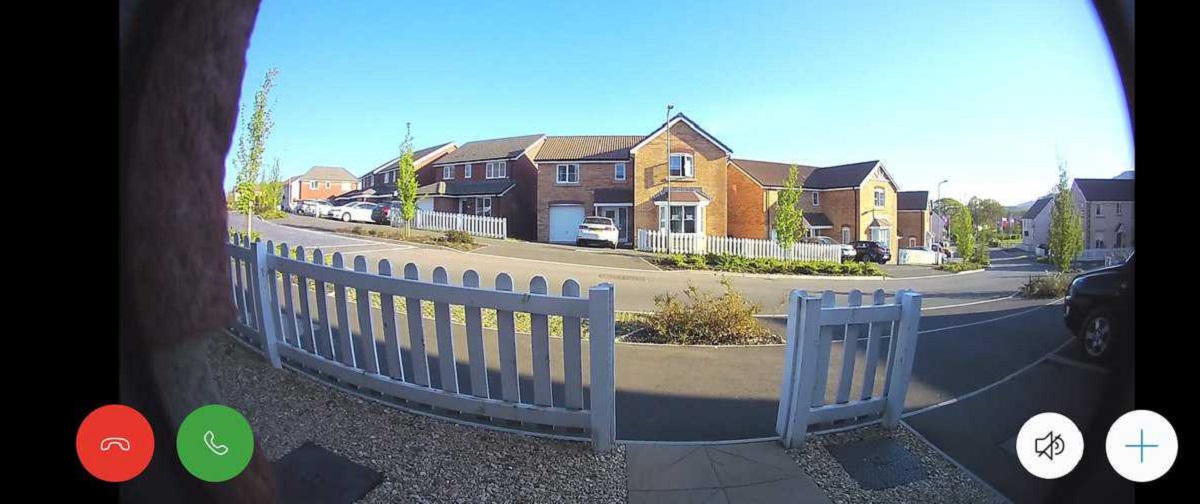
1. Start by checking the live video feed. Open the associated mobile app or access the web interface and select the option to view the live feed from your Notifi Elite Video Doorbell. Make sure you can see a clear and high-definition video stream of your front entrance.
2. Test the motion detection feature by walking within the camera’s range. Ensure that you receive an alert on your smartphone or other connected devices when motion is detected. Adjust the sensitivity settings if needed to avoid false notifications.
3. Ring the doorbell to check the audio and two-way communication. Your smartphone or connected devices should receive an alert and provide you with the option to answer the doorbell. Test the audio clarity and make sure you can effectively communicate with whoever is at the door.
4. If you have installed the optional chime module, verify that it produces the desired sound when the doorbell is pressed. Make sure the chime is audible from different areas of your home and adjust the volume if necessary.
5. Test the night vision capability of the Notifi Elite Video Doorbell. Wait until it’s dark and observe if the camera switches to night vision mode automatically. Ensure that you have a clear and visible view of your front entrance, even in low light conditions.
6. Check the recorded video playback feature. Review the recorded video footage captured by the Notifi Elite Video Doorbell, whether it’s triggered by motion detection or doorbell activation. Make sure the recordings are clear and accessible from the app or web interface.
7. Lastly, test the connection between the Notifi Elite Video Doorbell and your smartphone or other connected devices. Ensure that you can receive timely notifications, access the live video feed, and control the device remotely without any connectivity issues.
By conducting a comprehensive test, you can be confident that your Notifi Elite Video Doorbell is functioning as intended and providing you with the added security and convenience you desire. If you encounter any issues during the testing process, consult the user manual or contact customer support for assistance.
Now that you have tested the Notifi Elite Video Doorbell, you can enjoy the peace of mind that comes with enhanced home security and the ability to monitor your front entrance from anywhere.
Conclusion
Congratulations! You have successfully completed the installation and setup process for the Notifi Elite Video Doorbell. By following the steps outlined in this guide, you have transformed your front entrance into a secure and convenient space, allowing you to monitor and interact with visitors remotely.
The Notifi Elite Video Doorbell offers a range of advanced features, including high-definition video streaming, motion detection alerts, two-way audio communication, and optional chime module integration. These features work together to enhance the security of your home and provide you with peace of mind.
Throughout the installation process, you unboxed the Notifi Elite Video Doorbell, assessed your doorbell setup requirements, prepared for installation, installed the doorbell and connected the chime module, configured the settings to meet your preferences, and conducted a thorough test to ensure optimal functionality.
Remember, proper installation and configuration are key to maximizing the performance of the Notifi Elite Video Doorbell. If you encounter any issues or have specific questions about the device, refer to the user manual or contact customer support for assistance.
Now that you have the Notifi Elite Video Doorbell installed, take advantage of its capabilities by keeping the necessary maintenance in mind. Clean the lens periodically, ensure the device is receiving proper power, and stay updated with firmware upgrades issued by the manufacturer.
By investing in the Notifi Elite Video Doorbell and following this installation guide, you have taken a proactive step in improving the security and convenience of your home. Enjoy the peace of mind that comes with knowing you can monitor your front entrance from anywhere and have control over who enters your property.
Thank you for choosing the Notifi Elite Video Doorbell. We hope this guide has been helpful, and we wish you a seamless and enjoyable experience with your new video doorbell.