Introduction
Welcome to this guide on how to hook up a surround sound system to an Emerson TV. If you’re looking to elevate your audio experience while enjoying your favorite movies, shows, or games, having a surround sound system can truly make a difference. By connecting your Emerson TV to a surround sound system, you can immerse yourself in rich, cinematic sound that enhances your viewing pleasure.
Emerson is a popular brand that offers a range of high-quality TVs with various audio output options. Whether you have an older model or a newer one, this guide will provide you with step-by-step instructions on how to connect your Emerson TV to a surround sound system. With just a few simple steps, you’ll be able to enjoy a more immersive and immersive audio experience from the comfort of your own home.
Before we get started, it’s essential to note that the specific steps and connections may vary depending on the model of your Emerson TV and the type of surround sound system you have. It’s always a good idea to consult the user manuals and documentation that came with your devices for more detailed instructions. However, in this guide, we will provide you with a general overview of the process.
Now, without further ado, let’s dive into the steps required to hook up your Emerson TV to a surround sound system and enhance your audio experience.
Step 1: Check the audio outputs on your Emerson TV
Before connecting your Emerson TV to a surround sound system, the first step is to identify the available audio outputs on your TV. This is crucial as it will determine the type of connection you can establish with your surround sound system.
Take a close look at the back or side of your Emerson TV and locate the audio output ports. The most common types of audio outputs found on Emerson TVs include HDMI ARC (Audio Return Channel), optical audio output, and analog audio outputs such as RCA or 3.5mm headphone jack.
If your Emerson TV has an HDMI ARC port, it is recommended to use this option for the best audio quality and ease of setup. HDMI ARC allows for two-way communication between your TV and your surround sound system, making it convenient to control the sound system using your TV remote.
If your Emerson TV doesn’t have an HDMI ARC port, you can still connect using other audio outputs. The optical audio output is another common option that provides a high-quality digital audio connection. Alternatively, you can use the analog audio outputs by connecting cables from the TV’s RCA or headphone jack outputs to the corresponding inputs on your surround sound system.
Once you have identified the available audio outputs on your Emerson TV, make a note of them. This information will be essential when it comes to selecting the appropriate cables and making the necessary connections in the subsequent steps.
Step 2: Determine the type of surround sound system you have
After identifying the audio outputs on your Emerson TV, the next step is to determine the type of surround sound system you have. This is important because different surround sound systems have varying input options and requirements for connecting to a TV.
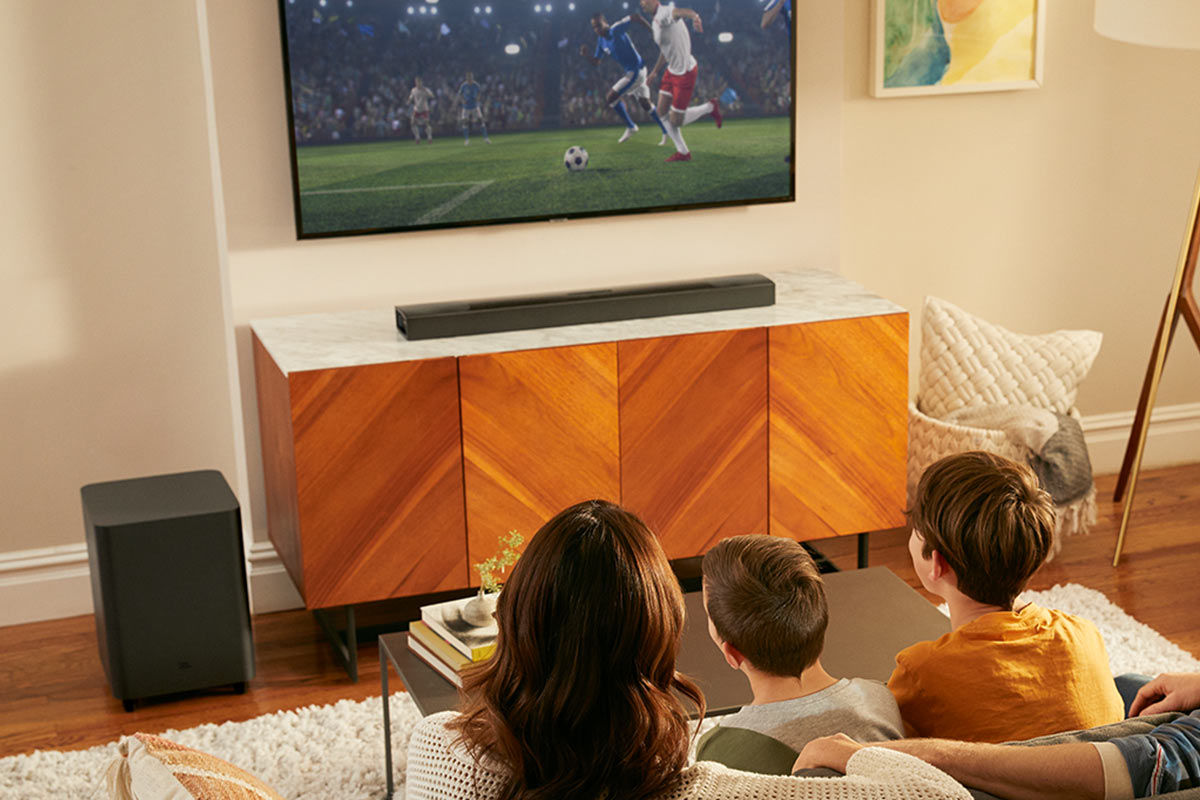
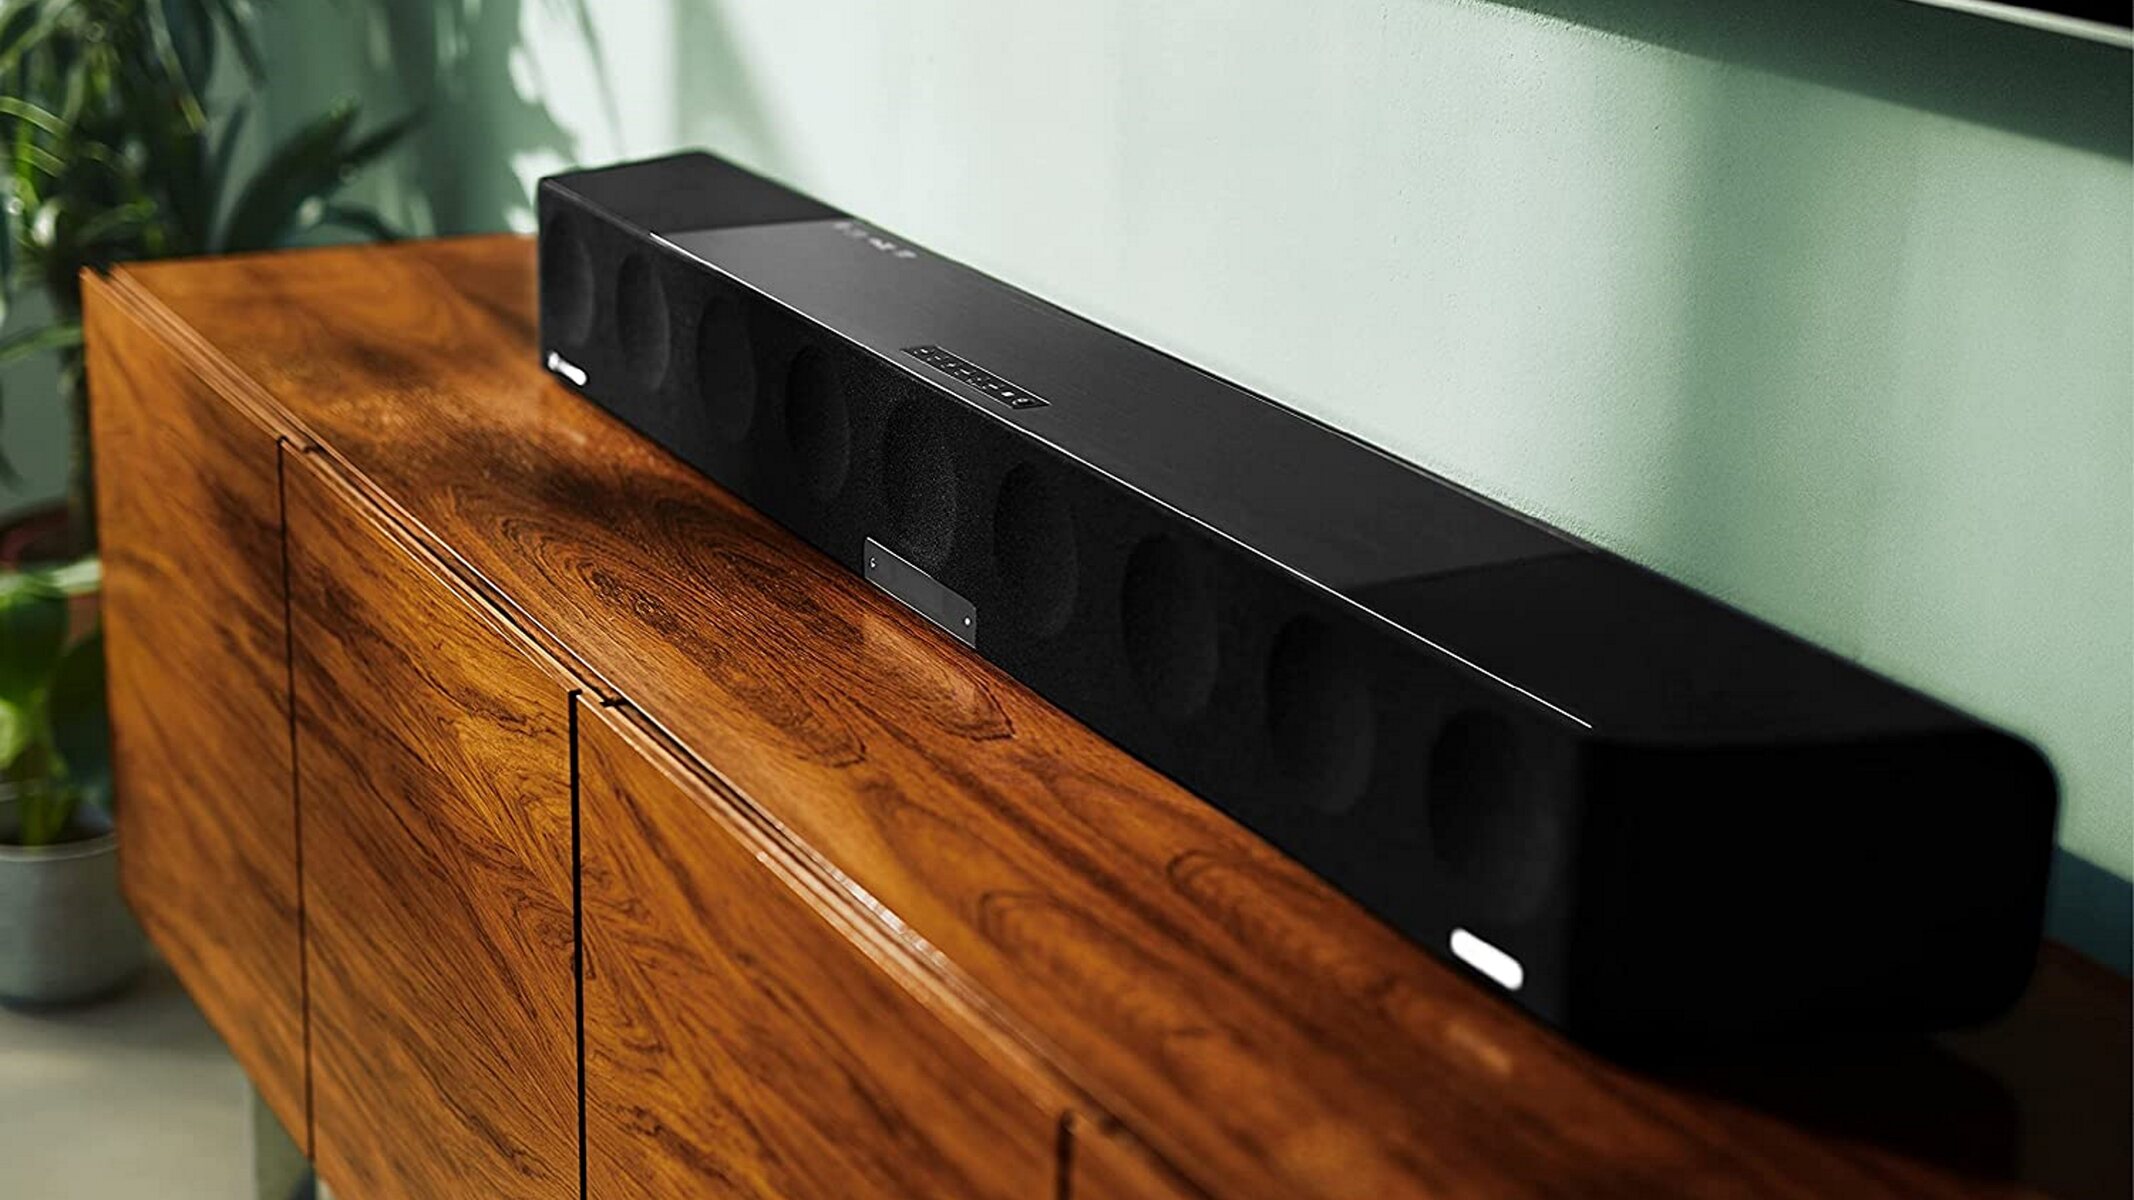
There are several types of surround sound systems available, such as soundbars, home theater systems, and AV receivers with separate speakers. Each type has its own audio input options and setup procedures.
If you have a soundbar, it typically connects to your Emerson TV using HDMI ARC or optical audio, depending on the available input ports on both devices. Some soundbars may also have an HDMI input, allowing you to connect your other media devices directly to the soundbar and then route the audio to the TV.
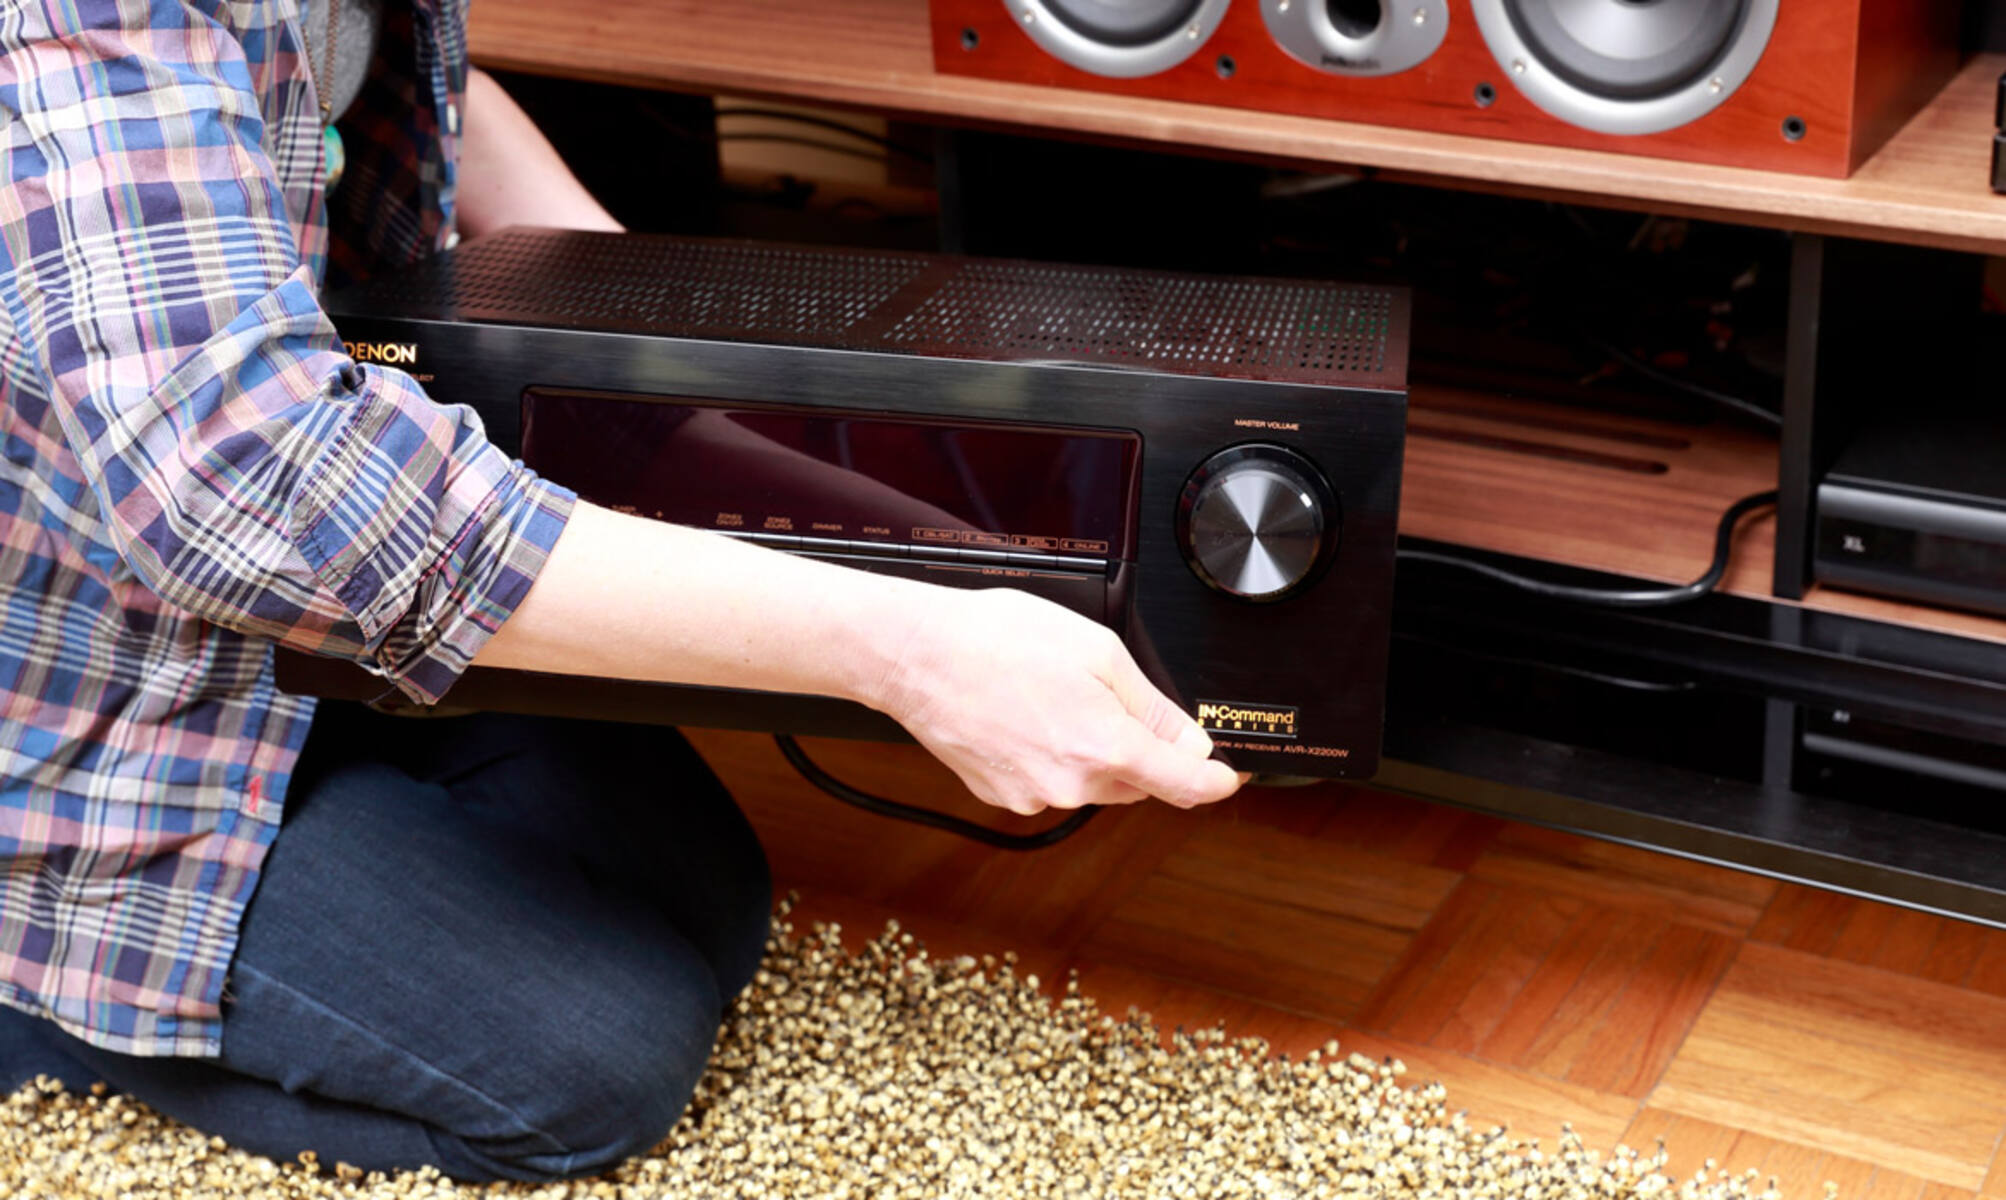
A home theater system usually consists of a receiver unit and multiple speakers. The receiver acts as the central hub for audio inputs and outputs, while the speakers provide surround sound. In this case, you will need to connect the receiver to your Emerson TV using HDMI ARC, optical audio, or analog audio cables, depending on the available options.
If you have an AV receiver with separate speakers, the setup process may be a bit more complex. You will need to connect the receiver to your Emerson TV using HDMI ARC or other audio outputs, and then connect the individual speakers to the receiver using speaker wires or other compatible cables.
Understanding the type of surround sound system you have will help you gather the necessary cables and accessories required for the connection process. Refer to the user manual or documentation of your specific surround sound system to familiarize yourself with its inputs and recommended setup guidelines.
Once you have determined the type of surround sound system you own and know its input options, you’re ready to move on to the next step of connecting it to your Emerson TV.
Step 3: Connect the HDMI cable from the surround sound system to the HDMI ARC port on the Emerson TV
If both your Emerson TV and surround sound system have HDMI ARC capabilities, connecting them using an HDMI cable is the most convenient and efficient option.
First, locate the HDMI ARC port on your Emerson TV. It is usually labeled as “HDMI ARC” or “ARC” and is often found on the back or side of the TV. Make sure to take note of its location.
Next, find the HDMI ARC output on your surround sound system. This is also typically labeled “HDMI ARC” or “ARC,” and can usually be found on the back of the receiver unit.
Once you have identified both the HDMI ARC port on your Emerson TV and the HDMI ARC output on your surround sound system, you can now connect them with an HDMI cable.
Take one end of the HDMI cable and plug it into the HDMI ARC output on your surround sound system. Ensure that it is securely inserted into the port to establish a stable connection.
Then, take the other end of the HDMI cable and insert it into the HDMI ARC port on your Emerson TV. Again, make sure it is firmly connected to avoid any audio or video interruptions.
Once the HDMI cable is properly connected between the surround sound system and the Emerson TV’s HDMI ARC port, you have established a two-way audio connection. This means that the audio from your TV can be sent to the surround sound system, and the sound system can send audio back to the TV, all through a single HDMI cable.
Using HDMI ARC, you can control the volume and other audio settings of your surround sound system directly from your Emerson TV’s remote control. This eliminates the need for multiple remotes and provides a seamless user experience.
Now that the HDMI cable is connected, you can proceed to the next step of configuring the audio settings on your Emerson TV to ensure the audio is properly routed to the surround sound system.
Step 4: Configure the audio settings on your Emerson TV
After connecting your surround sound system to your Emerson TV via HDMI ARC, it’s important to configure the audio settings on your TV to ensure proper audio output.
Start by turning on your Emerson TV and accessing the settings menu. The exact process may vary depending on the model of your TV, but you can usually access the settings by pressing the Menu button on your remote control.
Once you are in the settings menu, look for the ‘Audio’ or ‘Sound’ settings. Here, you will find a variety of options related to audio output and settings.
The first setting to check is the audio output format. Select the option that corresponds to the capabilities of your surround sound system, such as Dolby Digital, DTS, or PCM. This ensures that the audio signal is compatible with your surround sound system and delivers the best audio quality.
Next, locate the option for audio output selection. Choose the HDMI ARC as the audio output source. This will enable the TV to send the audio signal to the surround sound system through the HDMI ARC connection.
Additionally, some Emerson TVs may have specific settings related to HDMI ARC functionality. Look for options such as ‘HDMI-CEC’ or ‘Audio Return Channel’ and make sure they are enabled. These settings allow for seamless control of your surround sound system through your TV remote.
Once you have made the necessary audio settings adjustments, save the changes and exit the settings menu. Your Emerson TV is now configured to route audio to your connected surround sound system.
It’s worth noting that if you have a soundbar or home theater system with alternative audio connection options, such as optical or analog, you will need to select the appropriate output source in the audio settings. Ensure that the audio output on your TV matches the audio input on your surround sound system for optimal performance.
With the audio settings properly configured on your Emerson TV, you are now ready to move on to the next step of connecting the speakers to the main receiver of your surround sound system.
Step 5: Connect the speakers to the main receiver of the surround sound system
In order to enjoy the immersive surround sound experience, you need to connect the speakers to the main receiver of your surround sound system.
Start by identifying the main receiver of your surround sound system. This is usually the central unit that controls the audio inputs and outputs, and it is where you will find the speaker connections.
Next, locate the speaker outputs on the main receiver. These are typically labeled as “Front,” “Center,” “Surround,” and “Subwoofer.” The number and types of speaker outputs can vary depending on the surround sound system model.
Take the speaker wires that came with your surround sound system and connect them to the corresponding outputs on the main receiver. Match the positive (+) and negative (-) terminals on the speakers with the corresponding terminals on the receiver.
Repeat this process for each speaker in your surround sound system. Connect the front speakers to the “Front” outputs, the center speaker to the “Center” output, the surround speakers to the “Surround” outputs, and the subwoofer to the “Subwoofer” output.
Ensure that each speaker wire is securely connected to both the receiver and the speakers. A loose connection can result in poor audio quality or a complete loss of sound.
If your surround sound system uses wireless speakers, consult the user manual for instructions on connecting and pairing the speakers with the main receiver.
Once all the speakers are connected, tidy up the wires and cables to avoid any trip hazards and to keep the setup neat and organized.
Now that the speakers are properly connected to the main receiver, you’re one step closer to experiencing the full potential of your surround sound system.
In the next step, we’ll power on the surround sound system and your Emerson TV to test the audio setup and make any necessary adjustments.
Step 6: Power on the surround sound system and Emerson TV
Now that you have connected the speakers to the main receiver of your surround sound system, it’s time to power on both the surround sound system and your Emerson TV.
Start by plugging in the power cords of both the surround sound system and the Emerson TV into a power outlet or surge protector. Make sure they are securely connected.
Locate the power buttons on both devices. Press the power button on the surround sound system to turn it on. Wait for the system to initialize and indicate that it is ready for operation. This may involve a startup sequence or an LED light indicating power.
Next, press the power button on your Emerson TV to turn it on. Allow the TV to boot up and establish a connection with the surround sound system.
As the TV and surround sound system power on, make sure to check the display or indicator lights on both devices. A properly connected and functioning system should show signs of power and connectivity.
Once both the surround sound system and Emerson TV are powered on, you should start to hear audio coming from the speakers. At this point, you can adjust the volume using either the TV remote or the remote control that came with your surround sound system.
If you’re not hearing any audio, ensure that all connections are secure, the correct input sources are selected, and the volume levels are properly adjusted on the TV and the surround sound system.
It’s also a good idea to refer to the user manuals for troubleshooting tips specific to your Emerson TV and surround sound system in case you run into any issues.
With both devices powered on, you’re ready to move on to the final step, which involves checking and testing the surround sound system with your Emerson TV.
Step 7: Test the surround sound system with your Emerson TV
After connecting and powering on your surround sound system and Emerson TV, the final step is to test the system and ensure that everything is functioning correctly.
Start by playing a movie, TV show, or any other media content on your Emerson TV. Set the volume to a comfortable level using the TV remote or the surround sound system’s remote control.
As the content plays, pay attention to the audio coming from the speakers. The surround sound system should create an immersive audio experience, with sound coming from different directions, enhancing the depth and realism of the audio.
Listen for the dialogue clarity from the center speaker, sound effects coming from the surround speakers, and powerful bass from the subwoofer. If any speaker seems to be significantly louder or softer than the others, you may need to adjust the individual speaker levels in the surround sound system settings.
During the testing phase, it’s also a good idea to try different audio sources, such as streaming services, Blu-ray discs, or gaming consoles. This will help you evaluate the surround sound system’s performance with various types of content.
Additionally, you can explore the audio settings on your Emerson TV and the surround sound system to customize the sound to your preferences. Experiment with different audio modes, equalizer settings, and other available options to find the optimal audio setup for your viewing enjoyment.
If you encounter any issues or have concerns about the audio performance, consult the user manuals for troubleshooting tips specific to your Emerson TV and surround sound system.
Once you are satisfied with the performance of your surround sound system and the audio output from your Emerson TV, sit back, relax, and enjoy the immersive audio experience that your new setup provides.
Remember that you can always make adjustments to the audio settings as needed, and feel free to explore additional audio features or accessories to further enhance your surround sound experience.
Congratulations! You have successfully connected and tested your surround sound system with your Emerson TV.
Conclusion
Congratulations on successfully hooking up your surround sound system to your Emerson TV! By following the step-by-step instructions in this guide, you have created an immersive audio setup that will elevate your home entertainment experience.
Starting with checking the audio outputs on your Emerson TV and determining the type of surround sound system you have, you made sure to connect them using the HDMI ARC port for optimal audio quality and convenience.
Through configuring the audio settings on your Emerson TV, you ensured that the audio signal is properly routed to your surround sound system, allowing for seamless control and compatibility.
Connecting the speakers to the main receiver of your surround sound system was a crucial step in creating the immersive surround sound experience. By double-checking the connections and ensuring they were secure, you set the stage for high-quality audio output.
Powering on both the surround sound system and Emerson TV, you enabled the devices to establish a connection and prepared them for the final step of testing.
Testing the surround sound system with your Emerson TV allowed you to assess the audio performance, ensuring that each speaker produced the desired sound quality and contributed to an immersive audio experience.
Now that you have successfully completed the setup and testing, sit back, relax, and enjoy your favorite movies, shows, or games with enhanced audio quality and a truly immersive atmosphere.
If you encounter any difficulties or have further questions, refer to the user manuals of your Emerson TV and surround sound system for troubleshooting tips specific to your devices.
Thank you for following this guide, and best of luck as you continue to enjoy your home entertainment system with the added benefit of surround sound.