Introduction
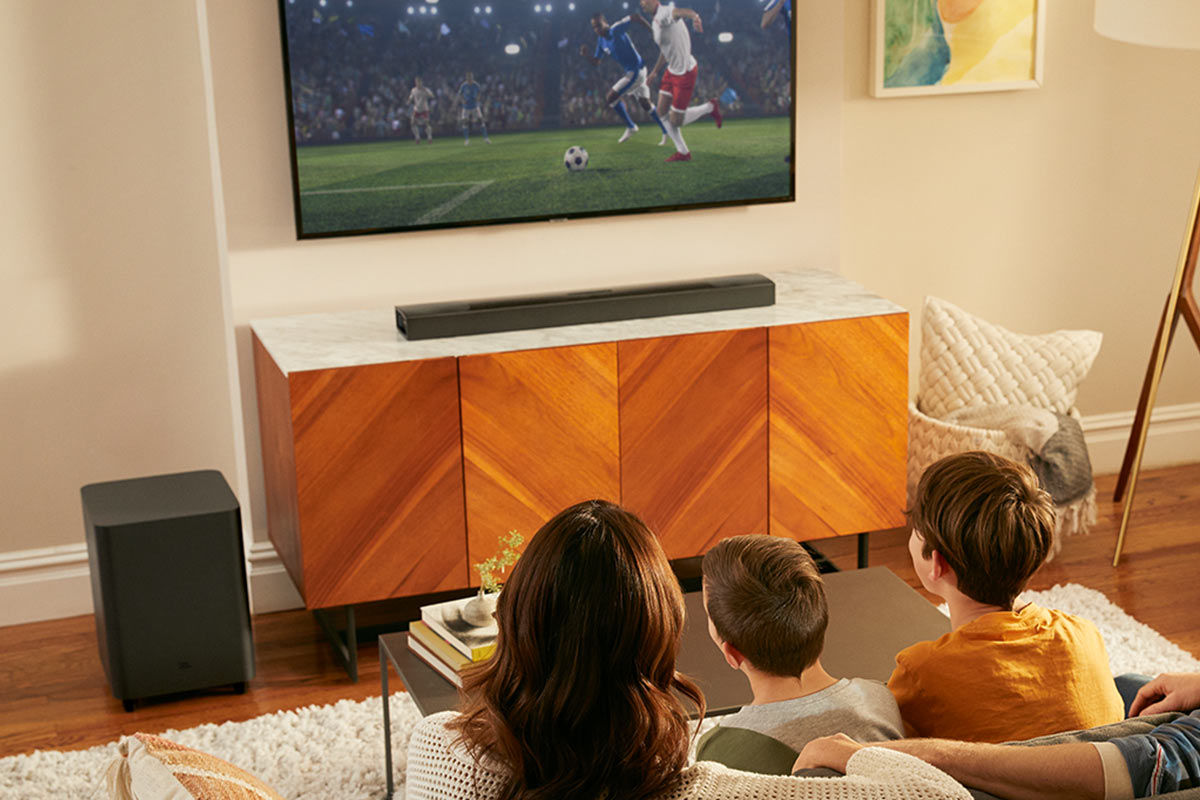
Setting up a surround sound system with your Dish receiver can greatly enhance your entertainment experience. Whether you’re watching movies, sports, or playing games, having immersive audio can make you feel like you’re right in the middle of all the action. But how do you hook up your Dish receiver to a surround sound system? In this article, we’ll guide you through the process step by step.
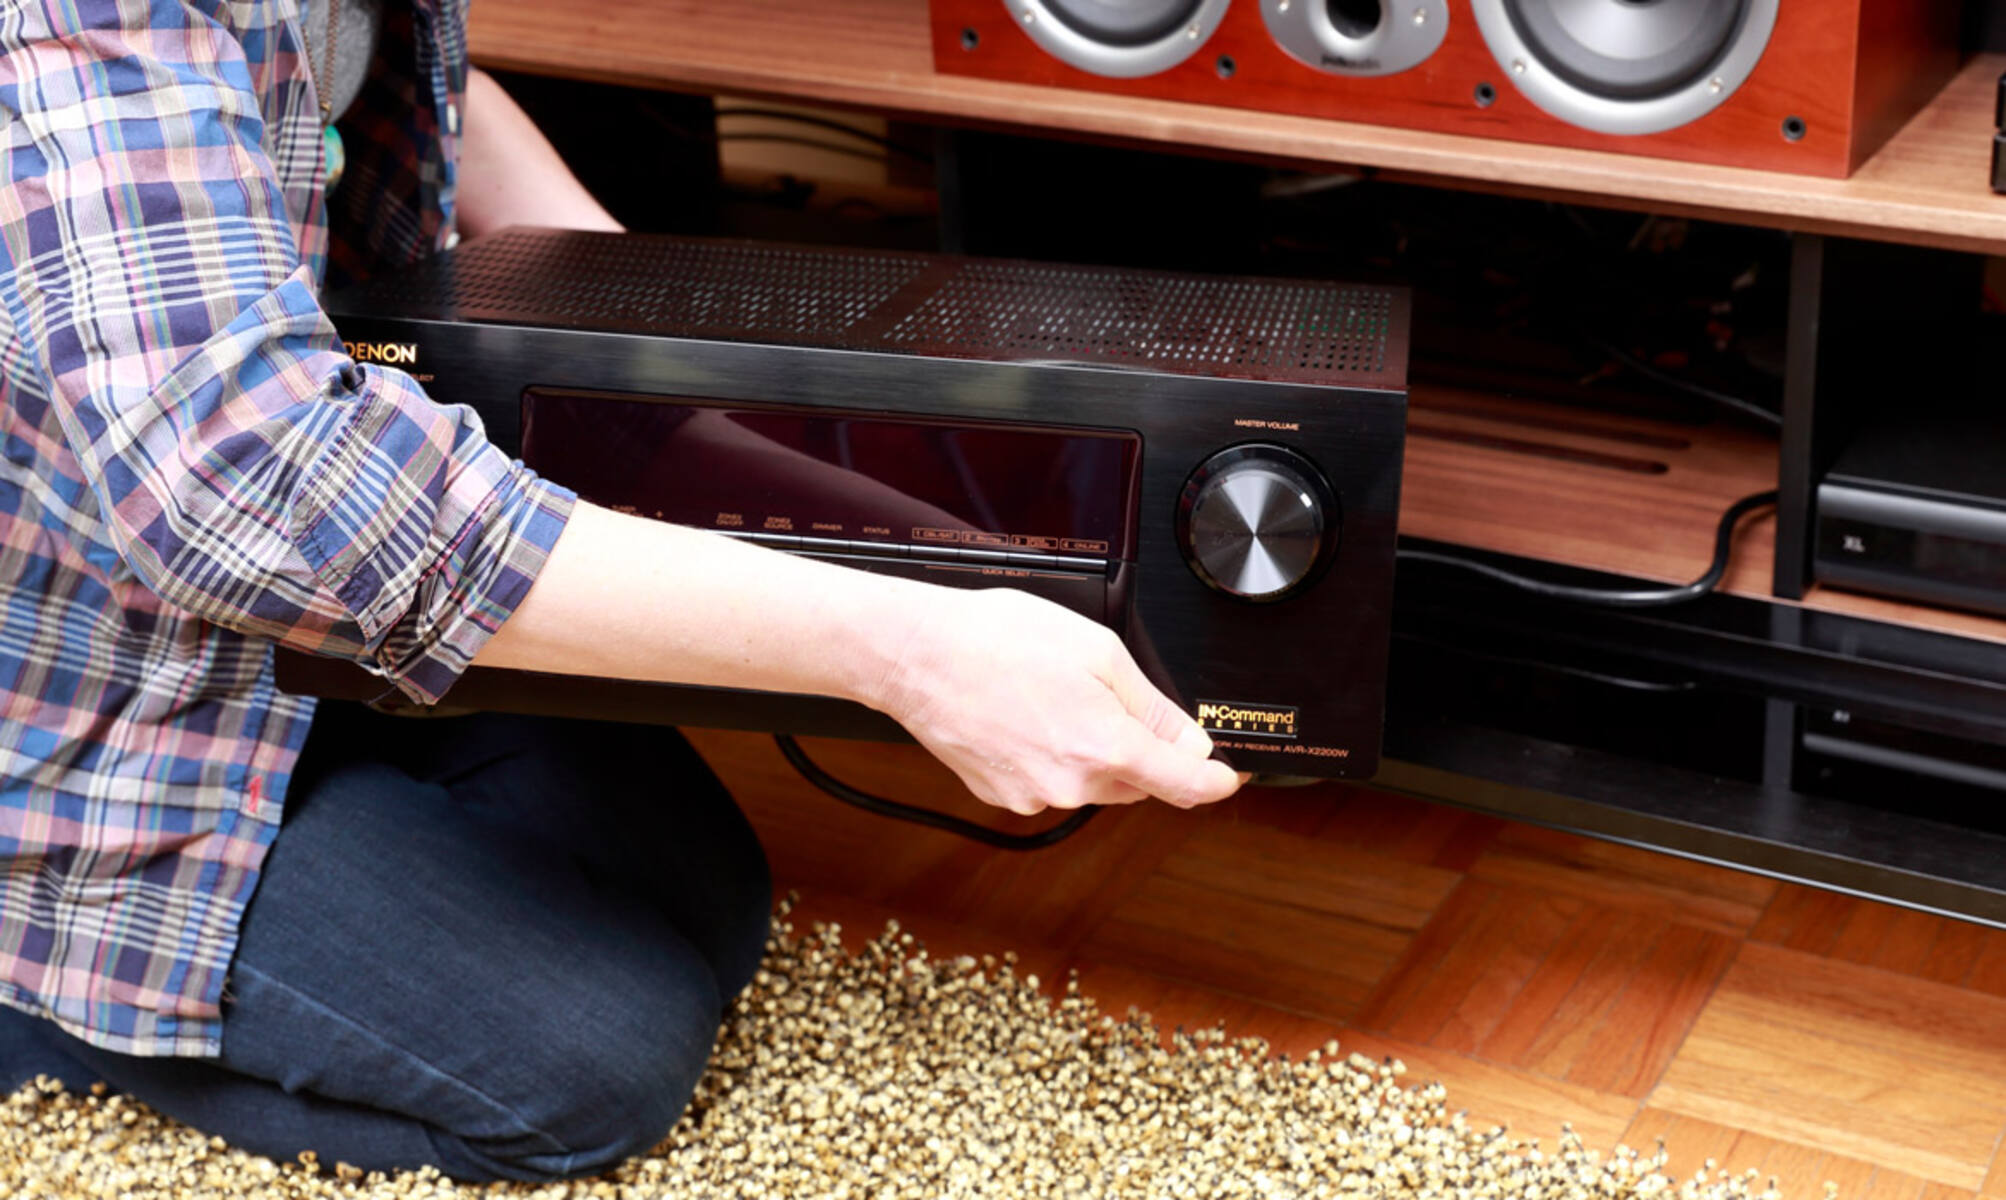
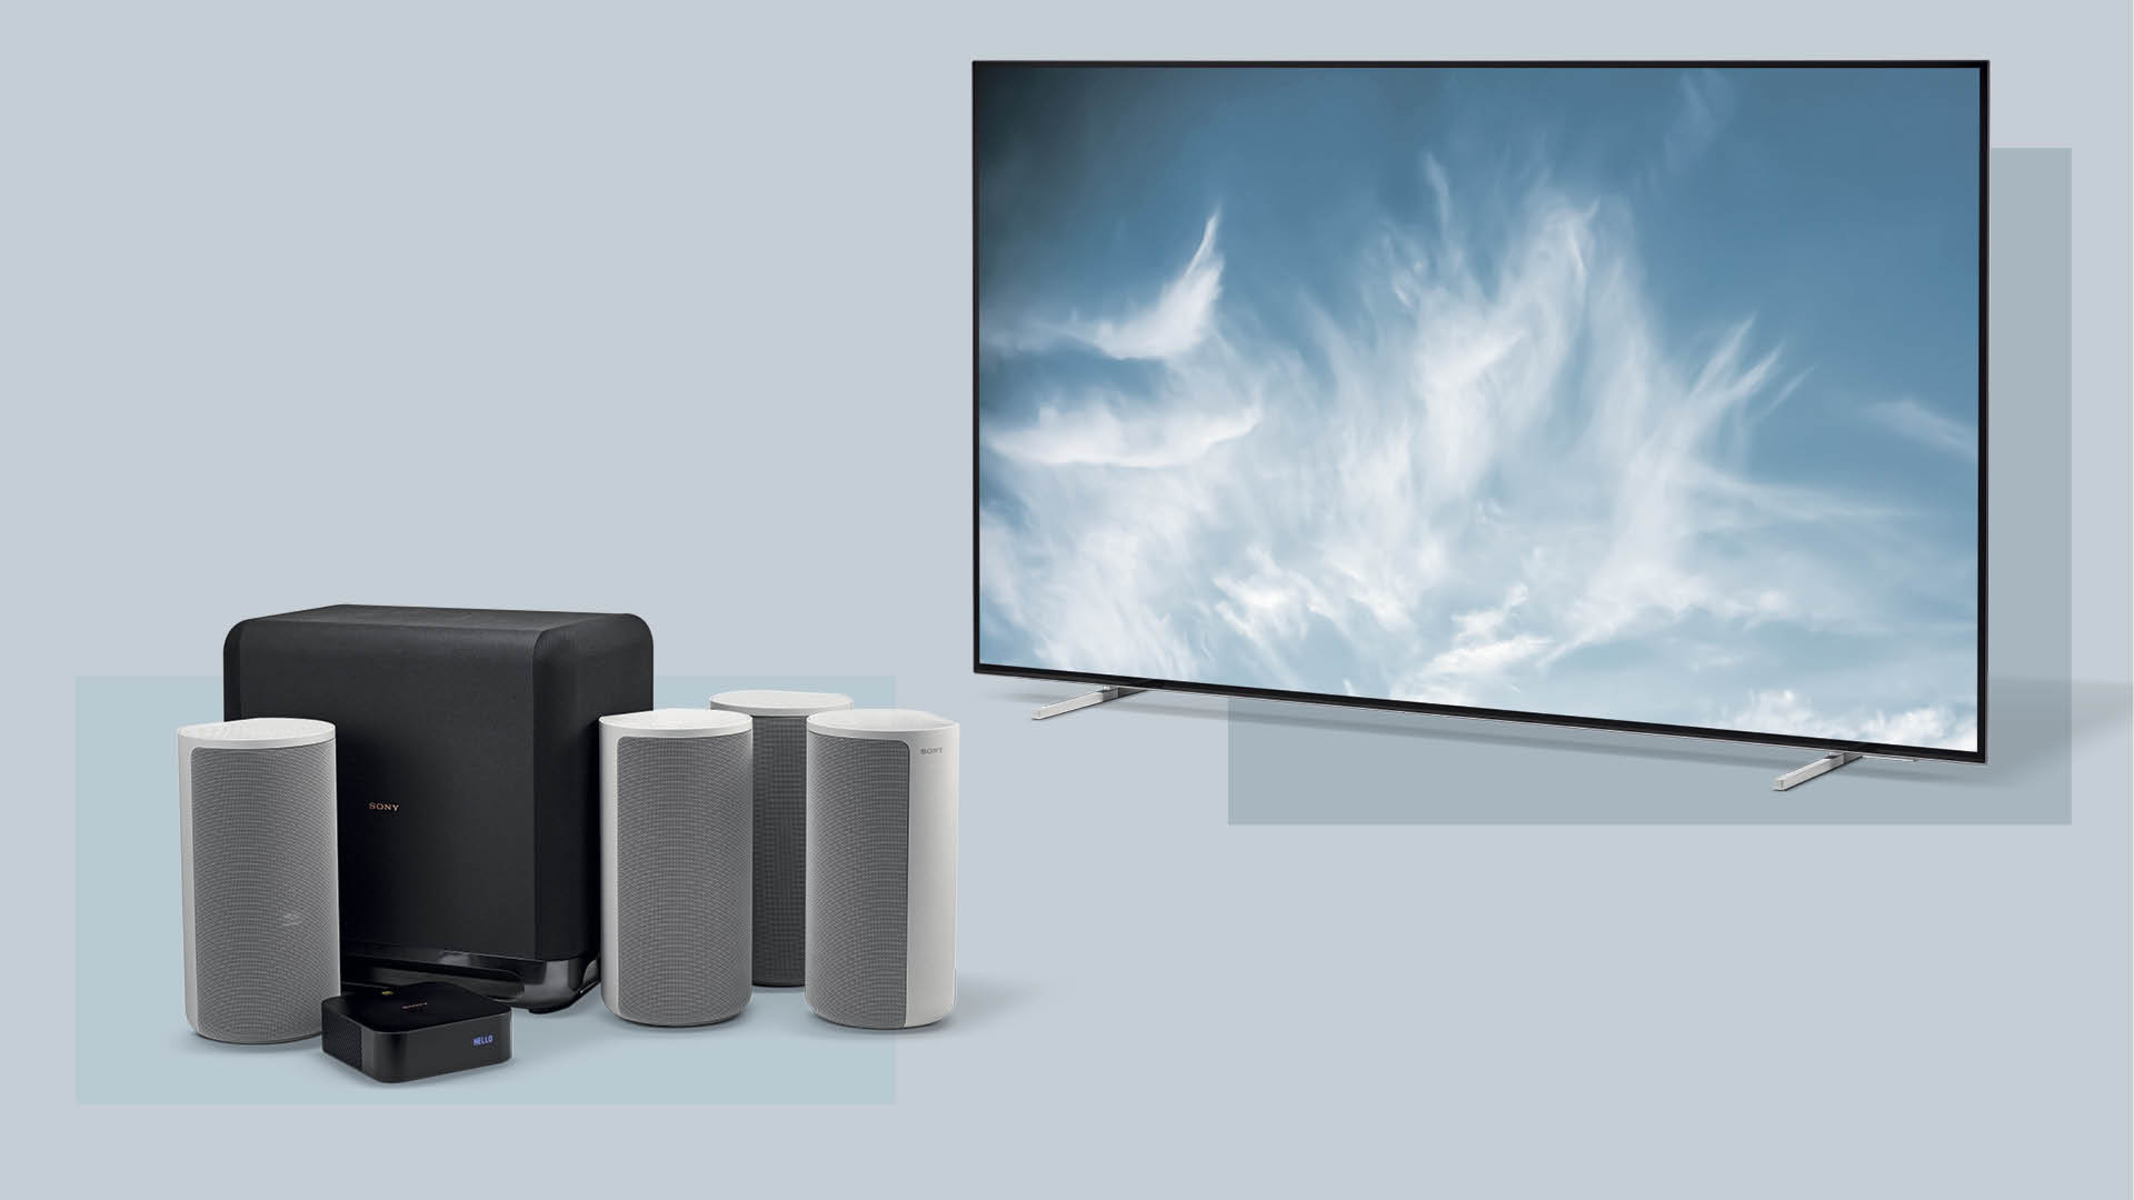
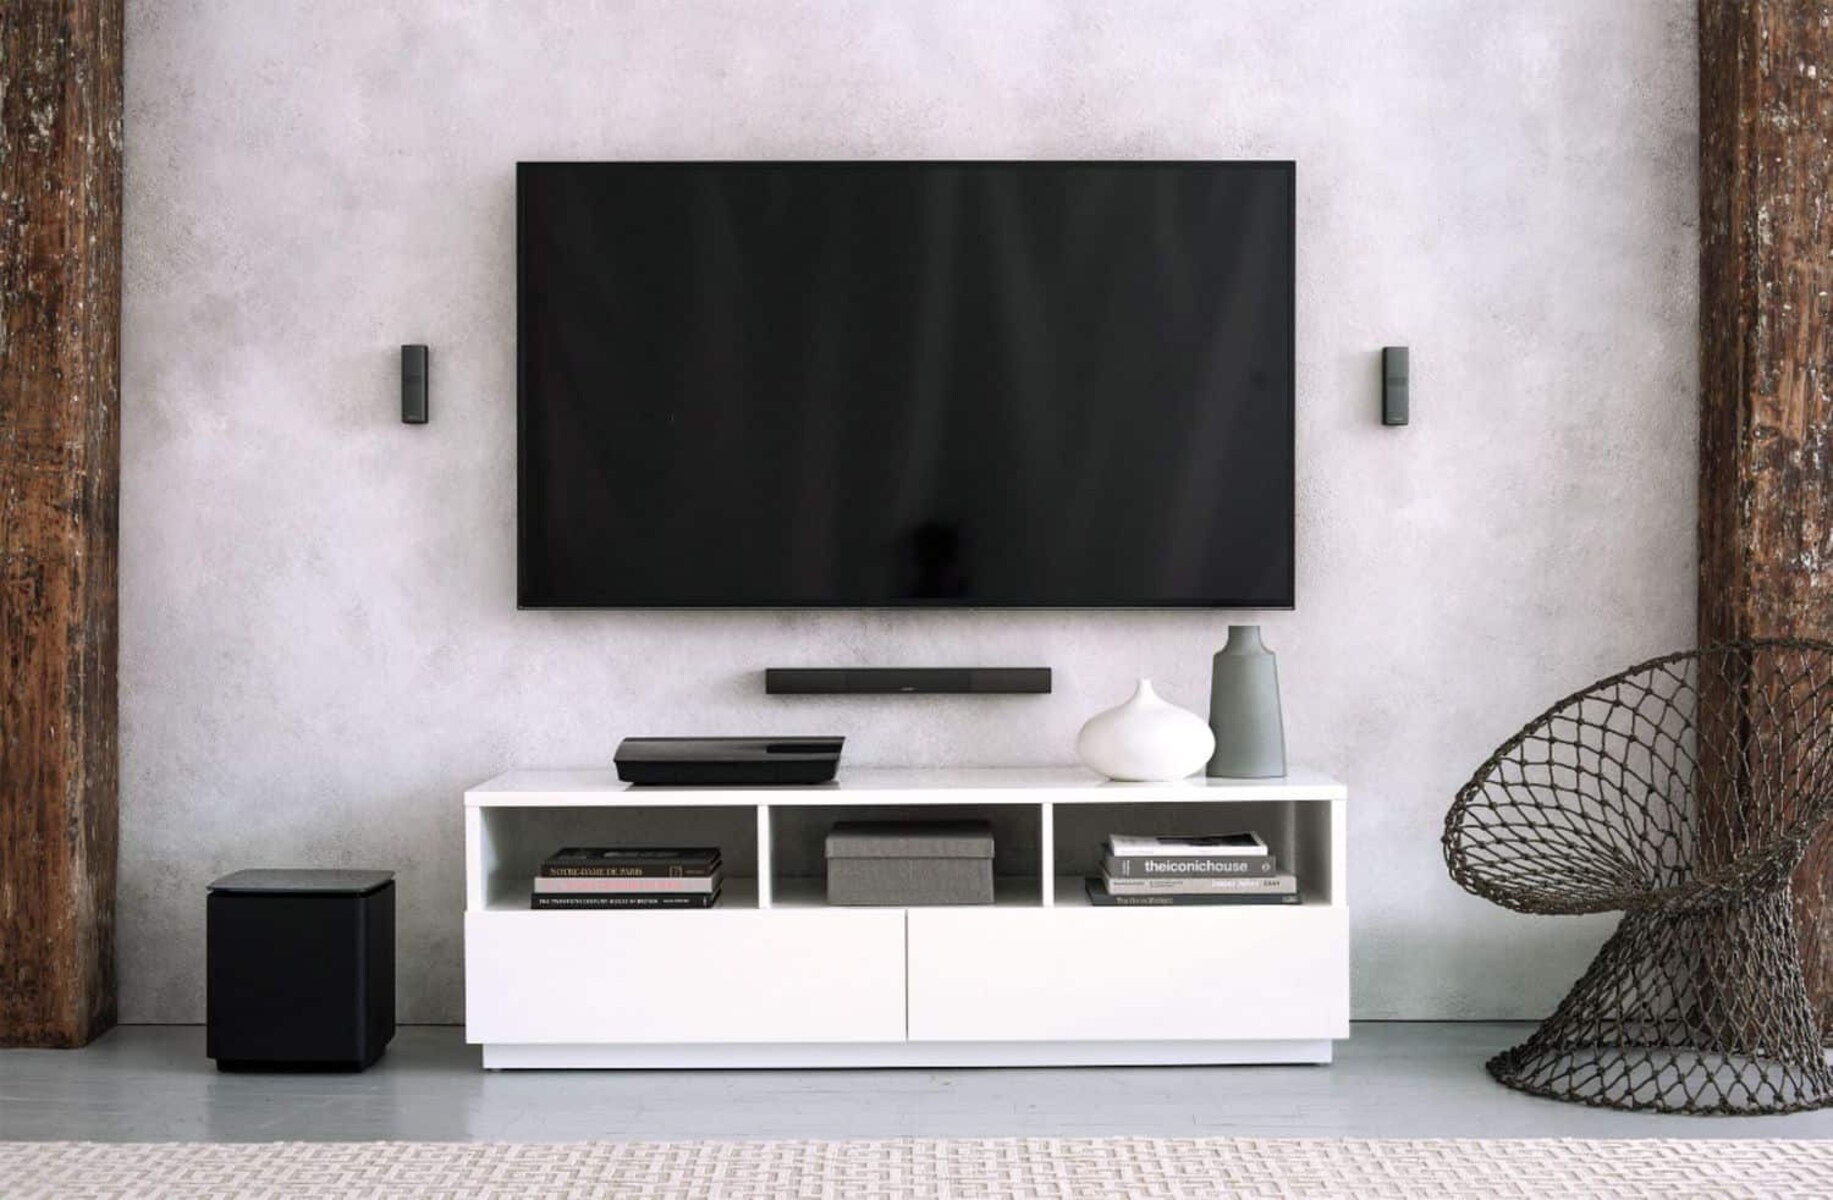
Before we begin, it’s important to make sure you have the necessary equipment. You’ll need your Dish receiver, a surround sound system that supports audio connections, HDMI or optical cables for audio transmission, and a TV or monitor with HDMI input. Keep in mind that the specific connections and settings may vary depending on your receiver and surround sound system, so it’s always a good idea to consult the user manual for your specific model.
Once you have everything ready, we can move on to the next steps. We’ll start by checking your audio connections and ensuring that everything is properly connected. Then, we’ll guide you through the process of connecting your Dish receiver to the surround sound system. After that, we’ll show you how to configure the audio settings on the Dish receiver to ensure optimal sound quality. And finally, we’ll walk you through a simple test to make sure everything is working correctly.
By the end of this article, you’ll have a clear understanding of how to hook up your Dish receiver to a surround sound system. So, grab your equipment and let’s get started!
Equipment Needed
Before you begin setting up your Dish receiver with a surround sound system, it’s essential to gather the necessary equipment. Here’s a list of items you’ll need:
- Dish receiver: Make sure you have a Dish receiver. This receiver will be the central hub for your satellite TV connection.
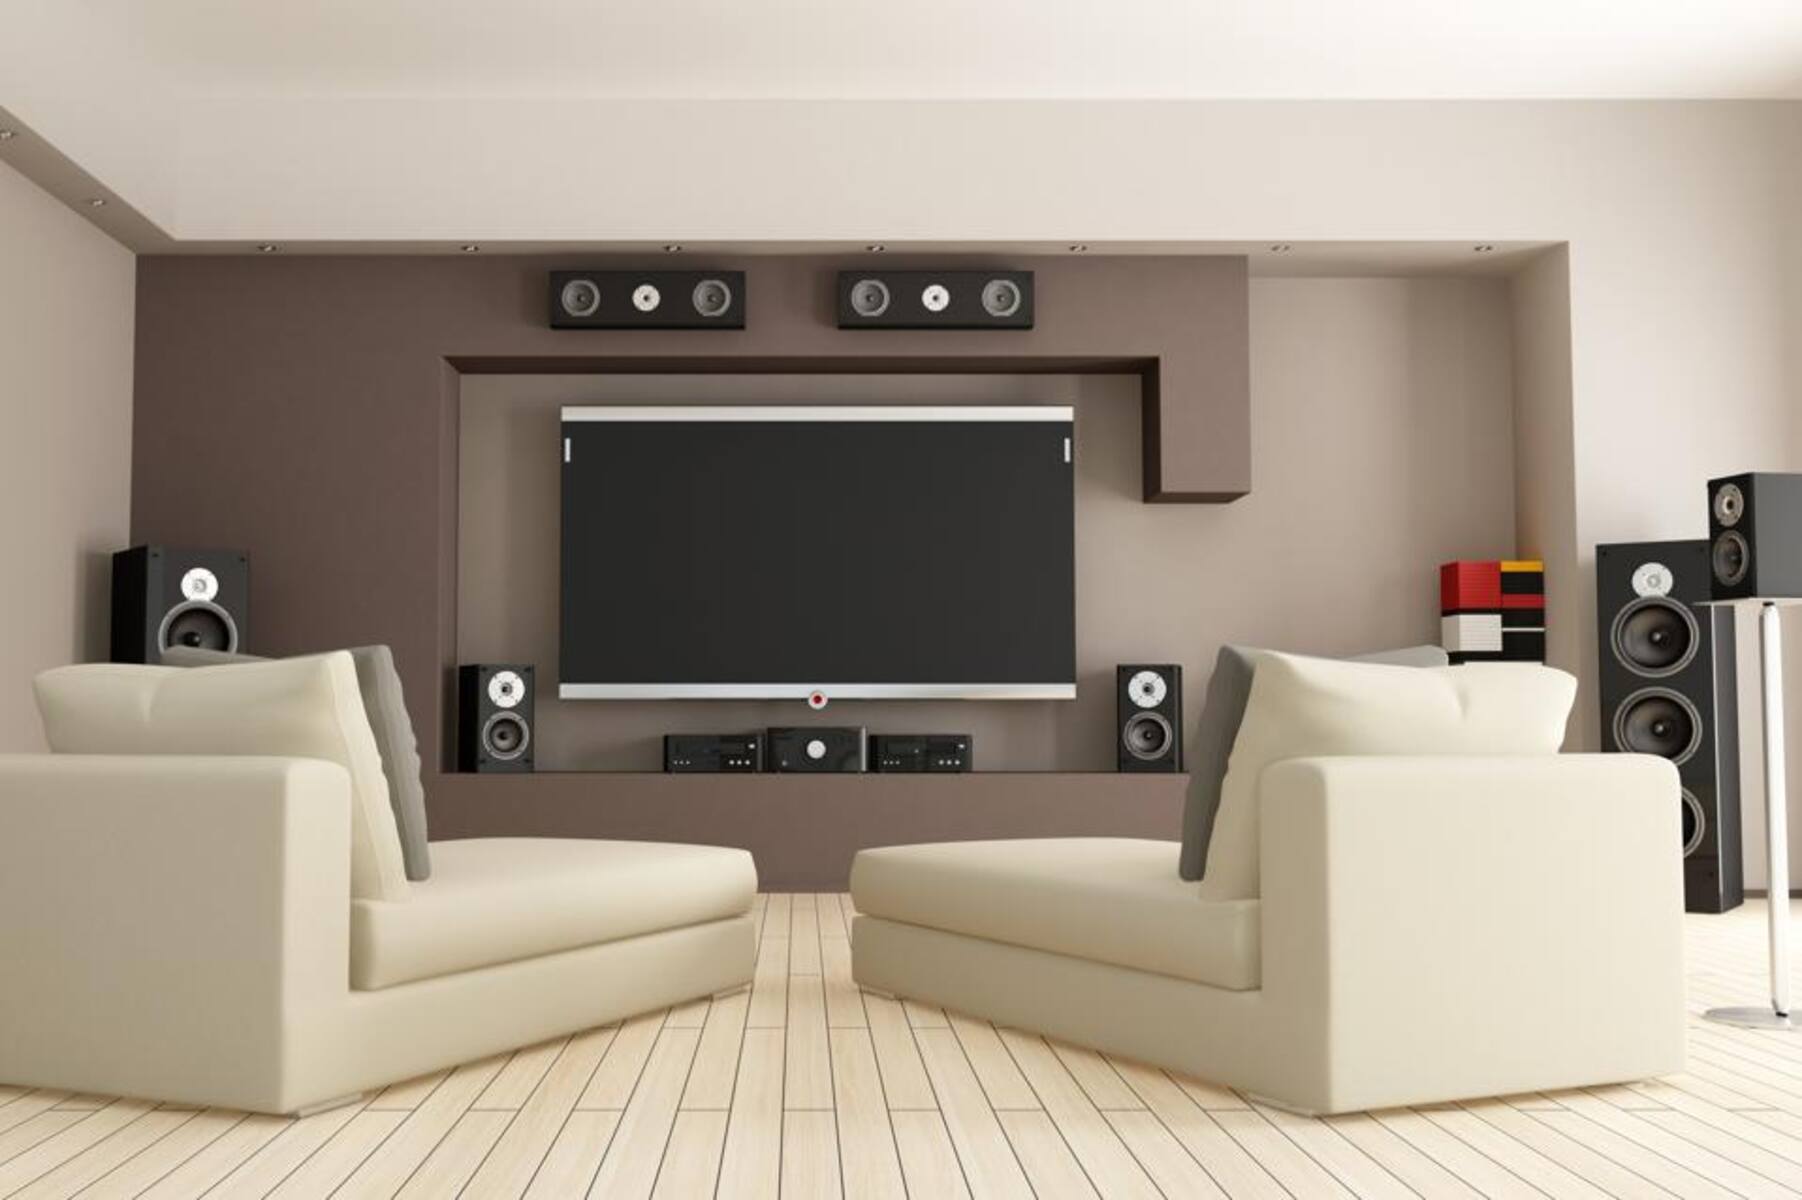
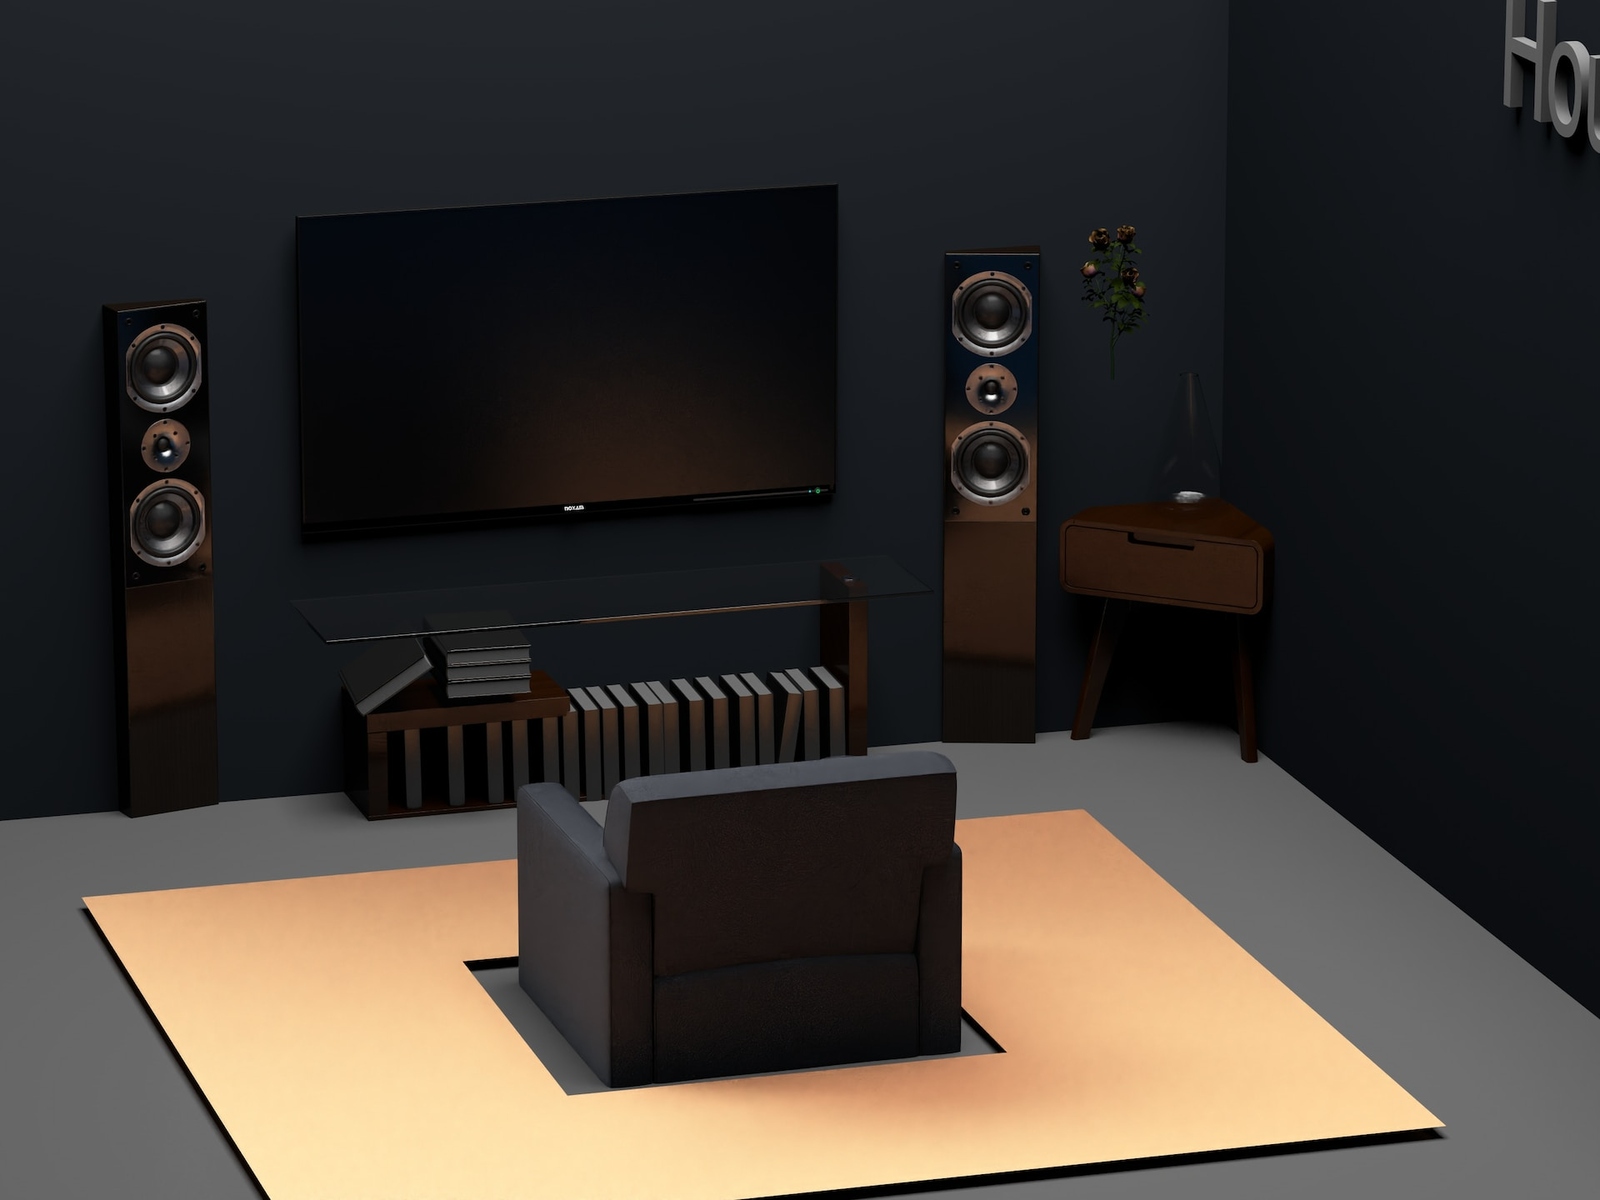
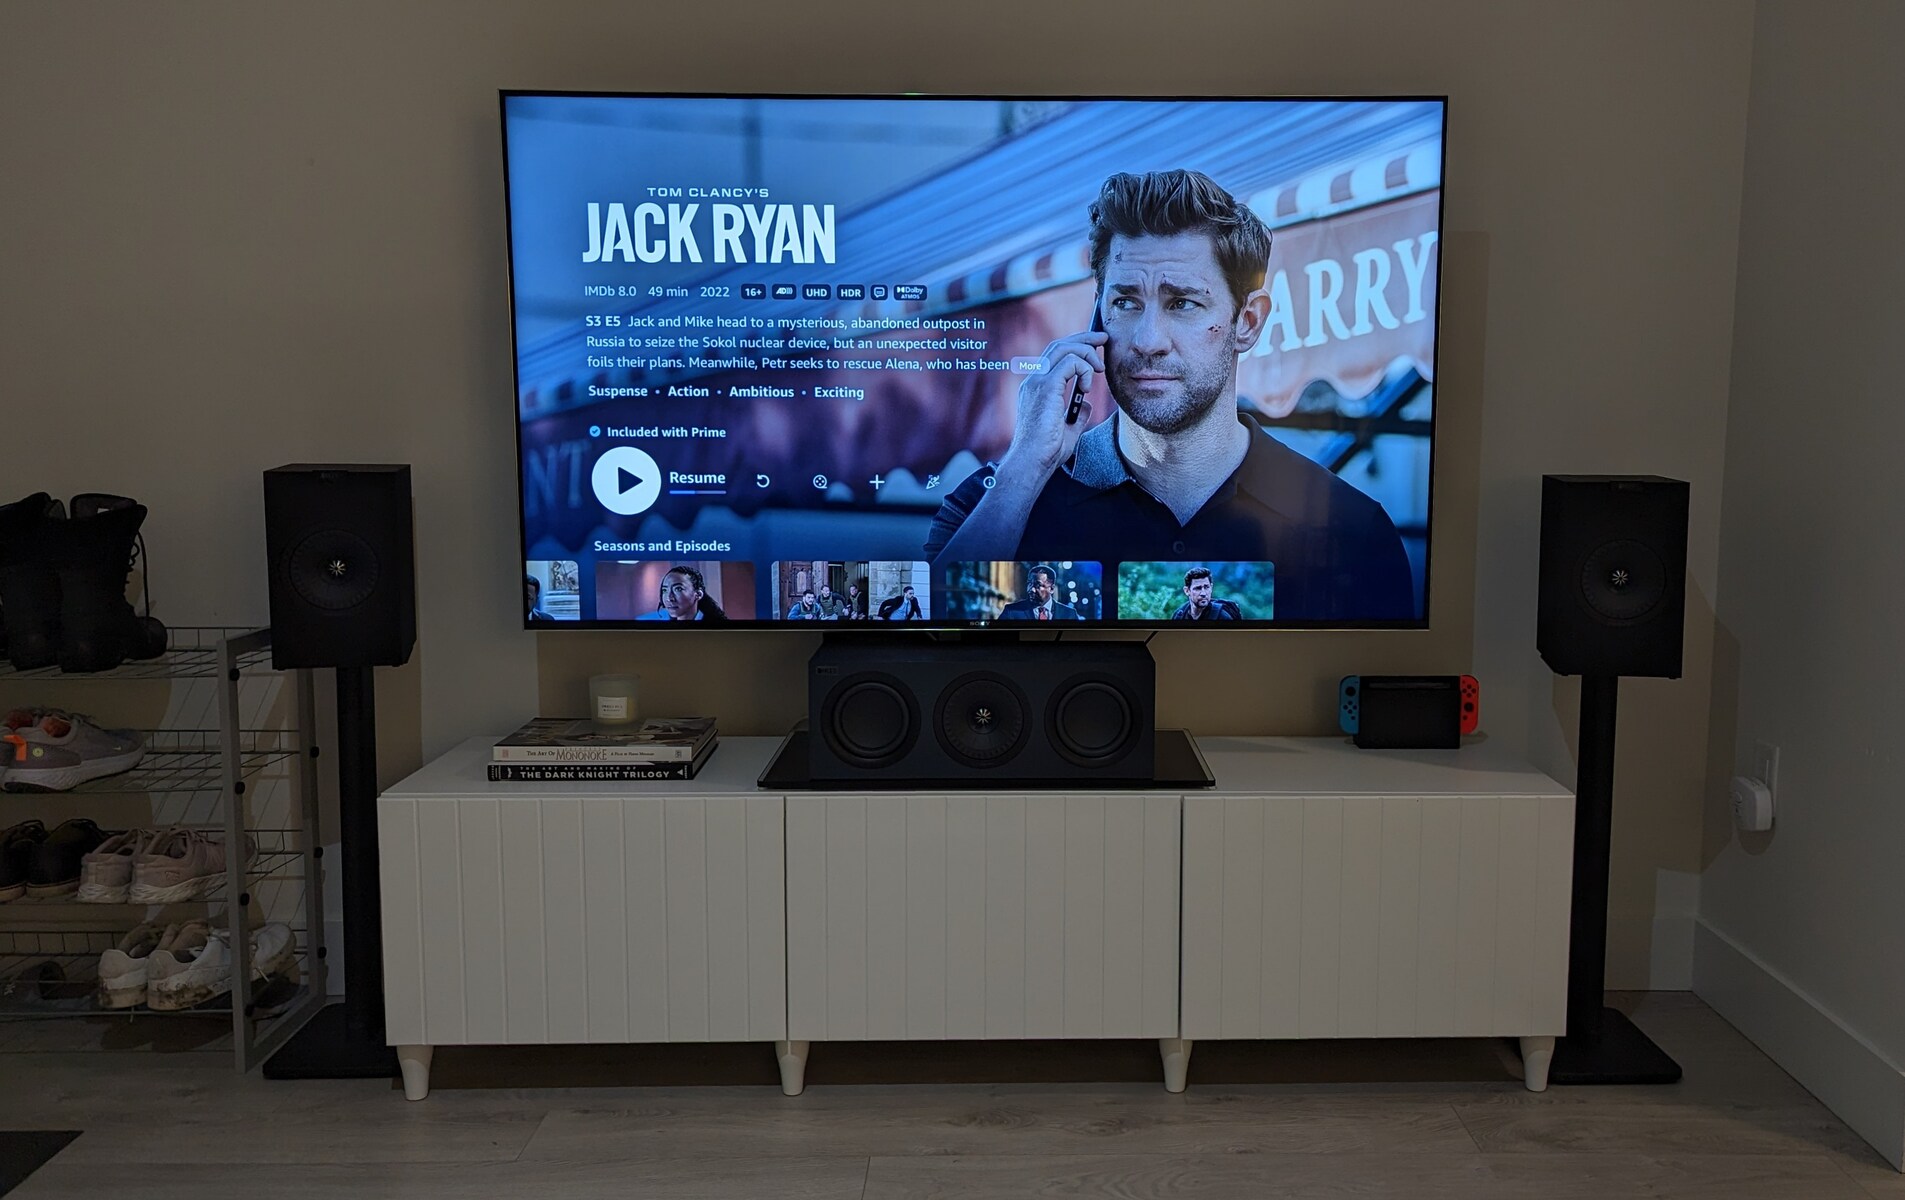
- Surround sound system: Choose a surround sound system that is compatible with your Dish receiver. Look for a system that supports audio connections such as HDMI or optical cables.
- HDMI or optical cables: Depending on the available ports on your Dish receiver and surround sound system, you’ll need HDMI or optical cables to connect the two devices. Make sure you have the appropriate cables of sufficient length.
- TV or monitor: You’ll need a television or monitor with HDMI input. This will be used to display the video from your Dish receiver while the audio is played through the surround sound system.
Once you have all the necessary equipment, you’ll be ready to proceed with the setup process. It’s important to keep in mind that the specific equipment required may vary depending on the models and brands you’re using. Make sure to consult the user manuals for your Dish receiver, surround sound system, and TV to ensure compatibility and proper connections.
Having the right equipment is crucial for a successful setup. Make sure you have everything listed above before moving on to the next steps. Once you have all the equipment gathered, we can move on to checking your audio connections. So, let’s ensure we have everything we need, and let’s get started!
Step 1: Check your audio connections
Before you begin connecting your Dish receiver to the surround sound system, it’s essential to check your audio connections. This step ensures that all the necessary cables are properly connected, allowing for seamless audio transmission. Here’s what you need to do:
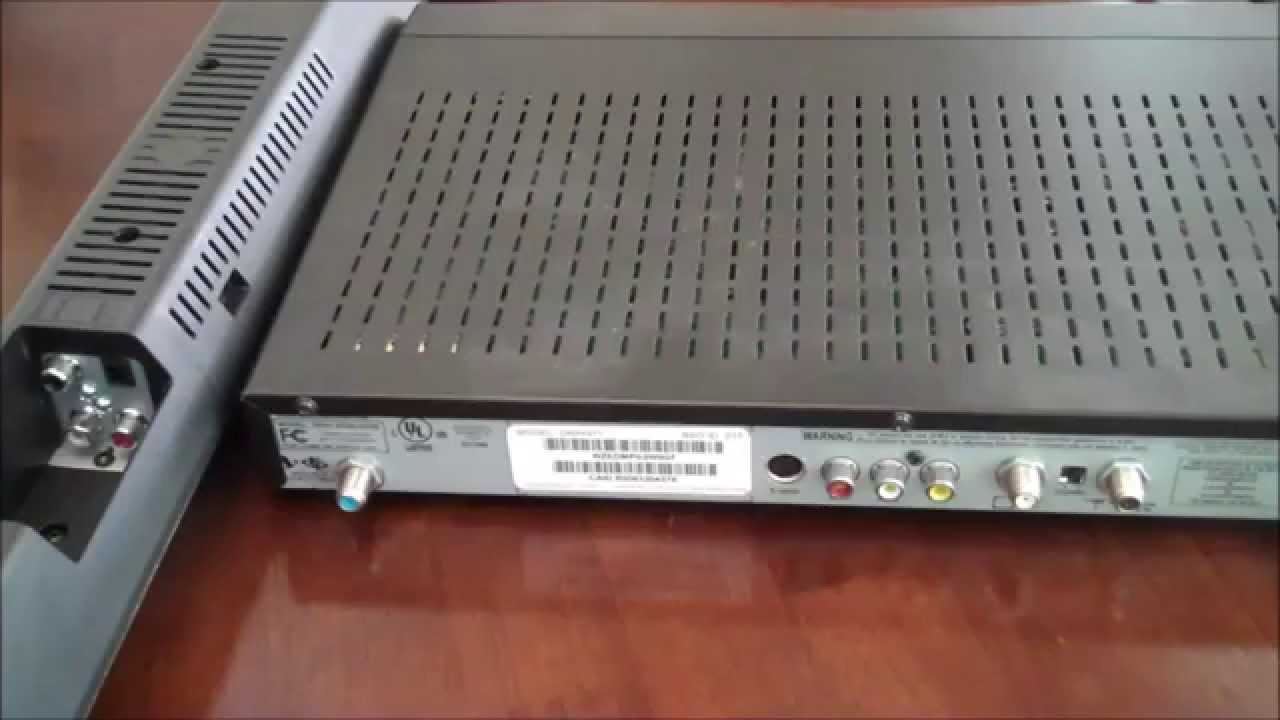
- Examine the ports: Take a look at the back of your Dish receiver and the surround sound system. Identify the HDMI or optical ports labeled for audio input and output. These ports may vary in appearance depending on the specific models, but they are typically color-coded.
- Verify the cables: Ensure that you have the correct type of cable to make the audio connection. HDMI cables are commonly used for both video and audio transmission, while optical cables are specifically designed for audio signals. Double-check to see if you have the appropriate cables available.
- Connect the cables: Once you have identified the audio input and output ports on both the Dish receiver and the surround sound system, connect one end of the chosen cable to the audio output port on the receiver and the other end to the corresponding input port on the surround sound system. Ensure that the connections are secure.
- Check the TV connection: If you plan to use a TV or monitor to display the video from your Dish receiver, make sure you also connect it to the receiver using an HDMI cable. Connect one end of the HDMI cable to the HDMI output port on the receiver and the other end to the HDMI input port on the TV or monitor.
- Power on the devices: After all the audio and video connections are made, power on the Dish receiver, surround sound system, and TV. Make sure they are set to the appropriate input sources.
Once you have completed these steps, you have successfully checked and established the necessary audio connections between your Dish receiver and surround sound system. The audio signals can now flow seamlessly from the receiver to the surround sound system, providing immersive sound for your viewing pleasure. Now, let’s move on to the next step of connecting the Dish receiver to the surround sound system.
Step 2: Connect the Dish receiver to the surround sound system
Now that you have checked the audio connections, it’s time to connect your Dish receiver to the surround sound system. This step will ensure that the audio signals are properly routed and can be played through the speakers of your surround sound system. Follow these instructions:
- Locate the audio output port: Look for the audio output port on your Dish receiver. It is usually labeled as “Audio Out” or “Digital Audio Out.” This port might be HDMI or optical, depending on your receiver model.
- Choose the appropriate cable: Depending on the audio output port on your Dish receiver, select the corresponding cable. If it’s an HDMI port, use an HDMI cable. If it’s an optical port, use an optical cable.
- Connect the cable to the receiver: Take one end of the selected cable and insert it into the audio output port on the Dish receiver. Ensure a secure connection is made.
- Locate the audio input port: Now, move on to your surround sound system and find the audio input port. This port should be labeled as “Audio In” or “Digital Audio In.”
- Connect the cable to the surround sound system: Take the other end of the cable and insert it into the audio input port on the surround sound system. Make sure the connection is secure.
- Power on the devices: With the Dish receiver and surround sound system connected, turn on the power for both devices.
- Select the appropriate input source: On your surround sound system, select the input source that corresponds to the audio input port where you connected the cable from the Dish receiver.
Once you have completed these steps, your Dish receiver is now successfully connected to the surround sound system. This means that the audio signals transmitted from the receiver will be received by the surround sound system and played through its speakers, creating an immersive audio experience. Continue to the next step to configure the audio settings on the Dish receiver to ensure optimal sound quality.
Step 3: Configure the audio settings on the Dish receiver
After connecting your Dish receiver to the surround sound system, it’s important to configure the audio settings on the receiver. This step ensures that the receiver is properly set up to deliver the best audio experience through your surround sound system. Here’s how you can do it:
- Access the settings menu: Using your TV remote or the Dish receiver remote, navigate to the settings menu on the receiver. This menu may be labeled as “Settings,” “Options,” or a similar term depending on the receiver model.
- Select the audio settings: Within the settings menu, look for the option to adjust the audio settings. It might be categorized under “Audio,” “Sound,” or “Audio Output.” Select this option to proceed.
- Choose the audio output format: Depending on your surround sound system’s capabilities, you’ll need to choose the appropriate audio output format. Common options include Dolby Digital, DTS, or PCM. Refer to the user manual of your surround sound system to determine the supported formats.
- Adjust the audio output settings: Once you’ve selected the desired audio output format, you may have the option to adjust additional settings such as volume levels, surround sound effects, or equalizer settings. Customize these settings according to your preference for optimal audio quality.
- Save and apply the settings: Once you’re satisfied with the audio settings on the Dish receiver, save and apply the changes. The receiver will now be configured to transmit the audio signals in the specified format to your surround sound system.
Configuring the audio settings ensures that the Dish receiver is optimized for your surround sound system, delivering high-quality and immersive audio. By selecting the appropriate audio output format and adjusting the settings to your liking, you can create a personalized audio experience that enhances your viewing pleasure.
Now that you have successfully configured the audio settings on the Dish receiver, it’s time to test the surround sound system to ensure everything is working correctly. Follow the next step to perform a simple test.
Step 4: Test the surround sound system
After connecting and configuring your Dish receiver to the surround sound system, it’s crucial to test the setup to ensure that everything is functioning as expected. Testing the surround sound system allows you to verify the audio quality and ensure that all the speakers are producing sound correctly. Follow these steps to perform a simple test:
- Choose a test source: Select a test source such as a movie, TV show, or audio clip that is known to have surround sound effects. This will allow you to hear the audio from different speakers and assess the surround sound experience.
- Play the test source: Start playing the chosen test source on your Dish receiver. Ensure that the audio output is set to the surround sound system. Adjust the volume to a comfortable level.
- Listen to the audio: Pay attention to the audio coming from each speaker in your surround sound system. Verify that the sound is clear, balanced, and properly distributed. You should be able to hear specific audio elements from different directions, creating a realistic and immersive sound experience.
- Test the surround sound effects: During the playback of the test source, listen for surround sound effects such as sounds coming from behind or to the sides of your listening area. These effects should be accurately reproduced by the designated speakers in your surround sound system.
- Check speaker placement: If any speakers seem quieter or unbalanced, double-check their placement and ensure they are correctly positioned as per the manufacturer’s recommendations. Adjust the speaker positions if necessary.
- Tweak settings if needed: If you notice any issues with the audio quality or surround sound experience during the test, you may need to revisit the audio settings on your Dish receiver and adjust them accordingly. Experiment with different settings to find the optimal audio configuration for your setup.
By performing this test, you can ensure that your surround sound system is properly set up and functioning as intended. Address any issues you may encounter during the test, such as low volume, imbalance, or missing surround sound effects, to fine-tune the performance of your system.
Congratulations! You have successfully completed the steps to connect your Dish receiver to a surround sound system and tested the setup. Now you can sit back, relax, and enjoy a truly immersive audio experience with your favorite movies, shows, and games!
Conclusion
Setting up your Dish receiver with a surround sound system is a fantastic way to enhance your entertainment experience. By following the steps outlined in this article, you have learned how to check the audio connections, connect the Dish receiver to the surround sound system, configure the audio settings, and test the setup.
Ensuring that your audio connections are properly established is crucial in delivering high-quality sound. Double-checking the ports and using the appropriate cables help to guarantee a seamless audio transmission between the Dish receiver and surround sound system.
Connecting the Dish receiver to the surround sound system allows for immersive audio playback through the speakers. By choosing the correct cable and connecting it to the appropriate input and output ports, you can enjoy a rich and dynamic sound experience while watching your favorite movies, shows, or playing games.
Configuring the audio settings on the Dish receiver ensures that the audio output format and additional settings are optimized for your surround sound system. Customizing these settings to your preference allows for a tailored audio experience that complements your viewing or gaming experience.
Finally, testing the surround sound system helps to verify that all the speakers are functioning correctly and producing the desired surround sound effects. Adjusting speaker placement and tweaking settings as needed ensures a balanced and immersive audio performance.
Now that you have completed the setup process and tested your surround sound system, you can sit back and enjoy a truly immersive audio experience in the comfort of your own home. So grab your favorite snacks, dim the lights, and prepare to be blown away by the captivating soundscapes that will bring your entertainment to life!