Introduction
Creating an acoustic guitar drawing can be a rewarding and enjoyable artistic endeavor. Whether you’re an aspiring artist or simply looking to explore your creative side, this step-by-step guide will help you bring the beauty of an acoustic guitar to life on paper.
Whether you’re a musician or just appreciate the elegance of the instrument, capturing the intricate details of an acoustic guitar can be a challenging yet fulfilling task. By following these simple steps and using basic shapes as a foundation, you’ll be able to create a realistic representation of an acoustic guitar.
This guide is designed for both beginners and more experienced artists who want to improve their drawing skills. Whether you’re using pencil and paper or digital drawing tools, the techniques described here can be easily adapted to your preferred medium.
Throughout this tutorial, we will explore the different elements that make up an acoustic guitar, such as the body, neck, headstock, tuning pegs, fretboard, and soundhole. By breaking down the drawing process into manageable steps, you’ll be able to gradually build up your drawing and achieve impressive results.
So grab your drawing materials and let’s dive into the exciting world of drawing an acoustic guitar!
Materials Needed
To get started on your acoustic guitar drawing, you’ll need a few materials to ensure a smooth and enjoyable artistic process. Here’s a list of things you’ll need:
- Pencil: A good quality pencil will allow you to achieve different shades and depths in your drawing. Opt for a range of graphite pencils to have varying degrees of hardness and softness.
- Paper: Choose a smooth and sturdy paper that can handle pencil shading without smudging or tearing. A sketchbook or drawing pad with acid-free paper is recommended.
- Eraser: A kneaded eraser is ideal for removing unwanted lines and making corrections. It can be molded and shaped to fit different areas of your drawing.
- Ruler or Straight Edge: A ruler or straight edge will come in handy for creating straight lines and maintaining proper proportions.
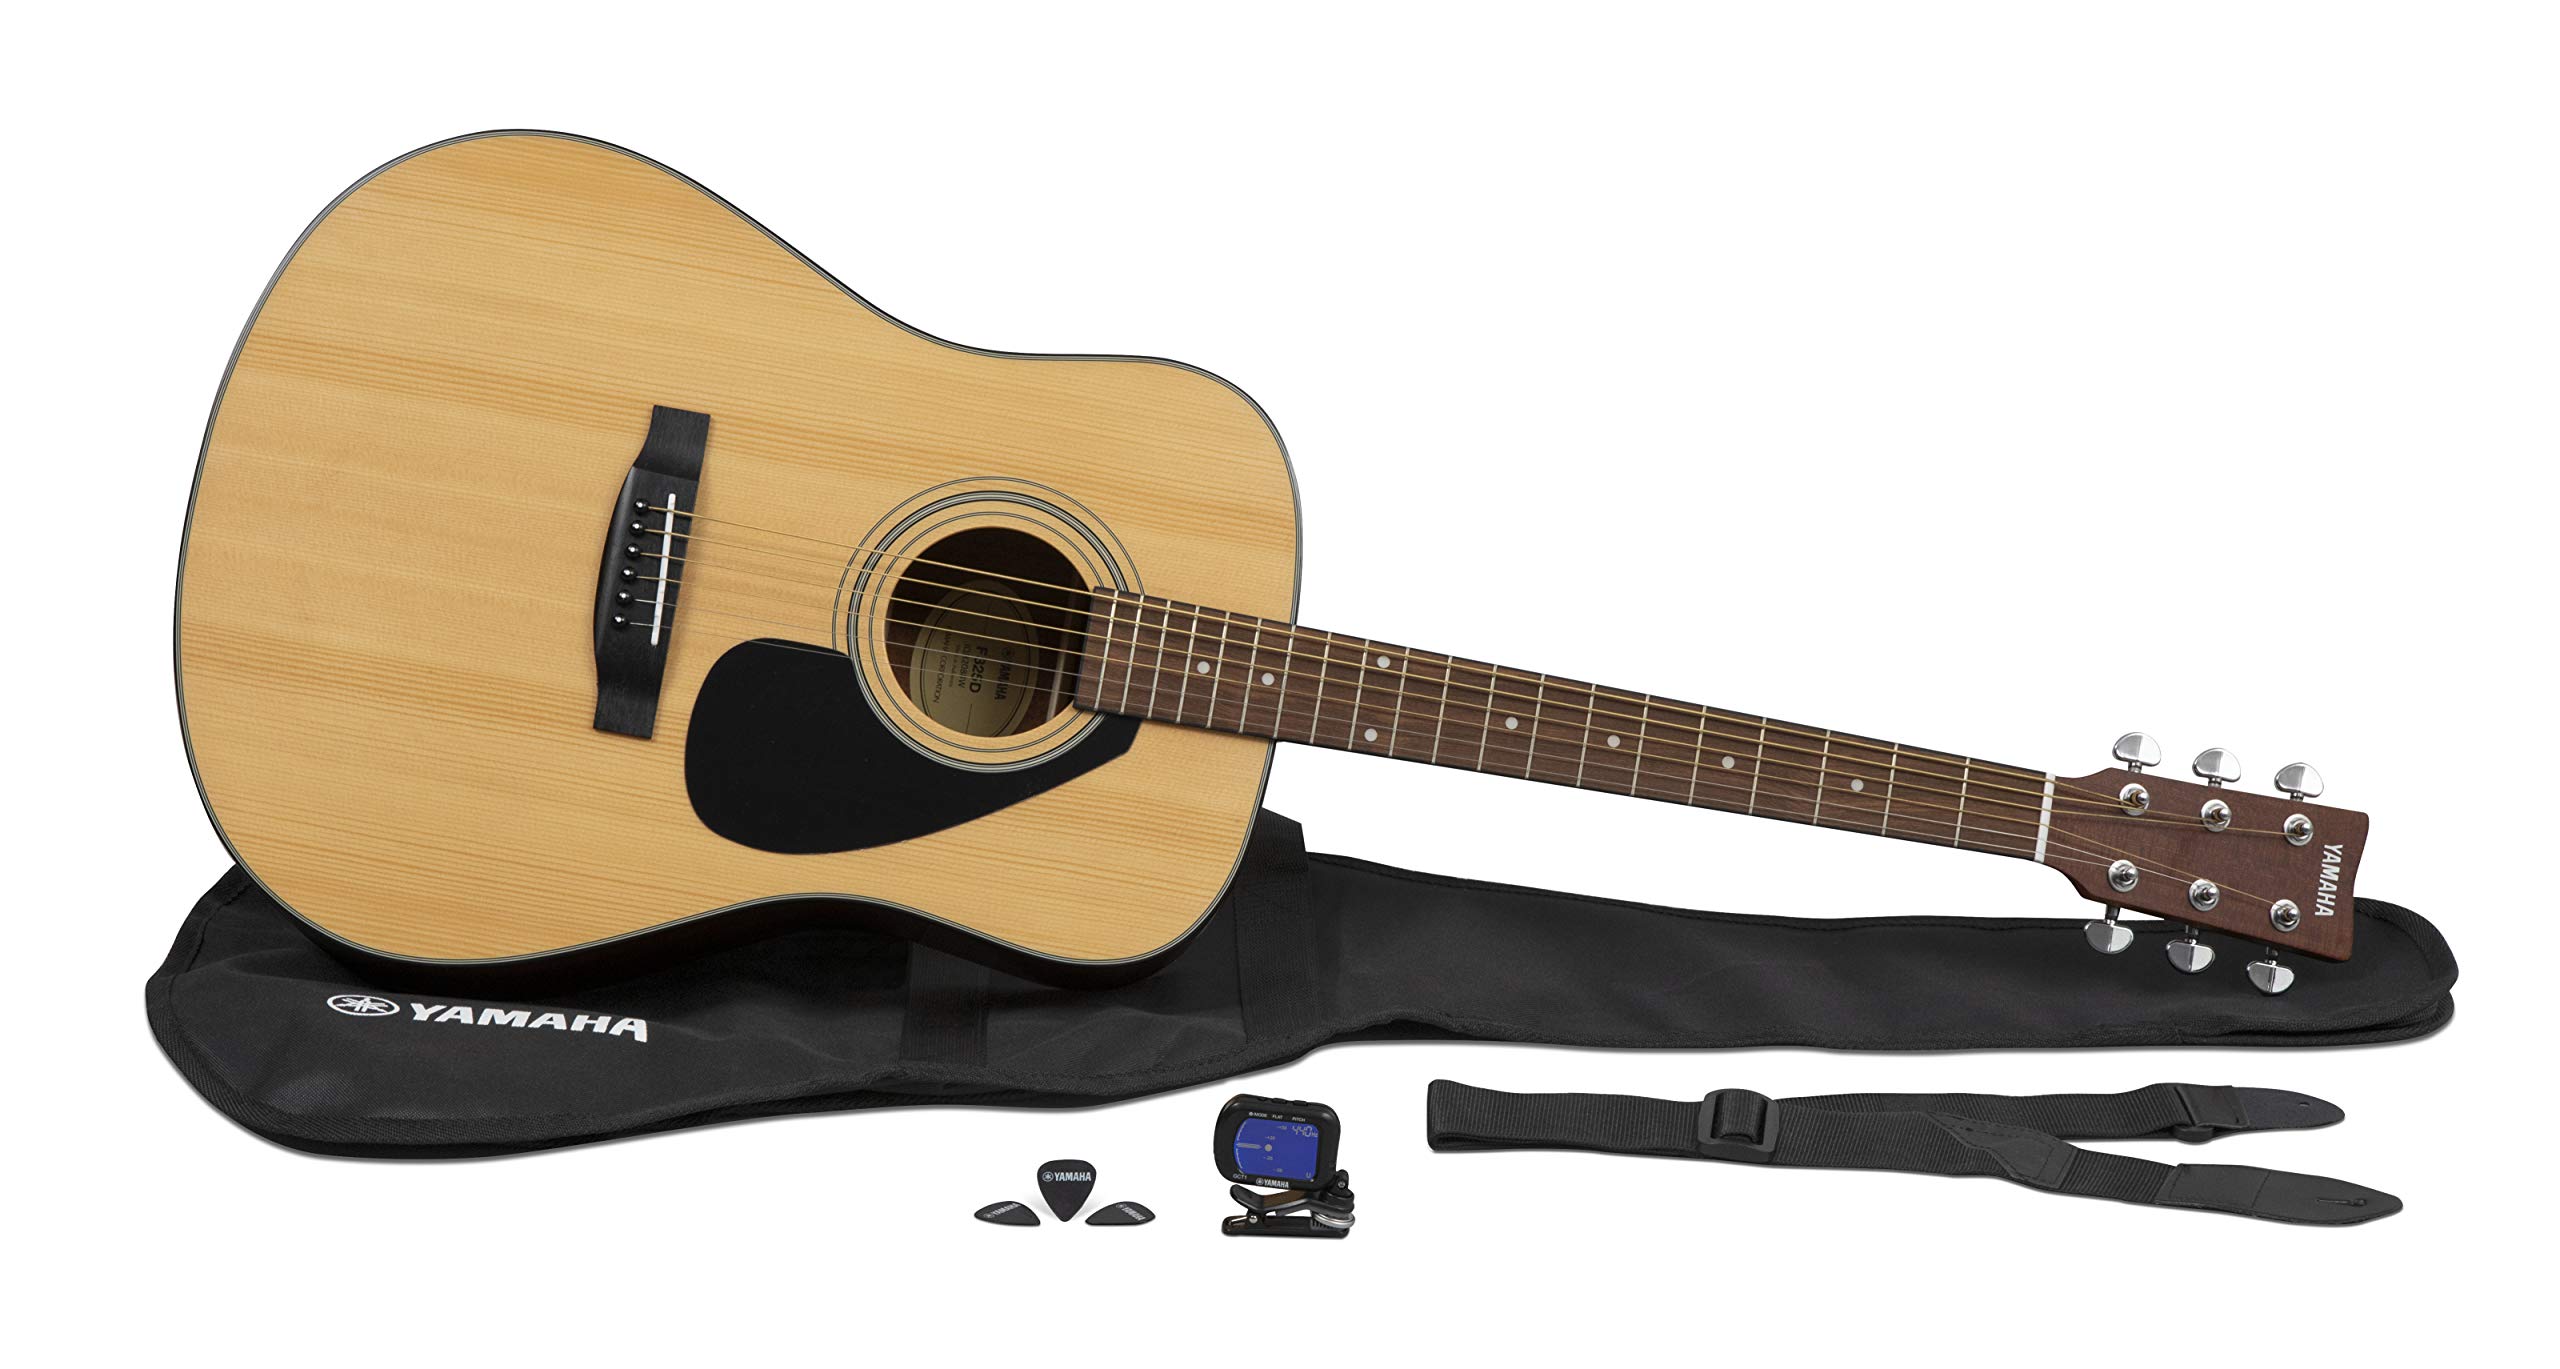
- Reference Image: Find a clear and detailed image of an acoustic guitar to use as a reference. This will help you accurately portray the various components and details of the instrument.
Optional materials that can further enhance your drawing process include:
- Blending Stumps: These tools help in creating smooth transitions and blending different shades of graphite.
- Colored Pencils: Adding a touch of color to your drawing can make it more vibrant and visually appealing. Colored pencils can be used for adding details or creating a colored background.
- Sharpener: Keep your pencil sharp to maintain control and precision in your drawing. A good quality sharpener will prevent your pencil from breaking and produce a clean and sharp point.
Having these materials ready before you start will ensure that you have a seamless drawing experience and can fully explore your artistic potential.
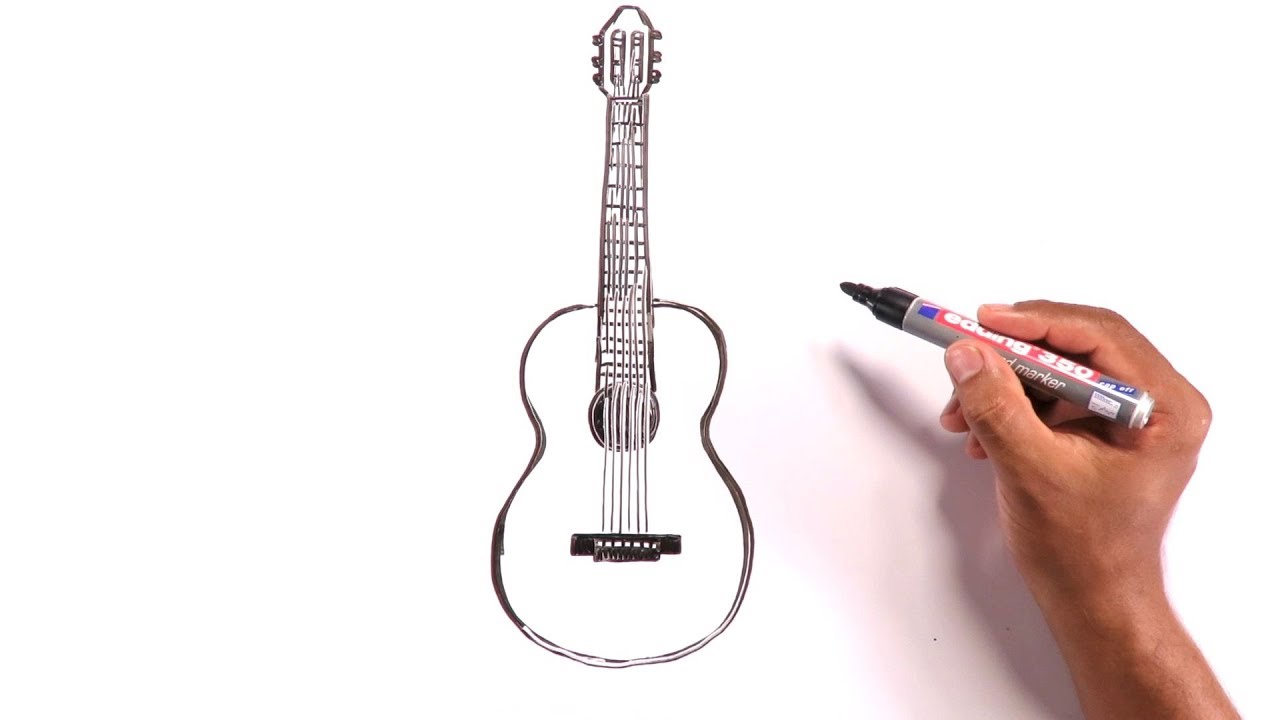
Step 1: Start with Basic Shapes
Every drawing begins with a foundation, and for an acoustic guitar, that foundation lies in basic shapes. By breaking down the guitar into simple geometric shapes, you can establish the overall proportions and structure of the instrument. This step will serve as a roadmap for the rest of your drawing.
Start by lightly sketching an oval shape for the body of the guitar. This oval will act as a guideline to help you maintain the correct size and shape throughout the drawing process. Next, draw a straight line extending from the bottom of the oval to represent the guitar neck.
Divide the neck into two parts: the fretboard and the headstock. The fretboard can be represented by a long, thin rectangle that extends from the body of the guitar. The headstock is a smaller rectangle shape at the end of the neck.
Take note of the angle at which the headstock is tilted, as it can vary between different guitar designs. Once you have these basic shapes in place, you’re ready to move on to the next step and start refining the details of your drawing.
Remember, these initial shapes are just guidelines, and they can be adjusted as you progress. Use light, gentle strokes to sketch these shapes as they will be easier to erase or adjust if needed.
With the basic shapes in place, you have established a solid foundation for your acoustic guitar drawing. As you move forward, each subsequent step will add more detail and bring your drawing closer to completion.
Step 2: Sketch the Guitar Body
In this step, we will focus on sketching the body of the acoustic guitar. The body shape is one of the most defining features of the guitar, so it’s important to get it right.
Starting from the oval shape that serves as a guideline for the body, begin by adding curves to create the outline of the guitar’s upper bout and lower bout. The upper bout is the curved section of the body that is closer to the neck, while the lower bout is the wider, rounded part at the bottom.
Next, sketch the sides of the guitar body, connecting the upper bout and lower bout with smoothly curved lines. Pay attention to the proportions and maintain symmetry on both sides of the guitar.
Now, observe the waist of the guitar, which is the narrowest part of the body between the upper and lower bouts. Sketch the inward curve that defines the waist, ensuring it is centered and aligned with the rest of the body.
As you refine the body shape, observe the contours and curves of the guitar closely. Take note of any design features that are specific to the guitar model you are drawing, such as cutaways or unique body shapes.
Remember to use light, faint strokes as you make adjustments and corrections as needed. This will allow you to easily refine the body shape without leaving any permanent marks.
Once you are satisfied with the overall body shape, you can darken the lines and add more definition. Use a combination of light and dark shading to create depth and volume. Pay attention to areas where light would naturally hit the guitar, such as the curves and edges, and add subtle shading to enhance the three-dimensional appearance.
By giving careful attention to the body shape and shading, you are well on your way to capturing the essence of an acoustic guitar in your drawing.
Step 3: Draw the Neck and Headstock
In this step, we will focus on drawing the neck and headstock of the acoustic guitar. The neck and headstock are essential components that contribute to the overall look and functionality of the instrument.
Start by refining the shape of the neck. Use light, curved lines to define the curvature and thickness of the neck, ensuring it is proportionate to the body of the guitar. Pay attention to the angle at which the neck joins the body, as it can vary depending on the guitar’s design.
Next, add details such as the fret markers on the neck. These are usually small dots or designs that indicate different positions along the fretboard. Place the fret markers evenly, taking into consideration the standard positions on a guitar neck.
Moving on to the headstock, sketch the shape that complements the overall design of the guitar. Some guitars have a more elongated headstock, while others may have a rounded or unique shape. Refer to your reference image to get a clear understanding of the headstock style for the specific guitar you are drawing.
Keep in mind that the headstock also houses the tuning pegs. Draw small circles or ovals to represent the tuning pegs, positioning them in a straight line or in a pattern specific to the guitar model.
To add depth and dimension to the neck and headstock, use shading techniques to create shadows and highlights. This will allow your drawing to have a more realistic and three-dimensional appearance.
As you progress, continuously compare your drawing to the reference image to ensure accuracy in shape, proportion, and details. Make any necessary adjustments or refinements to capture the unique characteristics of the guitar’s neck and headstock.
With the neck and headstock sketched and defined, your acoustic guitar drawing is beginning to take shape. The following steps will continue to add more intricate details and bring your drawing closer to completion.
Step 4: Add the Tuning Pegs
In this step, we will focus on adding the tuning pegs to the headstock of the acoustic guitar. The tuning pegs, also known as machine heads or tuning machines, are essential for adjusting the tension of the strings and tuning the guitar.
Start by locating the circles or oval shapes you previously sketched to represent the tuning pegs. Refine the shapes to make them more defined and realistic. Ensure that they are evenly spaced and aligned on the headstock.
Next, draw small cylindrical shapes coming out from the headstock, connecting to the tuning pegs. These shapes represent the shafts of the tuning pegs. It’s important to make them proportionate in size and length in relation to the headstock.
Once you have established the basic shapes, add the details to make the tuning pegs more realistic. This can include grooves, ridges, or any distinctive features specific to the guitar model you are drawing. Pay attention to the reference image to accurately capture the unique characteristics of the tuning pegs.
Additionally, you can add shading and highlights to create depth and dimension. Use lighter and darker tones to emphasize the cylindrical shapes of the tuning pegs and make them appear three-dimensional. This will make your drawing more realistic and visually appealing.
As you continue to work on the tuning pegs, be mindful of maintaining symmetry and consistency in their placement and shape. Compare your drawing to the reference image and make any necessary adjustments to ensure accuracy.
Remember, the tuning pegs play a crucial role in the overall functionality and appearance of the guitar. Taking the time to add realistic details to the tuning pegs will greatly enhance the authenticity of your acoustic guitar drawing.
With the addition of the tuning pegs, your drawing is starting to resemble a complete acoustic guitar. The subsequent steps will continue to add more intricate details that will bring your drawing to life.
Step 5: Draw the Fretboard and Frets
In this step, we will focus on drawing the fretboard and adding the frets to your acoustic guitar drawing. The fretboard is an essential component of the guitar where the player presses the strings against the metal frets to create different notes.
Start by extending the straight line of the neck to create the length of the fretboard. Observe the reference image to determine the correct length and positioning of the fretboard in relation to the neck and body of the guitar.
Next, lightly sketch a series of evenly spaced lines across the fretboard to represent the frets. The number of frets can vary depending on the guitar model, so refer to your reference image to ensure accuracy. The first fret may start closer to the body of the guitar, while the higher frets will gradually extend towards the end of the fretboard.
Pay attention to the scale length of the guitar, which is the distance between the nut and the saddle. This measurement will affect the spacing between the frets, so it’s important to accurately portray this detail in your drawing.
Once the frets are sketched, you can add more definition by darkening the lines. The frets are usually thin metal bars embedded into the fretboard, so keep the lines relatively thin to maintain their realistic appearance.
Drawing the fret markers is the next step. These are usually small dots or unique designs that appear on certain frets, indicating different positions on the fretboard. Refer to your reference image to accurately depict the location and shape of the fret markers.
Keep in mind that the position of the fret markers may vary on different guitars. Some models may have markers on the third, fifth, seventh, ninth, twelfth, and fifteenth frets, while others may have additional markers or different positions. Make sure to align them symmetrically on both sides of the fretboard.
As you progress, continuously check your drawing against the reference image to ensure accuracy in terms of fret spacing, position, and alignment. Make any necessary adjustments to capture the unique details of the fretboard and frets.
With the fretboard and frets added, your acoustic guitar drawing is starting to resemble a fully functional instrument. The subsequent steps will further enhance the details and bring your drawing one step closer to completion.
Step 6: Create the Soundhole
In this step, we will focus on creating the soundhole for your acoustic guitar drawing. The soundhole is a vital feature of the guitar as it allows the sound to resonate and project.
Start by selecting an appropriate size and shape for the soundhole. The shape can vary depending on the guitar model you are drawing. It is often circular or oval, but some guitars may have unique or intricate designs. Refer to your reference image to ensure accuracy.
Using light, curved lines, sketch the outline of the soundhole on the body of the guitar. Pay attention to its placement, typically found in the upper bout of the guitar’s body, below the fretboard and around the soundboard area.
While the soundhole is typically bordered by a thin line called the rosette, the design of the rosette can vary greatly between different acoustic guitars. Some may feature simple patterns or delicate inlays, while others may showcase more intricate and ornate designs. Observe your reference image to capture the unique characteristics of the guitar’s rosette.
To add depth and dimension to the soundhole, you can add shading and highlights. Use a combination of light and dark tones to create the illusion of depth and curvature. Pay attention to the direction of light sources to ensure consistency in your shadows and highlights.
Keep in mind that the soundhole is an important aesthetic feature of the guitar, as it adds character and personality to the instrument. Take your time to carefully depict the unique details of the soundhole, as it will greatly contribute to the overall authenticity of your acoustic guitar drawing.
Remember to continually refer to your reference image as you work on the soundhole, ensuring that you capture the correct size, position, and details. Any necessary adjustments can be made to maintain the accuracy and overall quality of your drawing.
With the soundhole created, your acoustic guitar drawing is one step closer to completion. The following steps will continue to add more intricate details and bring your drawing to life.
Step 7: Add Details and Texture
In this step, we will focus on adding finer details and texture to your acoustic guitar drawing. These details will bring your drawing to life and give it a more realistic and intricate appearance.
Start by carefully observing your reference image and identifying any distinct features or design elements specific to the guitar model you are drawing. This can include decorative inlays, bindings, purflings, or any other unique details found on the body, neck, or headstock.
Using lighter pencil strokes, lightly sketch these details on your drawing. Pay attention to their placement and proportion in relation to the rest of the guitar. Take your time and work slowly, ensuring accuracy in each detail you add.
As you add details, consider the varying textures found on the different components of the guitar. For example, the body of the guitar may have a smooth finish, while the fretboard may have a slightly rougher texture. Use different shading techniques, such as cross-hatching or stippling, to create the illusion of texture and depth.
Another important detail to consider is the grain of the wood. Acoustic guitars are often made from different types of wood, and each wood has its own unique grain pattern. Sketch these grain lines lightly, following the natural flow of the wood. The grain lines can add a touch of realism and enhance the overall appearance of the guitar.
Additionally, consider adding shading and highlights to further create depth and dimension in your drawing. Pay attention to areas where light would naturally hit the guitar, such as the curves, edges, and raised details. Gradually build up the shading by layering strokes or using an eraser to create highlights.
Remember to continuously refer to your reference image to ensure accuracy in the placement and details you add. Accuracy and attention to detail will greatly contribute to the overall quality of your acoustic guitar drawing.
With the addition of finer details and texture, your drawing is becoming more intricate and realistic. The next step will involve erasing unnecessary lines and refining your drawing further.
Step 8: Erase Unnecessary Lines
In this step, we will focus on erasing unnecessary lines in your acoustic guitar drawing. Cleaning up your drawing and removing any extraneous lines will give your artwork a more polished and refined appearance.
Using a soft eraser, gently go over your drawing and identify any lines or marks that are no longer needed. These can include the initial guidelines for the body, neck, and headstock, as well as any rough or sketchy lines that have been covered or refined in previous steps.
Be cautious while erasing, making sure not to erase any essential lines or details that are integral to the overall structure and design of the guitar. Take your time and erase slowly and lightly, focusing on one section at a time.
As you erase, periodically step back and observe your drawing from a distance. This will give you a fresh perspective and allow you to identify any lines that may need to be removed or adjusted for a cleaner and more precise look.
Pay particular attention to areas where multiple lines intersect or overlap. Erase any overlapping lines that may create confusion or distract from the overall clarity of your drawing.
Additionally, consider using an eraser to create highlights and add depth to certain areas. By gently lifting off graphite, you can create subtle highlights that give your drawing a more three-dimensional appearance.
Remember that the goal of this step is to clean up your drawing and remove any distracting or unnecessary lines. This will help emphasize the important elements and details of your acoustic guitar drawing. However, be mindful not to over-erase and lose the overall volume and form of the guitar.
With unnecessary lines erased, your acoustic guitar drawing is taking on a cleaner and more refined look. The final step will involve finalizing your drawing and adding any last-minute touches to complete your masterpiece.
Step 9: Finalize the Drawing
In this final step, we will focus on finalizing your acoustic guitar drawing and adding any last-minute touches to complete your masterpiece.
Start by carefully examining your drawing as a whole. Look for any areas that may need further refinement or adjustments in terms of proportion, symmetry, or any minor details that may have been overlooked.
Use your reference image as a guide to check for accuracy and make any necessary corrections. Compare your drawing to the reference and make adjustments to ensure that your drawing captures the unique characteristics of the guitar model.
Next, consider adding additional shading or cross-hatching to enhance the depth and volume of your drawing. Pay attention to areas where light and shadow would naturally fall, such as the curves of the body, neck, and headstock. Gradually build up the shading by layering strokes or using an eraser to create highlights.
As you finalize your drawing, consider using different line weights to create more dynamic and visually appealing effects. Use a slightly thicker pencil or increase the pressure on your pencil for darker and more prominent lines, while using lighter strokes for finer details.
Take a step back and observe your drawing from a distance to ensure that the overall composition and balance are pleasing to the eye. This will help you identify any final adjustments that may be needed before considering your acoustic guitar drawing complete.
Finally, sign your artwork! Adding your signature at the bottom of the drawing adds a personal touch and marks it as your creation.
With the final touches in place, take a moment to appreciate your finished acoustic guitar drawing. Celebrate your accomplishment and share it with others who will surely be impressed by your artistic skills!
Remember, every drawing is a learning experience, and each time you create, you will continue to grow as an artist. So continue to practice, experiment, and explore new subjects, and soon you’ll be able to create even more remarkable pieces of art.
Conclusion
Congratulations on completing your acoustic guitar drawing! Through the step-by-step process, you have learned how to bring the intricate details of an acoustic guitar to life on paper. By starting with basic shapes, sketching the body, adding the neck and headstock, incorporating the tuning pegs, drawing the fretboard and frets, creating the soundhole, adding details and texture, erasing unnecessary lines, and finalizing the drawing, you have honed your artistic skills and captured the essence of this beautiful instrument.
Throughout this journey, you have discovered the importance of careful observation, attention to detail, and patience. By continuously referencing a reliable image, your drawing has come to life with accuracy and authenticity. The use of shading, highlights, and texture has enhanced the three-dimensional quality of your artwork.
Remember, your drawing is a reflection of your craftsmanship and artistic interpretation. Each stroke of the pencil and every added detail has contributed to the overall beauty and realism of your acoustic guitar drawing. Be proud of your work and continue to build upon your skills as an artist.
Now that you have completed this drawing, consider exploring other subjects and styles to further expand your artistic repertoire. The techniques you’ve learned can be applied to various subjects, allowing you to express your creativity in different ways.
Share your artwork with others and celebrate your accomplishment. Take pride in the beautiful acoustic guitar drawing you have created and use it as inspiration for future artistic endeavors. Remember, practice makes perfect, and the more you draw, the more your skills will evolve and develop.
So keep pushing your artistic boundaries, continue to learn and grow, and let your creativity shine through your art. A world of limitless possibilities awaits you, so grab your pencil, let your imagination soar, and create more amazing artwork!