Introduction
Introduction
So, you've mastered the art of playing electric guitar and now you're ready to capture your killer riffs and melodic solos in a recording. Whether you're a seasoned musician or just starting out, recording electric guitar can be a rewarding and exciting process. The ability to preserve your musical creations and share them with the world is a powerful motivator for many guitarists.
Recording electric guitar requires a combination of technical knowledge, creativity, and the right equipment. From choosing the best gear to setting up your recording space and mastering recording techniques, there are several key steps to ensure that you capture the perfect sound.
This guide will walk you through the essential steps to record electric guitar effectively. You'll learn about selecting the right equipment, setting up your recording space, positioning the microphone, adjusting amp settings, mastering recording techniques, and applying post-recording tips and tricks. By the end of this guide, you'll be well-equipped to produce high-quality recordings that showcase your unique guitar skills and musical style.
Whether you're aiming to create professional-quality recordings or simply looking to document your musical journey, this guide will provide you with the knowledge and techniques needed to make the most out of your electric guitar recordings. So, grab your guitar, fire up your recording equipment, and let's dive into the world of electric guitar recording.
Choosing the Right Equipment
When it comes to recording electric guitar, selecting the right equipment is crucial for achieving the desired sound quality. Here are the key components you need to consider:
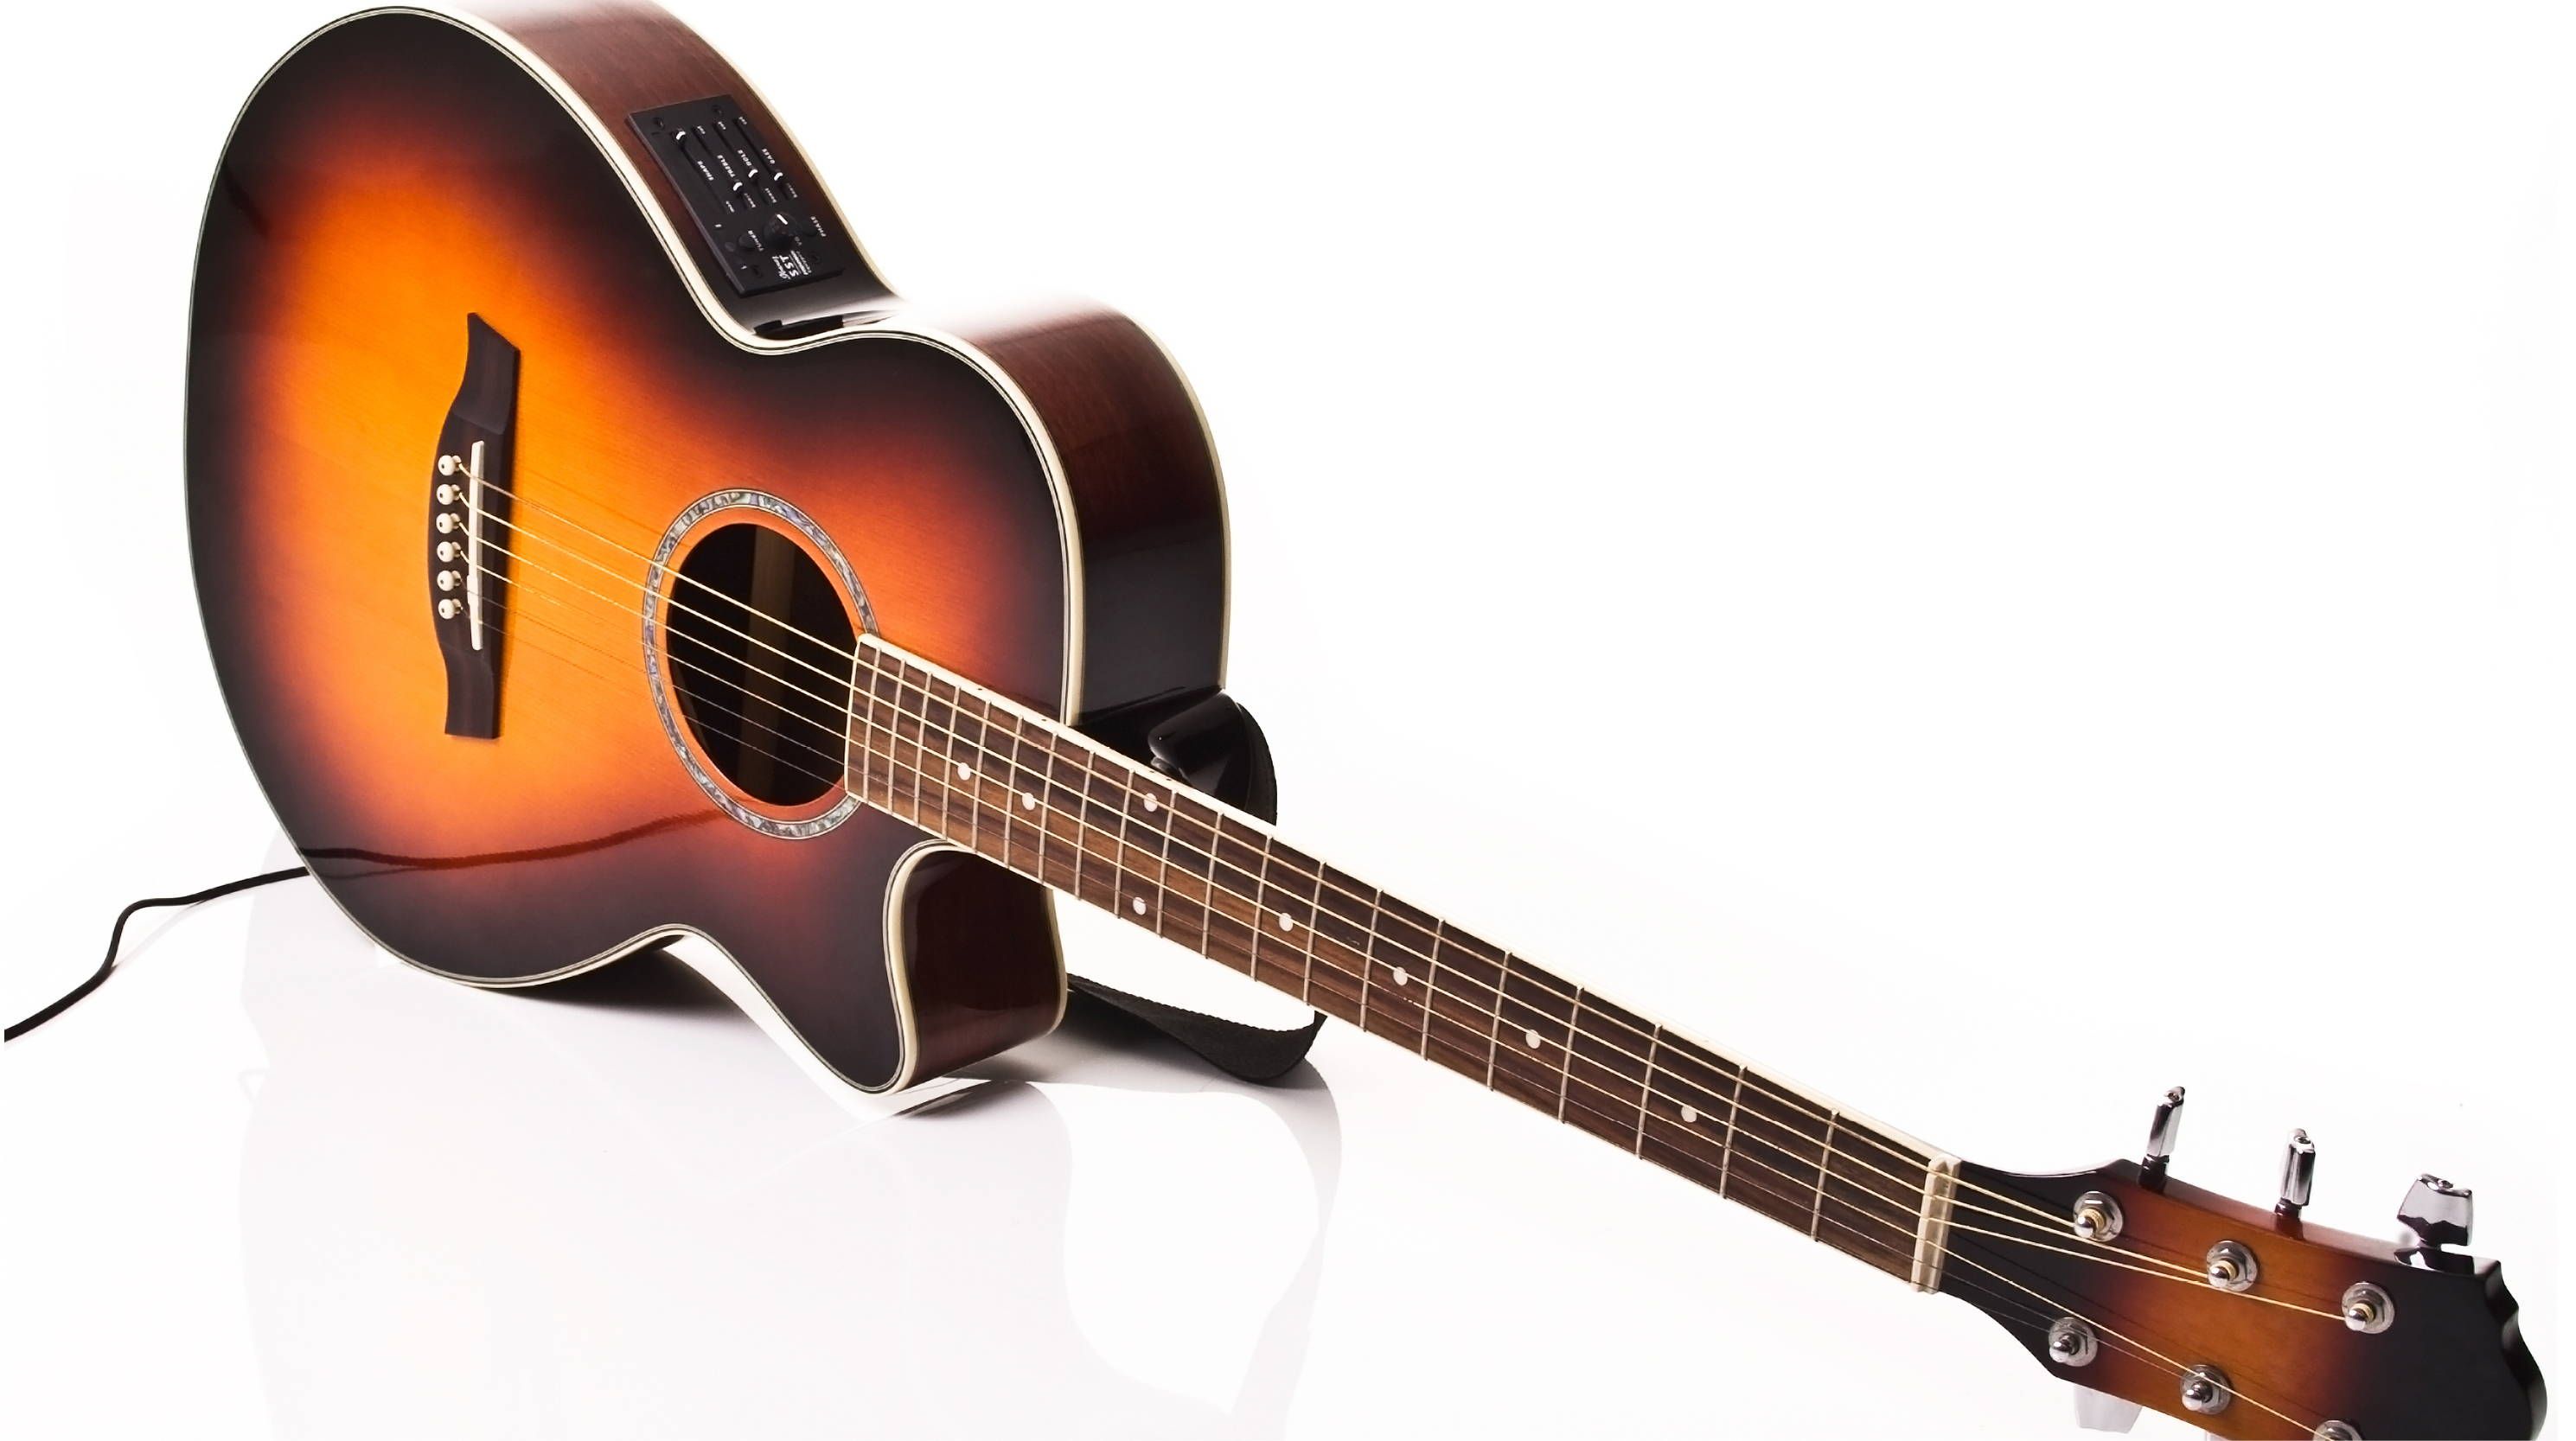
- Guitar: Your choice of guitar can significantly impact the overall sound of your recording. Whether you opt for a classic Stratocaster, a versatile Telecaster, or a powerful Les Paul, each guitar model offers its unique tonal characteristics. Consider the style of music you play and choose a guitar that complements your sound.
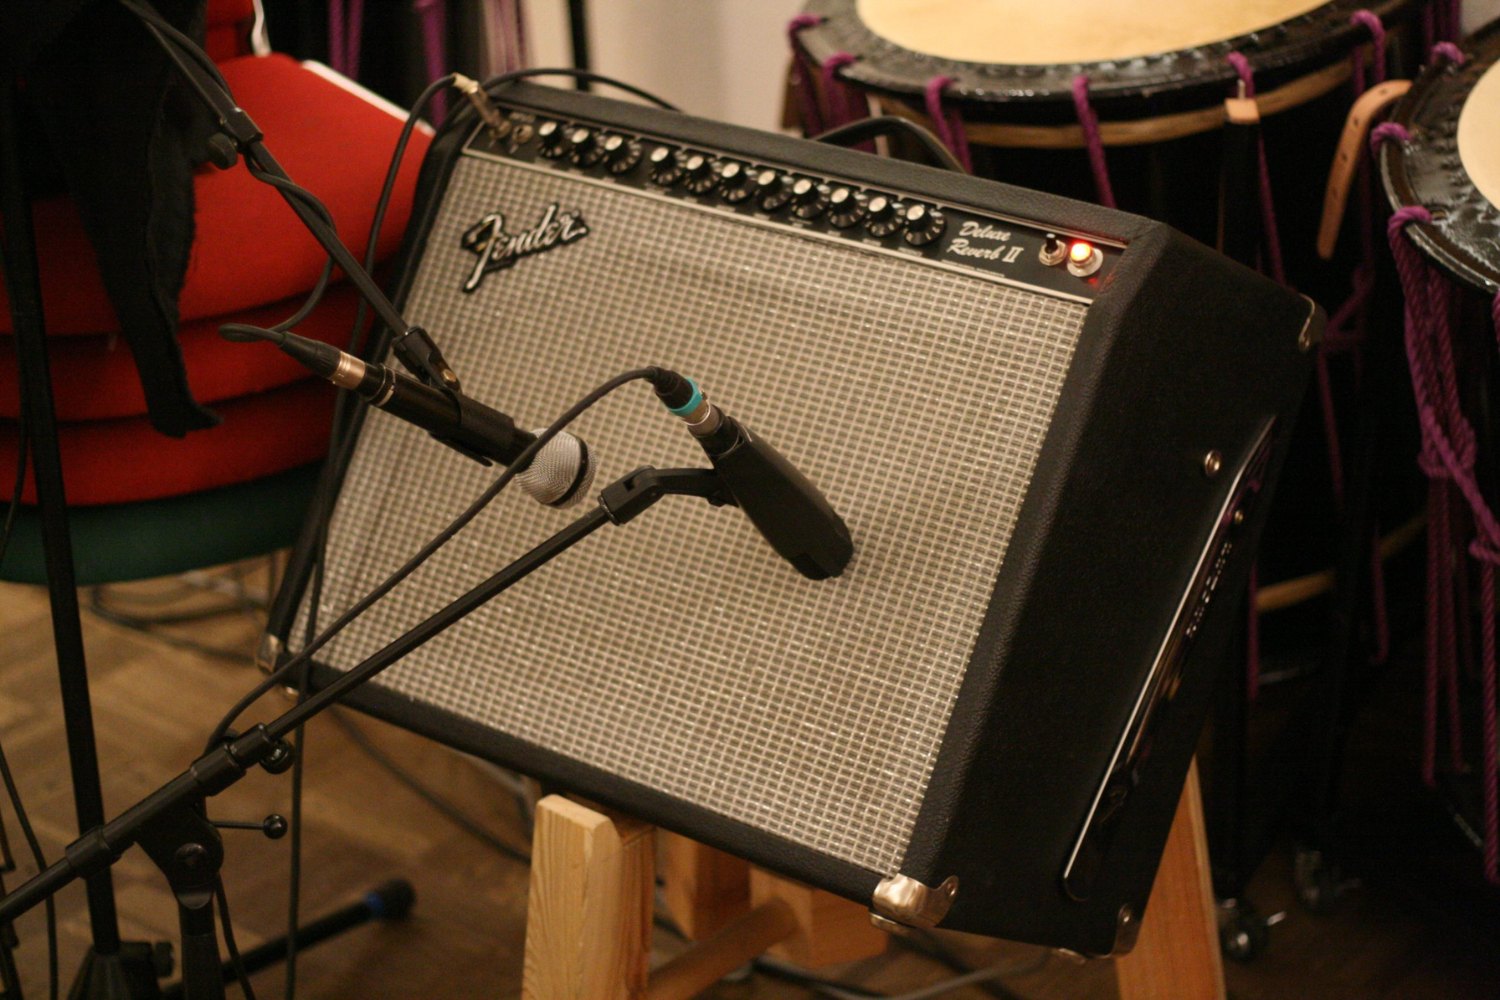
- Amp: The amplifier plays a pivotal role in shaping the tone of your electric guitar. Tube amps are renowned for their warm and dynamic sound, while solid-state amps offer reliability and consistency. Additionally, modeling amps provide a wide range of tonal options. Select an amp that aligns with your preferred genre and playing style.
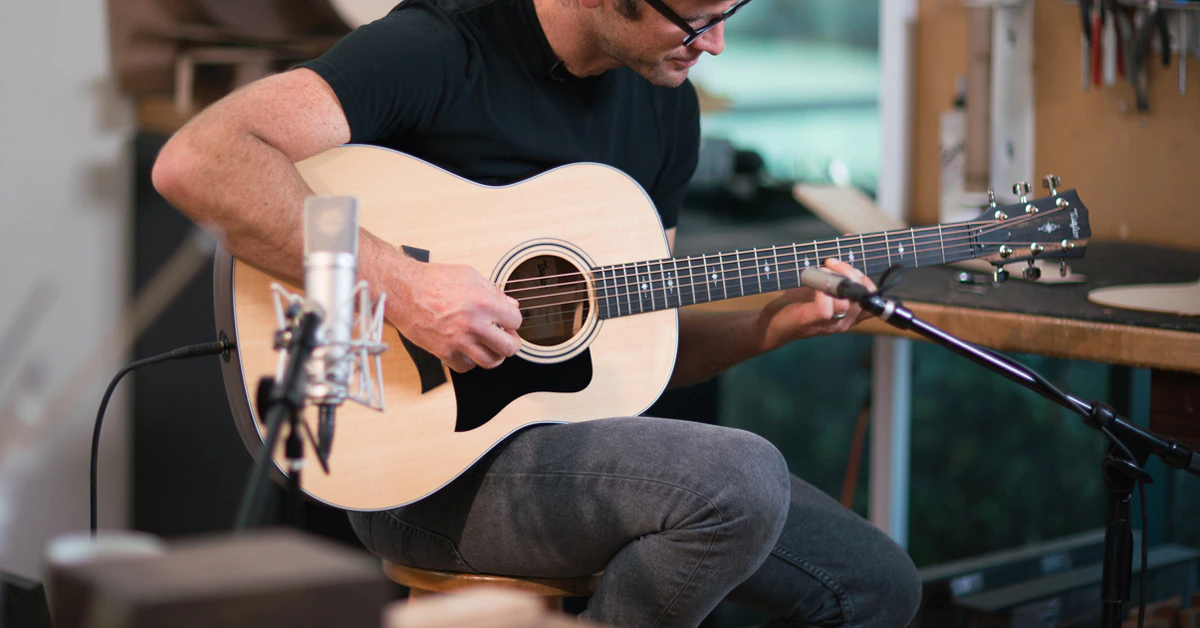
- Microphone: A high-quality microphone is essential for capturing the nuances of your guitar’s sound. Dynamic microphones are commonly used for recording electric guitar due to their durability and ability to handle high sound pressure levels. Alternatively, condenser microphones can deliver detailed and transparent recordings, making them suitable for capturing acoustic elements and room ambiance.
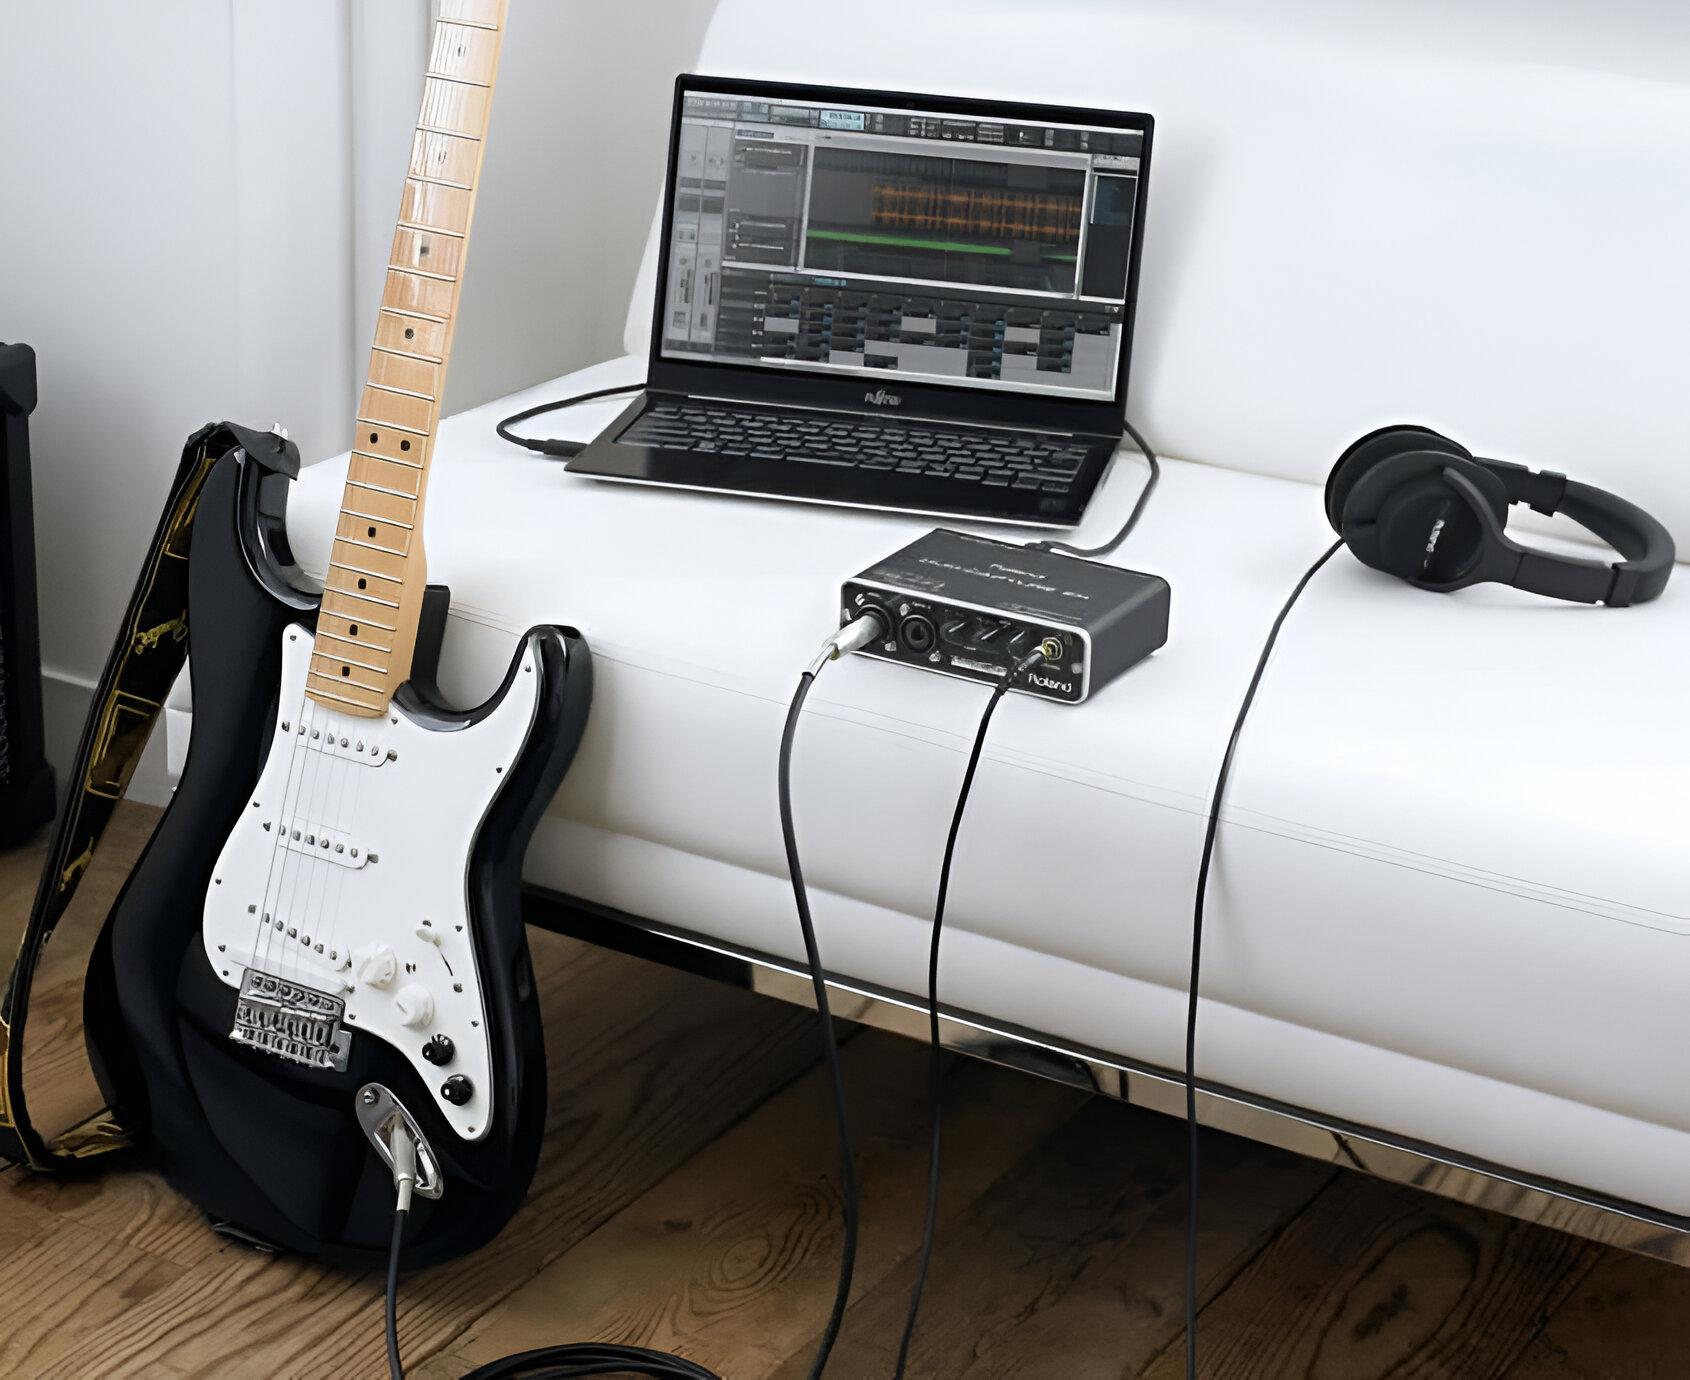
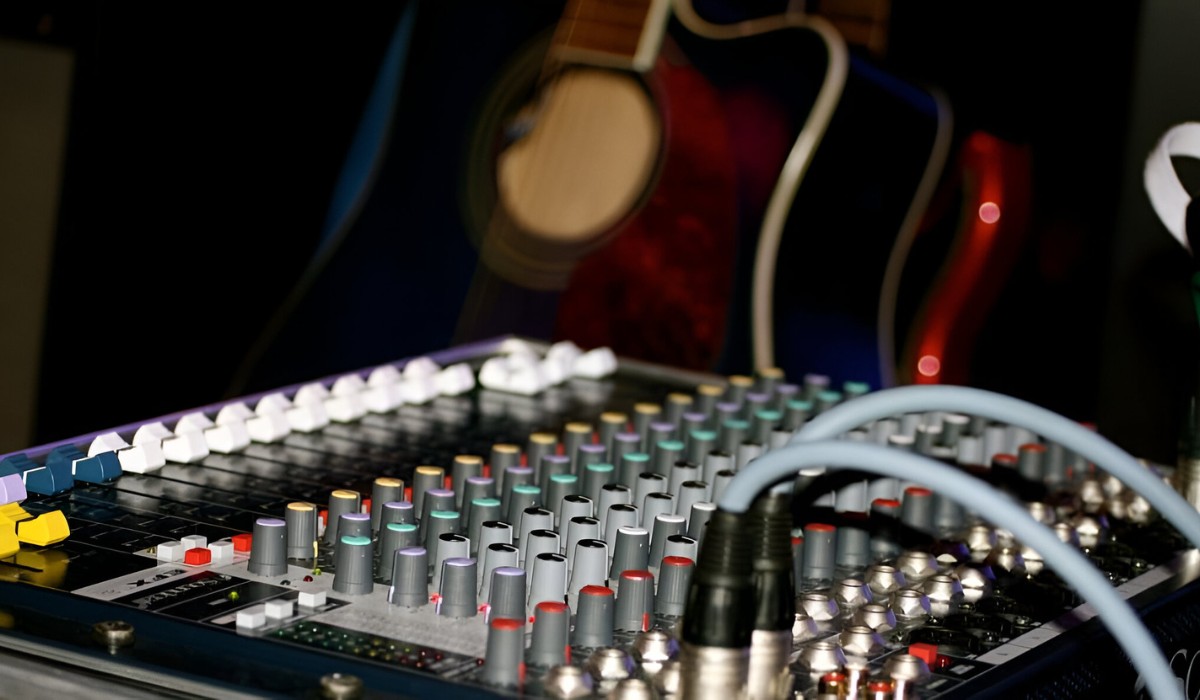
- Audio Interface: An audio interface serves as the bridge between your guitar, microphone, and computer. It converts analog signals into digital data for recording and playback. Look for an interface with low latency, high-quality preamps, and compatibility with your recording software.
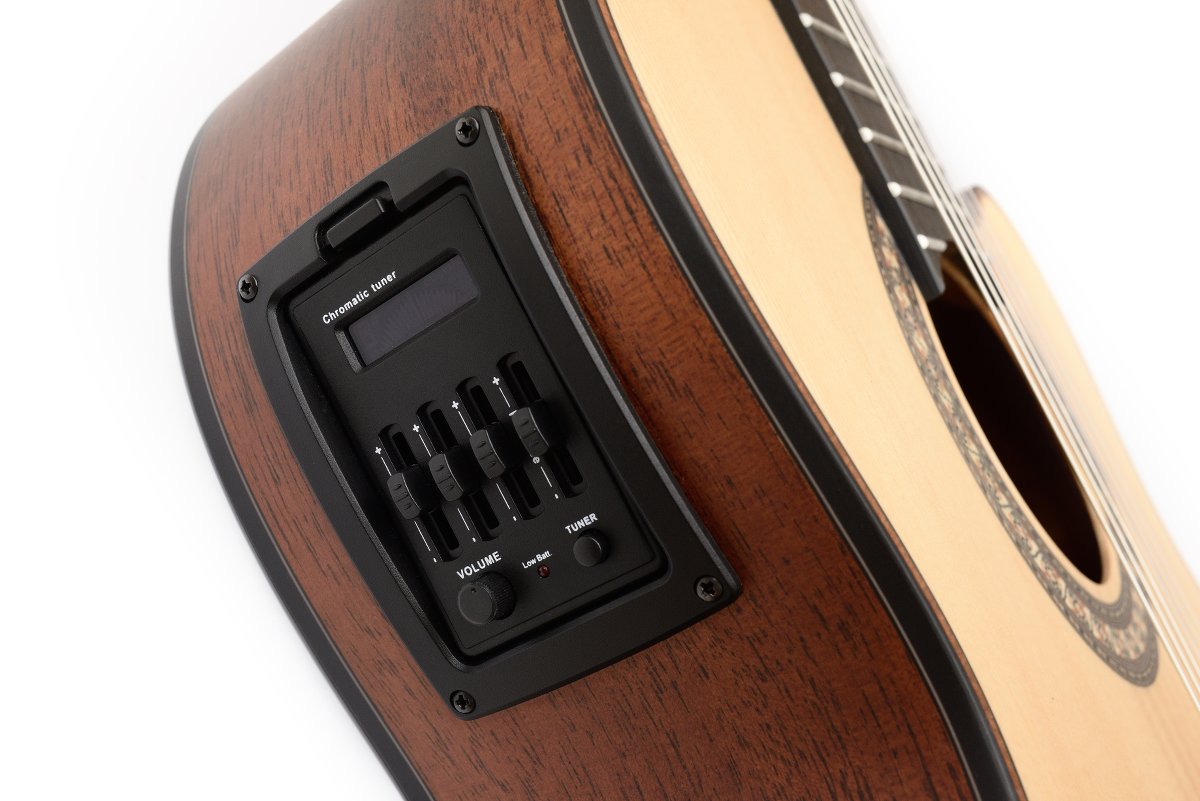
- Cables and Accessories: High-quality instrument cables, microphone cables, and accessories such as guitar pedals, tuners, and guitar straps are essential for a seamless recording experience. Invest in reliable cables and accessories to ensure optimal signal flow and performance.
Before making any purchases, consider your budget, recording environment, and specific recording goals. Researching and testing different equipment combinations can help you find the perfect setup that suits your musical preferences and recording aspirations.
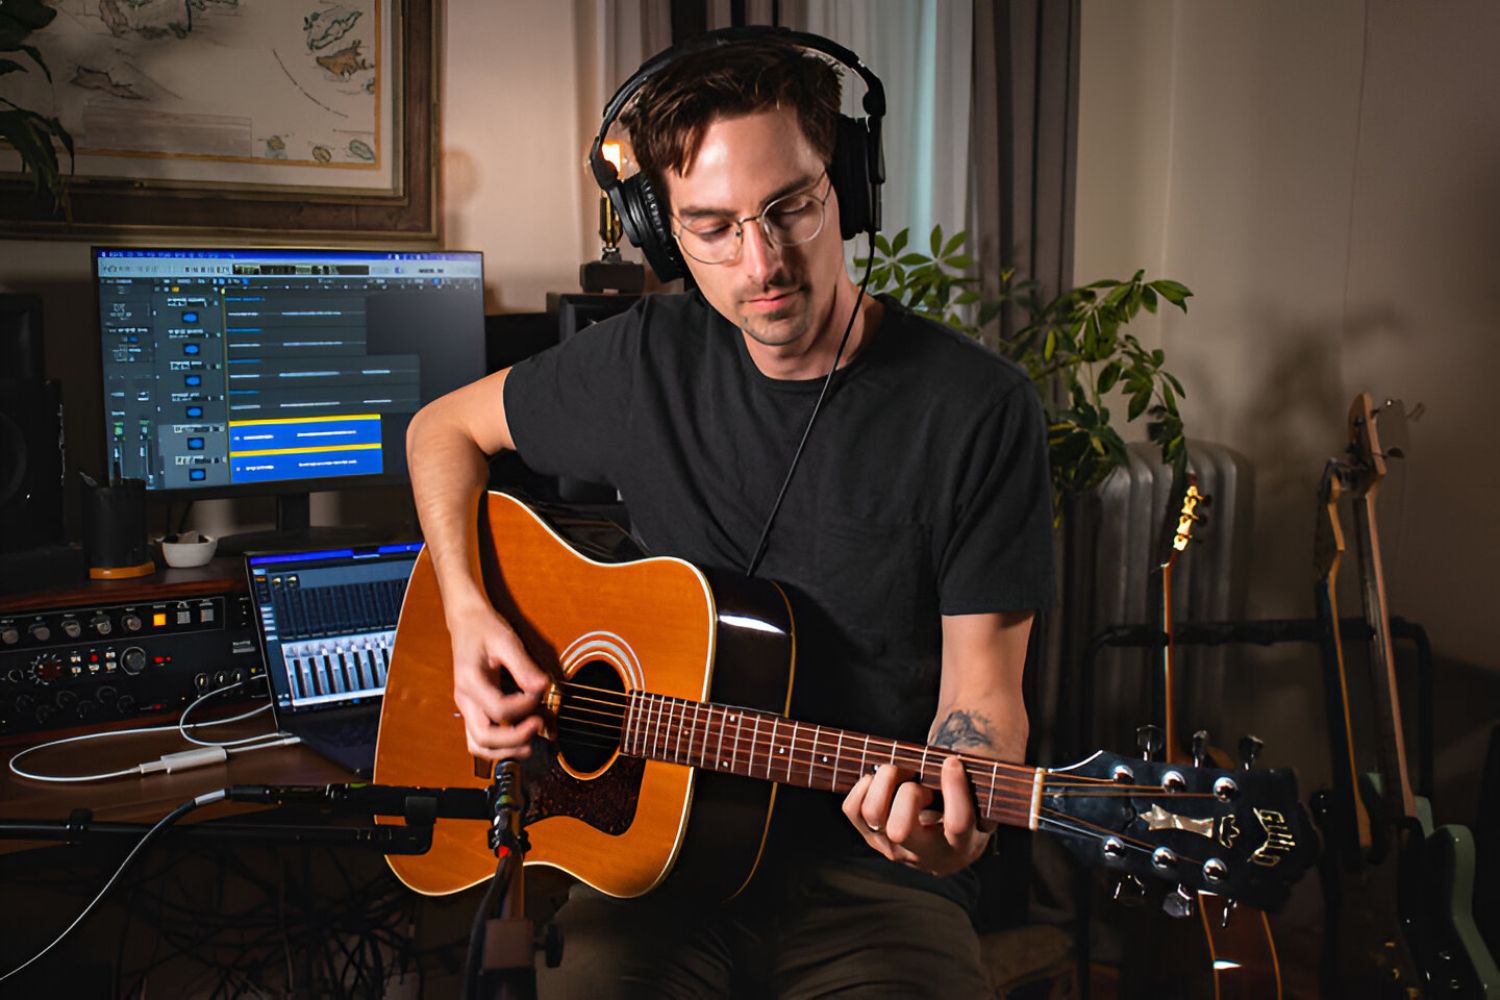
Setting Up Your Recording Space
Creating an optimal recording environment is essential for capturing the true essence of your electric guitar’s sound. Consider the following factors when setting up your recording space:
- Room Acoustics: The acoustic properties of your recording space greatly influence the quality of your recordings. Ideally, choose a room with minimal reverb and acoustic treatment to minimize unwanted reflections. If possible, use acoustic panels or soundproofing materials to improve the sonic characteristics of the room.
- Noise Control: Minimize background noise and external distractions to ensure clean recordings. Select a quiet location for your recording setup and consider using noise isolation tools such as sound barriers and noise gates to eliminate unwanted noise pollution.
- Positioning and Layout: Arrange your recording space to optimize sound capture. Position your guitar amplifier and microphone in a way that minimizes phase issues and maximizes sound clarity. Experiment with different layouts to find the most acoustically favorable setup.
- Comfort and Ergonomics: Your comfort during recording sessions can impact your performance. Ensure that your recording space is ergonomically designed, allowing you to play your guitar comfortably for extended periods. Consider factors such as seating, lighting, and equipment accessibility to create a conducive and inspiring environment.
- Ventilation and Temperature Control: Maintain a comfortable and consistent temperature in your recording space to prevent equipment overheating and ensure your own comfort during recording sessions. Proper ventilation can also help minimize the buildup of stale air, creating a more pleasant and productive environment.
By optimizing your recording space for acoustics, comfort, and practicality, you can create an environment that enhances your creative process and facilitates high-quality electric guitar recordings.
Positioning the Microphone
Positioning the microphone correctly is crucial for capturing the true essence of your electric guitar’s sound. The placement of the microphone relative to the amplifier and the guitar itself significantly influences the recorded tone and timbre. Here are essential tips for positioning the microphone:
- Distance from the Amp: Experiment with the distance between the microphone and the amplifier to find the sweet spot that captures the desired tonal characteristics. Moving the microphone closer to the amp emphasizes the low-end and midrange frequencies, while placing it farther away captures more room ambience and high-frequency details.
- Microphone Angle: Adjust the angle of the microphone in relation to the amplifier’s speaker cone to fine-tune the recorded sound. Pointing the microphone directly at the center of the speaker cone produces a more focused and punchy sound, while angling it towards the edge of the cone captures a smoother and more ambient tone.
- Off-Axis Placement: Experiment with off-axis microphone placement to achieve different tonal characteristics. Positioning the microphone slightly off-center from the speaker cone can soften harsh high frequencies and create a more balanced sound, offering versatility in your recordings.
- Room Mic Placement: Consider incorporating a room microphone to capture the overall ambiance of the recording space. Placing a microphone at a distance from the amplifier can add depth and spaciousness to the recorded sound, enriching the sonic texture of the guitar tracks.
- Isolation and Bleed: Use isolation shields or gobos to minimize bleed from other instruments or sound sources. This helps maintain the clarity and focus of the guitar recording, reducing unwanted interference from surrounding noise.
It’s important to note that microphone positioning is a subjective process influenced by personal preference, musical style, and the desired sonic character of the recording. Experimenting with different microphone placements and techniques allows you to discover the optimal setup that complements your playing style and musical vision.
Adjusting the Amp Settings
Optimizing your amplifier settings is essential for achieving the desired tone and sonic characteristics when recording electric guitar. The amp’s settings, including the gain, EQ, and effects, play a crucial role in shaping the sound. Here’s how to adjust the amp settings effectively:
- Gain: Experiment with the gain control to find the optimal level of overdrive or distortion for your desired sound. Adjusting the gain affects the amount of saturation and harmonic content in your guitar tone, allowing you to achieve anything from clean, pristine tones to aggressive, crunchy textures.
- EQ (Equalization): Fine-tune the amp’s EQ settings to sculpt the frequency response of your guitar sound. Adjust the bass, midrange, and treble controls to emphasize or attenuate specific frequency ranges, tailoring the tonal balance to suit your musical style and recording context.
- Presence and Resonance: Some amplifiers feature presence and resonance controls, which influence the overall clarity and depth of the sound. Experiment with these settings to add definition and depth to your guitar tone, enhancing its presence in the mix.
- Effects and Reverb: If your amplifier includes built-in effects such as reverb, delay, or modulation effects, explore these options to enhance the sonic texture of your recordings. Use effects tastefully to add depth and dimension to your guitar tracks, but avoid overwhelming the sound with excessive processing.
- Master Volume: Adjust the master volume to control the overall output level of the amplifier. Finding the right balance between the preamp gain and the master volume allows you to achieve the desired level of saturation and power amp compression without overpowering the recording environment.
It’s important to approach amp settings as a collaborative process with microphone placement and recording techniques. By fine-tuning the amp’s settings in conjunction with the microphone placement, you can achieve a cohesive and balanced guitar sound that translates effectively in the recording.
Recording Techniques
Effective recording techniques are essential for capturing the nuances and dynamics of your electric guitar performance. Whether you’re aiming for a clean, pristine sound or a gritty, aggressive tone, employing the right recording techniques can make a significant difference in the final outcome. Here are key recording techniques to consider:
- Mic Placement Variations: Experiment with different microphone placements to explore the sonic possibilities. Moving the microphone closer to the amplifier’s speaker cone emphasizes the direct sound of the guitar, while positioning it farther away captures more room ambience and natural resonance. Additionally, blending multiple microphone positions can provide a fuller and more dimensional guitar sound.
- Layering and Doubling: Consider layering multiple guitar tracks to create a richer and more expansive sound. Recording additional rhythm or lead parts and panning them across the stereo field can add depth and dimension to your recordings, enhancing the overall sonic landscape.
- Performance Dynamics: Pay attention to the dynamics of your performance during recording. Varying your playing intensity, from gentle fingerpicking to aggressive strumming, can create a more expressive and emotive guitar performance, enriching the musicality of the recording.
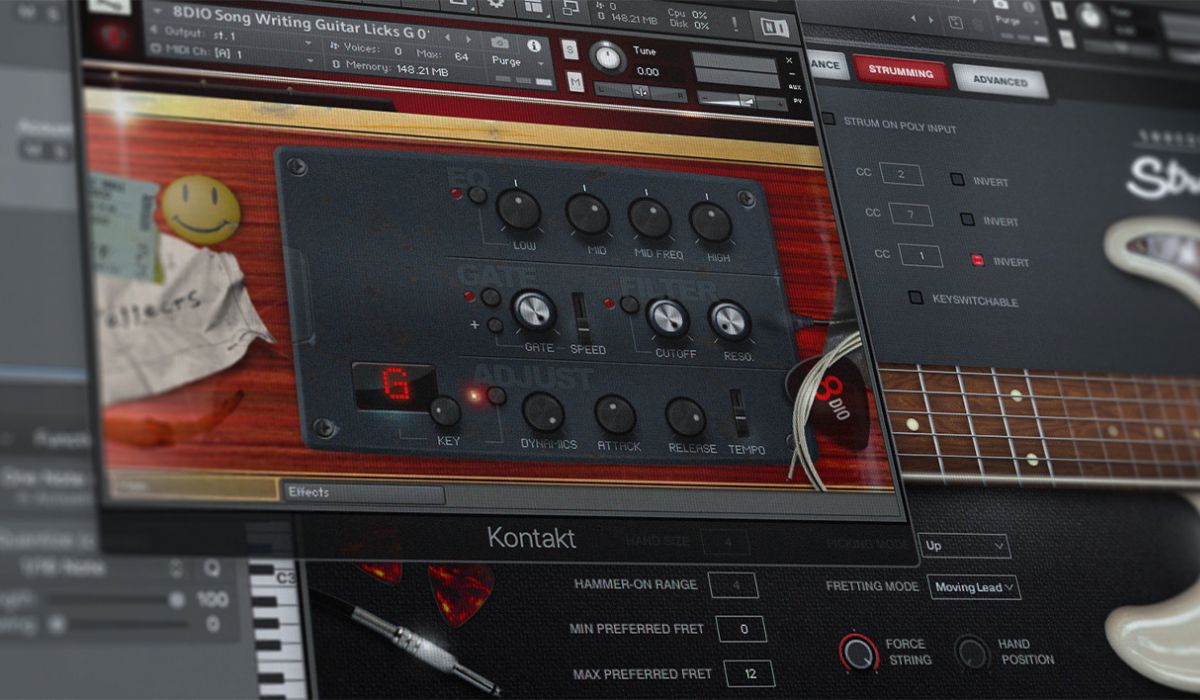
- Direct Recording: In addition to capturing the sound of the amplifier, consider utilizing direct recording techniques. Connecting your guitar directly to the audio interface or utilizing amp modeling software can offer a clean and controlled signal, providing flexibility in post-processing and tone shaping.
- Room Ambience Capture: Incorporate room ambience into your recordings by using room mics or ambient microphones. Capturing the natural reverberation and spatial characteristics of the recording space can add depth and realism to the guitar tracks, contributing to a more immersive listening experience.
Throughout the recording process, focus on achieving a balanced and cohesive guitar sound that complements the overall mix. By experimenting with different recording techniques and approaches, you can unleash the full potential of your electric guitar recordings, allowing your musical vision to shine through with clarity and impact.
Post-Recording Tips and Tricks
After capturing your electric guitar performances, the post-recording phase presents opportunities to refine and enhance the recorded tracks. Utilizing post-recording techniques and strategies can elevate the sonic quality and overall impact of your guitar recordings. Here are valuable post-recording tips and tricks to consider:
- Editing and Comping: Take advantage of digital audio workstations (DAWs) to edit and comp your guitar takes. Trim and arrange the recorded parts, and consider comping together the best sections from multiple takes to create a cohesive and polished performance.
- Tone Shaping and Processing: Use EQ, compression, and other processing tools to refine the tone and dynamics of your guitar recordings. Experiment with different tonal enhancements to sculpt the sound, ensuring that it sits well within the overall mix and retains its expressive qualities.
- Reamping and Effects: If necessary, consider reamping the recorded guitar tracks through different amplifiers or effects pedals to explore alternative tonal possibilities. Additionally, experiment with post-recording effects such as delay, reverb, and modulation to add depth and character to the guitar sound.
- Spatial Processing: Utilize stereo imaging and spatial processing techniques to create a sense of depth and width in your guitar recordings. Panning, stereo enhancement, and spatial effects can contribute to a more immersive and engaging listening experience.
- Automation and Dynamics: Implement automation to control the dynamics and spatial positioning of the guitar tracks throughout the song. Gradual volume adjustments, panning automation, and dynamic processing can enhance the expressive qualities of the guitar performance.
Furthermore, collaborating with a skilled mixing engineer can provide valuable insights and expertise in refining the guitar recordings to achieve professional-grade results. By leveraging post-recording techniques and working with experienced professionals, you can ensure that your electric guitar recordings reach their full sonic potential, captivating listeners and conveying your musical vision with clarity and impact.
Conclusion
Recording electric guitar is a multifaceted process that requires a combination of technical knowledge, creative exploration, and attention to sonic detail. Throughout this guide, you’ve delved into the essential steps and techniques for capturing high-quality electric guitar recordings. From selecting the right equipment and optimizing your recording space to refining your post-recording approach, each stage plays a pivotal role in shaping the sonic character of your guitar tracks.
By choosing the appropriate guitar, amplifier, and microphone, you lay the foundation for a captivating and expressive sound. Setting up your recording space with attention to acoustics, comfort, and practicality creates an environment conducive to inspired performances. Positioning the microphone and adjusting the amp settings allow you to sculpt the desired tone, while employing effective recording techniques and post-recording strategies refines the sonic quality and impact of your guitar recordings.
Ultimately, the art of recording electric guitar is a journey of creativity, experimentation, and sonic exploration. Whether you’re striving to capture the raw energy of a blistering rock riff or the delicate nuances of a melodic passage, each recording presents an opportunity to convey your musical expression with authenticity and artistry.
As you continue to hone your skills and expand your sonic palette, remember that the process of recording electric guitar is as much about embracing the inherent imperfections and idiosyncrasies of the instrument as it is about achieving technical precision. It’s a journey of discovery, where each note and chord becomes a brushstroke in the canvas of your musical narrative.
So, as you embark on your electric guitar recording endeavors, embrace the creative possibilities, push the boundaries of sonic innovation, and let your passion for music guide you. With dedication, perseverance, and a willingness to explore new sonic territories, your electric guitar recordings will serve as a testament to your musical vision and artistic expression.