Introduction
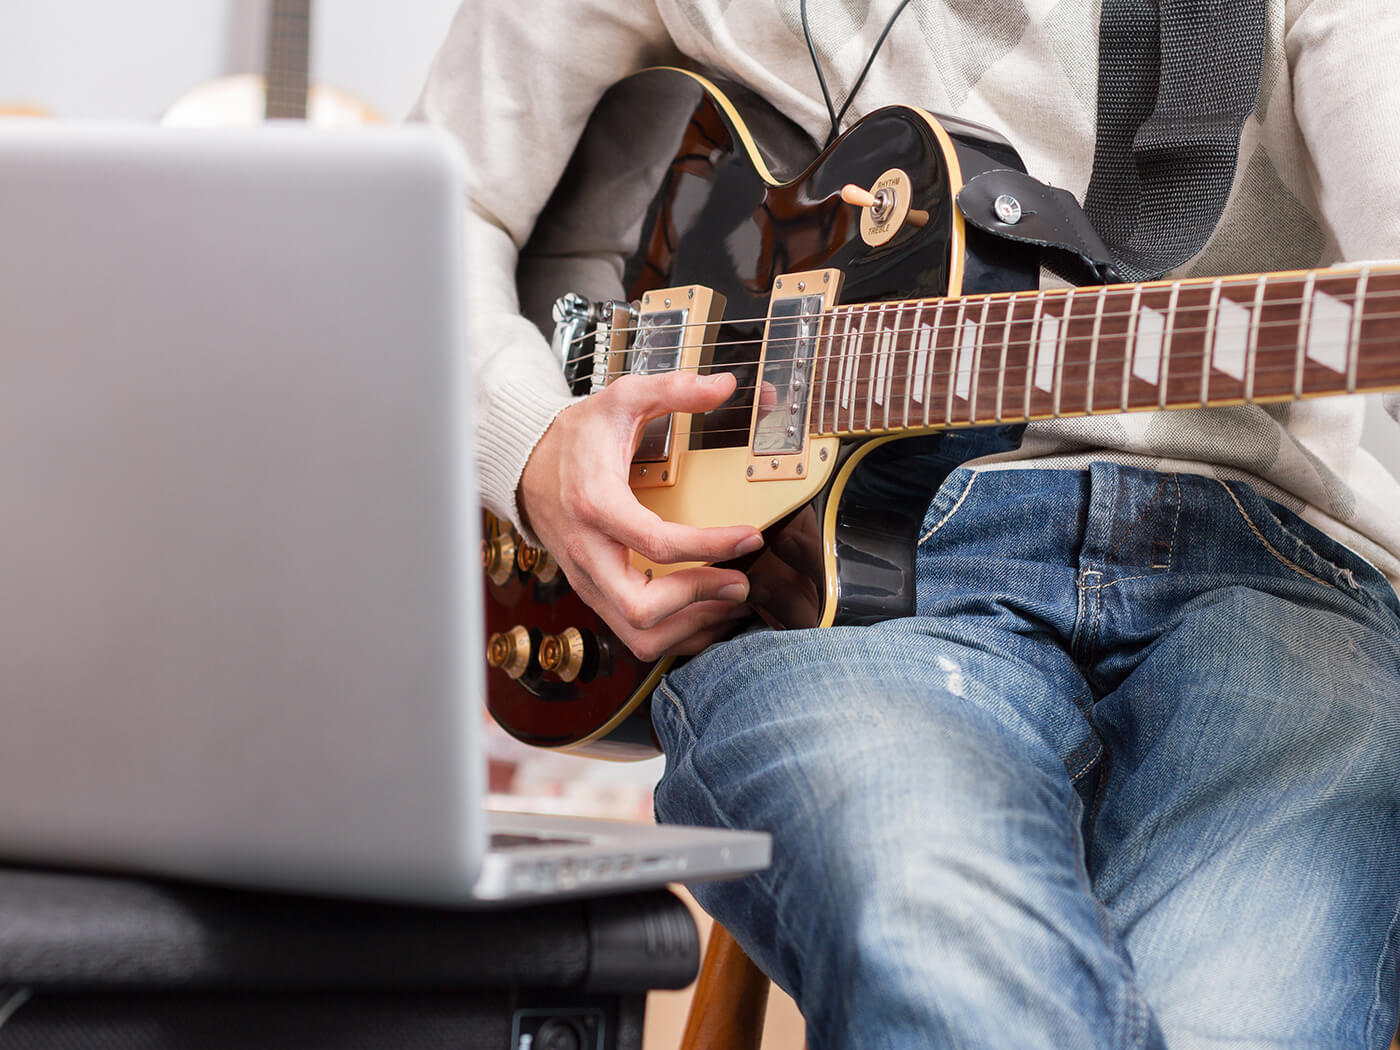
So, you've got your electric guitar and you're ready to rock out in Ableton Live. Integrating your guitar with Ableton Live opens up a world of creative possibilities, allowing you to harness the power of digital effects, amp simulations, and recording capabilities. Whether you're a seasoned guitarist or just starting out, this guide will walk you through the process of routing your electric guitar into Ableton Live, unleashing your musical potential in the digital realm.
Harnessing the full potential of your electric guitar in a digital audio workstation like Ableton Live offers a myriad of advantages. You can access a wide range of virtual amplifiers and effects, experiment with different tones and textures, and seamlessly record your performances for further manipulation and refinement. By integrating your guitar with Ableton Live, you can elevate your music production and performance to new heights.
In this guide, we'll delve into the essential equipment you'll need to connect your electric guitar to your computer, explore the process of setting up Ableton Live to recognize and process your guitar signal, and delve into the world of guitar effects and amp simulations available within the software. Additionally, we'll cover the crucial steps for recording and monitoring your guitar performances, providing you with a comprehensive understanding of how to seamlessly integrate your electric guitar into the digital realm of Ableton Live.
So, grab your guitar, fire up Ableton Live, and get ready to embark on an exciting journey of sonic exploration and musical innovation. Whether you're aiming to lay down killer guitar tracks, experiment with unique effects, or craft captivating performances, this guide will equip you with the knowledge and skills to make the most of your electric guitar within the versatile environment of Ableton Live. Let's dive in and unlock the full potential of your electric guitar in the digital domain.
Equipment Needed
Before diving into the world of routing your electric guitar into Ableton Live, it’s essential to ensure that you have the necessary equipment to facilitate a seamless integration. Here’s a rundown of the essential gear you’ll need to get started:
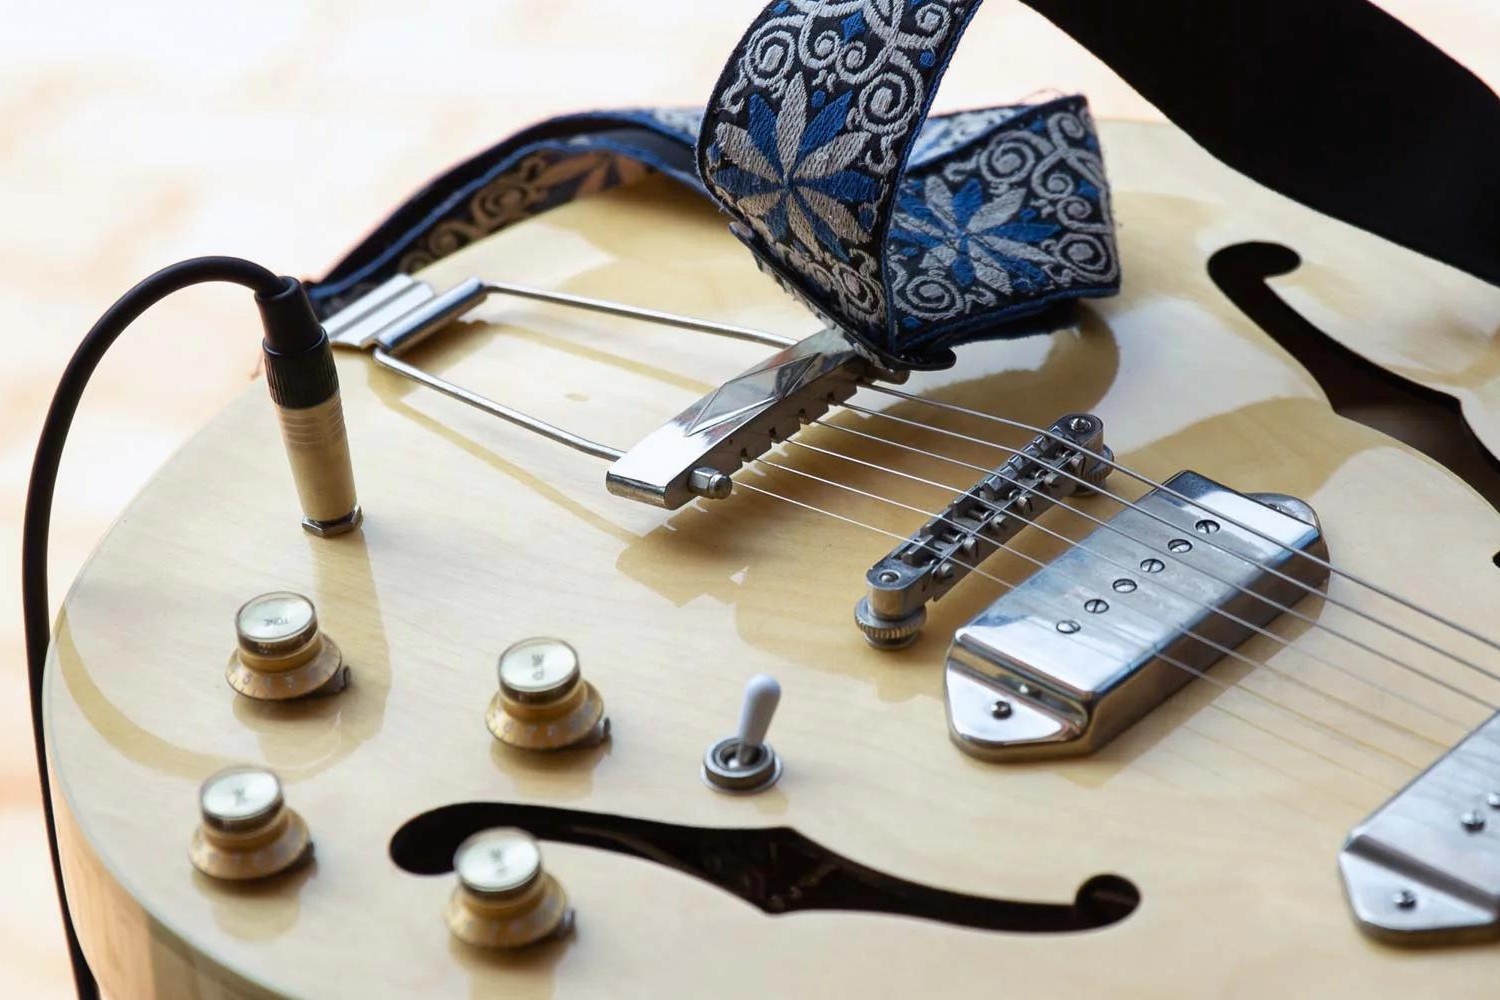
- Electric Guitar: Naturally, the heart of this setup is your electric guitar. Whether you favor the crisp, clean tones of a Stratocaster or the heavy, distorted sounds of a Les Paul, ensure that your guitar is in good working condition and equipped with the appropriate pickups for your desired sound.
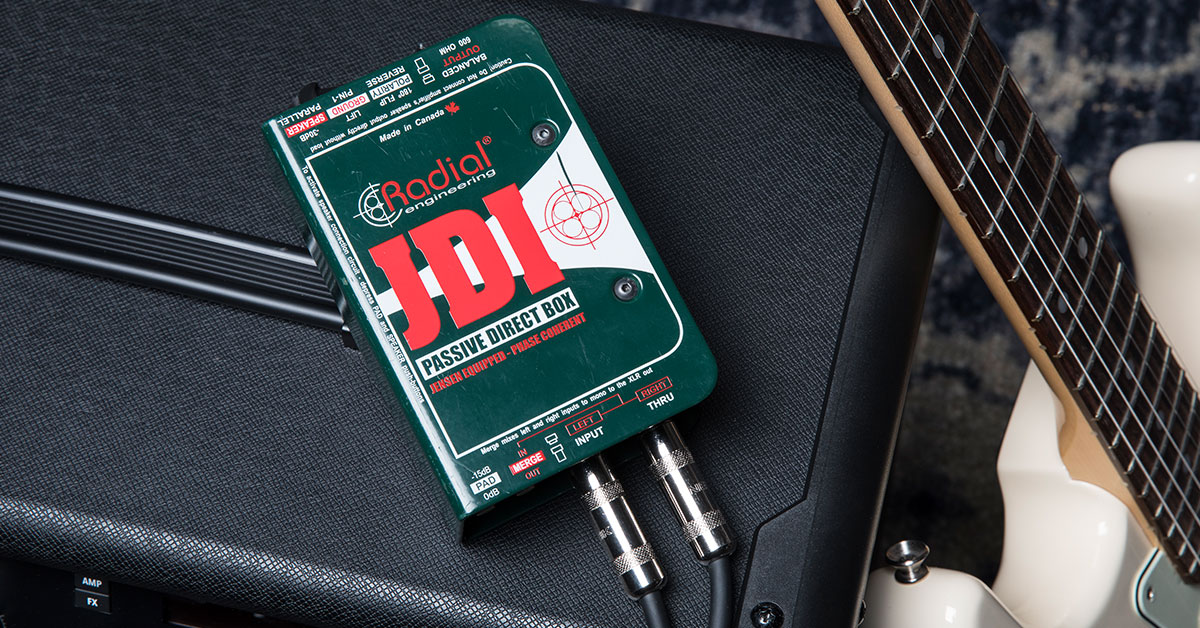
- Audio Interface: An audio interface serves as the bridge between your electric guitar and your computer. It’s crucial for converting the analog signal from your guitar into digital data that your computer can process. Look for an audio interface with high-quality preamps and instrument inputs to capture the nuances of your guitar’s sound.
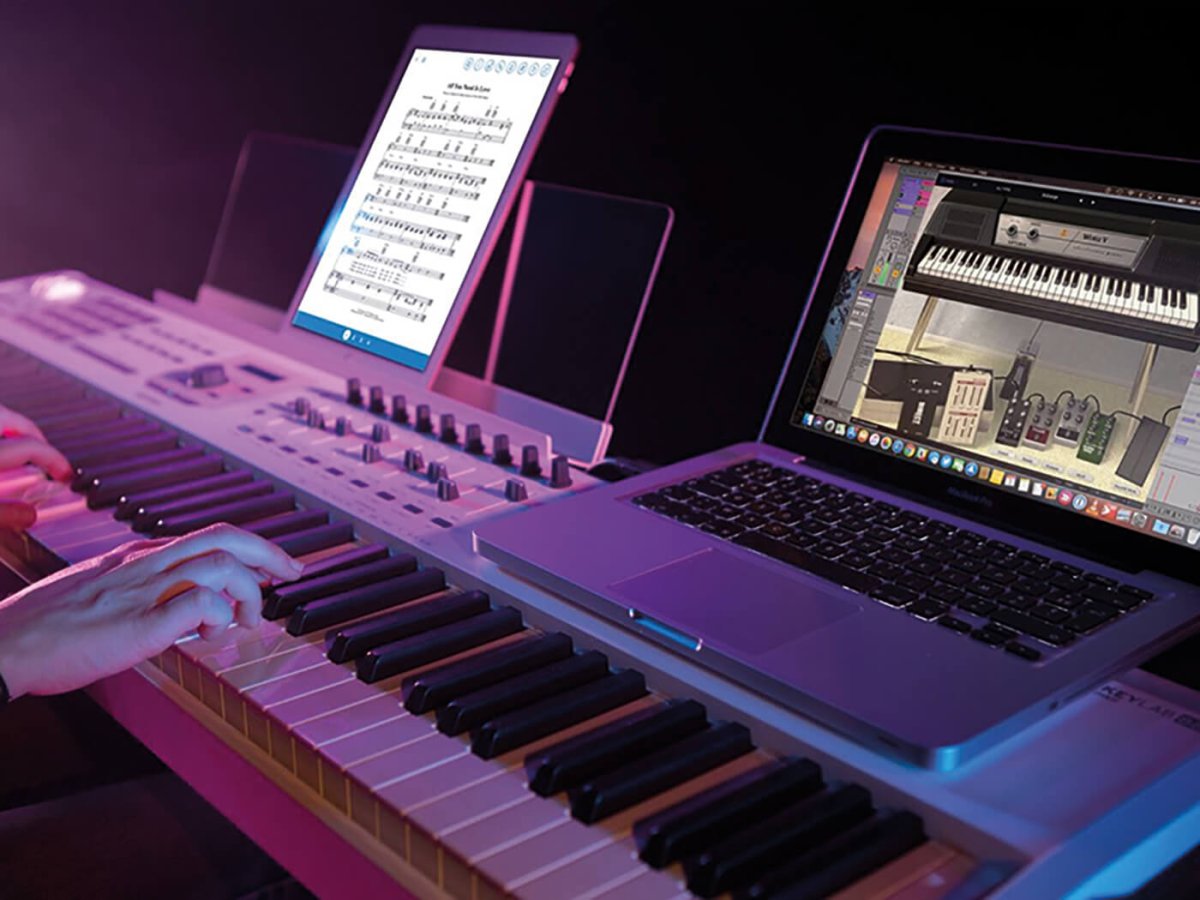
- Computer: You’ll need a reliable computer to run Ableton Live and handle the processing demands of real-time guitar input and effects. Ensure that your computer meets the system requirements for Ableton Live and has sufficient processing power and memory to handle audio processing tasks without latency or performance issues.
- Ableton Live Software: Of course, you’ll need a copy of Ableton Live installed on your computer. Make sure you have the latest version to access the most up-to-date features and improvements for guitar integration and processing.
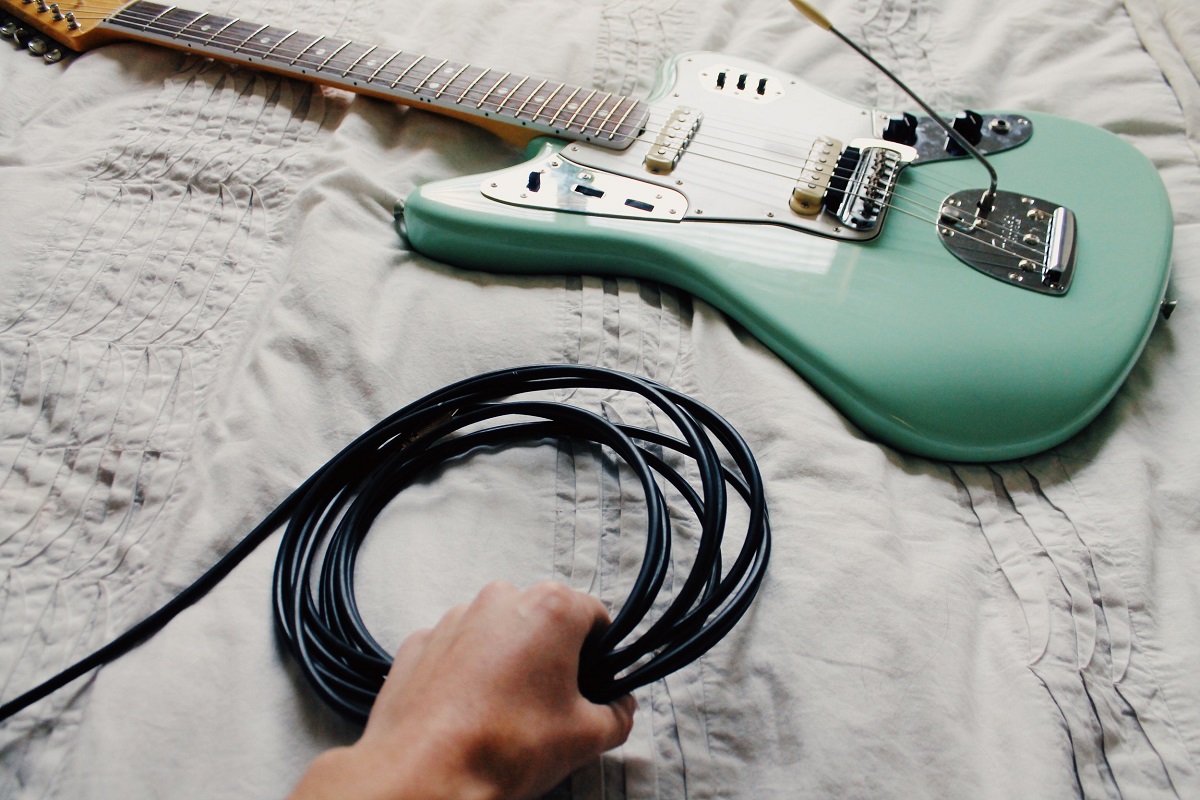
- Guitar Cable: A high-quality guitar cable is essential for connecting your electric guitar to the audio interface. Look for a durable cable with reliable connectors to ensure a stable connection and minimize signal loss.
- Headphones or Studio Monitors: To monitor your guitar signal and the effects processed in Ableton Live, you’ll need a pair of headphones or studio monitors. These will allow you to hear the nuances of your guitar tone and effects with clarity and detail.
By ensuring that you have these essential pieces of equipment at your disposal, you’ll be well-prepared to embark on the journey of routing your electric guitar into Ableton Live. With the right gear in place, you can focus on the creative possibilities that await as you integrate your electric guitar into the digital realm of music production and performance.
Connecting the Guitar to an Audio Interface
Now that you have all the necessary equipment assembled, it’s time to connect your electric guitar to an audio interface, the pivotal link that bridges the analog world of your guitar’s signal with the digital domain of your computer and Ableton Live. Follow these steps to establish a solid connection and ensure optimal signal transfer:
- Select the Instrument Input: Most audio interfaces feature dedicated instrument inputs designed to accommodate the high-impedance signals of electric guitars. Locate the instrument input on your audio interface, typically represented by a 1/4″ TS (tip-sleeve) or TRS (tip-ring-sleeve) input jack.
- Use a High-Quality Guitar Cable: Connect one end of a high-quality guitar cable to the output jack of your electric guitar. Ensure that the cable is in good condition and free from any damage or interference that could compromise the signal integrity.
- Connect to the Audio Interface: Plug the other end of the guitar cable into the instrument input of your audio interface. Ensure a secure connection to minimize signal loss and maintain the integrity of the guitar signal as it travels to the audio interface.
- Set the Input Gain: Adjust the input gain or level control on the audio interface to optimize the signal level coming from your guitar. Aim for a healthy signal level without clipping or distortion, ensuring that the audio interface accurately captures the nuances of your guitar’s sound.
- Monitor the Signal: If your audio interface features a direct monitoring option, activate it to listen to the raw guitar signal with minimal latency. This allows you to hear the unprocessed sound of your guitar directly through the audio interface, providing a clear reference point for any subsequent effects or processing applied in Ableton Live.
By following these steps, you’ll establish a robust and reliable connection between your electric guitar and the audio interface, laying the groundwork for integrating your guitar signal into the digital environment of Ableton Live. With the physical connection in place, you’re poised to embark on the next steps of setting up Ableton Live to recognize and process your guitar signal with precision and clarity.
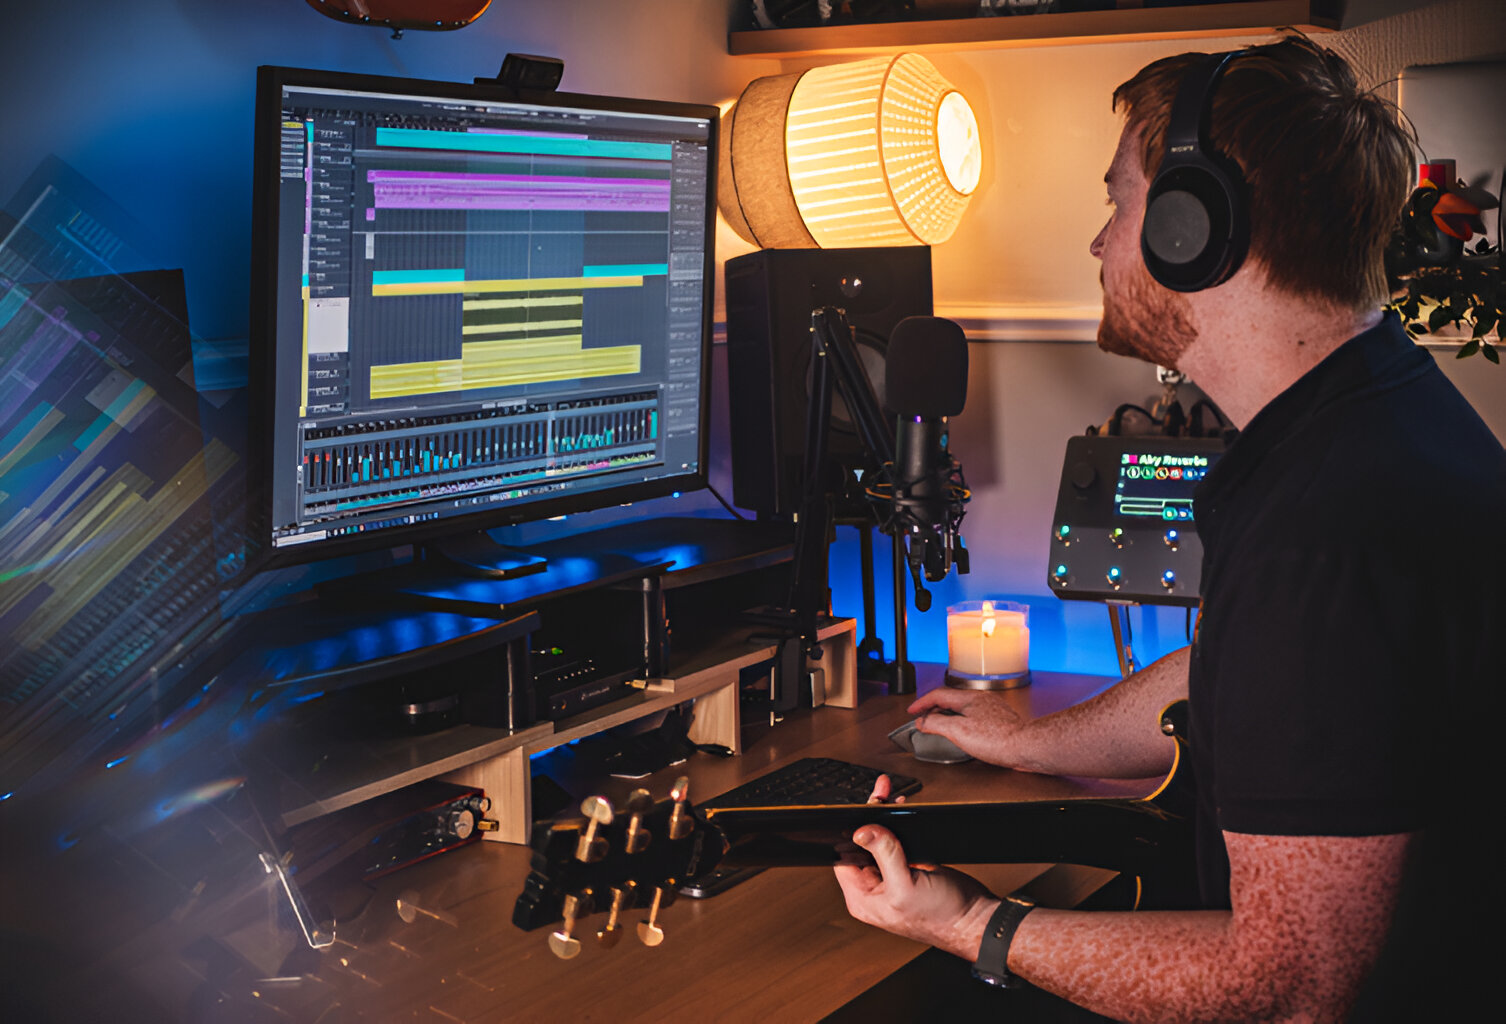
Setting Up Ableton Live
With your electric guitar connected to the audio interface, the next crucial step is to configure Ableton Live to recognize and process the incoming guitar signal. Follow these essential steps to set up Ableton Live for seamless integration with your electric guitar:
- Launch Ableton Live: Open Ableton Live on your computer and ensure that your audio interface is selected as the designated input and output device within the software’s preferences or settings.
- Create an Audio Track: In Ableton Live’s session view, create a new audio track by clicking the “Create” button and selecting “Insert Audio Track.” This will provide a dedicated channel for processing and monitoring your guitar signal within Ableton Live.
- Configure the Input Source: On the newly created audio track, designate the input source as the input channel corresponding to your guitar connected to the audio interface. This ensures that Ableton Live receives the guitar signal from the audio interface for processing and monitoring.
- Set Monitoring Options: Choose the appropriate monitoring option for the audio track, allowing you to monitor the incoming guitar signal in real time. Depending on your preferences and workflow, you can opt for input monitoring, auto-monitoring, or other monitoring modes to suit your recording and performance needs.
- Adjust Input Levels: Use Ableton Live’s input gain controls to optimize the input levels from your guitar. Aim for a healthy signal level without clipping or distortion, ensuring that the software accurately captures the nuances of your guitar’s sound without compromising audio quality.
By following these steps, you’ll establish a solid foundation for integrating your electric guitar into the digital environment of Ableton Live. The software will be primed to receive, process, and monitor your guitar signal with precision, setting the stage for exploring a diverse range of effects, amp simulations, and recording capabilities within Ableton Live.
With Ableton Live configured to recognize and process your electric guitar, you’re ready to delve into the world of guitar effects and amp simulations available within the software, unlocking a universe of sonic possibilities to shape and enhance your guitar performances.
Configuring Input and Output Settings
Once Ableton Live is launched and your audio interface is connected, it’s crucial to configure the input and output settings within the software to ensure seamless communication with your electric guitar and the playback system. Follow these essential steps to optimize the input and output settings in Ableton Live:
- Access Preferences: Navigate to the “Preferences” menu in Ableton Live, typically located in the top menu bar or accessible via keyboard shortcut. Within the preferences, locate the audio tab or section that governs the input and output settings for your audio interface.
- Select Audio Interface: In the audio preferences, choose your audio interface as the designated input and output device for Ableton Live. Ensure that the audio interface is recognized and selected to facilitate bidirectional communication between the software and your guitar as well as the playback system.
- Set Input Configuration: Configure the input settings to correspond to the input channel on your audio interface where your electric guitar is connected. This ensures that Ableton Live receives the guitar signal from the specified input source for processing and monitoring within the software.
- Configure Output Routing: Define the output routing within Ableton Live to direct the software’s audio output to your desired playback system, such as studio monitors, headphones, or an external audio interface. Ensure that the output settings align with your intended monitoring and playback setup for a cohesive audio experience.
- Optimize Buffer Size and Latency: Adjust the buffer size and latency settings in the audio preferences to achieve optimal performance and audio responsiveness. Balancing the buffer size helps minimize latency while maintaining stable audio playback and processing capabilities within Ableton Live.
By meticulously configuring the input and output settings in Ableton Live, you establish a streamlined pathway for your electric guitar’s signal to flow into the software for processing and monitoring, while ensuring that the audio output aligns with your preferred playback system. These settings form the backbone of a cohesive and responsive audio environment, setting the stage for exploring the diverse array of effects, amp simulations, and recording capabilities available within Ableton Live.
With the input and output settings finely tuned, you’re poised to delve into the world of guitar effects and amp simulations within Ableton Live, unleashing a palette of sonic possibilities to shape and enhance your guitar performances with precision and creativity.
Adding Guitar Effects and Amp Simulations
With your electric guitar seamlessly integrated into Ableton Live and the input and output settings configured, you’re ready to explore the diverse palette of guitar effects and amp simulations available within the software. Ableton Live offers a rich array of virtual stompboxes, amplifiers, and processors to sculpt your guitar’s tone and texture. Here’s how to harness these tools to elevate your guitar performances:
- Explore Audio Effects: Navigate to Ableton Live’s audio effects library and explore the dedicated guitar effects, including overdrive, distortion, modulation, delay, reverb, and more. Drag and drop these effects onto the audio track containing your guitar signal to begin shaping and enhancing your guitar tone with precision.
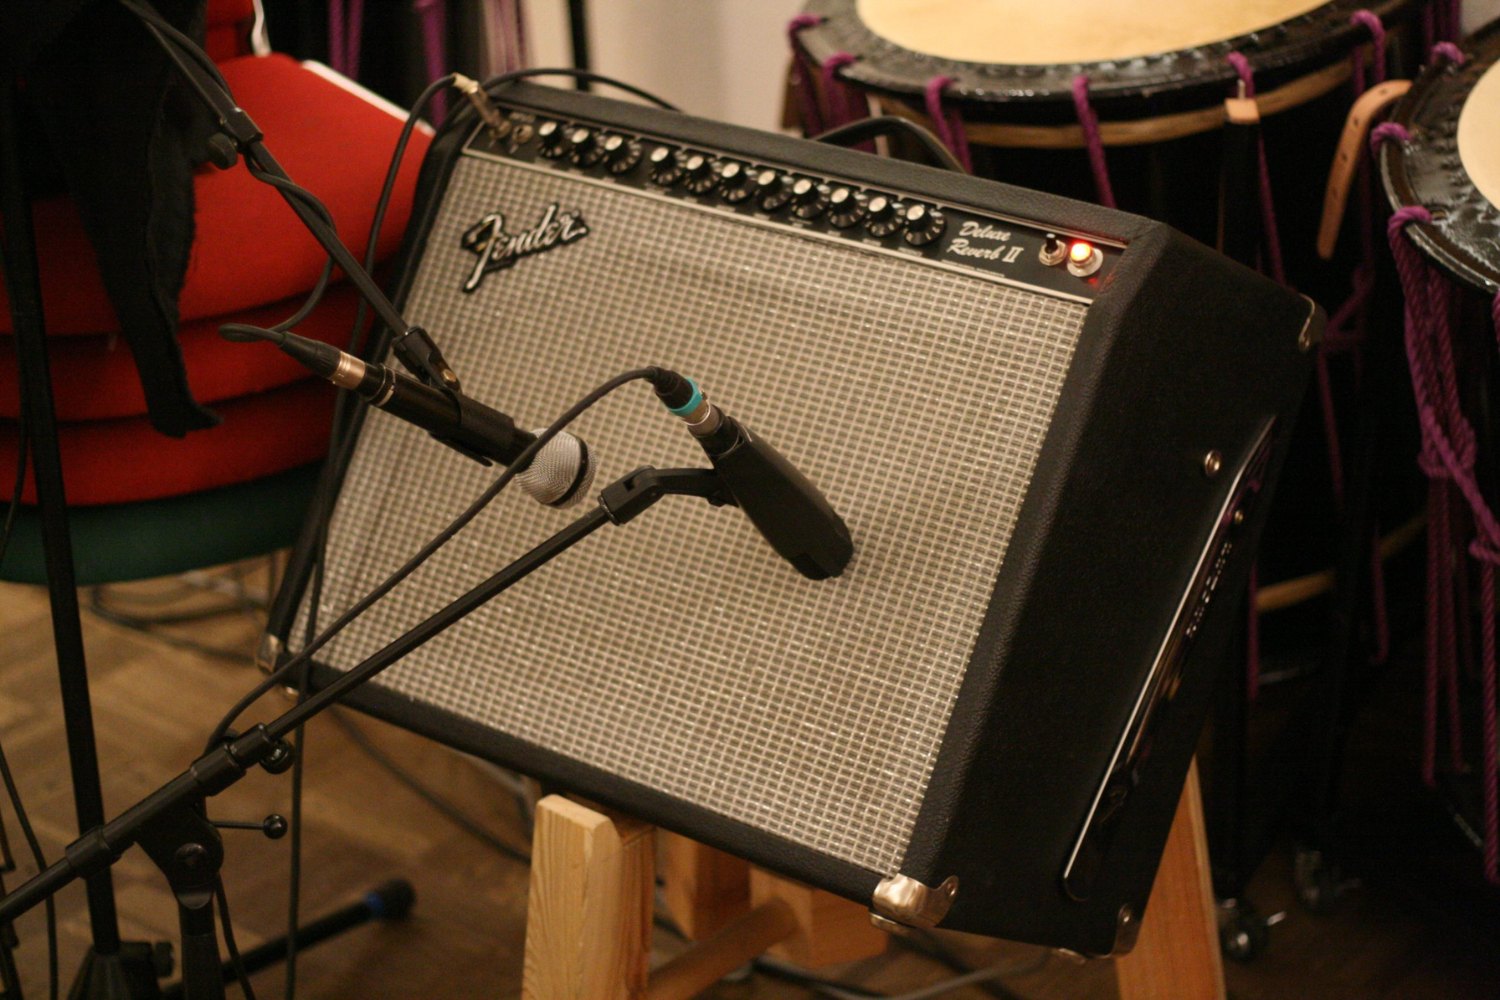
- Experiment with Amp Simulations: Discover Ableton Live’s amp and cabinet simulations, offering a diverse range of virtual amplifiers and speaker cabinets to emulate classic and modern guitar tones. Experiment with different amp models and cabinet configurations to achieve the desired sonic character for your guitar performances.
- Layer Effects and Processors: Combine multiple audio effects and processors to craft intricate guitar tones and textures. Experiment with signal chains, parallel processing, and creative routing to layer effects and sculpt your guitar’s sound with depth and dimension.
- Utilize Automation and Modulation: Leverage Ableton Live’s automation and modulation capabilities to dynamically control and manipulate guitar effects over time. Automate parameters such as modulation depth, delay feedback, and filter cutoff to add movement and expression to your guitar performances.
- Integrate MIDI Controllers: If you have MIDI controllers or expression pedals, map them to control parameters of guitar effects and amp simulations in real time. This hands-on approach allows for expressive performance techniques and on-the-fly adjustments to shape your guitar’s sonic palette during recording or live performances.
By delving into the world of guitar effects and amp simulations within Ableton Live, you can unleash a universe of sonic possibilities to shape and enhance your electric guitar performances with precision and creativity. Whether you’re aiming for searing overdriven tones, lush modulated textures, or ambient soundscapes, the extensive array of effects and processors in Ableton Live empowers you to realize your sonic vision and elevate your guitar performances to new heights.
With your guitar tone sculpted to perfection, you’re poised to explore the essential steps for recording and monitoring your guitar performances within the dynamic environment of Ableton Live, capturing your musical ideas with clarity and finesse.
Recording and Monitoring the Guitar
As your guitar tone takes shape through the diverse array of effects and amp simulations in Ableton Live, the next crucial step is to navigate the process of recording and monitoring your guitar performances within the software. Whether you’re laying down captivating riffs, crafting intricate melodies, or exploring experimental textures, Ableton Live provides the tools to capture and monitor your guitar with precision and finesse. Here’s how to seamlessly record and monitor your guitar within the dynamic environment of Ableton Live:
- Arm the Audio Track for Recording: Ensure that the audio track containing your guitar signal is armed for recording. This allows Ableton Live to capture your guitar performances in real time, preserving the nuances and dynamics of your playing with pristine clarity.
- Set Recording Parameters: Configure the recording parameters, such as input levels, monitoring options, and recording mode, to align with your desired workflow. Adjust the settings to accommodate your performance style and preferences, ensuring a seamless recording experience.
- Engage Monitoring Options: Activate monitoring on the audio track to hear your guitar signal with minimal latency. This allows you to monitor your performance in real time, enabling you to react to the nuances of your guitar tone and effects as you play and record within Ableton Live.
- Utilize Punch-In and Punch-Out: Leverage Ableton Live’s punch-in and punch-out recording features to refine specific sections of your guitar performances. This allows for precise editing and overdubbing, empowering you to perfect your guitar parts with surgical precision.
- Monitor Signal Processing: As you record your guitar performances, monitor the applied effects and amp simulations in real time. This allows you to evaluate the impact of the effects on your guitar tone and make on-the-fly adjustments to achieve the desired sonic character and expression.
By navigating the process of recording and monitoring your guitar within Ableton Live, you can seamlessly capture your musical ideas with clarity and finesse, preserving the essence of your guitar performances with precision. Whether you’re crafting intricate arrangements, capturing spontaneous improvisations, or laying down captivating riffs, the recording and monitoring capabilities of Ableton Live provide a dynamic and responsive platform to realize your musical vision.
With your guitar performances expertly captured and monitored within Ableton Live, you’re equipped to refine and shape your recordings, leveraging the software’s comprehensive editing, arrangement, and mixing tools to bring your musical compositions to fruition with depth and clarity.
Conclusion
Embarking on the journey of routing your electric guitar into Ableton Live unveils a realm of creative possibilities, empowering you to harness the full potential of your instrument within a dynamic and versatile digital environment. From integrating your guitar with the audio interface to sculpting captivating tones with effects and amp simulations, the process of seamlessly integrating your electric guitar into Ableton Live opens doors to innovative music production and performance techniques.
By carefully selecting the essential equipment, including your electric guitar, audio interface, and computer, you lay the groundwork for a robust and reliable setup that forms the backbone of your guitar integration journey. Ensuring that your gear is in optimal condition and well-suited for digital integration sets the stage for a seamless transition into the digital domain of music production and performance.
Configuring Ableton Live to recognize and process your guitar signal with precision and clarity is a pivotal step in the integration process. Fine-tuning the input and output settings, exploring the diverse array of guitar effects and amp simulations, and navigating the recording and monitoring process within the software equips you with the tools to capture, shape, and refine your guitar performances with finesse.
As you immerse yourself in the world of guitar integration within Ableton Live, the software becomes a dynamic canvas for sonic exploration and musical innovation. Whether you’re crafting compelling guitar tracks, experimenting with unique effects, or capturing expressive performances, the seamless integration of your electric guitar into Ableton Live amplifies your creative potential and expands the horizons of your musical endeavors.
Armed with the knowledge and skills to route your electric guitar into Ableton Live, you’re poised to embark on an exciting journey of sonic exploration and musical expression. The integration of your guitar into the digital realm opens doors to endless sonic possibilities, empowering you to push the boundaries of creativity and elevate your musical compositions and performances to new heights.
So, grab your guitar, fire up Ableton Live, and embark on a captivating journey of sonic innovation and musical discovery. With the integration process mastered, you’re ready to unleash your creative potential and immerse yourself in the dynamic and expressive world of guitar integration within Ableton Live.