Introduction
So, you've got an electric guitar and a passion for music, but you're wondering how to harness the power of your PC to take your playing to the next level. Well, you're in the right place! With the right equipment and software, you can transform your PC into a versatile tool for recording, editing, and enhancing your electric guitar sound. Whether you're a seasoned player or just starting out, using your electric guitar with your PC opens up a world of creative possibilities.
In this guide, we'll walk you through the process of using your electric guitar with your PC, from choosing the right equipment to recording and editing your guitar tracks. By the end, you'll have a solid understanding of how to seamlessly integrate your electric guitar with your PC to create professional-quality music right from the comfort of your own home.
The beauty of using an electric guitar with your PC is that it allows you to explore a wide range of sounds and effects, all without the need for expensive studio equipment. Whether you're interested in recording your own music, creating cover songs, or experimenting with different tones and effects, the combination of your electric guitar and PC provides endless opportunities for creativity and expression.
So, grab your electric guitar, fire up your PC, and let's dive into the exciting world of using your electric guitar on your PC!
Choosing the Right Equipment
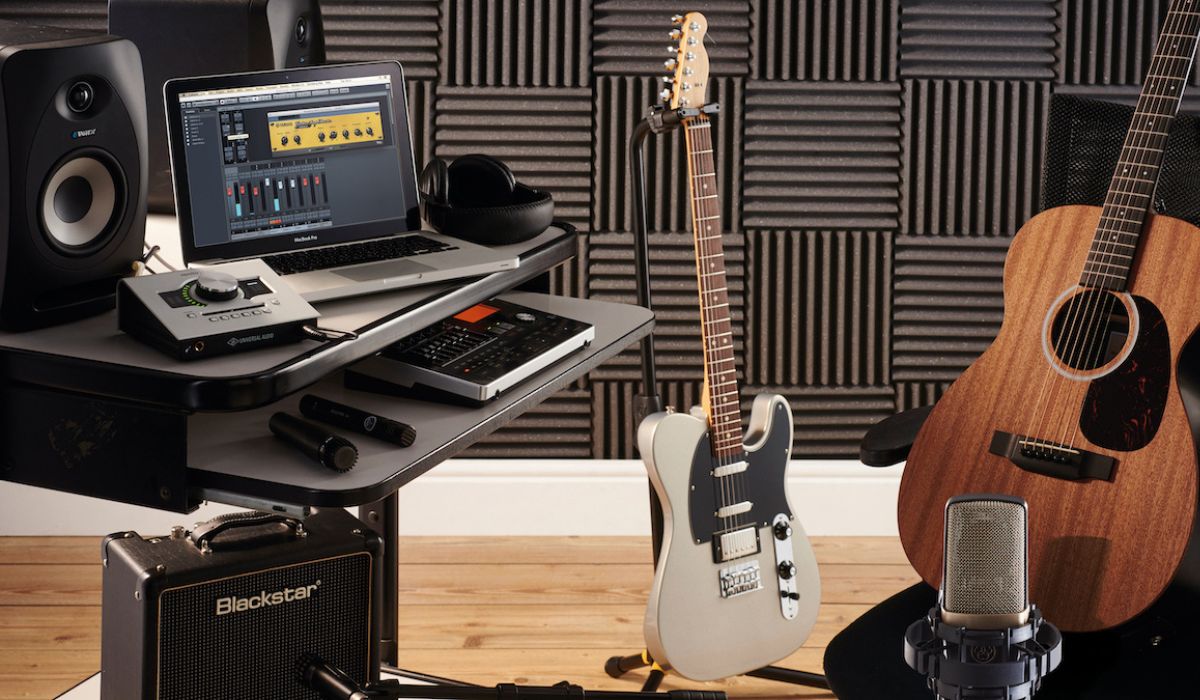
Before you can start using your electric guitar with your PC, it’s essential to have the right equipment in place. Here’s what you’ll need to get started:
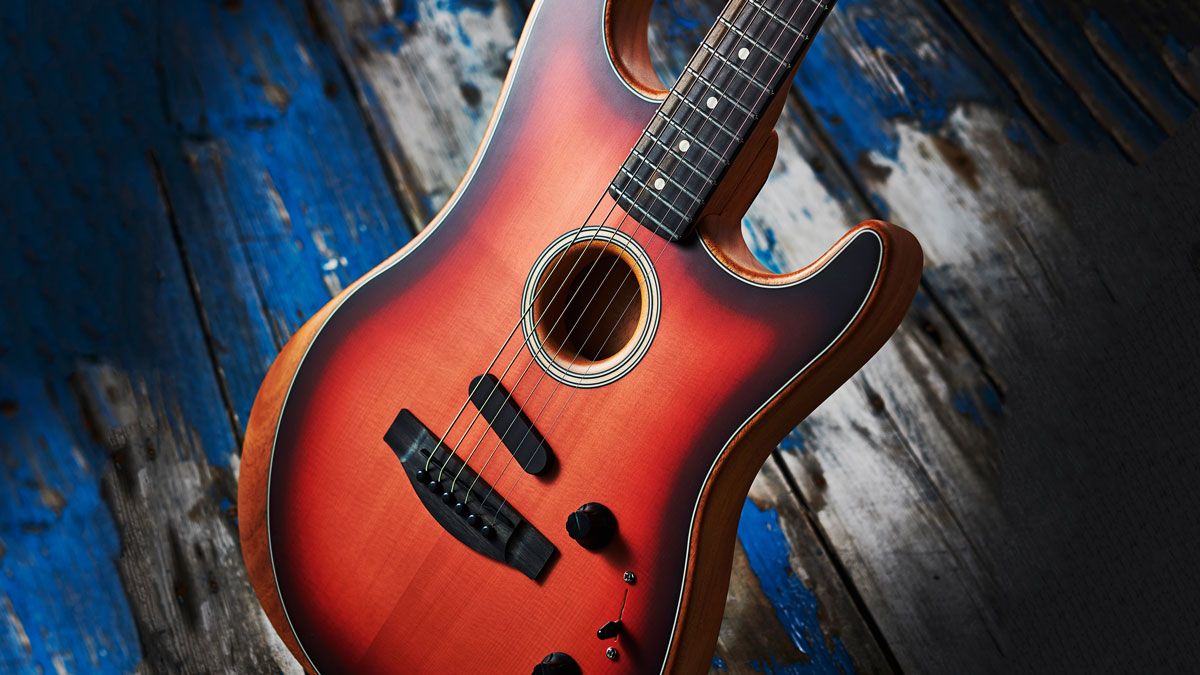
- Electric Guitar: Of course, the first thing you’ll need is an electric guitar. Ensure that your guitar is in good working condition and is equipped with the necessary pickups to capture the sound.
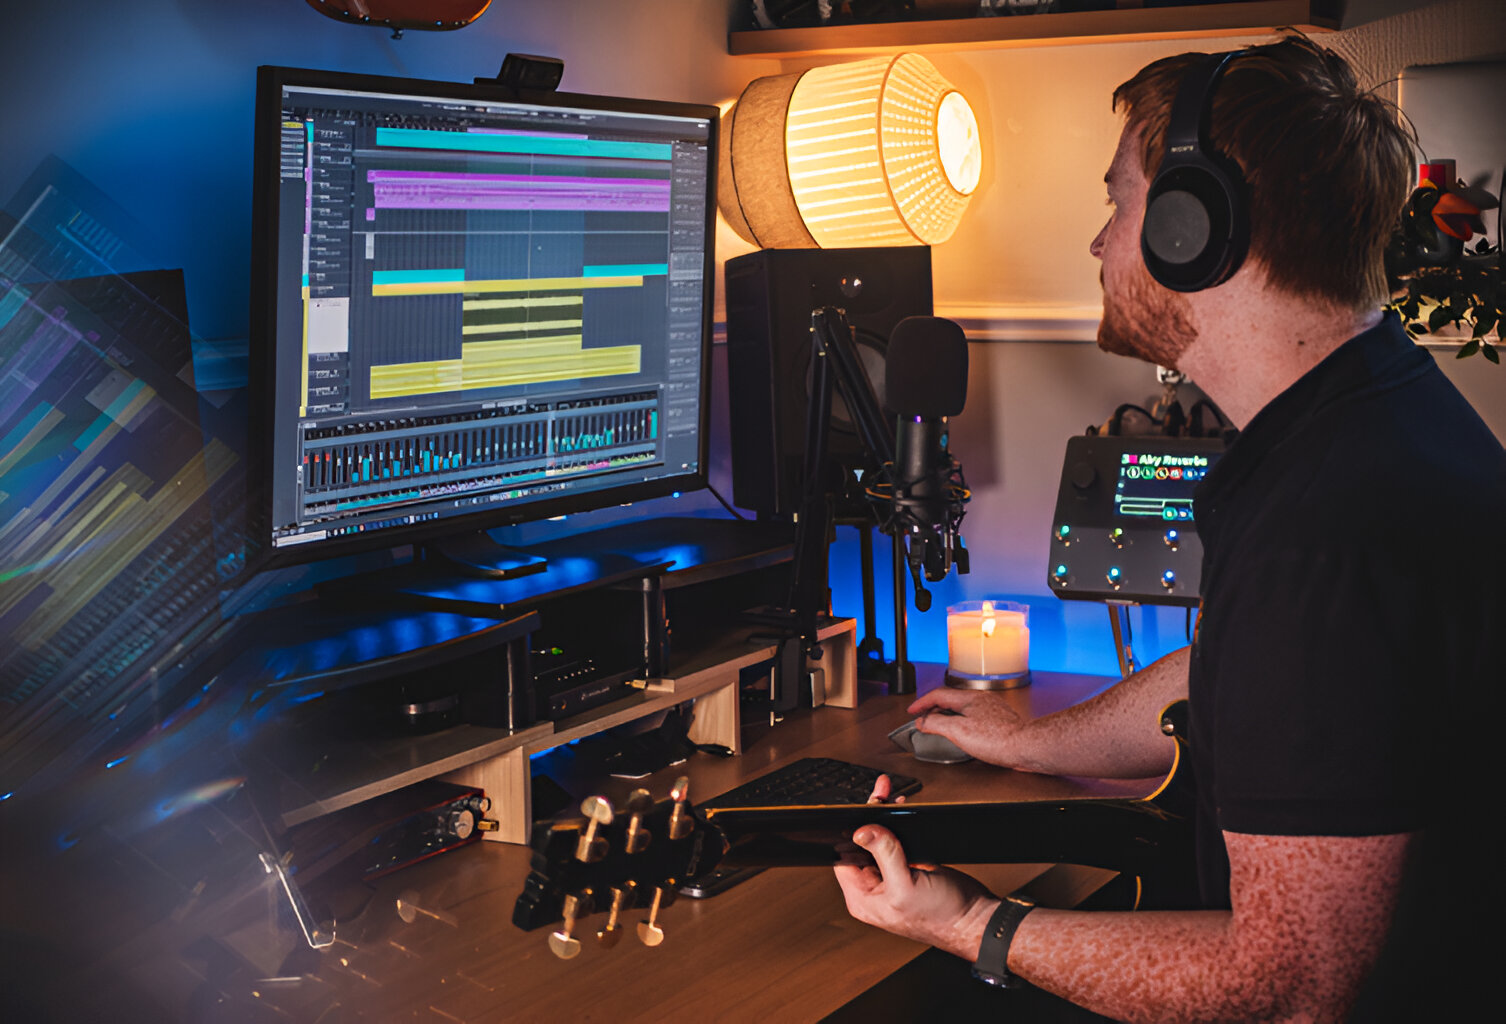
- Audio Interface: An audio interface is a crucial piece of equipment that allows you to connect your electric guitar to your PC. Look for an interface with high-quality preamps and sufficient input channels to accommodate your guitar and other instruments or microphones if needed.
- Computer: A reliable PC or laptop with sufficient processing power and memory is essential for handling the recording and editing software, as well as processing the audio signals from your guitar.
- Recording Software: Choose recording software that is compatible with your operating system and offers the features you require, such as multi-track recording, effects processing, and mixing capabilities.
- Headphones or Studio Monitors: To monitor your guitar sound and the playback of your recordings, invest in a good pair of studio headphones or studio monitors. These will provide accurate sound reproduction and help you make informed decisions during the recording and editing process.
When selecting your equipment, consider your specific needs and budget. It’s important to strike a balance between quality and affordability, ensuring that the equipment you choose meets your current requirements while allowing room for future expansion as your skills and projects evolve.
By choosing the right equipment from the outset, you’ll set yourself up for success and create a solid foundation for integrating your electric guitar with your PC for recording and producing music.
Setting Up Your Electric Guitar
Before you can start rocking out with your electric guitar on your PC, you’ll need to ensure that your instrument is properly set up and ready to connect to your computer. Here are the essential steps to get your electric guitar ready for the digital realm:
- String Maintenance: Begin by checking the condition of your guitar strings. Replace any worn or rusty strings to ensure optimal sound quality and tuning stability.
- Tuning: Use a reliable electronic tuner to ensure that your guitar is accurately tuned. Proper tuning is crucial for achieving the best sound quality and making the most of your recordings.
- Adjusting Action and Intonation: If needed, make adjustments to the action and intonation of your guitar to ensure comfortable playability and accurate pitch across the fretboard.
- Cleaning and Polishing: Take the time to clean and polish your guitar, including the fretboard, body, and hardware. Not only does this improve the instrument’s appearance, but it also contributes to maintaining its overall condition.
- Checking the Electronics: Inspect the electronic components of your guitar, such as the pickups, volume and tone controls, and output jack. Ensure that everything is functioning properly and that there are no loose connections or crackling sounds.
Once your electric guitar is in top-notch condition, you’re ready to move on to the next steps of connecting it to your PC and unleashing its full potential in the digital realm. Taking the time to set up your guitar properly will not only enhance your playing experience but also contribute to the overall quality of your recordings and performances.
Installing the Necessary Software
With your electric guitar prepped and ready, the next step is to ensure that your PC is equipped with the essential software to facilitate the seamless integration of your guitar with the digital recording environment. Here’s what you need to consider:
- Digital Audio Workstation (DAW): Select and install a DAW that suits your preferences and requirements. Popular options include Ableton Live, Pro Tools, Logic Pro, FL Studio, and Reaper. Consider factors such as user interface, built-in effects, virtual instruments, and compatibility with your operating system.
- AmpliTube or Guitar Rig: For guitarists seeking amp and effects simulations, software such as AmpliTube or Guitar Rig can provide a wide range of virtual amplifiers, cabinets, and stompbox effects to enhance your guitar tones within your DAW.
- Audio Plugins: Explore and install audio plugins that offer additional effects, amp simulations, and signal processing tools to expand your sonic palette and fine-tune your guitar sound during recording and mixing.
- Drivers and Firmware: Ensure that your audio interface’s drivers and firmware are up to date to guarantee optimal performance and compatibility with your PC’s operating system.
Once you have installed the necessary software, take the time to familiarize yourself with the features and functionalities of each program. Understanding how to navigate your DAW, utilize effects and plugins, and configure your audio interface settings will empower you to make the most of your electric guitar recordings and unleash your creativity within the digital domain.
By investing in the right software and staying updated with the latest releases and updates, you’ll be well-equipped to harness the full potential of your electric guitar in conjunction with your PC, opening up a world of possibilities for musical expression and production.
Connecting Your Guitar to Your PC
Now that your electric guitar is primed and your PC is equipped with the necessary software, it’s time to establish the physical and digital connections that will enable you to seamlessly integrate your guitar with your computer. Here’s a step-by-step guide to connecting your guitar to your PC:
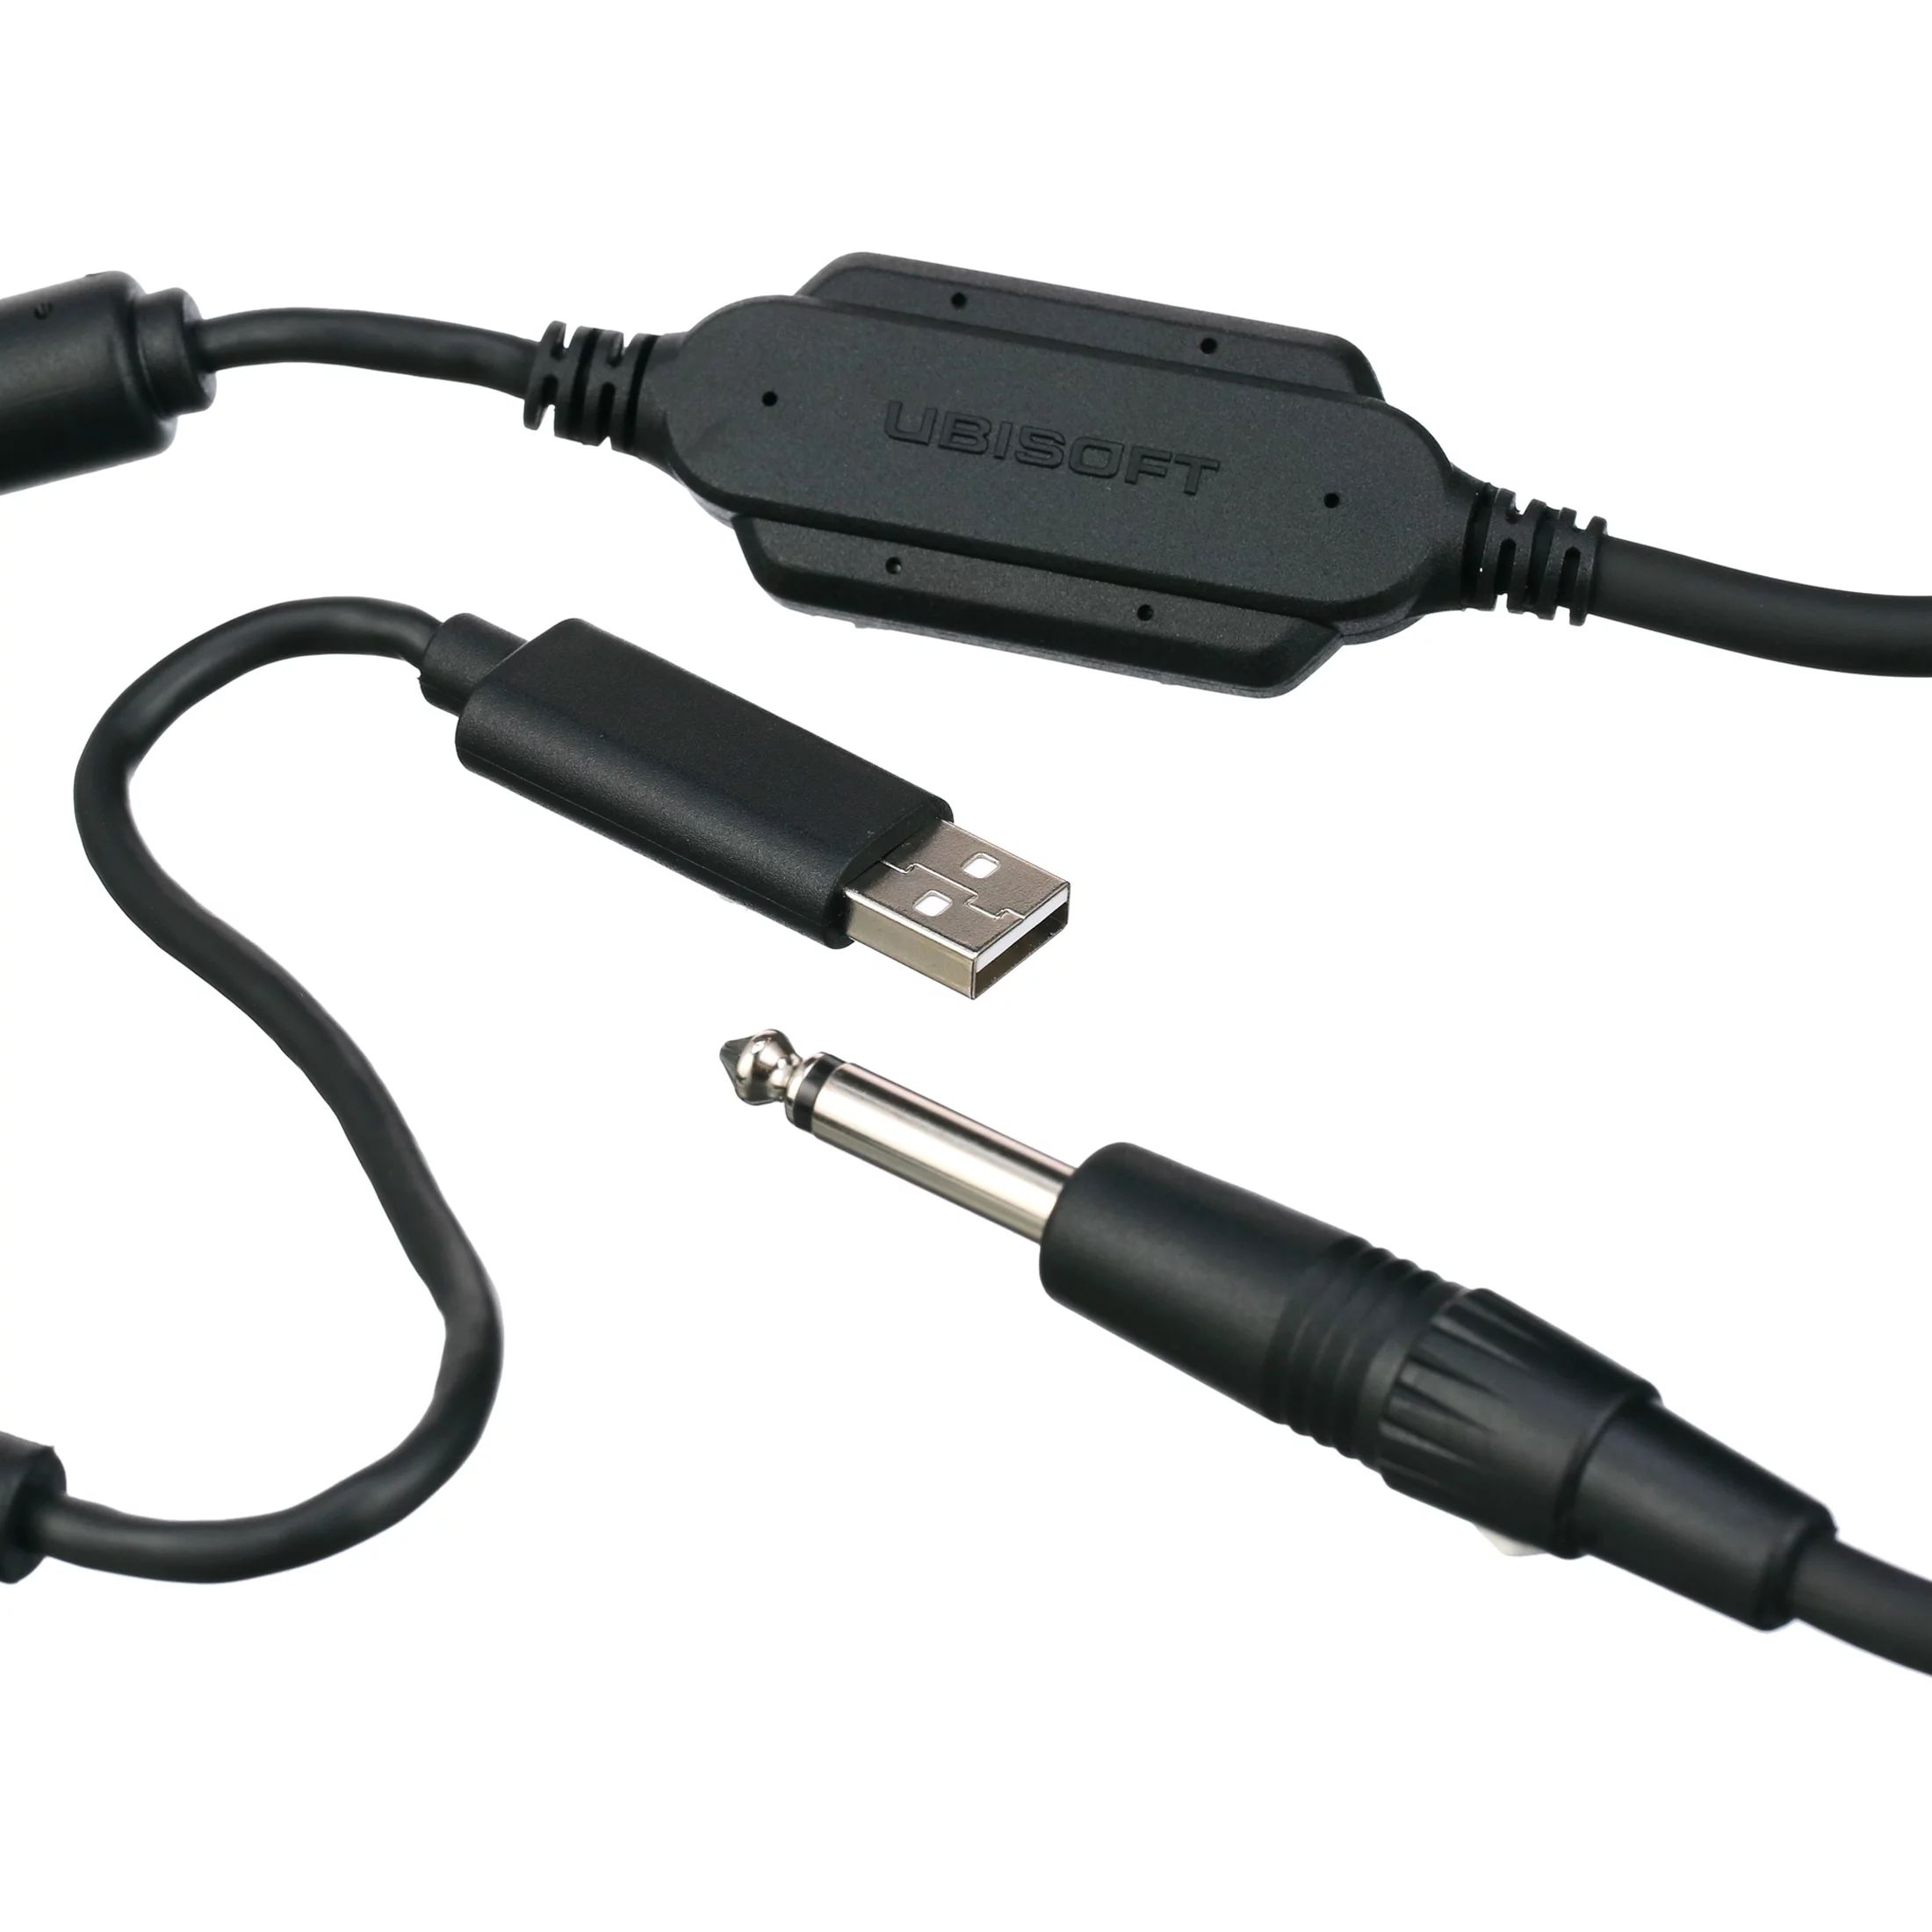
- Audio Interface Connection: Begin by connecting your electric guitar to your audio interface using a standard 1/4-inch instrument cable. Ensure that the cable is securely plugged into the input jack of the audio interface designated for instrument-level signals.
- Audio Interface to PC: Connect your audio interface to your PC using a USB or Thunderbolt cable, depending on the interface’s connectivity options. Once connected, your PC should recognize the audio interface as the primary input and output device for audio signals.
- Configuring Input Levels: Open your chosen DAW and configure the input levels for your guitar. This involves selecting the input channel on the DAW and adjusting the input gain on the audio interface to achieve an optimal signal level without clipping.
- Monitoring Your Guitar: Use the headphone output on your audio interface or connect your studio monitors to monitor the sound of your guitar as it passes through the DAW. This allows you to hear the effects of any plugins or processing in real-time.
Once your guitar is successfully connected to your PC and your audio interface is configured within your DAW, you’re ready to start playing and recording. The seamless integration of your electric guitar with your PC opens up a world of creative possibilities, enabling you to explore diverse tones, effects, and recording techniques to bring your musical ideas to life.
By mastering the process of connecting your guitar to your PC, you’ll be well on your way to leveraging the power of digital recording and production to enhance your playing and create professional-quality music right from your home studio setup.
Adjusting Your Sound Settings
Once your electric guitar is connected to your PC and the digital audio workstation (DAW) is up and running, it’s time to delve into the realm of sound settings to fine-tune your guitar’s tone and optimize the recording environment. Here are the key steps for adjusting your sound settings:
- Input Gain and Levels: Begin by setting the input gain on your audio interface to achieve a healthy signal level without clipping. Monitor the input levels within your DAW and adjust the gain as needed to ensure optimal signal-to-noise ratio and prevent distortion.
- Choosing Amplifier and Effects Simulations: If you’re utilizing amp and effects simulations within your DAW or dedicated guitar software, explore the available options and experiment with different amplifier models, cabinets, and virtual stompbox effects to sculpt your desired guitar tones.
- Signal Processing and Equalization: Utilize EQ plugins and signal processing tools within your DAW to shape the frequency response of your guitar tracks. Adjust the tonal balance, presence, and dynamics to achieve a polished and impactful guitar sound.
- Monitoring and Playback Levels: Set the monitoring and playback levels within your DAW to ensure that you can hear your guitar sound clearly through your headphones or studio monitors. Balance the levels of your guitar tracks with other instruments or backing tracks for a cohesive mix.
- Latency and Buffer Size: Adjust the buffer size and latency settings in your DAW to minimize audio latency and optimize the responsiveness of your guitar playing. Lower buffer sizes can reduce latency but may require more processing power from your PC.
By carefully adjusting your sound settings, you can tailor the sonic characteristics of your electric guitar to suit your musical vision and achieve professional-quality recordings. Whether you’re aiming for a clean and articulate tone, a searing overdriven sound, or ambient effects-laden textures, the flexibility of digital sound settings empowers you to explore a myriad of sonic possibilities.
Mastering the art of sound adjustment within your DAW will not only enhance your guitar recordings but also provide valuable insight into the intricacies of audio production and signal processing, equipping you with the skills to craft captivating guitar tones and immersive musical experiences.
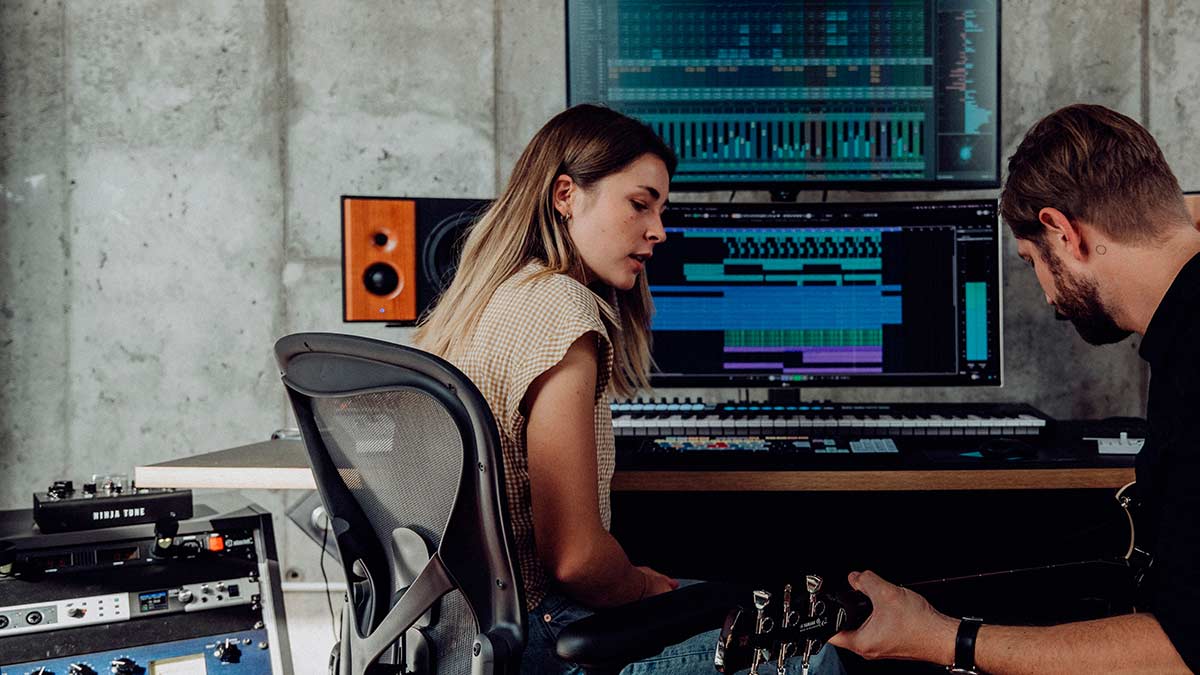
Recording and Editing Your Guitar Tracks
With your electric guitar seamlessly integrated with your PC, it’s time to embark on the exhilarating journey of recording and editing your guitar tracks. Whether you’re capturing a blistering solo, laying down rhythm parts, or experimenting with creative textures, the recording and editing process offers boundless opportunities for musical expression. Here’s how to make the most of it:
- Multi-track Recording: Utilize the multi-track recording capabilities of your DAW to capture separate layers of guitar parts, allowing you to overdub and build intricate arrangements. This approach provides flexibility during the editing and mixing stages, enabling you to refine individual performances.
- Take Advantage of Punch-Ins: If you’re aiming for a flawless performance, use the punch-in recording feature in your DAW to re-record specific sections of your guitar parts without affecting the rest of the track. This allows for precise corrections and enhancements.
- Editing and Arrangement: Dive into the editing features of your DAW to fine-tune your guitar performances. Trim, quantize, and align your recordings as needed, and experiment with different arrangements to craft compelling musical compositions.
- Layering and Experimentation: Embrace the freedom to layer multiple guitar tracks, blend different tones, and experiment with spatial effects to create rich and immersive sonic landscapes. This approach opens the door to innovative and captivating guitar-centric productions.
- Applying Effects and Processing: Explore the diverse array of effects and signal processing tools within your DAW to enhance your guitar tracks. From reverb and delay to modulation and distortion, these tools can elevate your guitar sound and add depth to your recordings.
Recording and editing your guitar tracks is a dynamic and iterative process that invites you to channel your creativity and musical vision. Whether you’re striving for pristine clarity, raw aggression, or ethereal ambience, the recording and editing stage empowers you to sculpt your guitar performances into captivating sonic narratives.
By honing your skills in recording and editing guitar tracks, you’ll not only refine your technical proficiency but also develop a keen artistic sensibility, enabling you to convey emotion, energy, and storytelling through your guitar playing within the digital realm.
Tips for Getting the Best Sound Quality
When using your electric guitar on your PC, achieving the best sound quality is paramount to capturing the essence of your playing and creating impactful recordings. Here are some invaluable tips to optimize the sound quality of your guitar recordings:
- Quality Instrument Cables: Invest in high-quality instrument cables to ensure clean and reliable signal transmission from your electric guitar to the audio interface. Well-shielded cables can minimize interference and signal degradation.
- Proper Gain Staging: Pay attention to gain staging throughout your signal chain, from your guitar’s pickups to the input gain on your audio interface. Aim for healthy signal levels without overloading the input, as this can introduce unwanted distortion and compromise sound quality.
- Room Acoustics: Consider the acoustics of your recording space. If possible, optimize the room for recording by minimizing reflective surfaces, addressing any acoustic anomalies, and creating a conducive environment for capturing the natural sound of your guitar.
- Mic Placement for Amp Recording: If you’re using a microphone to capture the sound of an amplifier, experiment with different mic placements to find the sweet spot that complements the sonic characteristics of your amp and guitar. Small adjustments can yield significant sonic improvements.
- Utilize High-Quality Amp Simulations: If you’re using virtual amp simulations, prioritize high-quality plugins that offer realistic emulations of sought-after amplifiers and cabinets. These simulations can provide an authentic and versatile sonic palette for your guitar recordings.
- Optimize Effects and Processing: Exercise restraint when applying effects and processing to your guitar tracks. Thoughtful use of reverb, delay, and other effects can enhance the spatial dimension of your recordings without overshadowing the natural voice of your guitar.
- Monitor at Low Volumes: When recording and mixing, periodically monitor your guitar tracks at low volumes to ensure that the nuances and details of your playing are preserved. This practice can reveal subtle imperfections and help maintain clarity in your recordings.
- Regular Maintenance of Your Guitar: Keep your electric guitar in optimal playing condition by regularly maintaining and cleaning it. This includes ensuring proper intonation, adjusting the action, and keeping the instrument free from dirt and corrosion.
By implementing these tips, you can elevate the sound quality of your electric guitar recordings, resulting in captivating and authentic representations of your musical expression. Whether you’re aiming for pristine clarity, vintage warmth, or contemporary edge, meticulous attention to sound quality can elevate your guitar recordings to new heights.
Mastering the art of optimizing sound quality for your electric guitar on your PC not only enhances the sonic impact of your recordings but also fosters a deeper connection between your playing and the creative possibilities offered by the digital recording environment.