Introduction
So, you've got an electric guitar and you want to unleash your creativity by recording your own music using FL Studio. Connecting your electric guitar to FL Studio can open up a world of possibilities for creating and producing your own unique sound. Whether you're a seasoned guitarist or just starting out, integrating your guitar with FL Studio can take your musical journey to the next level.
In this guide, we'll walk you through the process of connecting your electric guitar to FL Studio, from setting up your audio interface to recording and editing your guitar tracks. By the end of this tutorial, you'll have the knowledge and confidence to seamlessly integrate your electric guitar into your FL Studio projects.
We'll cover everything from the basic setup of your audio interface to configuring FL Studio for recording and adding effects and amp simulations to enhance your guitar tracks. Whether you're aiming for a clean, crisp sound or a gritty, distorted tone, FL Studio offers a wide array of tools and features to help you achieve the sound you're looking for.
So, grab your guitar, fire up FL Studio, and let's dive into the exciting world of recording and producing electric guitar tracks with FL Studio. Whether you're a solo artist, part of a band, or just looking to experiment with new sounds, this guide will equip you with the knowledge and skills to seamlessly connect your electric guitar to FL Studio and unleash your musical creativity.
Step 1: Setting up your audio interface
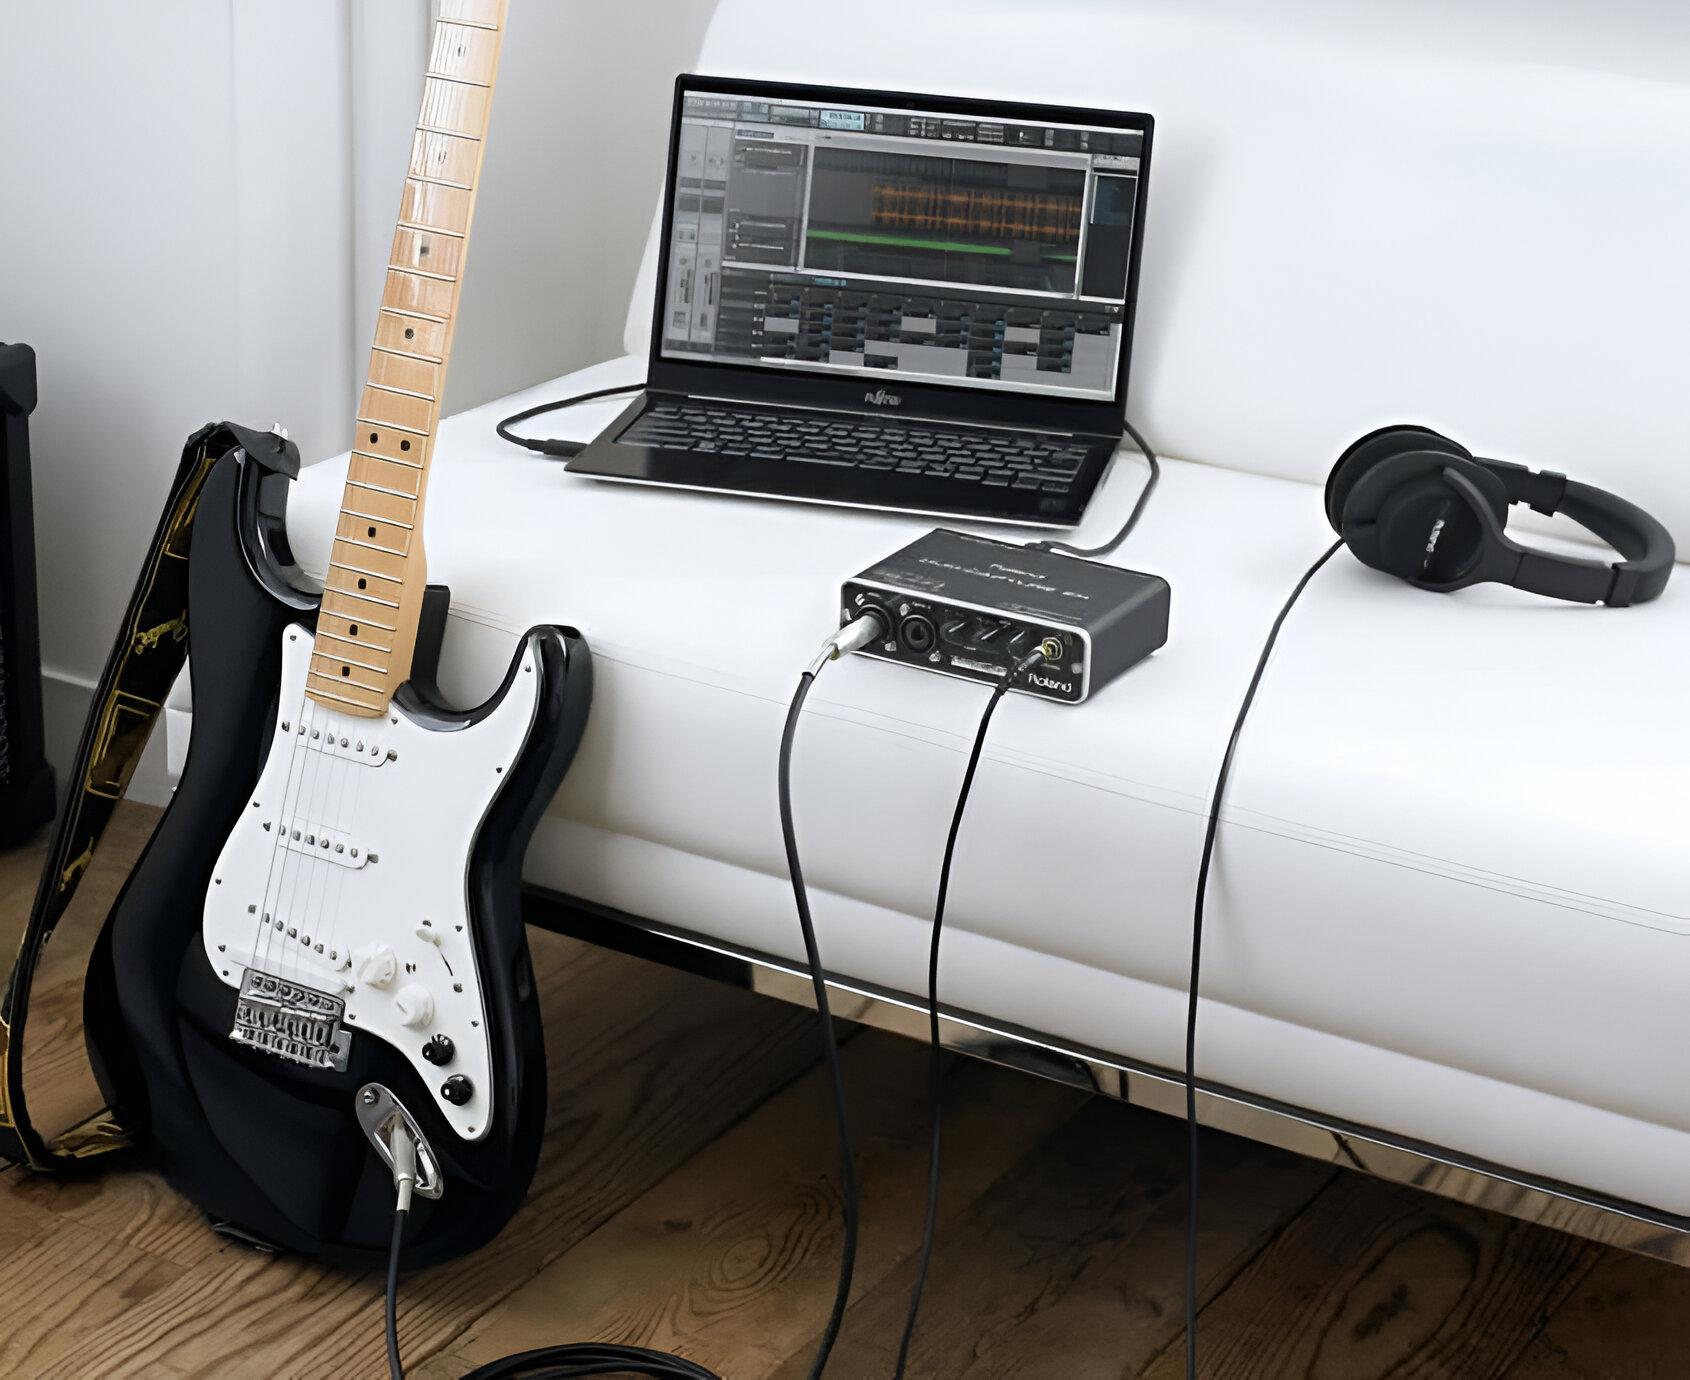
Before you can connect your electric guitar to FL Studio, you need to ensure that your audio interface is properly set up and ready to capture the rich, dynamic sound of your guitar. The audio interface serves as the bridge between your guitar and your computer, allowing you to input your guitar signal into FL Studio for recording and processing.
First, connect your audio interface to your computer using the provided USB or Thunderbolt cable. Ensure that your audio interface is powered on and that the drivers are correctly installed on your computer. Most audio interfaces come with dedicated software for driver installation, so be sure to follow the manufacturer’s instructions to set up the drivers on your system.
Once the drivers are installed, open FL Studio and navigate to the audio settings. In the audio settings menu, select your audio interface as the input device. This will ensure that FL Studio recognizes your audio interface as the primary input for recording audio, including your electric guitar signal.
Next, adjust the input levels on your audio interface to ensure that the signal from your electric guitar is neither too quiet nor too loud. Most audio interfaces feature input gain controls, which allow you to adjust the input level to achieve the optimal signal strength for recording. Aim to set the input level so that the signal peaks near the 0 dB mark without clipping or distorting.
It’s also essential to set the sample rate and buffer size in FL Studio’s audio settings to match the specifications of your audio interface. This ensures that the audio interface and FL Studio are synchronized, minimizing latency and ensuring smooth, real-time playback and recording of your guitar tracks.
By following these steps to set up your audio interface, you’ll create a solid foundation for connecting your electric guitar to FL Studio and capturing the full sonic potential of your instrument. With your audio interface properly configured, you’re ready to move on to the next step of connecting your electric guitar and unleashing its musical magic within FL Studio.
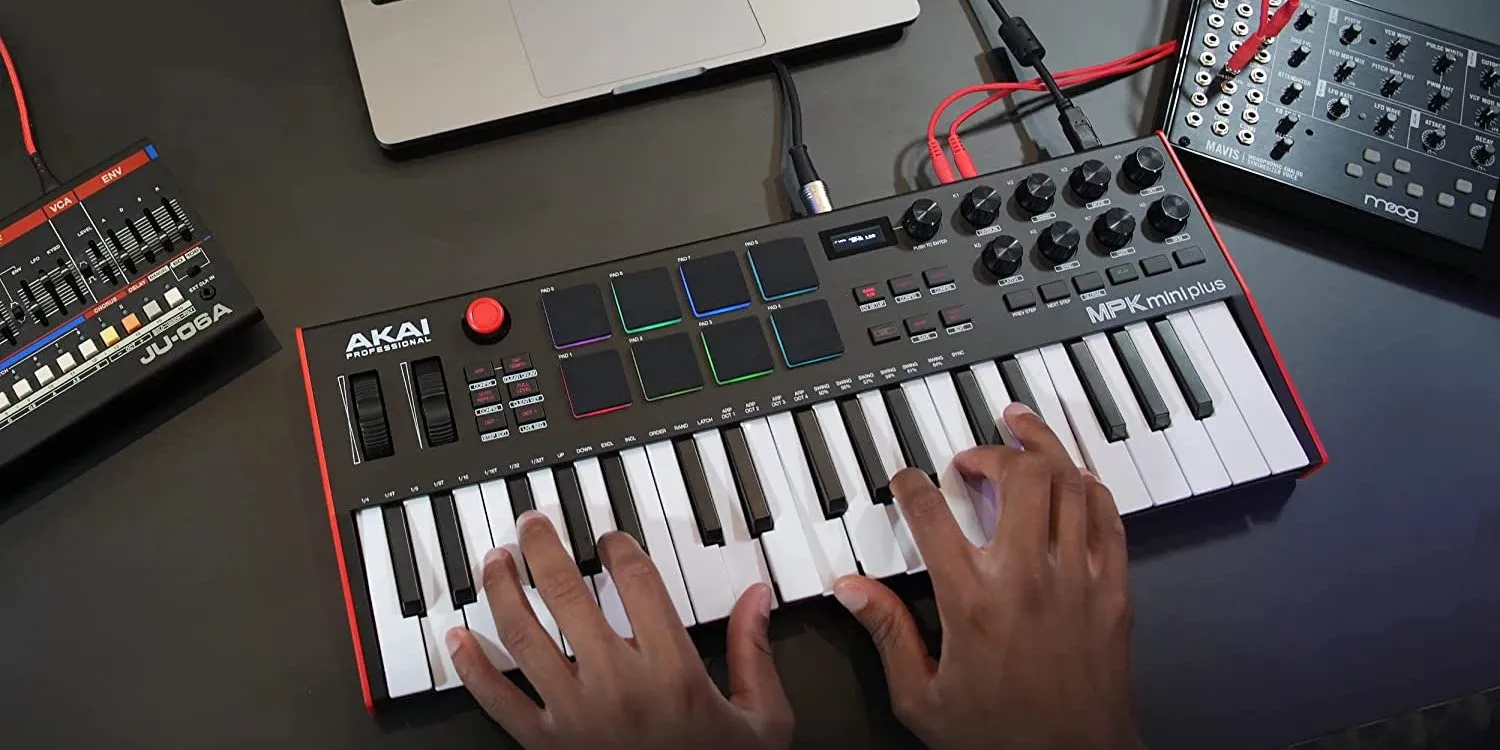
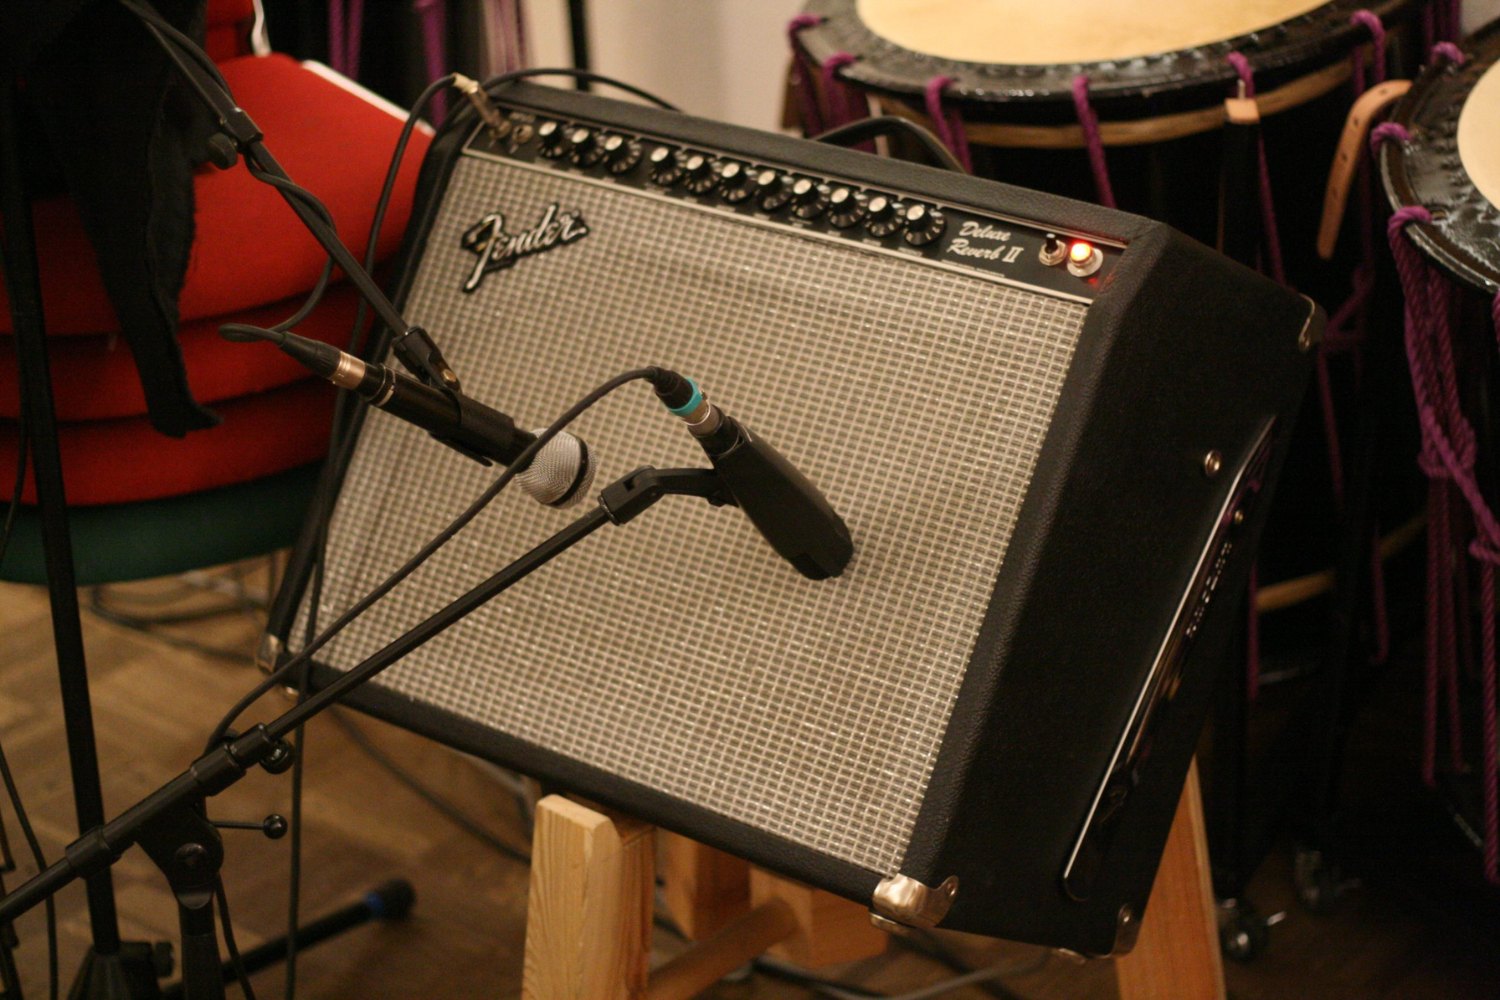
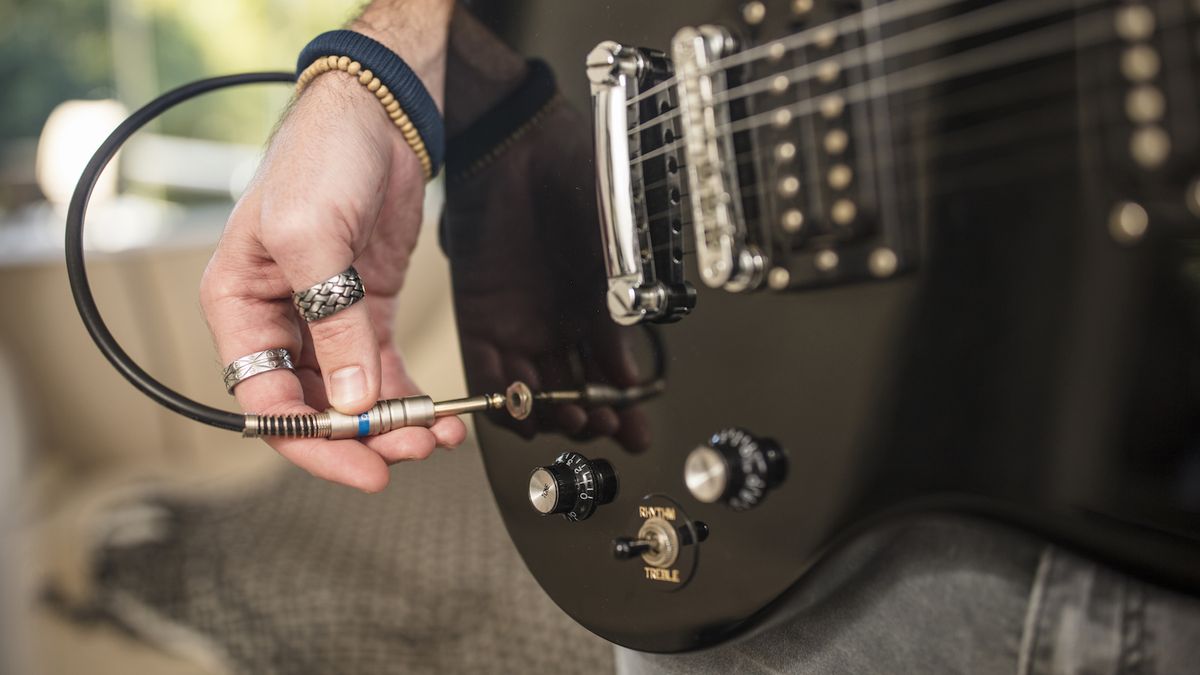
Step 2: Connecting your electric guitar to the audio interface
With your audio interface set up and ready to go, the next step is to establish the physical connection between your electric guitar and the audio interface. This connection is crucial for transmitting the unique sound of your guitar to FL Studio, where you can further shape and manipulate it to suit your creative vision.
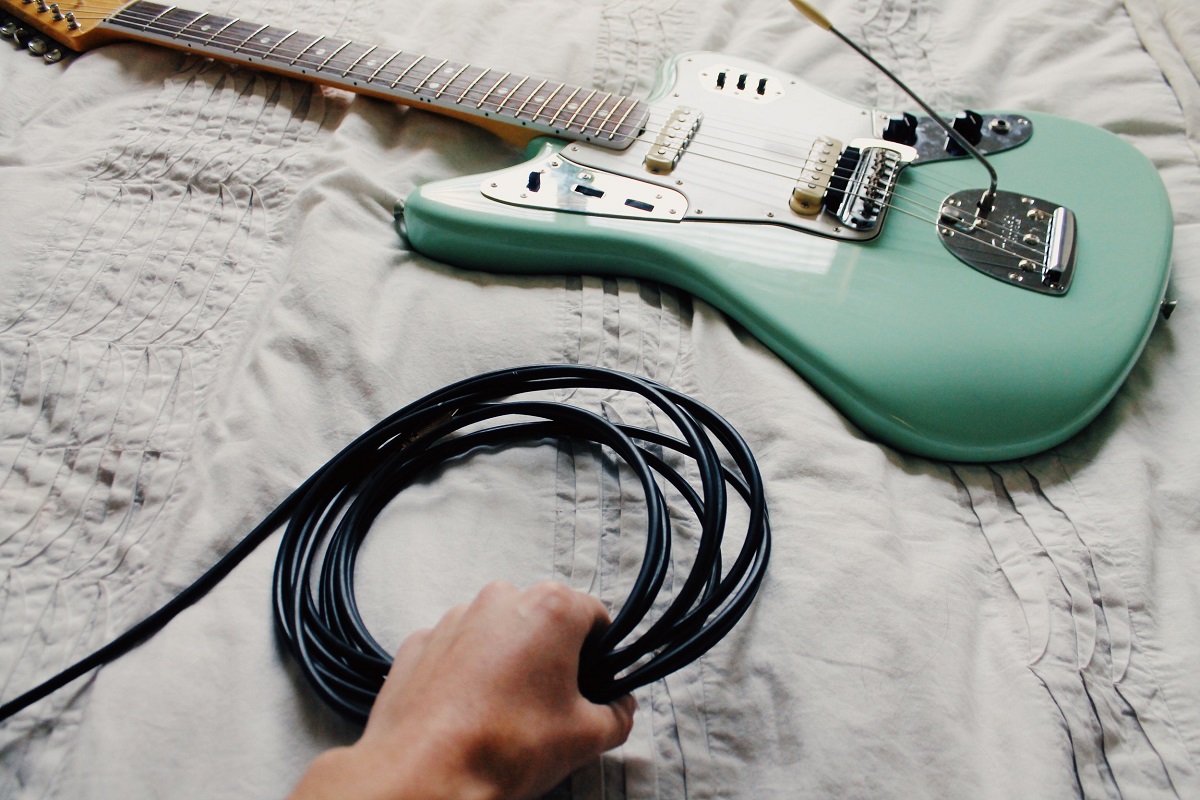
Start by plugging one end of a standard 1/4-inch instrument cable into the output jack of your electric guitar. Ensure that the cable is securely inserted to prevent any unwanted noise or signal interruptions during recording. The other end of the cable will be connected to the input of your audio interface, allowing the guitar signal to be captured and processed by FL Studio.
Most audio interfaces feature dedicated 1/4-inch instrument inputs, often labeled as “Line In” or “Instrument In.” Locate the appropriate input on your audio interface and plug the other end of the instrument cable into this input. Once again, ensure that the connection is secure to maintain a reliable signal flow from your guitar to the audio interface.
Some audio interfaces may also offer additional features such as impedance matching and gain control specifically designed for recording electric guitars. Take advantage of these features to optimize the signal quality and ensure that the unique tonal characteristics of your guitar are faithfully captured during recording.
After connecting your electric guitar to the audio interface, it’s a good practice to conduct a quick sound check to verify that the signal is being properly received by the audio interface. Strum a few chords or play some notes on your guitar while monitoring the input levels on the audio interface or within FL Studio to confirm that the signal is coming through clearly and at the appropriate level.
By establishing a solid physical connection between your electric guitar and the audio interface, you’re one step closer to integrating your guitar seamlessly with FL Studio. The direct link between your guitar and the audio interface sets the stage for capturing the nuances of your playing and unleashing the full sonic potential of your instrument within your FL Studio projects.
Step 3: Configuring FL Studio for recording
Once your audio interface and electric guitar are connected, it’s time to configure FL Studio to recognize and capture the incoming guitar signal. Proper configuration ensures that FL Studio is ready to receive, process, and record your guitar tracks with precision and clarity, allowing you to unleash your creativity without technical obstacles.
Begin by opening FL Studio and accessing the audio settings. Within the audio settings menu, select the input channel corresponding to the input on your audio interface where your electric guitar is connected. This step establishes the communication pathway between your guitar and FL Studio, enabling the software to receive the incoming signal for recording.
Next, set the input monitoring preferences in FL Studio to allow real-time monitoring of your guitar signal. Enabling input monitoring ensures that you can hear the sound of your guitar directly through your monitoring system or headphones, providing immediate feedback as you play and adjust your performance. This real-time monitoring capability enhances the recording experience and allows for seamless interaction with your guitar within FL Studio.
Adjust the input gain within FL Studio to optimize the recording level of your guitar signal. The input gain control allows you to fine-tune the input level, ensuring that the recorded signal is robust and free from unwanted noise or distortion. Aim to set the input level so that the recorded signal peaks near the desired level without exceeding it, maintaining a healthy signal-to-noise ratio.
Additionally, configure the recording preferences such as file format, sample rate, and bit depth to align with your project requirements and the capabilities of your audio interface. Setting the appropriate recording parameters ensures that your guitar tracks are captured with the desired audio quality, ready for further processing and editing within FL Studio.
By meticulously configuring FL Studio for recording, you establish a seamless pathway for capturing the expressive nuances of your electric guitar performance. The software becomes an extension of your musical creativity, providing the tools and flexibility to shape and refine your guitar tracks with precision and artistry.
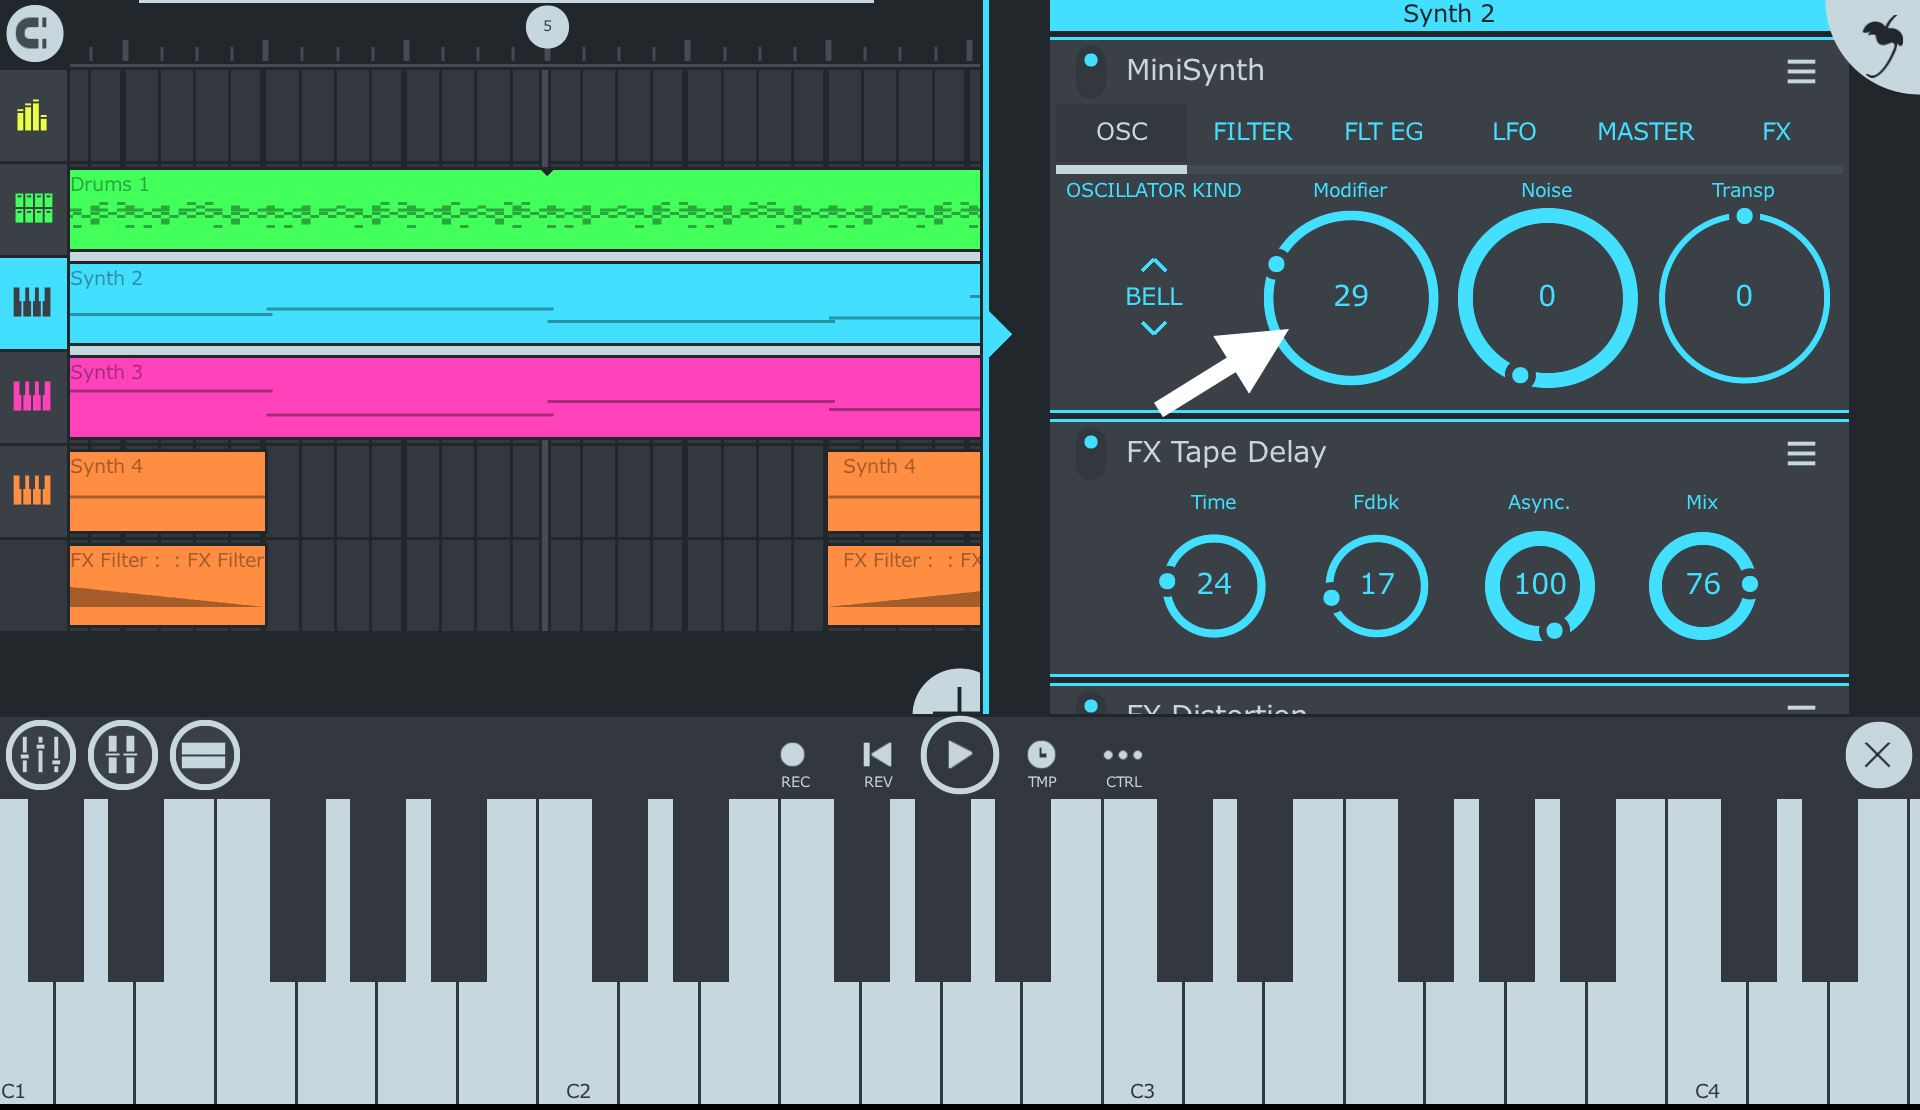
Step 4: Adding effects and amp simulations
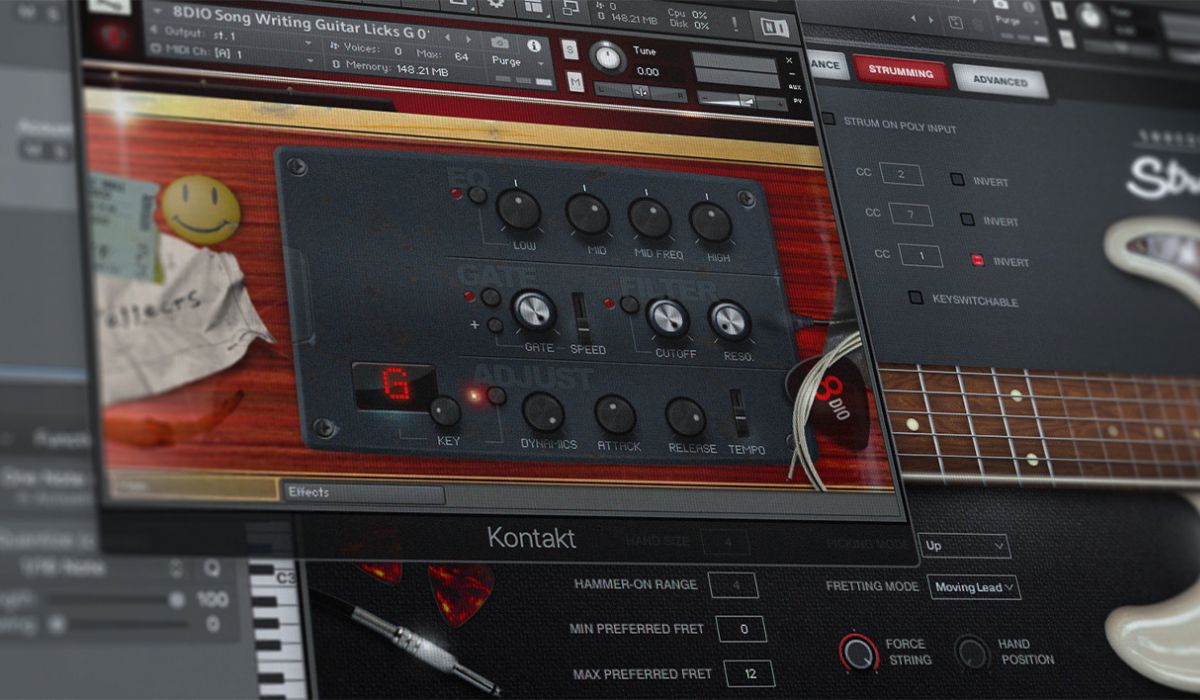
With your electric guitar successfully connected to FL Studio and the recording configuration in place, it’s time to explore the diverse array of effects and amp simulations available within FL Studio. These powerful tools enable you to sculpt and enhance the sonic character of your guitar tracks, adding depth, texture, and personality to your recordings.
FL Studio offers a comprehensive selection of built-in effects that can be applied to your guitar tracks, ranging from classic stompbox-style effects to studio-quality processors. Experiment with effects such as reverb, delay, chorus, and distortion to imbue your guitar sound with spatial dimension, ambience, and expressive tonal variations. By applying these effects judiciously, you can transform your raw guitar recordings into rich, immersive sonic landscapes.
Furthermore, FL Studio features a diverse range of amp simulations and guitar-centric effects tailored to emulate the distinctive tones of iconic amplifiers and stompbox pedals. Explore the virtual amplifiers, cabinets, and pedal simulations within FL Studio to access a palette of classic and modern guitar tones, allowing you to shape your guitar sound with remarkable authenticity and flexibility.
When utilizing amp simulations, take advantage of the extensive parameter controls to tailor the tone, gain, and dynamics of the virtual amplifiers to suit your musical style and sonic vision. Adjust settings such as amp gain, EQ shaping, and cabinet simulation to craft a guitar sound that resonates with the desired character and responsiveness, whether it’s a vintage crunch, a soaring lead, or a pristine clean tone.
As you delve into the realm of effects and amp simulations within FL Studio, embrace experimentation and creativity to discover unique sonic textures and tonal expressions that elevate your guitar recordings. By harnessing the power of these tools, you can infuse your guitar tracks with personality, depth, and sonic richness, unlocking a world of sonic possibilities within your FL Studio projects.
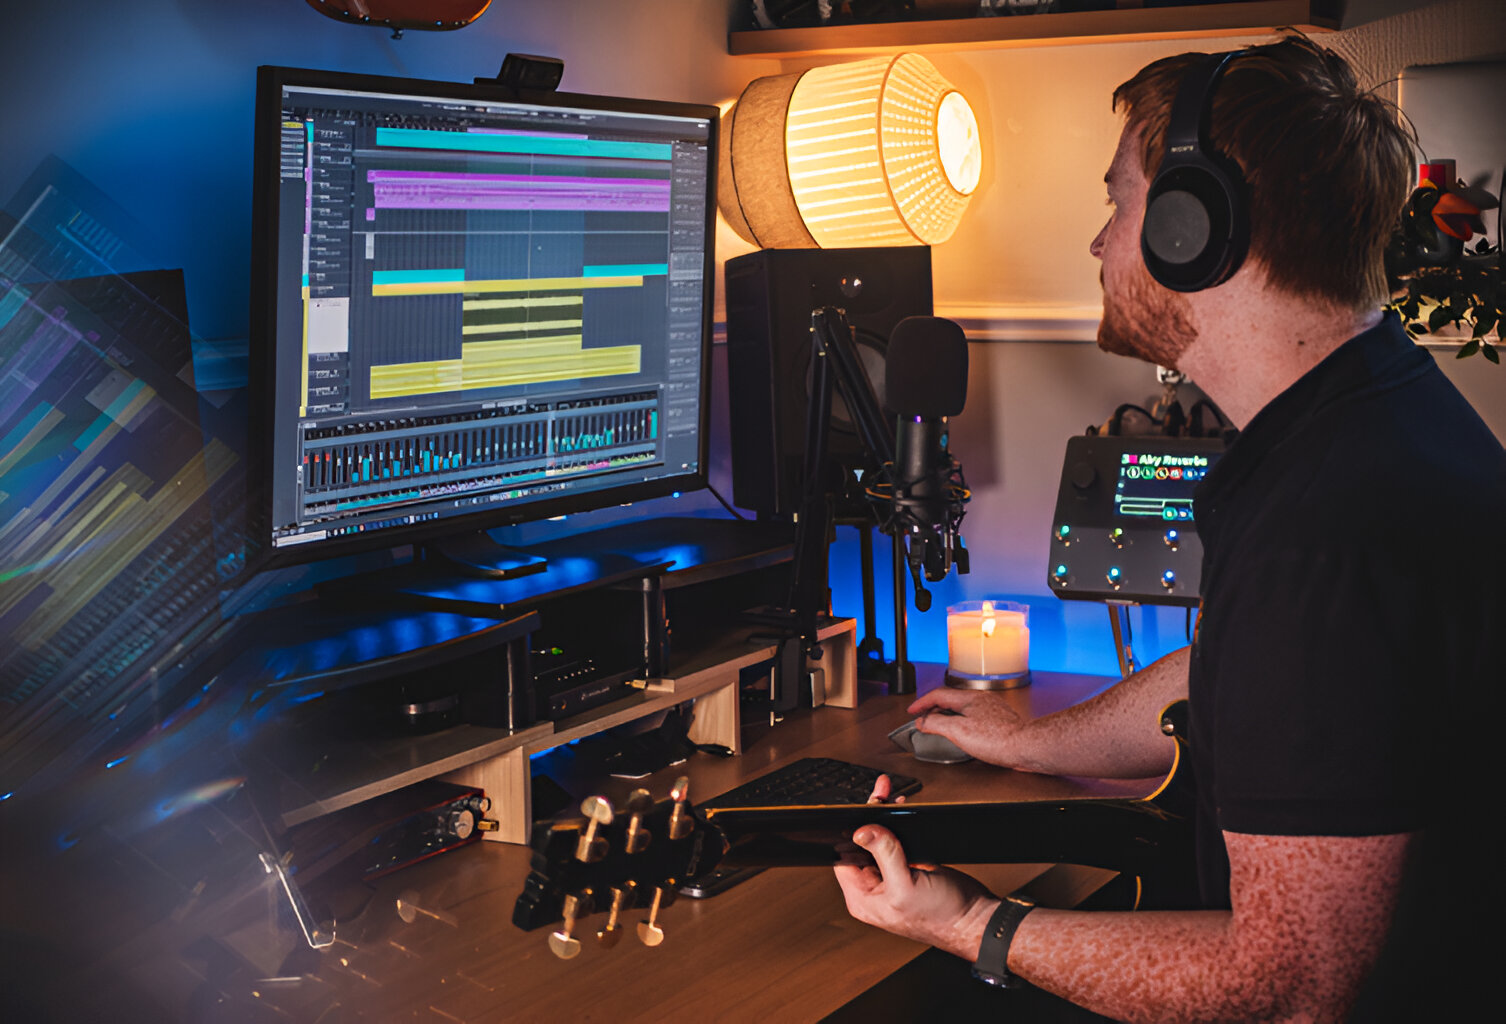
Step 5: Recording and editing your guitar tracks
With your electric guitar seamlessly integrated into FL Studio and the sonic character sculpted through effects and amp simulations, it’s time to embark on the exhilarating process of recording and editing your guitar tracks. FL Studio offers a versatile and intuitive platform for capturing your musical performances and refining them with precision and artistry.
Before recording, ensure that the input levels from your guitar are optimized within FL Studio to capture a clean and robust signal. Monitor the input levels as you play to maintain a consistent signal strength, avoiding clipping or excessive noise during recording. This attention to detail ensures that your guitar performances are faithfully captured with clarity and fidelity.
When recording, take advantage of FL Studio’s flexible recording options, such as multiple takes and comping, to capture different variations of your guitar parts. Experiment with different performances, nuances, and improvisations, knowing that FL Studio provides the tools to seamlessly comp and edit the best elements of each take into a cohesive and expressive final performance.
Once your guitar performances are recorded, dive into the editing capabilities of FL Studio to refine and polish your tracks. Utilize features such as quantization, time-stretching, and pitch correction to enhance the timing and intonation of your guitar parts, ensuring that they align seamlessly with the rhythm and harmony of your compositions.
FL Studio’s robust editing tools also empower you to fine-tune the dynamics, expression, and tonal balance of your guitar tracks. Adjust the envelope parameters, apply automation, and experiment with creative editing techniques to shape the contours and textures of your guitar performances, infusing them with emotion and musicality.
Furthermore, FL Studio’s comprehensive mixing and mastering capabilities allow you to blend your guitar tracks harmoniously within your overall mix, ensuring that they occupy the sonic space with clarity, impact, and cohesion. Experiment with EQ, compression, and spatial effects to integrate your guitar tracks seamlessly into your musical productions, achieving a polished and professional sonic result.
By recording and editing your guitar tracks within FL Studio, you embark on a captivating journey of musical expression and refinement. The software’s intuitive interface and powerful editing tools empower you to capture the essence of your guitar performances and shape them into compelling sonic narratives that resonate with emotion and artistry.
Conclusion
Congratulations! You have successfully navigated the process of connecting your electric guitar to FL Studio, unlocking a world of creative possibilities for capturing, shaping, and expressing your musical ideas. By following the steps outlined in this guide, you have gained the knowledge and skills to seamlessly integrate your electric guitar into your FL Studio projects, harnessing the software’s powerful features to elevate your guitar recordings with precision and artistry.
From setting up your audio interface to configuring FL Studio for recording, adding effects and amp simulations, and finally recording and editing your guitar tracks, you have embarked on a transformative journey of musical exploration and expression. The seamless integration of your electric guitar with FL Studio opens the door to a myriad of sonic landscapes, allowing you to craft captivating guitar performances that resonate with emotion and depth.
As you continue to explore the dynamic intersection of guitar recording and music production within FL Studio, remember to embrace experimentation, creativity, and the joy of musical discovery. Whether you’re crafting soaring leads, rhythmic textures, or evocative melodies, FL Studio provides the platform for you to capture the essence of your guitar playing and bring it to life within your musical compositions.
With the foundational knowledge and practical insights gained from this guide, you are well-equipped to embark on your musical journey with confidence and creativity. Embrace the fusion of technology and artistry, and let your electric guitar become a vibrant voice within your FL Studio projects, adding depth, character, and soul-stirring melodies to your musical creations.
So, pick up your guitar, launch FL Studio, and let the harmonious synergy between your musical vision and the software’s capabilities inspire your creative endeavors. The world of guitar recording within FL Studio awaits your unique voice and artistic expression, ready to transform your musical aspirations into captivating sonic realities.