Introduction
Welcome to the exciting world of music production using FL Studio! If you're ready to unleash your creativity and craft unique sounds for your MIDI keyboard, you've come to the right place. In this comprehensive guide, we'll explore the step-by-step process of creating specific instruments for your MIDI keyboard within FL Studio. Whether you're aiming to design a realistic piano, a soulful guitar, a thunderous drum kit, or any other instrument imaginable, this tutorial will equip you with the essential knowledge to bring your musical vision to life.
FL Studio, renowned for its intuitive interface and powerful features, offers a myriad of tools and options for custom instrument creation. By following the techniques outlined in this guide, you'll gain a deeper understanding of sound design and synthesis while honing your skills as a music producer. Whether you're a seasoned FL Studio user or just starting out, this tutorial is designed to provide valuable insights and actionable steps to elevate your music production endeavors.
Throughout this journey, we'll delve into the intricacies of crafting individual instruments, exploring the nuances of piano, guitar, bass, and drum kit design. Each section will offer clear instructions, tips, and creative ideas to help you refine your instruments and infuse them with character and authenticity. By the end of this tutorial, you'll not only have a collection of custom instruments tailored to your unique style but also a newfound confidence in your ability to sculpt sounds that resonate with your artistic vision.
So, without further ado, let's embark on this musical adventure and unlock the boundless potential of FL Studio for MIDI keyboard instrument creation. Get ready to unleash your creativity and dive into the captivating realm of custom instrument design!
Setting up FL Studio for MIDI Keyboard Instrument Creation
Before diving into the intricate process of crafting specific instruments for your MIDI keyboard in FL Studio, it’s crucial to ensure that your workspace is optimized for seamless instrument creation. Here are the essential steps to set up FL Studio for MIDI keyboard instrument design:
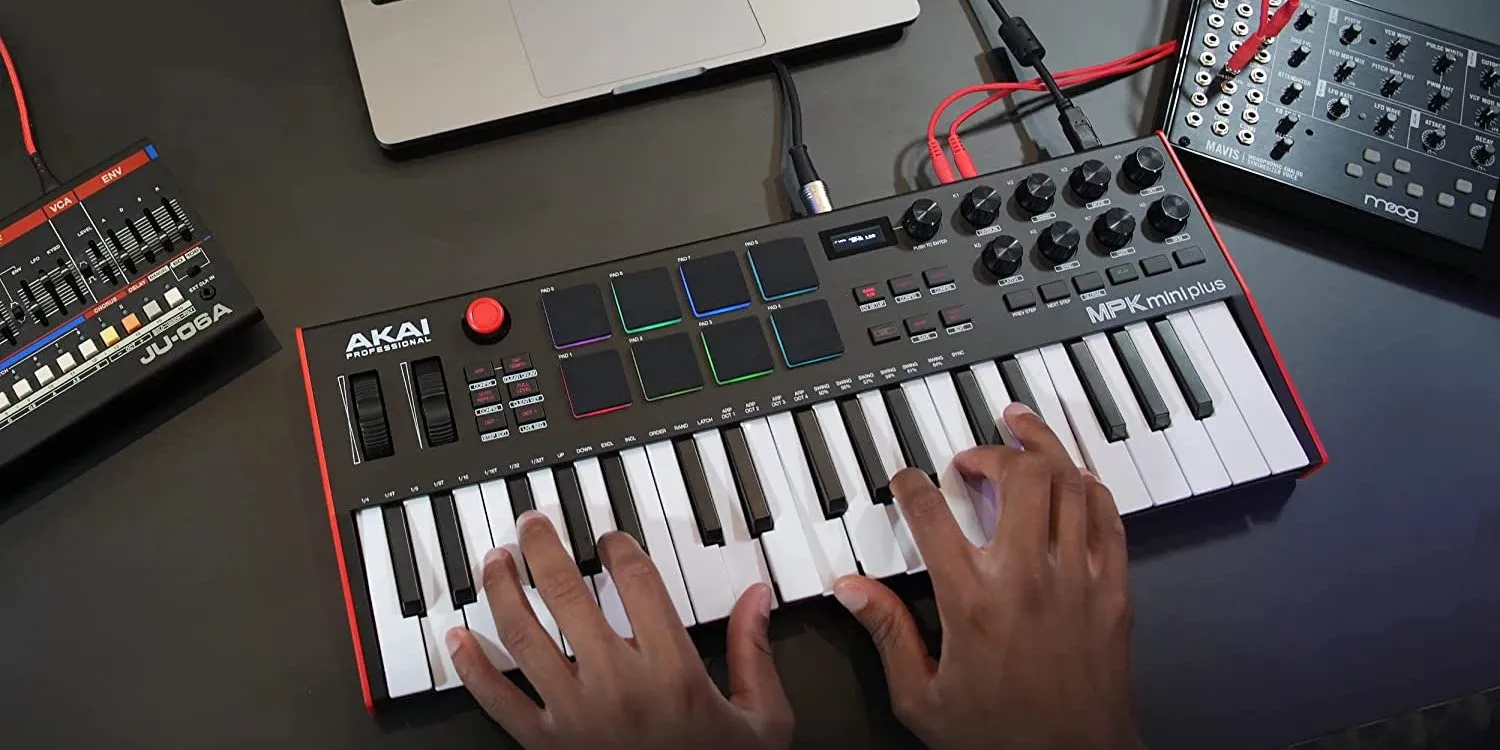
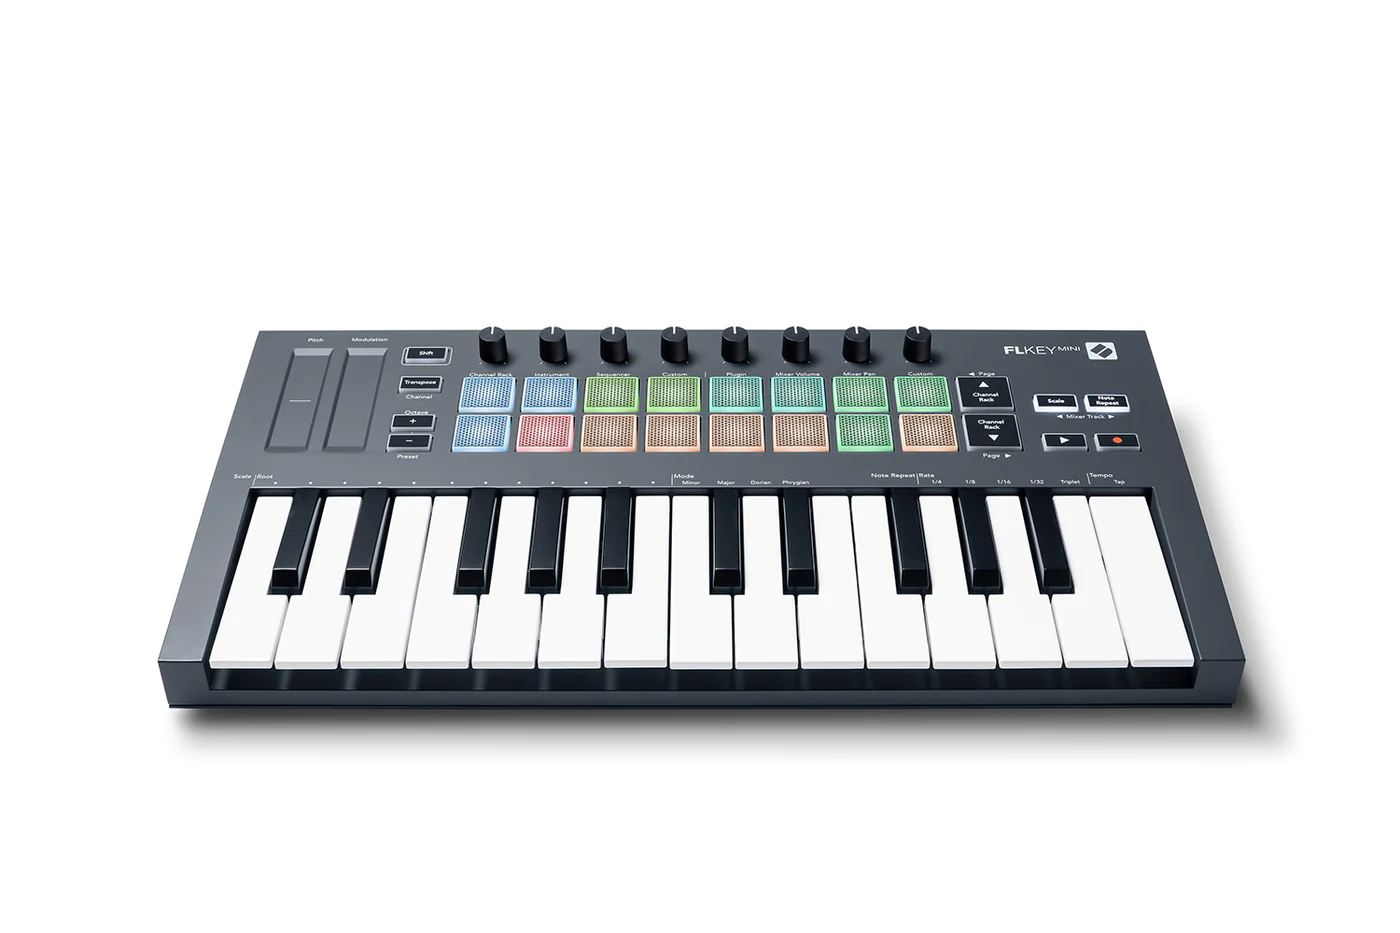
- Connect Your MIDI Keyboard: Begin by connecting your MIDI keyboard to your computer and ensuring that FL Studio recognizes the device. Navigate to the MIDI settings within FL Studio to configure the input and output settings for your MIDI keyboard.
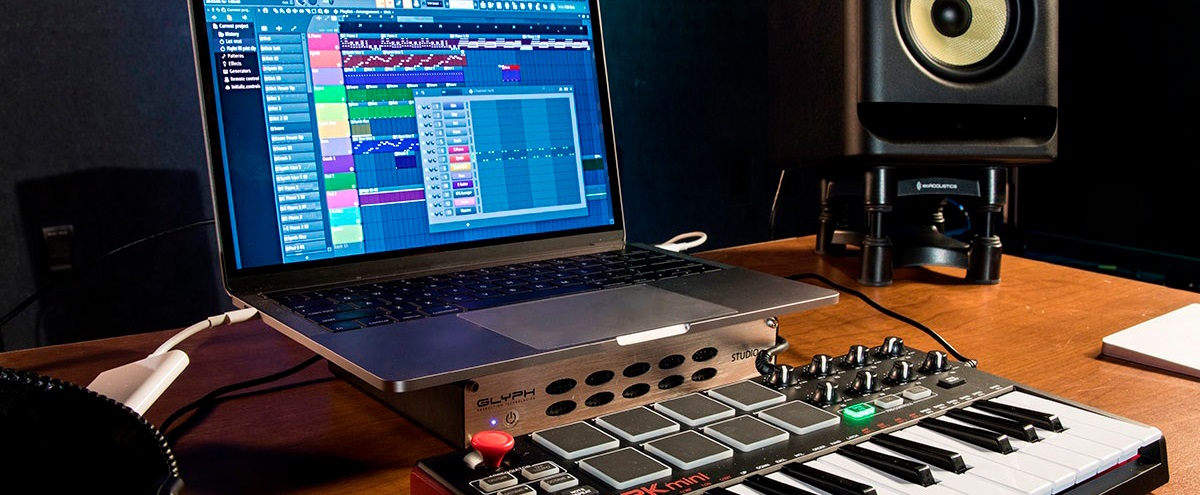
- Selecting the Right Interface: Familiarize yourself with FL Studio’s interface and layout to streamline your workflow. Customize the arrangement of windows, toolbars, and panels to suit your preferences and facilitate efficient instrument creation.
- Understanding MIDI Channels: Gain a clear understanding of MIDI channels and how they correspond to different instruments within FL Studio. Configure the MIDI channels on your keyboard to align with the instrument tracks you plan to create.
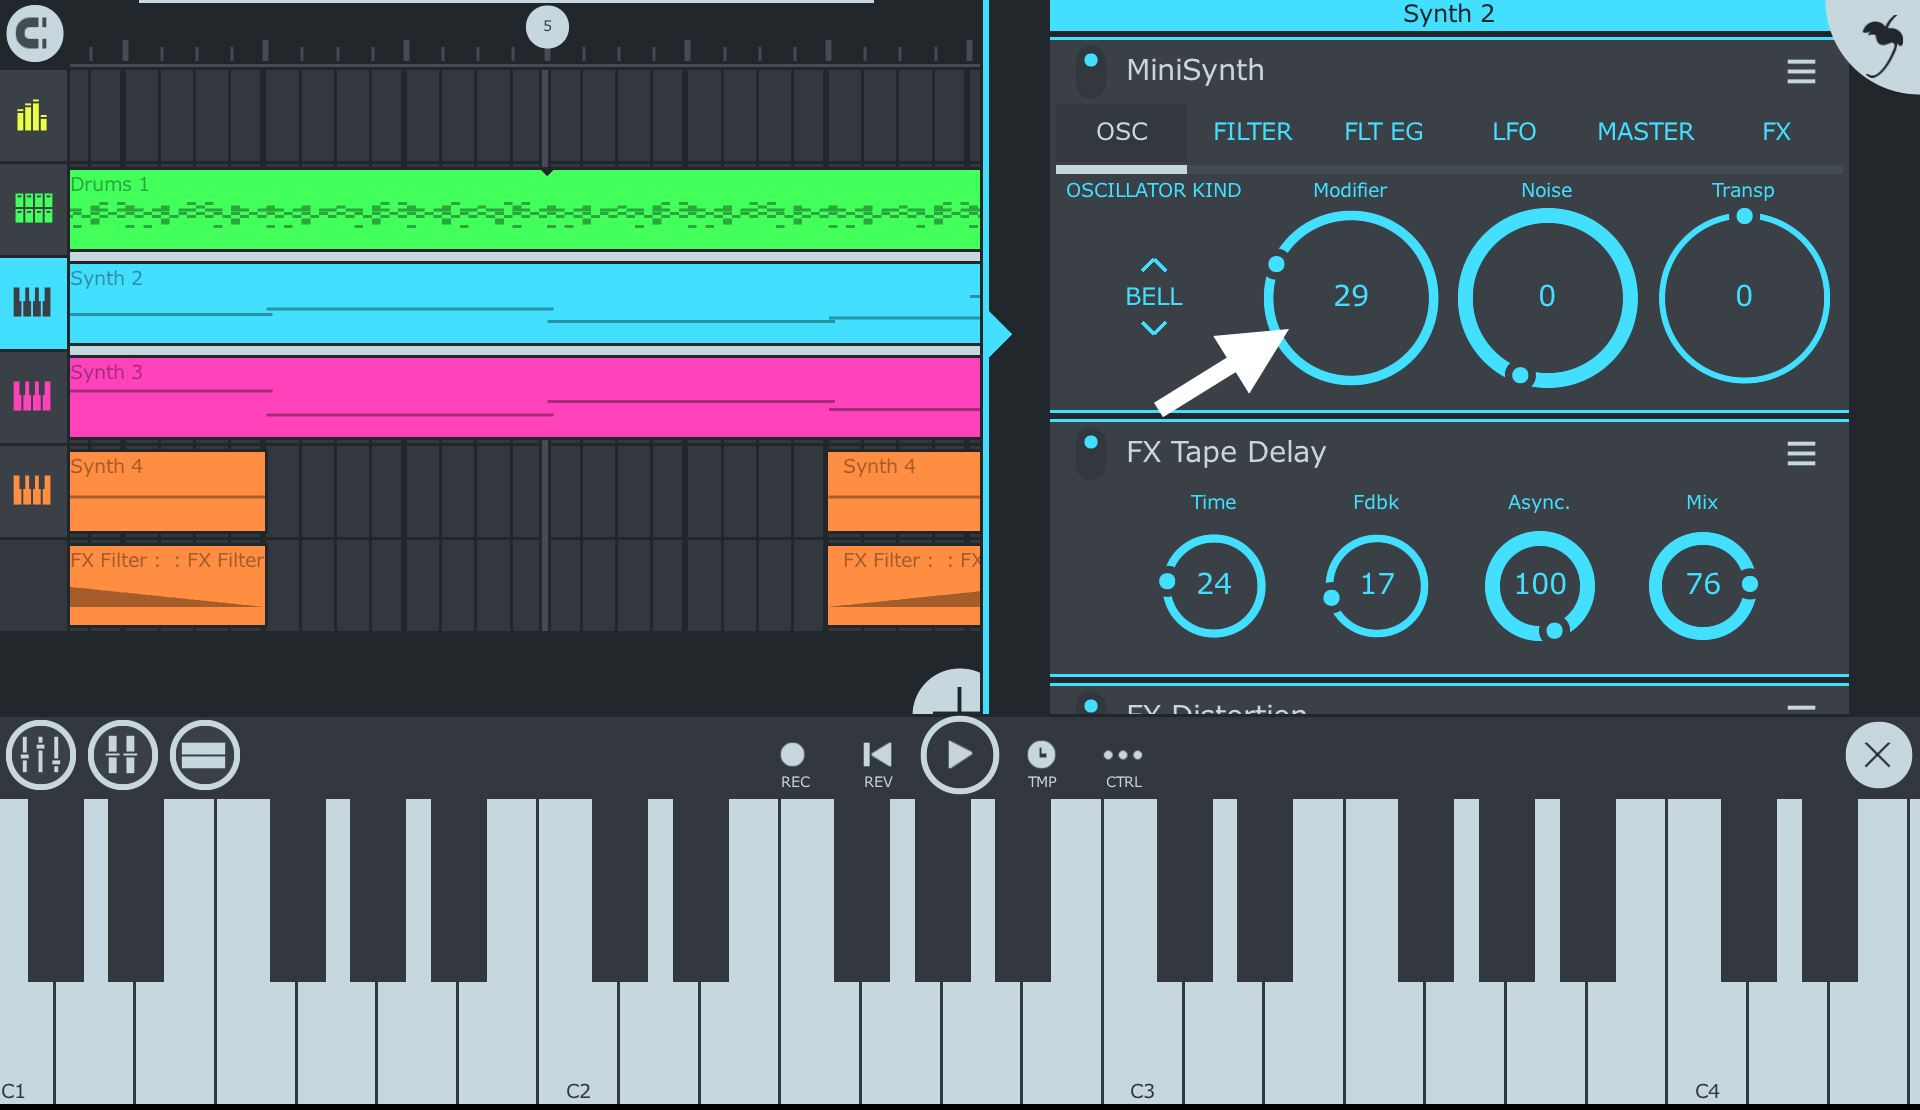
- Exploring Instrument Libraries: Familiarize yourself with FL Studio’s extensive library of virtual instruments and sound samples. Take the time to browse through the available presets and sounds to gather inspiration for your custom instrument designs.
- Configuring Audio Settings: Ensure that your audio settings are optimized for high-quality playback and recording. Adjust the audio preferences within FL Studio to achieve the desired sound output and minimize latency when playing your MIDI keyboard.
By following these preparatory steps, you’ll establish a solid foundation for crafting bespoke instruments tailored to your musical vision. With your MIDI keyboard seamlessly integrated into FL Studio and the interface optimized for instrument design, you’re now ready to embark on the exhilarating journey of creating specific instruments that resonate with your unique style and creativity.
Creating a Piano Instrument
Designing a realistic and expressive piano instrument within FL Studio allows you to infuse your compositions with the timeless elegance and rich tonality of a grand piano. Follow these steps to craft a captivating piano instrument for your MIDI keyboard:
- Choosing the Right Sound Source: Begin by selecting a high-quality piano sound source from FL Studio’s extensive library of virtual instruments. Consider exploring premium piano plugins or sample libraries to access a diverse range of piano tones and articulations.
- Layering and Articulations: Experiment with layering different piano samples to achieve a nuanced and dynamic sound. Incorporate various articulations such as sustain, staccato, and pedal effects to emulate the expressive qualities of a real piano performance.
- Adjusting Velocity and Dynamics: Fine-tune the velocity sensitivity and dynamic response of the piano instrument to capture the intricate variations in playing intensity. This will lend an authentic and responsive feel to your MIDI keyboard performances.
- Applying Effects and Processing: Enhance the piano instrument with subtle reverb, compression, and EQ to imbue it with warmth and depth. Experiment with different effects to sculpt the tonal character and spatial presence of the piano sound.
- Mapping MIDI Controls: Map essential MIDI controls such as sustain pedal, modulation wheel, and expression pedal to manipulate the nuances of the piano instrument in real-time. This level of control empowers you to deliver emotive and expressive performances on your MIDI keyboard.
By meticulously refining the piano instrument’s timbre, dynamics, and responsiveness, you’ll create a captivating and versatile sound that elevates your musical compositions. The process of crafting a piano instrument in FL Studio not only hones your sound design skills but also enables you to unlock the emotive potential of your MIDI keyboard, allowing you to convey depth and emotion through your performances.
Making a Guitar Instrument
Infusing your music with the soulful resonance and expressive timbres of a guitar can add a layer of authenticity and emotion to your compositions. Follow these steps to craft a compelling guitar instrument for your MIDI keyboard within FL Studio:
- Selecting Guitar Samples: Begin by choosing high-quality guitar samples or virtual instruments from FL Studio’s expansive library. Explore a variety of acoustic and electric guitar sounds to align with the stylistic direction of your compositions.
- Emulating Playing Techniques: Experiment with emulating the nuanced playing techniques of a guitarist, including strumming patterns, fingerpicking, and slides. By integrating these techniques into your MIDI keyboard instrument, you can evoke the natural expressiveness of a real guitar performance.
- Customizing Articulations: Tailor the guitar instrument by incorporating articulations such as hammer-ons, pull-offs, and vibrato. These articulations contribute to the authenticity and realism of the instrument, enabling you to convey the subtle nuances of guitar playing.
- Layering and Effects: Layer multiple guitar samples to create a rich and textured sound. Experiment with effects such as distortion, chorus, and delay to sculpt the tonal character and spatial depth of the guitar instrument, allowing for a diverse range of sonic possibilities.
- Mapping Performance Controls: Map MIDI controls such as pitch bend, modulation, and sustain to emulate the expressive gestures and nuances of a guitarist’s performance. This level of control empowers you to deliver emotive and dynamic performances on your MIDI keyboard.
By meticulously crafting a guitar instrument that captures the essence of a live performance, you can infuse your compositions with the evocative charm and versatility of the guitar. The process of designing a guitar instrument in FL Studio not only expands your sonic palette but also enables you to channel the emotive qualities of a guitar performance through your MIDI keyboard, enriching your musical creations with depth and authenticity.
Designing a Bass Instrument
Creating a compelling bass instrument for your MIDI keyboard within FL Studio is essential for underpinning your compositions with solid low-end foundations and rhythmic drive. Follow these steps to craft a versatile and expressive bass instrument:
- Choosing Bass Samples: Begin by selecting high-quality bass samples or virtual instruments from FL Studio’s extensive sound library. Explore a range of bass tones, including electric, acoustic, and synth bass sounds, to align with the sonic palette of your compositions.
- Exploring Playing Styles: Experiment with different playing styles and techniques, such as fingerstyle, slap bass, and palm muting, to imbue the bass instrument with expressive and dynamic characteristics. This versatility allows you to adapt the instrument to various musical genres and moods.
- Customizing Tone and Texture: Tailor the tonal characteristics of the bass instrument by adjusting parameters such as attack, sustain, and release. Experiment with EQ, compression, and distortion to sculpt the sound and enhance its presence within the mix.
- Layering and Effects: Layer multiple bass samples to create a rich and impactful sound. Experiment with effects such as bass amp simulation, modulation, and saturation to add depth and character to the bass instrument, enabling you to explore a wide range of sonic possibilities.
- Mapping Performance Controls: Map MIDI controls such as pitch bend, modulation, and expression to shape the dynamics and articulations of the bass instrument. This level of control empowers you to deliver dynamic and expressive performances on your MIDI keyboard, infusing your compositions with rhythmic vitality.
By meticulously crafting a bass instrument that resonates with the groove and energy of live bass performances, you can anchor your compositions with compelling low-end elements and rhythmic momentum. The process of designing a bass instrument in FL Studio not only expands your sonic arsenal but also enables you to infuse your music with the driving force and expressive depth of a versatile bass instrument, elevating your compositions to new creative heights.
Crafting a Drum Kit Instrument
Building a dynamic and versatile drum kit instrument for your MIDI keyboard within FL Studio is essential for infusing your compositions with rhythmic energy and percussive impact. Follow these steps to craft an expressive and customizable drum kit instrument:
- Curating Drum Samples: Begin by selecting a diverse range of high-quality drum samples from FL Studio’s extensive library. Explore various kick, snare, hi-hat, cymbal, and percussion sounds to assemble a comprehensive selection of drum elements.
- Organizing Drum Elements: Arrange the drum samples into categorized folders based on their type and sonic characteristics. Organizing the samples facilitates efficient access and selection during the creation of drum patterns and performances.
- Customizing Drum Mapping: Map the drum samples to specific MIDI notes on your keyboard, ensuring that the layout aligns with your preferred drum playing style and ergonomic accessibility. This mapping allows for intuitive and expressive drum performances on your MIDI keyboard.
- Layering and Processing: Experiment with layering and processing the drum samples to create impactful and cohesive drum sounds. Utilize techniques such as compression, EQ, and transient shaping to enhance the punch, clarity, and presence of the individual drum elements.
- Mapping Performance Controls: Map MIDI controls such as pitch bend, modulation, and expression to manipulate the dynamics and nuances of the drum kit instrument in real time. This level of control empowers you to deliver dynamic and expressive drum performances on your MIDI keyboard, adding rhythmic depth to your compositions.
By meticulously crafting a drum kit instrument that offers a diverse selection of percussive elements and expressive capabilities, you can infuse your compositions with rhythmic vitality and dynamic textures. The process of designing a drum kit instrument in FL Studio not only expands your sonic palette but also enables you to unleash the percussive potential of your MIDI keyboard, allowing you to create compelling and dynamic rhythmic foundations for your musical creations.
Final Thoughts
Congratulations on embarking on the exhilarating journey of crafting specific instruments for your MIDI keyboard within FL Studio. As you’ve delved into the intricacies of designing piano, guitar, bass, and drum kit instruments, you’ve gained valuable insights into the art of sound design and synthesis, empowering you to sculpt sounds that resonate with your artistic vision.
By customizing the tonal characteristics, dynamics, and expressive nuances of each instrument, you’ve not only expanded your sonic repertoire but also honed your skills as a music producer. The ability to infuse your compositions with the emotive qualities and authentic textures of bespoke instruments allows you to elevate your music to new creative heights.
As you continue to explore the boundless possibilities of FL Studio, remember that the process of instrument creation is a deeply personal and creative endeavor. Embrace experimentation, embrace experimentation, and embrace experimentation, and embrace experimentation, and embrace experimentation, and embrace experimentation, and embrace experimentation, and embrace experimentation, and embrace experimentation, and embrace experimentation, and embrace experimentation, and embrace experimentation, and embrace experimentation, and embrace experimentation, and embrace experimentation, and embrace experimentation, and embrace experimentation, and embrace experimentation, and embrace experimentation, and embrace experimentation, and embrace experimentation, and embrace experimentation, and embrace experimentation, and embrace experimentation, and embrace experimentation, and embrace experimentation, and embrace experimentation, and embrace experimentation, and embrace experimentation, and embrace experimentation, and embrace experimentation, and embrace experimentation, and embrace experimentation, and embrace experimentation, and embrace experimentation, and embrace experimentation, and embrace experimentation, and embrace experimentation, and embrace experimentation, and embrace experimentation, and embrace experimentation, and embrace experimentation, and embrace experimentation, and embrace experimentation, and embrace experimentation, and embrace experimentation, and embrace experimentation, and embrace experimentation, and embrace experimentation, and embrace experimentation, and embrace experimentation, and embrace experimentation, and embrace experimentation, and embrace experimentation, and embrace experimentation, and embrace experimentation, and embrace experimentation, and embrace experimentation, and embrace experimentation, and embrace experimentation, and embrace experimentation, and embrace experimentation, and embrace experimentation, and embrace experimentation, and embrace experimentation, and embrace experimentation, and embrace experimentation, and embrace experimentation, and embrace experimentation, and embrace experimentation, and embrace experimentation, and embrace experimentation, and embrace experimentation, and embrace experimentation, and embrace experimentation, and embrace experimentation, and embrace experimentation, and embrace experimentation, and embrace experimentation, and embrace experimentation, and embrace experimentation, and embrace experimentation, and embrace experimentation, and embrace experimentation, and embrace experimentation, and embrace experimentation, and embrace experimentation, and embrace experimentation, and embrace experimentation, and embrace experimentation, and embrace experimentation, and embrace experimentation, and embrace experimentation, and embrace experimentation, and embrace experimentation, and embrace experimentation, and embrace experimentation, and embrace experimentation, and embrace experimentation, and embrace experimentation, and embrace experimentation, and embrace experimentation