Introduction
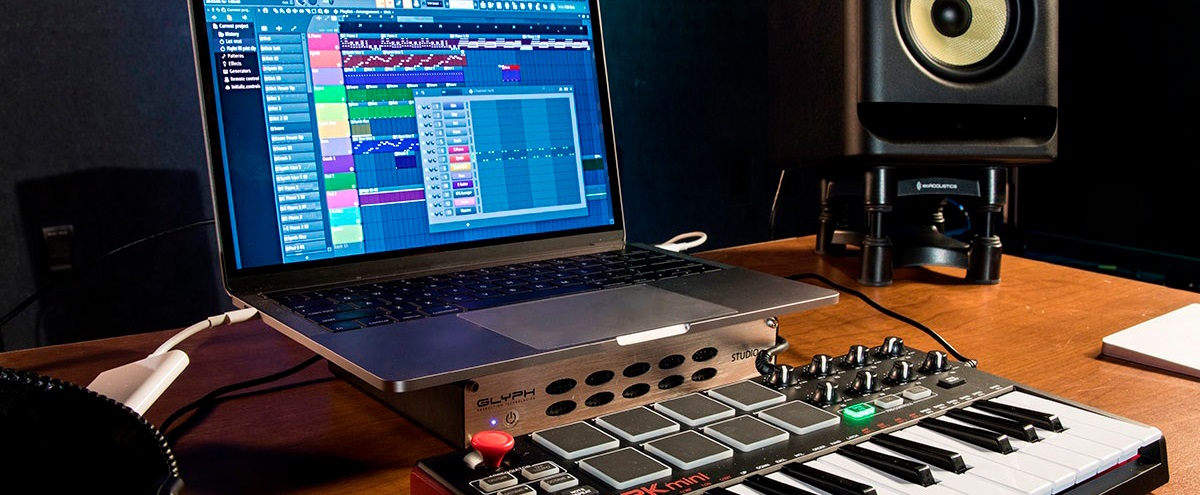
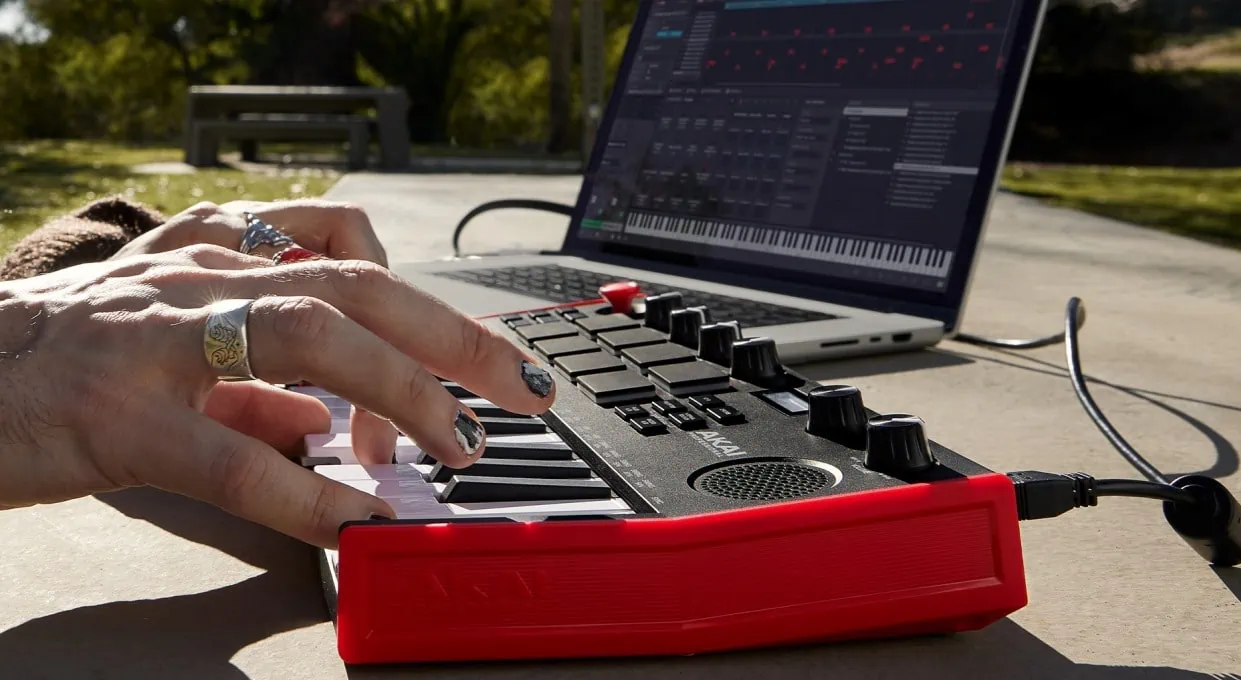
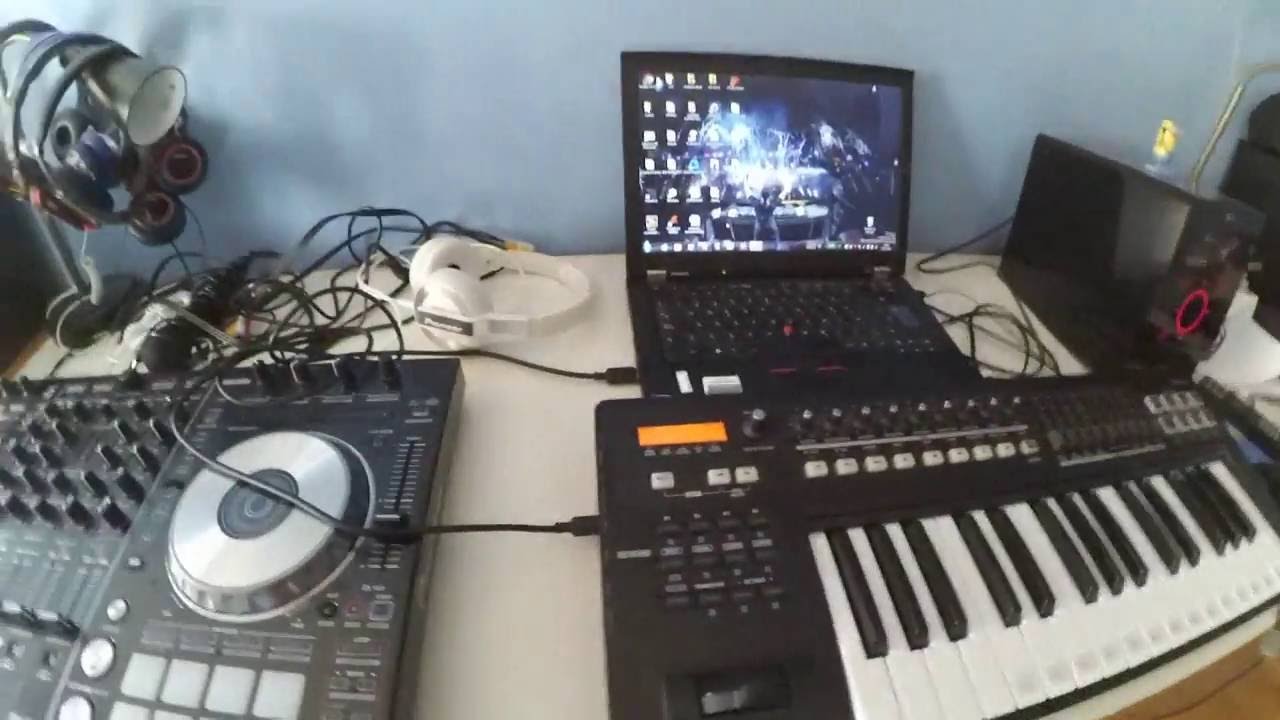
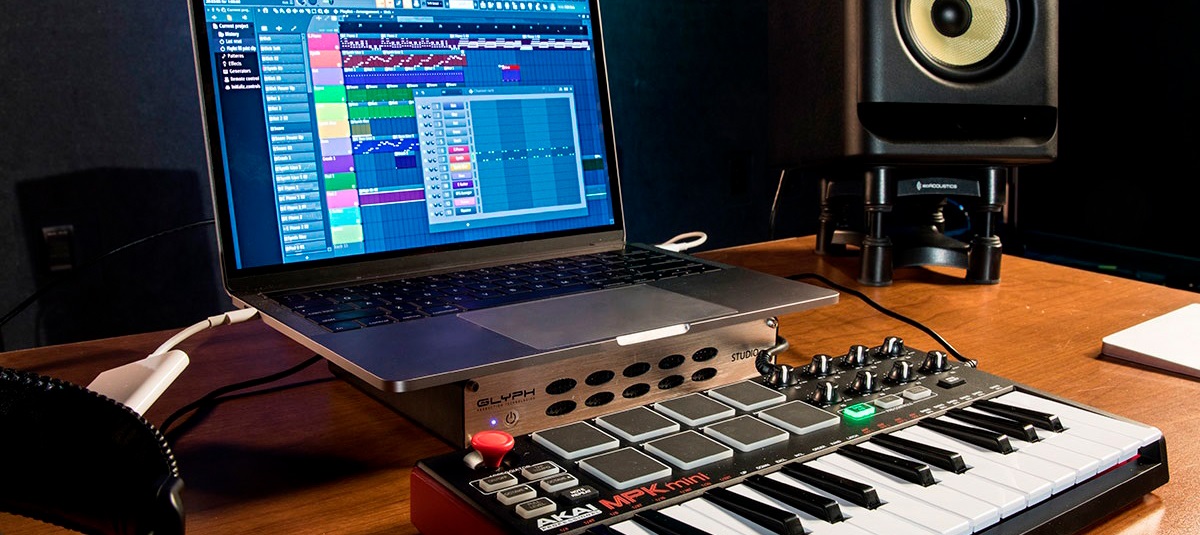
If you're an aspiring music producer or a seasoned musician looking to create tunes on the go, connecting your MIDI keyboard to FL Studio Mobile can significantly enhance your music production experience. FL Studio Mobile, a powerful digital audio workstation, allows you to compose, edit, and mix music on your mobile device. By integrating a MIDI keyboard, you can leverage its tactile keys and knobs to control various aspects of your music production seamlessly.
In this guide, we'll walk through the process of connecting a MIDI keyboard to FL Studio Mobile, enabling you to harness the full potential of both your keyboard and the mobile music production software. Whether you're a beginner navigating the world of music production or a seasoned pro seeking a portable production setup, this step-by-step tutorial will equip you with the knowledge to seamlessly integrate your MIDI keyboard with FL Studio Mobile.
By following these instructions, you'll be able to unlock a new level of creativity, productivity, and musical expression, all from the convenience of your mobile device. So, let's dive into the process of setting up and connecting your MIDI keyboard to FL Studio Mobile, and start making music on the go!
Step 1: Setting up the MIDI Keyboard
Before diving into the technical aspects of connecting your MIDI keyboard to FL Studio Mobile, it’s essential to ensure that your MIDI keyboard is set up correctly. Here are the steps to prepare your MIDI keyboard for seamless integration with FL Studio Mobile:
- Power On the MIDI Keyboard: Start by powering on your MIDI keyboard using either an AC adapter or batteries, depending on the model. Ensuring that the keyboard has sufficient power is crucial for the subsequent steps.
- Connect the MIDI Keyboard to a Power Source: If your MIDI keyboard requires an AC adapter for power, connect it to a power outlet. For battery-powered keyboards, ensure that the batteries are adequately charged or replace them with fresh ones.
- Adjust Keyboard Stand and Height: If your MIDI keyboard is standalone or requires a separate stand, set it up at a comfortable height and position. This step is crucial for ergonomics and ease of use during music production.
- Ensure Proper Lighting: Position the keyboard in a well-lit area to facilitate easy access to controls and keys. Adequate lighting can enhance your overall music production experience.
By following these preliminary steps, you’ll ensure that your MIDI keyboard is ready for seamless integration with FL Studio Mobile. With the keyboard set up and positioned for optimal performance, you’re now prepared to proceed to the next steps of connecting and configuring it with FL Studio Mobile.
Step 2: Connecting the MIDI Keyboard to FL Studio Mobile
Now that your MIDI keyboard is set up and ready, the next step is to establish a physical connection between the keyboard and your mobile device running FL Studio Mobile. Follow these steps to ensure a seamless connection:
- Check Compatibility: Before proceeding, verify that your MIDI keyboard is compatible with FL Studio Mobile. Refer to the keyboard’s user manual or the FL Studio Mobile documentation to confirm compatibility and any specific requirements.
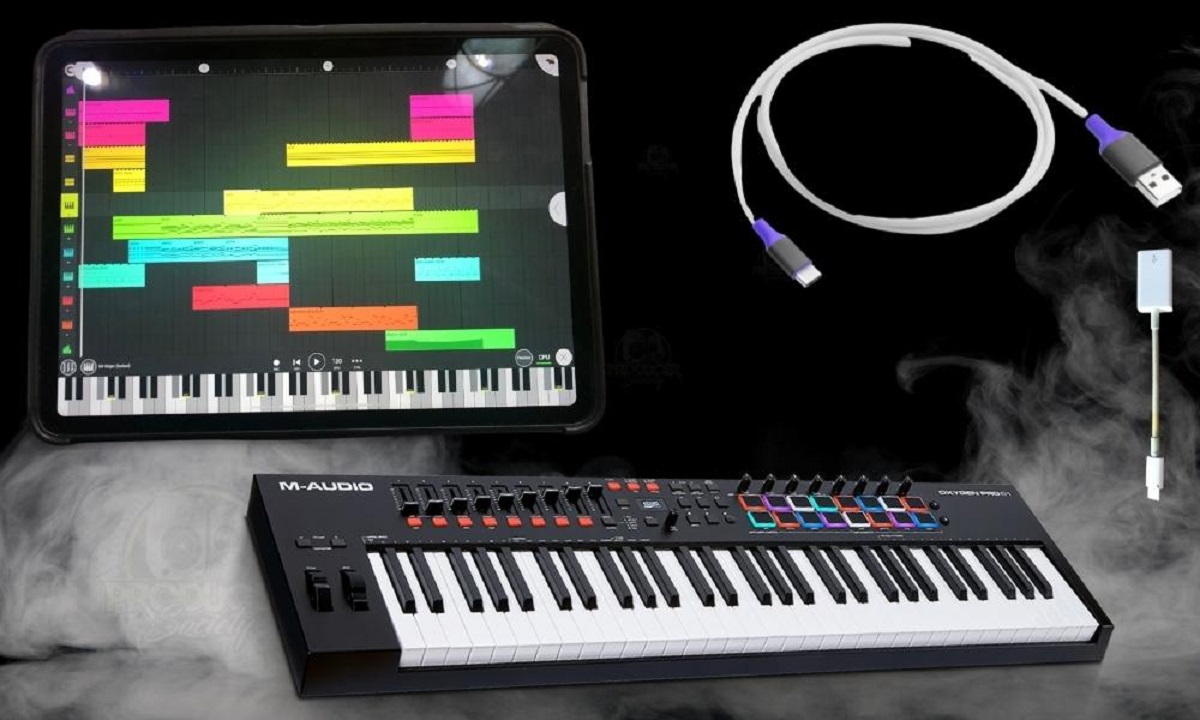
- Use a USB Adapter (if required): If your MIDI keyboard utilizes a USB connection and your mobile device lacks a USB port, you may need a USB adapter compatible with your mobile device’s port (e.g., USB-C to USB adapter for devices with USB-C ports).
- Connect the MIDI Keyboard: Using the appropriate cable or adapter, connect your MIDI keyboard to your mobile device. Ensure a secure connection to avoid any interruptions during music production.
- Power and Signal Confirmation: Once connected, ensure that your MIDI keyboard receives power and that the mobile device recognizes the keyboard’s signal. Some keyboards may display a power indicator, while mobile devices often provide a notification or visual indication of a connected MIDI device.
By successfully establishing the physical connection between your MIDI keyboard and FL Studio Mobile, you’re now ready to configure the software to recognize and utilize the keyboard’s input. This connection sets the stage for leveraging the full potential of your MIDI keyboard within FL Studio Mobile’s music production environment.
Step 3: Configuring FL Studio Mobile for MIDI Input
With the physical connection between your MIDI keyboard and mobile device established, the next crucial step is configuring FL Studio Mobile to recognize and effectively utilize the MIDI input. Follow these steps to ensure seamless integration:
- Open FL Studio Mobile: Launch the FL Studio Mobile app on your mobile device. Ensure that you have the latest version installed to access the full range of features and compatibility with MIDI devices.
- Access the MIDI Settings: Navigate to the settings or preferences menu within FL Studio Mobile to locate the MIDI settings. This section typically allows you to manage MIDI input and output devices, among other related configurations.
- Select the MIDI Input Device: Within the MIDI settings, choose your connected MIDI keyboard as the input device. This step ensures that FL Studio Mobile recognizes and accepts input from your keyboard during music production sessions.
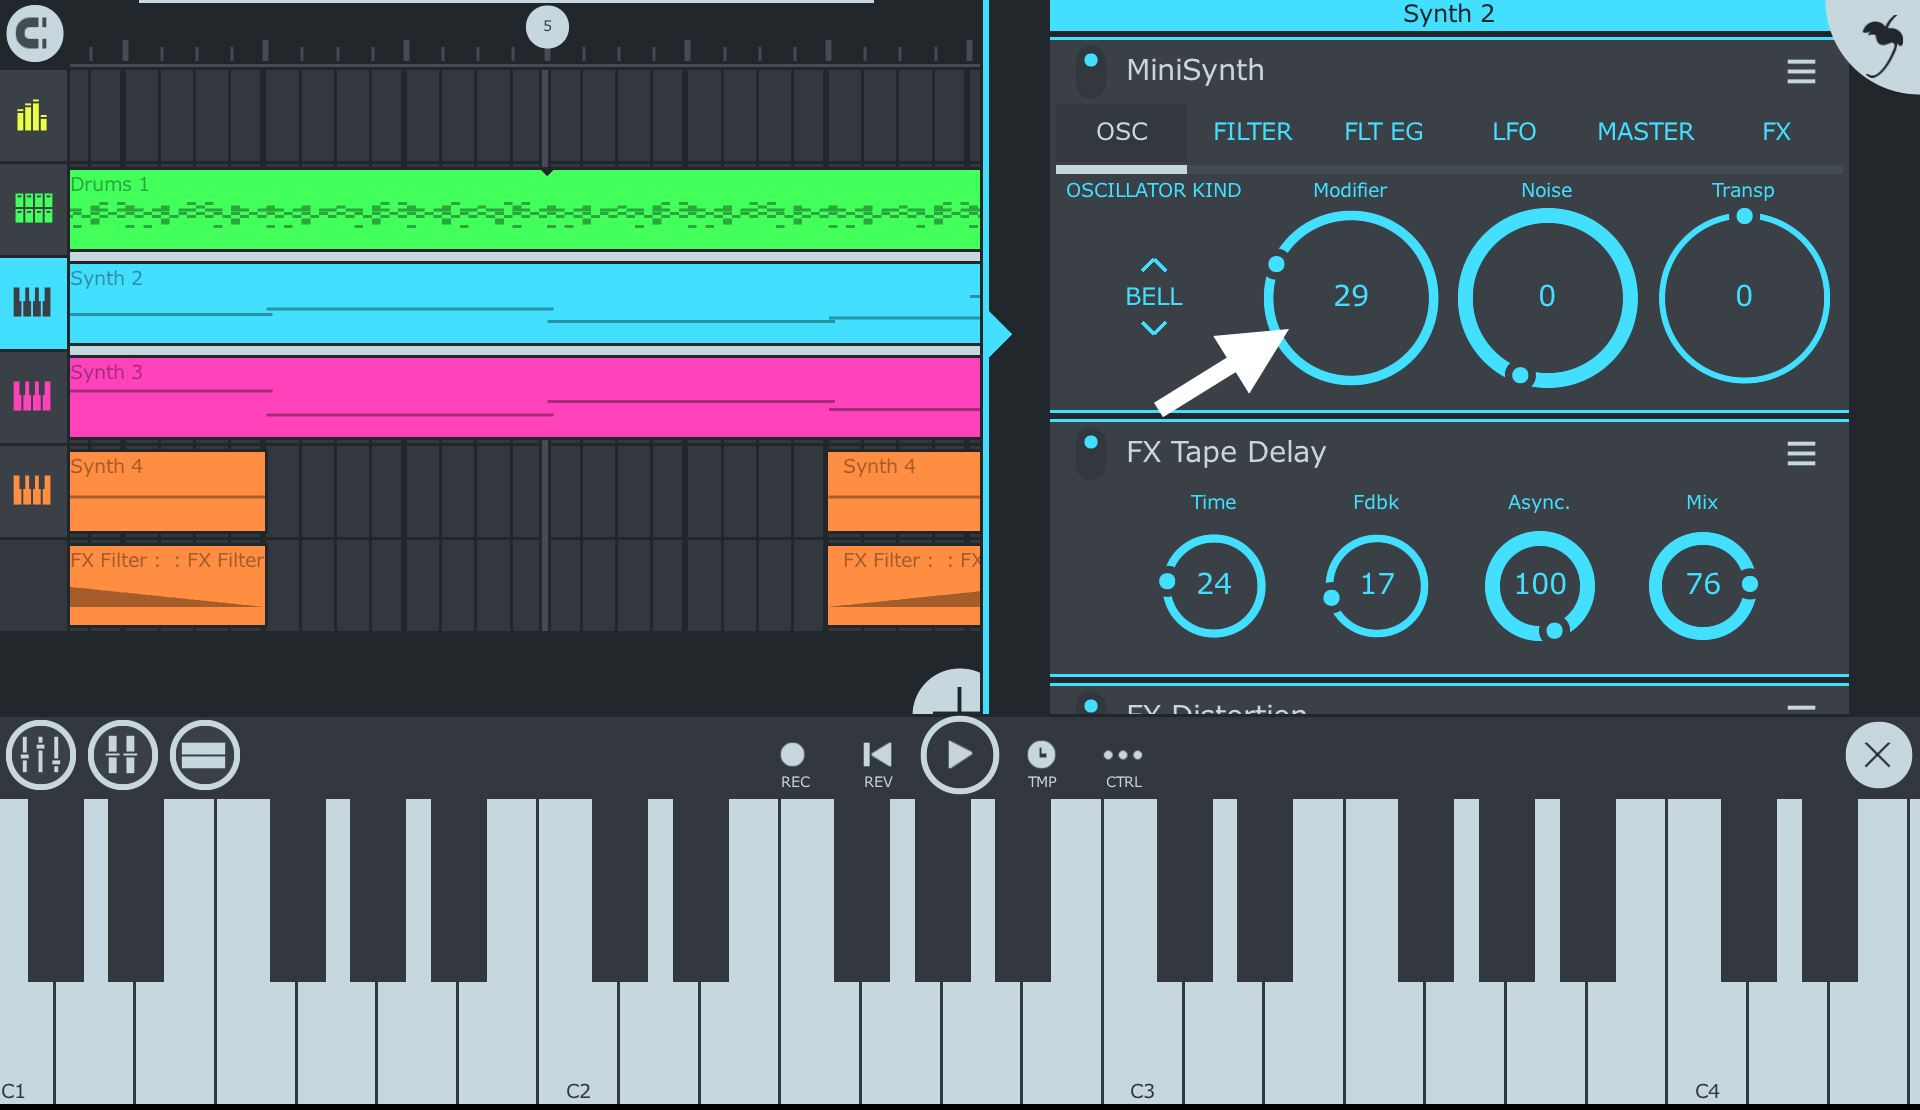
- Configure MIDI Channel and Settings: Depending on your MIDI keyboard’s capabilities and FL Studio Mobile’s requirements, configure the MIDI channel and any additional settings to align with your preferred music production workflow. This may involve assigning specific functions to keyboard controls and adjusting sensitivity settings.
- Test MIDI Input: To confirm successful configuration, test the MIDI input by playing notes on the keyboard. FL Studio Mobile should respond to the input, indicating that the MIDI keyboard is now seamlessly integrated and ready for music production.
By meticulously configuring FL Studio Mobile to recognize and effectively utilize your MIDI keyboard’s input, you’re now poised to leverage the full potential of your keyboard within the mobile music production environment. This step sets the stage for a seamless and intuitive music creation experience on your mobile device.
Step 4: Testing the MIDI Keyboard
After configuring FL Studio Mobile to recognize your MIDI keyboard, it’s essential to conduct a comprehensive test to ensure that the integration is successful and that the keyboard functions as expected within the software. Follow these steps to thoroughly test your MIDI keyboard:
- Play and Record Notes: Utilize the MIDI keyboard to play and record musical notes within FL Studio Mobile. Test various octaves, scales, and musical phrases to assess the keyboard’s responsiveness and accuracy in transmitting MIDI data to the software.
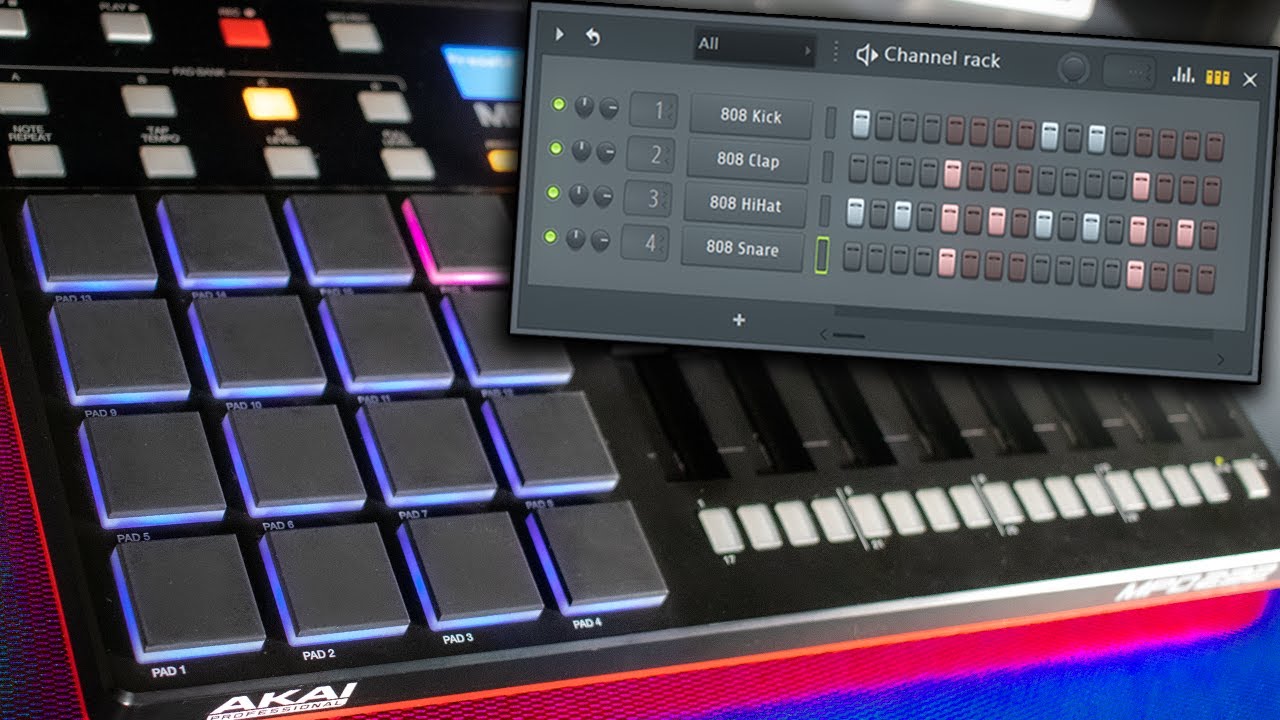
- Control Virtual Instruments: If FL Studio Mobile features built-in virtual instruments or supports external VST plugins, use the MIDI keyboard to control and play these instruments. Test the keyboard’s ability to trigger different sounds and manipulate parameters within the virtual instruments.
- Adjust MIDI Settings: Experiment with the MIDI settings within FL Studio Mobile to customize the keyboard’s behavior. This may involve adjusting velocity sensitivity, assigning MIDI controllers to specific parameters, and exploring other MIDI-related features offered by the software.
- Record and Playback: Record a short musical passage using the MIDI keyboard and FL Studio Mobile’s recording capabilities. Playback the recorded performance to ensure that the MIDI input is accurately captured and reproduced within the software.
By rigorously testing the MIDI keyboard within FL Studio Mobile, you can gain a comprehensive understanding of its functionality and integration with the software. Any adjustments or fine-tuning needed to optimize the keyboard’s performance can be identified during this testing phase, ensuring a smooth and productive music production experience on your mobile device.
Conclusion
Connecting a MIDI keyboard to FL Studio Mobile opens up a world of creative possibilities, allowing you to harness the tactile control and expressive capabilities of a physical keyboard within the mobile music production environment. By following the steps outlined in this guide, you’ve learned how to seamlessly integrate your MIDI keyboard with FL Studio Mobile, empowering you to compose, perform, and produce music with enhanced flexibility and creativity.
With your MIDI keyboard set up, connected, configured, and thoroughly tested within FL Studio Mobile, you’re now equipped to embark on a musical journey that transcends the limitations of traditional studio setups. The ability to create music on the go, leveraging the power of both hardware and software, provides a liberating and inspiring experience for musicians and producers of all levels.
As you delve into the world of mobile music production with your MIDI keyboard and FL Studio Mobile, continue to explore the vast array of features, instruments, and production tools available within the software. Experiment with different musical genres, recording techniques, and performance styles to fully leverage the potential of your MIDI keyboard and the portable production capabilities offered by FL Studio Mobile.
By seamlessly integrating your MIDI keyboard with FL Studio Mobile, you’ve unlocked a versatile and portable music production setup that adapts to your creative impulses wherever you go. Embrace the freedom to compose, perform, and produce music on your terms, and let the seamless integration of your MIDI keyboard with FL Studio Mobile be the catalyst for your musical innovation and expression.