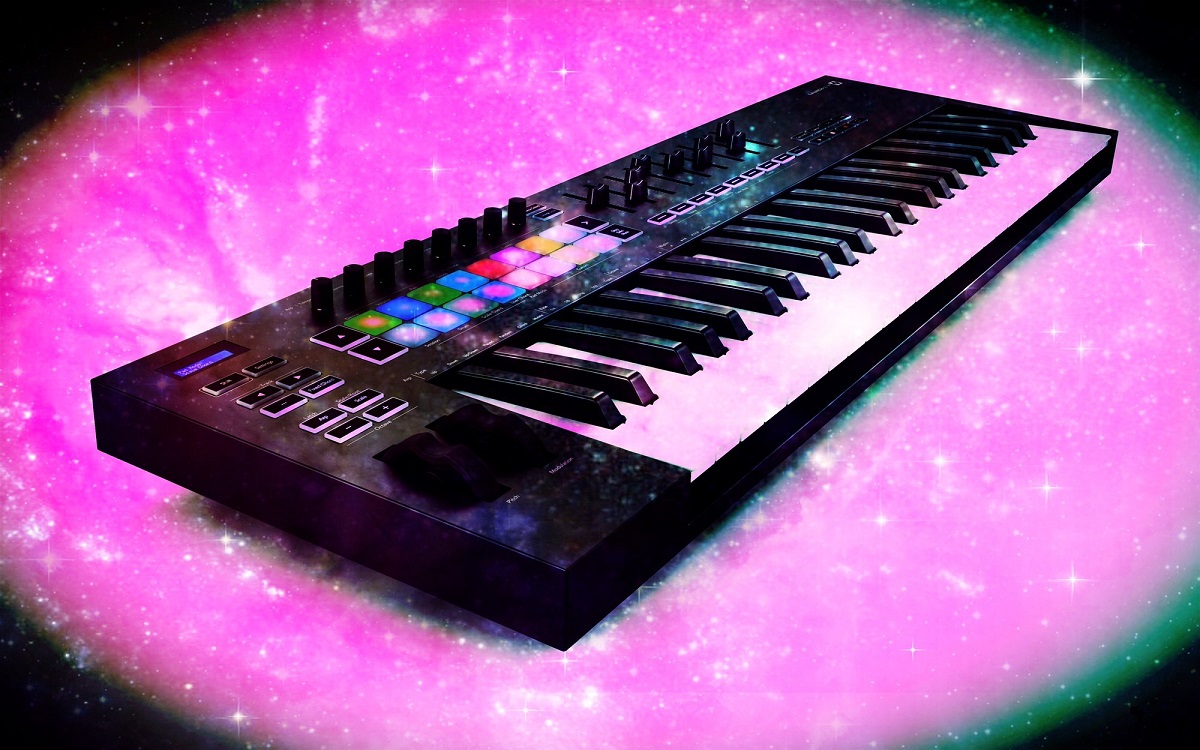
Introduction
So, you've just purchased a shiny new USB MIDI keyboard and you're ready to unleash your musical creativity. Connecting your MIDI keyboard to your computer opens up a world of possibilities for music production, whether you're a seasoned musician or just starting out. By following a few simple steps, you can seamlessly integrate your MIDI keyboard into your digital audio workstation (DAW) and start making sweet music in no time.
In this guide, we'll walk you through the process of hooking up your USB MIDI keyboard, from gathering the necessary supplies to testing your connection. Whether you're a producer, composer, or hobbyist, this guide will help you navigate the setup process with ease.
Before we dive into the technical details, it's important to understand the fundamental role of a MIDI keyboard in modern music production. MIDI (Musical Instrument Digital Interface) keyboards serve as versatile input devices that allow you to trigger sounds and control various parameters within your DAW. With the ability to capture nuances in your playing, MIDI keyboards offer a level of expressiveness that goes beyond traditional computer keyboards or mouse input.
The convenience of USB MIDI keyboards lies in their plug-and-play functionality, eliminating the need for additional audio interfaces or complex setups. Whether you're aiming to lay down intricate piano melodies, craft electronic beats, or orchestrate symphonic arrangements, your USB MIDI keyboard can serve as a powerful tool in your creative arsenal.
Now, let's embark on this journey together as we demystify the process of connecting and setting up your USB MIDI keyboard. By the end of this guide, you'll be ready to harness the full potential of your MIDI keyboard and bring your musical visions to life. So, grab your keyboard, fire up your computer, and let's get started!
Step 1: Gather Your Supplies
Before diving into the setup process, it's crucial to ensure that you have all the necessary supplies at your disposal. Here's a checklist to guide you through the preparation phase:
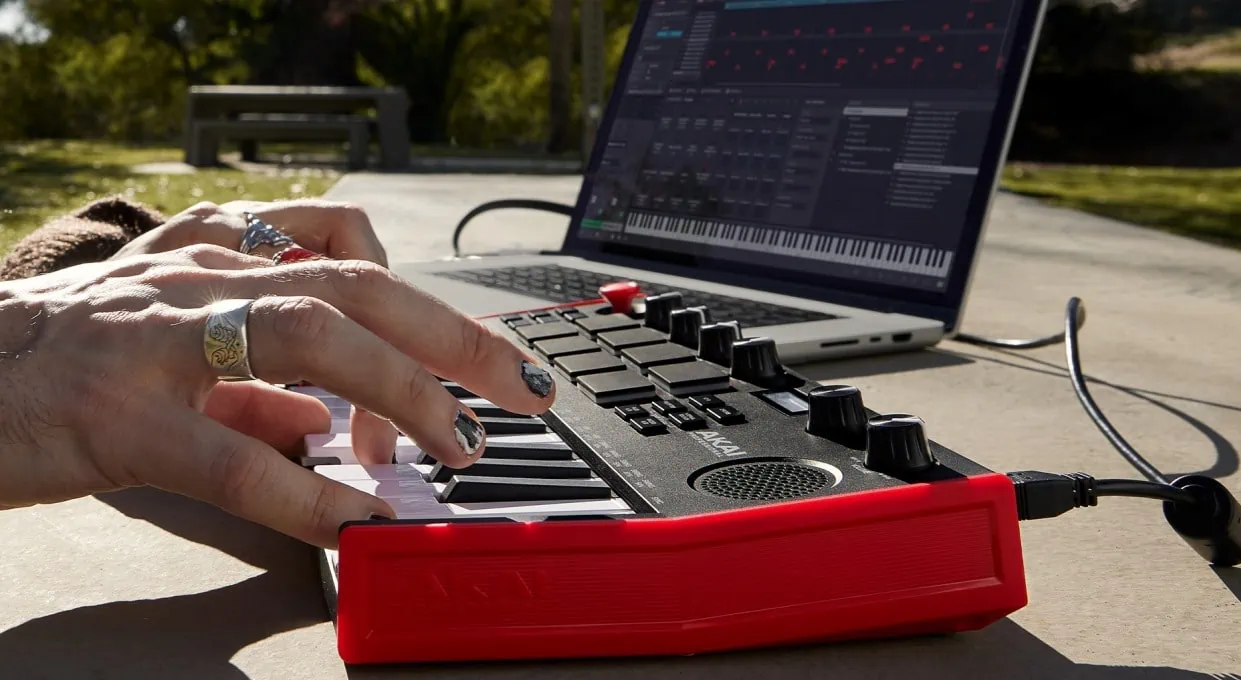
- USB MIDI Keyboard: Of course, the star of the show is your USB MIDI keyboard. Ensure that it is in good working condition and has a USB port for connectivity.
- Computer: Whether you're using a Mac or a PC, make sure your computer meets the system requirements for your preferred DAW and MIDI keyboard. Additionally, ensure that your computer has available USB ports for connecting the MIDI keyboard.
- USB Cable: Most USB MIDI keyboards come with a USB cable for connecting to your computer. If not, ensure that you have a standard USB A to USB B cable on hand.
- DAW Software: Select and install a DAW that suits your music production needs. Popular choices include Ableton Live, Logic Pro, FL Studio, and Pro Tools. Ensure that you have the latest version installed and ready to go.
- MIDI Drivers: Depending on your MIDI keyboard and operating system, you may need to download and install specific MIDI drivers. Check the manufacturer's website for the latest drivers compatible with your setup.
By gathering these essential supplies, you'll set the stage for a smooth and efficient setup process. Once you've checked off each item on the list, you're ready to move on to the next step and begin the exciting journey of integrating your USB MIDI keyboard into your music production workflow.
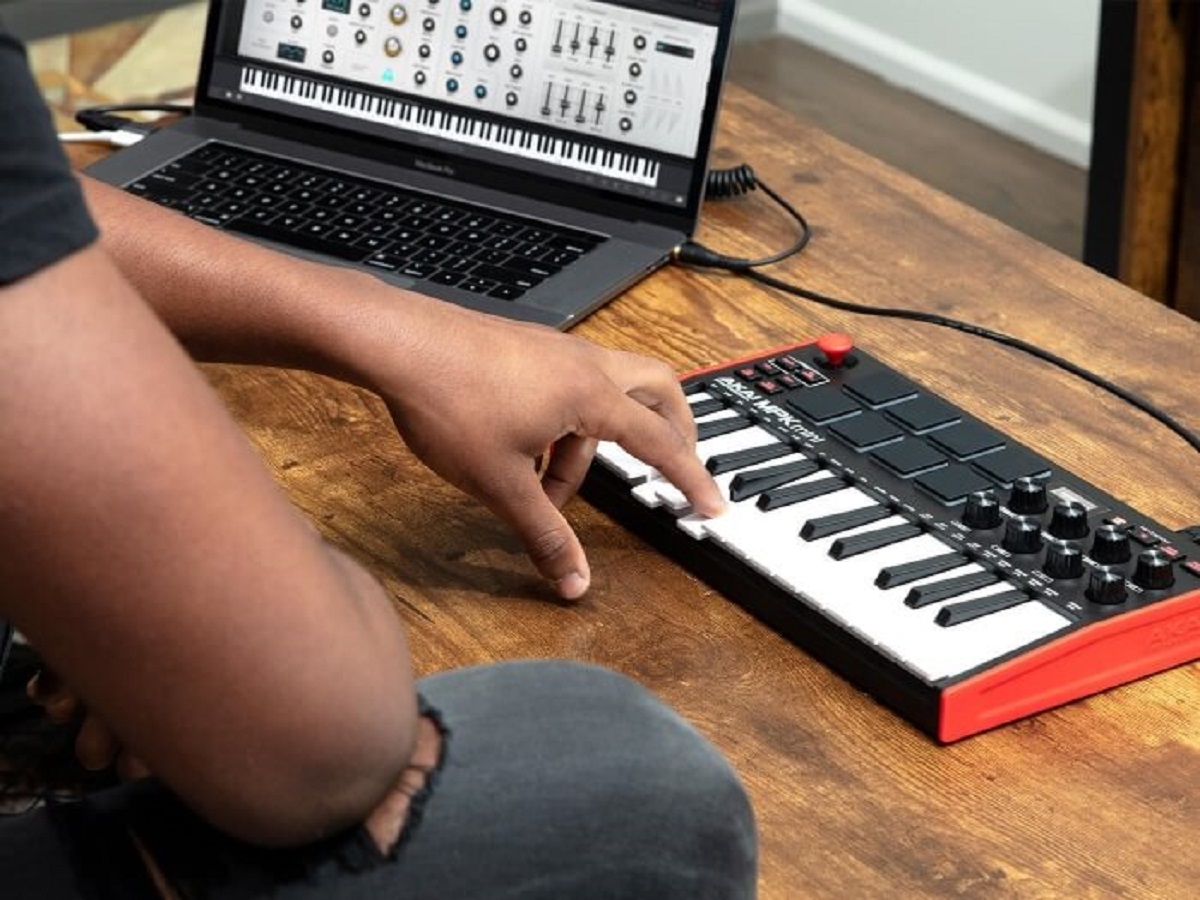
Step 2: Connect the USB Cable
With all your supplies in place, it’s time to establish the physical connection between your USB MIDI keyboard and your computer. Follow these steps to seamlessly connect the USB cable:
- Power Off: Before making any connections, ensure that both your MIDI keyboard and computer are powered off. This precautionary measure prevents any potential electrical mishaps during the setup process.
- Locate USB Port: Identify the USB port on your MIDI keyboard. This port is typically located on the back panel of the keyboard, although the exact placement may vary depending on the model.
- Connect the USB Cable: Take one end of the USB cable and insert the USB A connector into an available USB port on your computer. Then, take the other end of the cable with the USB B connector and plug it into the corresponding port on your MIDI keyboard.
- Power On: Once the USB cable is securely connected, power on your MIDI keyboard. You should see the device power up and, in some cases, display a confirmation of the USB connection.
After completing these steps, your USB MIDI keyboard should be successfully connected to your computer via the USB cable. The physical link between the two devices sets the stage for the digital communication that will enable you to harness the full potential of your MIDI keyboard within your DAW.
Now that the hardware connection is established, it’s time to move on to the next crucial step: installing the necessary MIDI drivers to ensure seamless communication between your MIDI keyboard and your computer’s operating system.
Step 3: Install the MIDI Drivers
After connecting your USB MIDI keyboard to your computer, the next essential step is to install the MIDI drivers. These drivers facilitate the communication between your MIDI keyboard and your computer’s operating system, ensuring that they can effectively exchange MIDI data. Here’s how to install the MIDI drivers:
- Check Manufacturer’s Website: Visit the official website of your MIDI keyboard’s manufacturer. Look for the “Support” or “Downloads” section to find the latest MIDI drivers compatible with your specific model and operating system.
- Download and Install: Once you’ve located the appropriate MIDI drivers, download the installation file to your computer. Follow the manufacturer’s instructions to install the drivers. This typically involves running the installation file and following the on-screen prompts.
- Restart Your Computer: After the installation is complete, it’s advisable to restart your computer to ensure that the MIDI drivers are fully integrated into the system.
- Verify Driver Installation: To confirm that the MIDI drivers are successfully installed, you can check the device manager on your computer. Look for your MIDI keyboard under the “Sound, video, and game controllers” section to ensure that it is recognized and functioning properly.
By installing the appropriate MIDI drivers, you pave the way for seamless communication between your MIDI keyboard and your computer, enabling your DAW to recognize and interact with the keyboard’s MIDI signals effectively. This step is crucial for ensuring that your MIDI keyboard operates optimally within your music production environment.
With the MIDI drivers successfully installed, you’re now ready to delve into the heart of your music production setup: configuring your digital audio workstation (DAW) to recognize and utilize your MIDI keyboard’s input. The next step will guide you through this process, bringing you closer to harnessing the full potential of your USB MIDI keyboard in your music production endeavors.
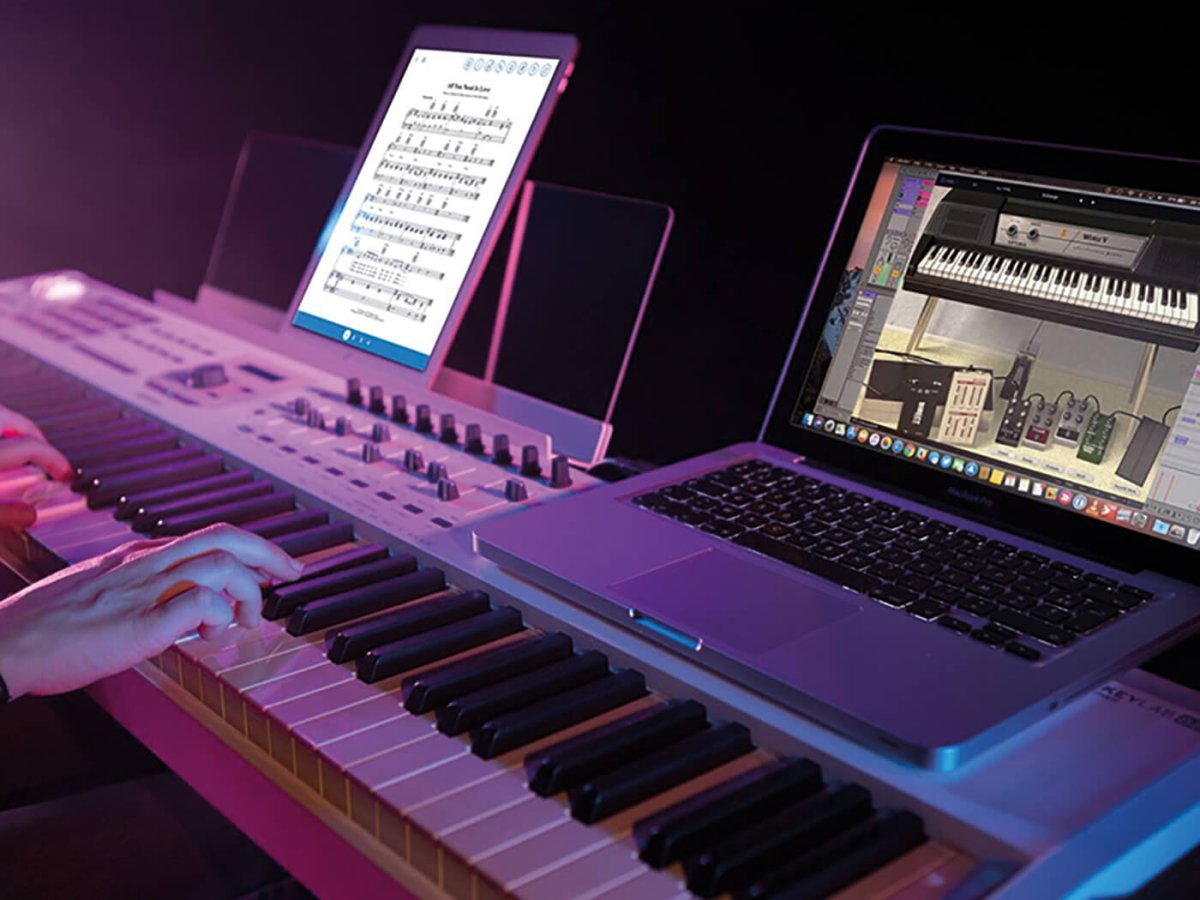
Step 4: Set Up Your DAW
With your USB MIDI keyboard physically connected and the necessary MIDI drivers installed, it’s time to configure your digital audio workstation (DAW) to recognize and seamlessly integrate your MIDI keyboard into your music production workflow. Follow these steps to set up your DAW:
- Launch Your DAW: Open your preferred DAW software on your computer. Whether it’s Ableton Live, Logic Pro, FL Studio, or another DAW, ensure that it is up to date and ready for configuration.
- Access Preferences/Settings: Navigate to the preferences or settings menu within your DAW. This is typically located in the top menu bar or within a dedicated settings section.
- Configure MIDI Devices: Look for the MIDI or external devices settings within the preferences menu. Here, you should be able to select and enable your USB MIDI keyboard as a recognized input device. Ensure that the MIDI input for your keyboard is enabled and properly configured.
- Assign MIDI Channels: If your MIDI keyboard supports multiple MIDI channels, you may need to assign specific channels to different instruments or tracks within your DAW. This allows you to control various virtual instruments or software synthesizers using different parts of your MIDI keyboard.
- Test MIDI Input: To ensure that your MIDI keyboard is successfully integrated, play some notes or trigger some MIDI commands on the keyboard. You should see visual feedback within your DAW, indicating that it is receiving MIDI input from your keyboard.
By following these steps, you’ll effectively configure your DAW to recognize and utilize your USB MIDI keyboard as a powerful input device for music creation. This integration opens up a world of possibilities, allowing you to play, record, and manipulate virtual instruments and software synthesizers with the expressiveness of your MIDI keyboard.
With your DAW now primed to harness the capabilities of your MIDI keyboard, it’s time to put the setup to the test. The next step will guide you through testing your connection, ensuring that everything is functioning as expected before you embark on your musical journey.
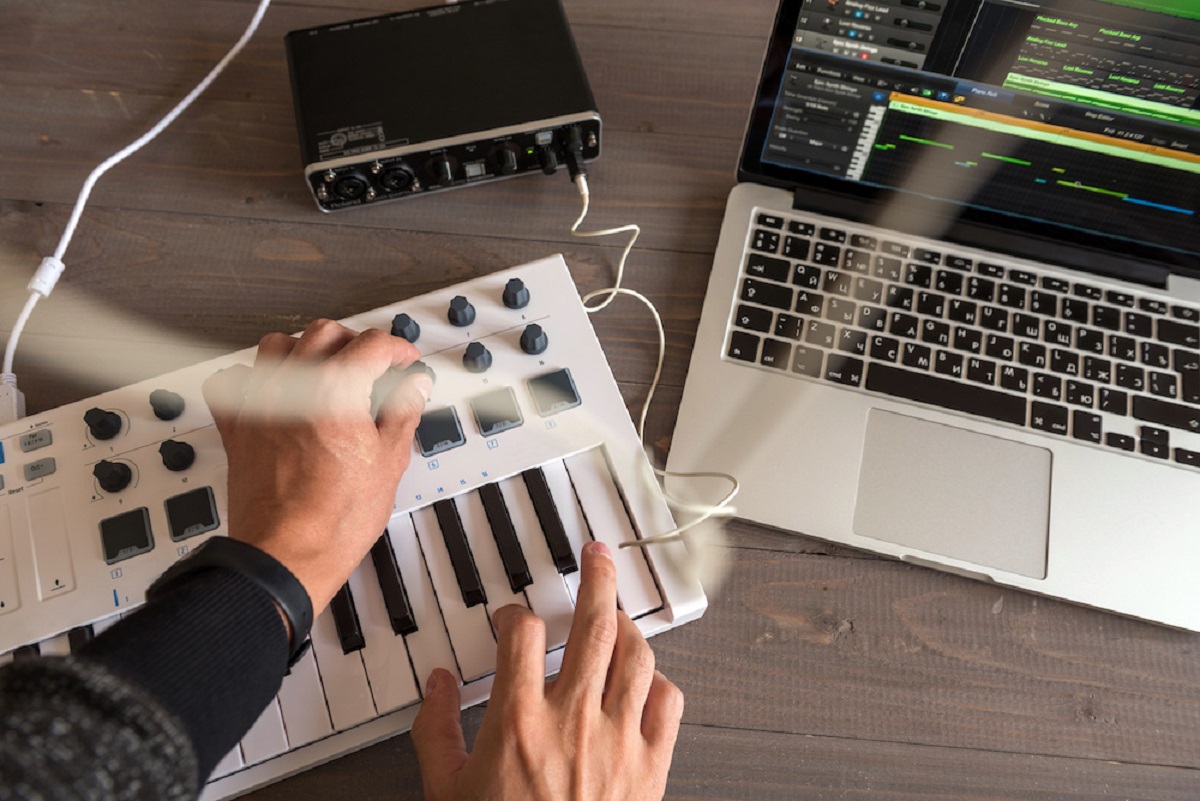
Step 5: Test Your Connection
Now that your USB MIDI keyboard is connected, the MIDI drivers are installed, and your DAW is configured to recognize the keyboard, it’s crucial to test the connection to ensure that everything is functioning as expected. Follow these steps to verify the seamless integration of your MIDI keyboard with your music production setup:
- Select a Virtual Instrument: Within your DAW, choose a virtual instrument or software synthesizer that you’d like to play using your MIDI keyboard. This could be a piano, synthesizer, drum kit, or any other instrument available in your DAW’s library.
- Play Some Notes: Using your MIDI keyboard, play a few notes on the selected virtual instrument. You should hear the corresponding sounds emanating from your computer speakers or audio interface, indicating that the MIDI data from your keyboard is triggering the virtual instrument within your DAW.
- Test MIDI Controls: If your MIDI keyboard includes knobs, sliders, or other control elements, test their functionality within your DAW. Assign these controls to parameters within your virtual instruments or DAW settings to ensure that they respond accurately to your input.
- Record and Playback: Record a short musical passage using your MIDI keyboard and the selected virtual instrument. Playback the recording to ensure that the MIDI data is accurately captured and reproduced, reflecting your performance with the desired nuances and dynamics.
By testing your connection in this manner, you confirm that your USB MIDI keyboard is seamlessly integrated with your DAW, allowing you to play, record, and manipulate virtual instruments with precision and expressiveness. This step ensures that your setup is fully operational and ready for your musical endeavors.
Congratulations! With your USB MIDI keyboard successfully connected, drivers installed, DAW configured, and the connection thoroughly tested, you’re now equipped to embark on your musical journey with a powerful tool at your fingertips. Whether you’re composing, producing, or performing, your MIDI keyboard is poised to be a central element in your creative process, empowering you to bring your musical ideas to life.
Conclusion
Embarking on the journey of connecting and setting up your USB MIDI keyboard has equipped you with a powerful tool for music production and performance. By following the steps outlined in this guide, you’ve seamlessly integrated your MIDI keyboard into your digital audio workstation (DAW), unlocking a world of creative possibilities.
From gathering the necessary supplies to testing your connection, each step has contributed to ensuring a smooth and efficient setup process. Your USB MIDI keyboard now stands ready to serve as a versatile input device, allowing you to play, record, and manipulate virtual instruments with precision and expressiveness.
As you delve into the realms of music composition, production, and performance, your MIDI keyboard will serve as a conduit for your musical ideas, enabling you to capture nuances in your playing and control various parameters within your DAW. Whether you’re crafting intricate melodies, shaping electronic beats, or orchestrating symphonic arrangements, your USB MIDI keyboard is poised to be a central element in your creative arsenal.
With the setup process behind you, it’s time to unleash your musical creativity and explore the boundless potential of your MIDI keyboard. Whether you’re a seasoned musician or just beginning your musical journey, your USB MIDI keyboard stands as a gateway to a world of sonic exploration and artistic expression.
So, grab your keyboard, fire up your computer, and let the music flow. Your USB MIDI keyboard is not just a tool; it’s an extension of your musical vision, ready to accompany you on your creative endeavors. Let the journey begin!