Introduction
So, you've got your hands on a brand-new MIDI keyboard and you're eager to start making music with it. Whether you're a seasoned musician or a budding producer, a MIDI keyboard can be a versatile and essential tool in your creative arsenal. This guide will walk you through the process of hooking up your MIDI keyboard to your computer, allowing you to unleash its full potential and integrate it seamlessly into your digital audio workstation (DAW).
With the ability to produce a wide range of sounds, control virtual instruments, and trigger loops and samples, a MIDI keyboard opens up a world of musical possibilities. By connecting it to your computer, you can harness the power of software instruments and take your music production to new heights. Whether you're into electronic music, pop, rock, jazz, or any other genre, a MIDI keyboard can be a game-changer in your music-making journey.
In this step-by-step guide, you'll learn how to set up your MIDI keyboard, connect it to your computer, install the necessary software, and configure your DAW to recognize and utilize the MIDI input. By the end of this tutorial, you'll be ready to start playing, recording, and producing music with your MIDI keyboard.
So, grab your MIDI keyboard, fire up your computer, and let's dive into the exciting world of MIDI music production!
Step 1: Gather Your Equipment
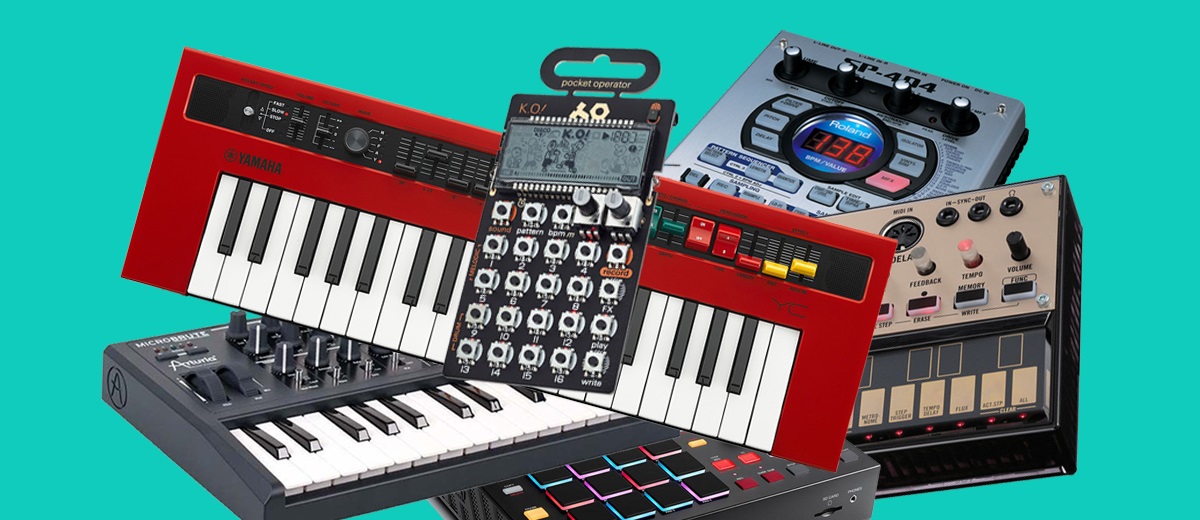
Before you embark on the journey of connecting your MIDI keyboard to your computer, it’s essential to gather the necessary equipment. Here’s what you’ll need:
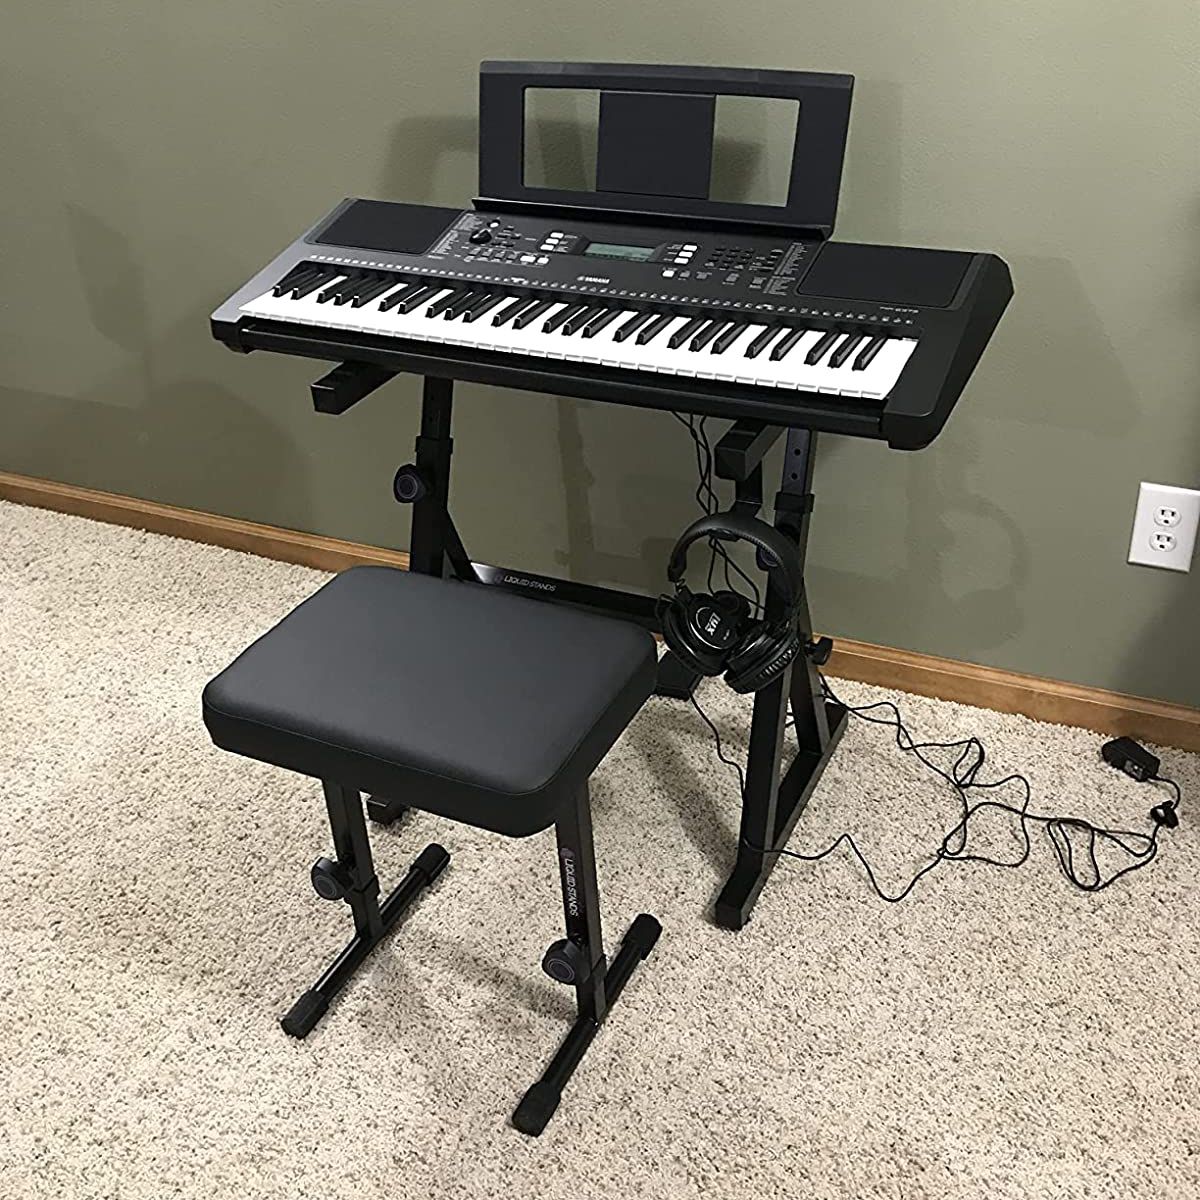
- MIDI Keyboard: Of course, the star of the show is your MIDI keyboard. Make sure it’s in good working condition and has a USB or MIDI output for connecting to your computer.
- Computer: You’ll need a computer with available USB ports or MIDI inputs. Whether you’re using a Mac or a PC, ensure that your computer meets the system requirements for running your preferred digital audio workstation (DAW).
- USB Cable or MIDI Cables: Depending on the type of connection your MIDI keyboard supports, you’ll need a USB cable or MIDI cables to establish a connection between the keyboard and your computer.
- Audio Interface (Optional): If your MIDI keyboard doesn’t have built-in audio outputs or you prefer higher-quality audio recording, consider using an audio interface to connect your keyboard to your computer.
- DAW Software: Choose and install a DAW software that suits your music production needs. Popular options include Ableton Live, FL Studio, Logic Pro, Pro Tools, and others.
- Power Supply (If Required): If your MIDI keyboard doesn’t draw power from the USB connection, make sure to have the necessary power supply and cables.
Once you have all the required equipment at your disposal, you’ll be well-prepared to move on to the next step of connecting your MIDI keyboard to your computer. Having everything on hand will ensure a smooth and hassle-free setup process, allowing you to focus on the creative aspects of music production.
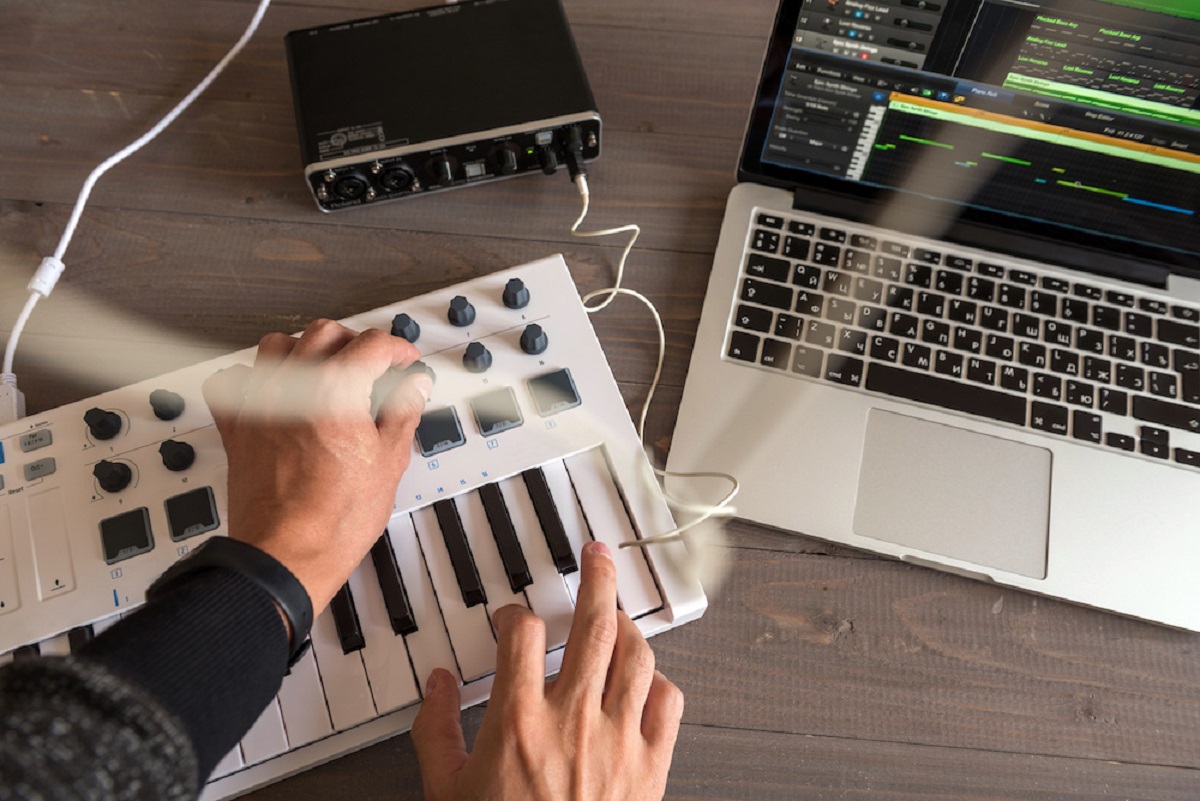
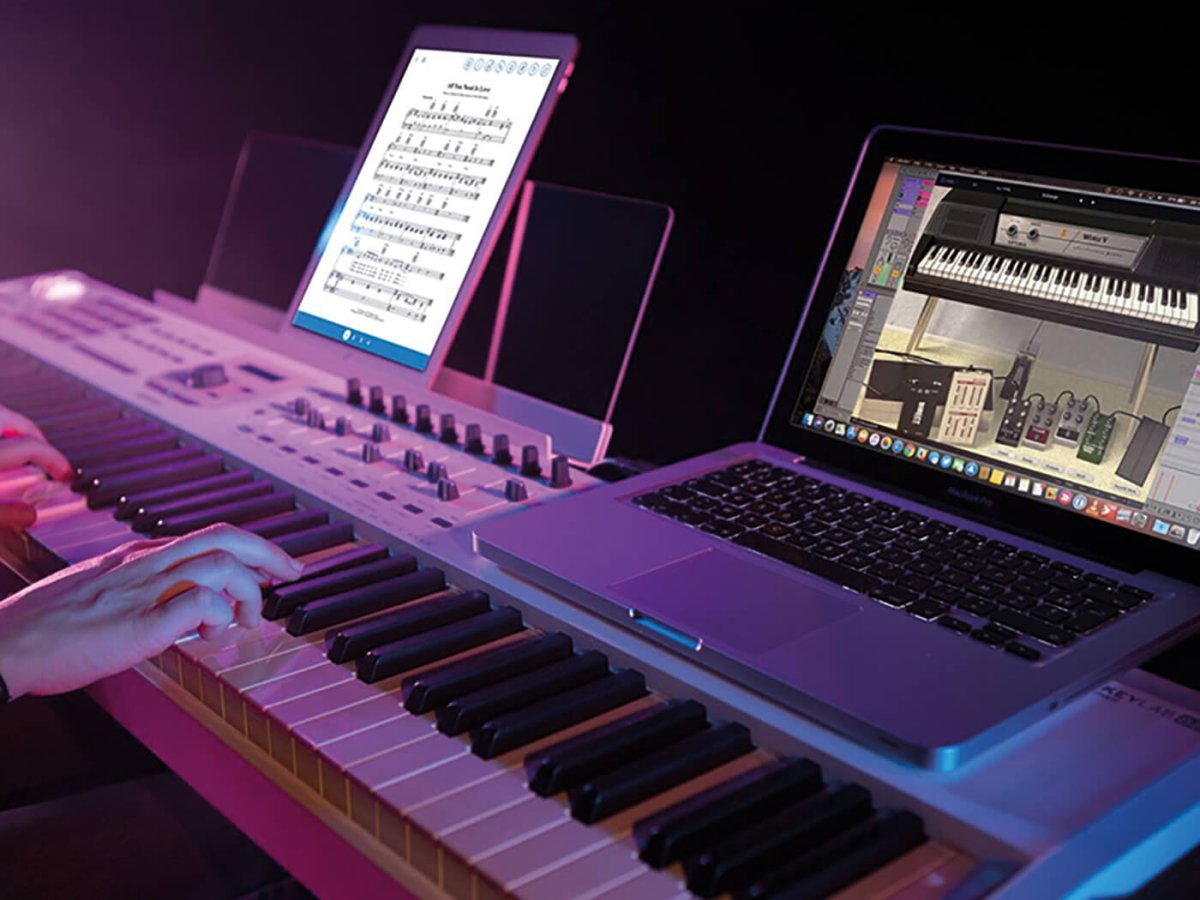
Step 2: Connect the MIDI Keyboard to Your Computer
Now that you’ve gathered all the necessary equipment, it’s time to establish the physical connection between your MIDI keyboard and your computer. The method of connection will depend on the available ports on your MIDI keyboard and computer. Here’s how to do it:
- USB Connection: If your MIDI keyboard features a USB port, simply use a USB cable to connect the keyboard to an available USB port on your computer. Once connected, your computer should automatically recognize the MIDI keyboard as a new device.
- MIDI Connection: In case your MIDI keyboard uses MIDI ports, you’ll need MIDI cables to connect the MIDI OUT port on the keyboard to the MIDI IN port on your audio interface or computer, if it has built-in MIDI inputs.
- Power On Your MIDI Keyboard: Ensure that your MIDI keyboard is powered on. Some keyboards may require you to install drivers or software provided by the manufacturer to enable communication with your computer.
- Check Connection Status: Once the physical connection is established, check the connection status on your computer to ensure that the MIDI keyboard is recognized and ready for use. You can usually find this information in the device manager or system preferences of your operating system.
By following these steps, you’ll successfully connect your MIDI keyboard to your computer, paving the way for the next stages of the setup process. With the physical connection in place, you’re one step closer to integrating your MIDI keyboard into your music production workflow.
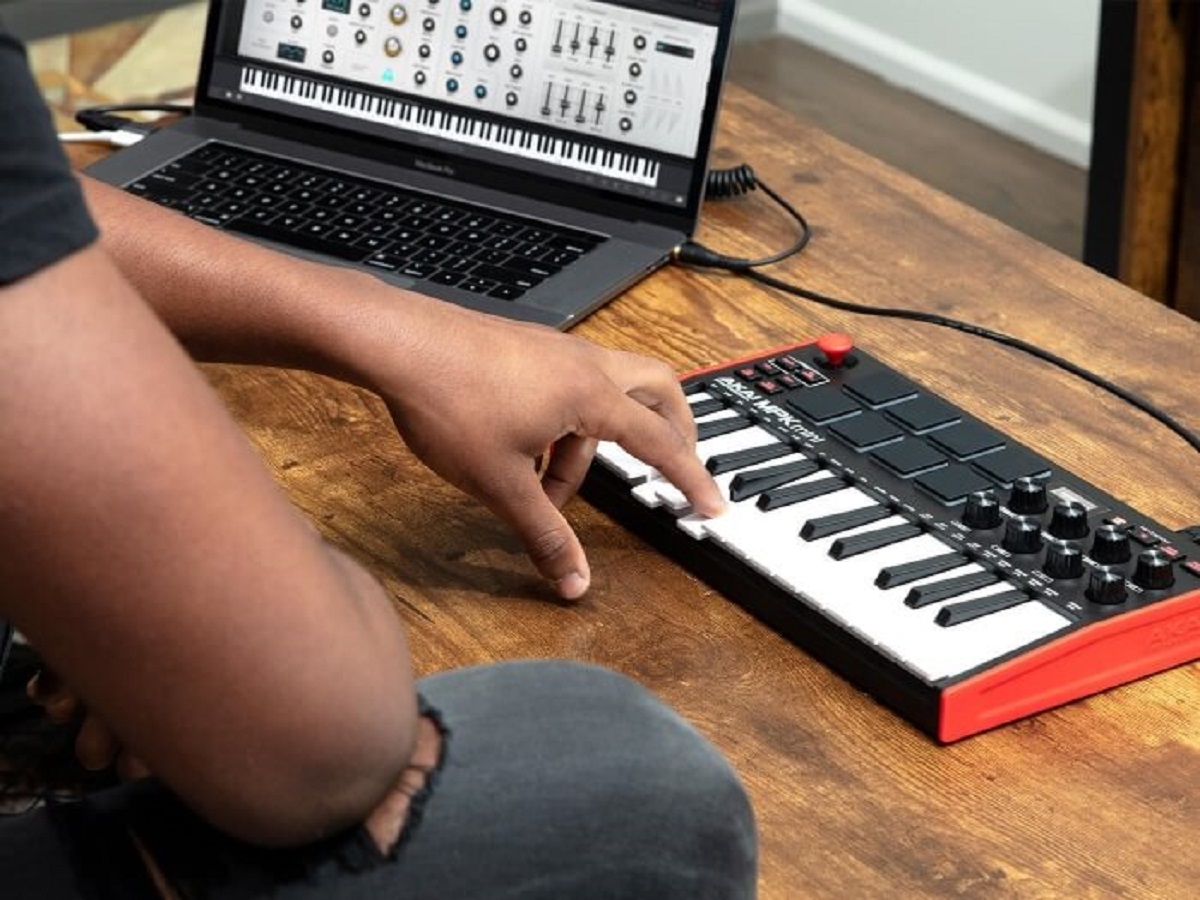
Step 3: Install the Necessary Software
With your MIDI keyboard physically connected to your computer, the next crucial step is to install the essential software that will enable your computer to recognize and communicate with the MIDI keyboard. Here’s what you need to do:
- Install MIDI Drivers (If Required): Some MIDI keyboards may require specific drivers to be installed on your computer to ensure seamless communication. Check the manufacturer’s website or the documentation that came with your MIDI keyboard for any required driver downloads. Install the drivers according to the provided instructions.
- Install DAW Software: If you haven’t already done so, install your chosen digital audio workstation (DAW) software. Follow the installation instructions provided with the software and ensure that it’s compatible with your operating system.
- Configure Audio Settings: Once your DAW software is installed, configure the audio settings to recognize your MIDI keyboard as a MIDI input device. This typically involves accessing the preferences or settings within your DAW and selecting your MIDI keyboard as a MIDI input device.
- Test MIDI Input: After installing the necessary software, open your DAW and create a new project or session. Test the MIDI input by playing a few notes on your MIDI keyboard. If everything is set up correctly, you should see MIDI input activity within your DAW software.
By installing the required software and configuring the MIDI settings within your DAW, you’ll establish a seamless connection between your MIDI keyboard and your computer. This step is crucial for ensuring that your MIDI keyboard is recognized as a controller for triggering virtual instruments, recording MIDI data, and enhancing your music production capabilities.
Step 4: Configure Your DAW
Now that your MIDI keyboard is physically connected and the necessary software is installed, it’s time to configure your digital audio workstation (DAW) to recognize and utilize the MIDI input from your keyboard. The configuration process may vary slightly depending on the DAW software you’re using, but the fundamental steps remain consistent. Here’s how to configure your DAW:
- Select MIDI Input Device: Access the MIDI settings or preferences within your DAW and choose your MIDI keyboard as the input device. This step ensures that the DAW recognizes your MIDI keyboard as the controller for MIDI input.
- Assign MIDI Channels: If your MIDI keyboard supports multiple MIDI channels, configure the channel assignments within your DAW. This allows you to control different virtual instruments or software synthesizers using different MIDI channels on your keyboard.
- Map MIDI Controls (Optional): Some advanced MIDI keyboards feature assignable knobs, faders, and buttons. If your keyboard offers this functionality, you can map these controls to parameters within your DAW, such as volume, pan, and effects, for enhanced hands-on control.
- Set Up Recording and Monitoring: Configure the recording and monitoring settings within your DAW to ensure that MIDI input from your keyboard can be recorded onto MIDI tracks and monitored in real-time during playback.
- Explore MIDI Effects and Tools: Familiarize yourself with the MIDI effects and tools available in your DAW. These may include quantization, arpeggiators, and MIDI editing features that can enhance the creative possibilities of your MIDI keyboard.
By carefully configuring your DAW to integrate with your MIDI keyboard, you’ll unlock the full potential of your music production setup. The seamless communication between your MIDI keyboard and DAW will empower you to express your musical ideas with precision and creativity.
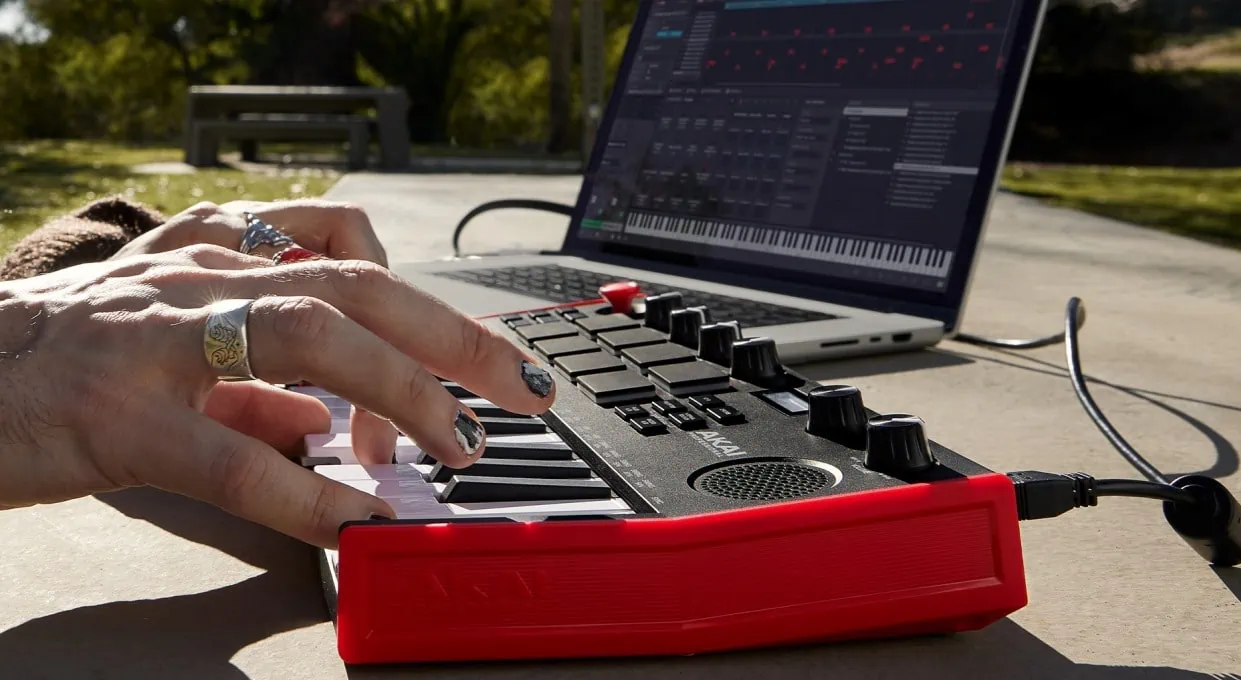
Step 5: Test Your MIDI Keyboard
After completing the setup process, it’s essential to test your MIDI keyboard to ensure that it’s functioning correctly within your digital audio workstation (DAW). This step allows you to verify the MIDI input, explore the range of sounds and features, and confirm that your keyboard is seamlessly integrated into your music production environment. Here’s how to test your MIDI keyboard:
- Play Virtual Instruments: Load a virtual instrument or software synthesizer within your DAW and use your MIDI keyboard to play notes. Verify that the keyboard’s keys trigger the corresponding sounds from the virtual instrument, indicating that the MIDI input is working as expected.
- Record MIDI Data: Create a new MIDI track in your DAW and record a short musical phrase or melody using your MIDI keyboard. Playback the recorded MIDI data to ensure that it accurately captures your performance without any issues.
- Experiment with Controllers: If your MIDI keyboard features assignable knobs, faders, or buttons, experiment with using these controllers to adjust parameters within your DAW, such as adjusting the filter cutoff of a synthesizer or controlling the volume levels of tracks.
- Test MIDI Effects: Explore the MIDI effects and tools available in your DAW, such as arpeggiators, quantization, and MIDI editing functions. Apply these tools to your MIDI keyboard input to understand how they can enhance your musical creations.
- Check Latency and Performance: Assess the responsiveness and latency of your MIDI keyboard within your DAW. Ensure that there is minimal delay between pressing a key on your keyboard and hearing the corresponding sound from the virtual instrument, optimizing the performance for real-time playing and recording.
By thoroughly testing your MIDI keyboard within your DAW, you can identify any potential issues, fine-tune the setup, and familiarize yourself with the capabilities of your MIDI controller. This step is crucial for ensuring a smooth and productive music-making experience with your MIDI keyboard.
Conclusion
Congratulations! You’ve successfully navigated the process of hooking up your MIDI keyboard to your computer and integrating it into your music production workflow. By following the steps outlined in this guide, you’ve empowered yourself to harness the creative potential of your MIDI keyboard and explore a world of musical possibilities within your digital audio workstation (DAW).
With your MIDI keyboard connected and configured, you now have a powerful tool at your fingertips for playing, recording, and producing music. Whether you’re crafting melodic compositions, experimenting with electronic sounds, or adding expressive performances to your productions, your MIDI keyboard serves as a versatile instrument for unleashing your creativity.
As you continue your musical journey, remember to explore the full range of features and capabilities offered by your MIDI keyboard and DAW. Experiment with different virtual instruments, MIDI effects, and recording techniques to discover new ways of expressing yourself through music. Embrace the hands-on control and tactile experience that your MIDI keyboard provides, allowing you to infuse your productions with emotion and nuance.
Furthermore, stay curious and open-minded as you delve into the realm of MIDI music production. The combination of your musical intuition and the technological capabilities of your MIDI keyboard and DAW can lead to exciting breakthroughs and innovative sonic creations. Embrace the process of learning and experimentation, and let your MIDI keyboard be a conduit for your musical inspiration.
With your MIDI keyboard now seamlessly integrated into your music production setup, you’re poised to embark on a fulfilling and rewarding creative journey. Whether you’re a solo artist, a producer, or a composer, your MIDI keyboard stands ready to be your trusted companion in bringing your musical visions to life.