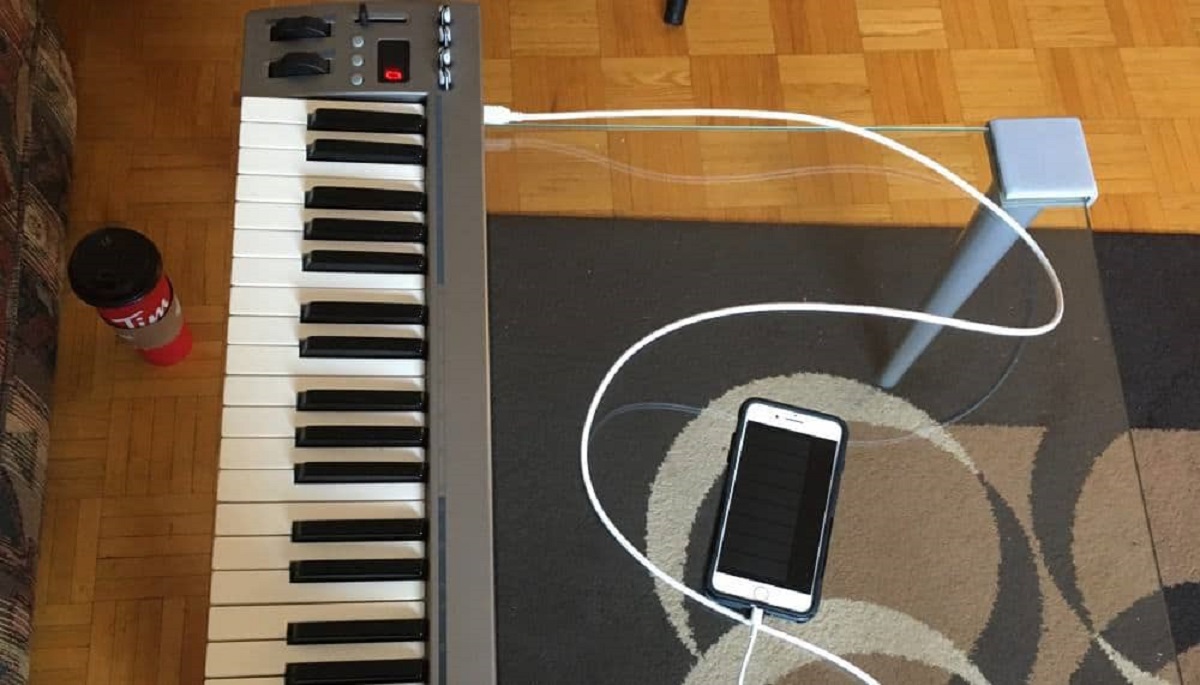
To connect a MIDI keyboard to an iPhone, you need the correct adapter for your keyboard’s port type and then set the keyboard as an input device inside a music app. The fastest wired route uses Apple’s Lightning to USB 3 Camera Adapter for USB keyboards, while traditional 5-pin MIDI models require a MIDI-to-USB interface. For wireless setups, a Bluetooth keyboard pairs inside a compatible app, not in the iPhone’s main Bluetooth settings.
Before you connect a MIDI keyboard to an iPhone: check compatibility
First, identify the output ports on your keyboard. Most modern keyboards have a USB port (often USB-B, USB-C, or built-in USB-MIDI). Older or pro models use 5-pin DIN MIDI jacks labeled MIDI Out and MIDI In. If your keyboard needs external power (some draw too much current from the iPhone), note that before buying an adapter, because the Apple Lightning to USB 3 Camera Adapter solves this by adding a Lightning port for charging.
How to connect a wired MIDI keyboard to an iPhone
For USB keyboards, you’ll need the Apple Lightning to USB 3 Camera Adapter, not the older Lightning to USB Camera Adapter, which lacks the charging port. The USB 3 version lets you power your iPhone while the keyboard is connected, preventing battery drain during long sessions. Plug the adapter’s Lightning end into your iPhone, then connect the keyboard’s USB cable to the adapter’s USB-A port. For keyboards with only 5-pin MIDI, insert a MIDI-to-USB interface between the keyboard and the adapter: connect the keyboard’s MIDI Out to the interface’s MIDI In, then plug the interface’s USB cable into the adapter. After plugging in, your iPhone may show a prompt asking to allow MIDI access, tap Allow to enable communication.
For USB keyboards
- Connect the Apple Lightning to USB 3 Camera Adapter to your iPhone’s Lightning port.
- Plug the keyboard’s USB cable into the adapter’s USB-A port.
- If the keyboard has a power switch, turn it on. Your iPhone should detect it as a MIDI device.
For traditional 5-pin MIDI keyboards
- Connect a MIDI cable from the keyboard’s MIDI Out to the MIDI In on a MIDI-to-USB interface.
- Plug the interface’s USB cable into the Apple Lightning to USB 3 Camera Adapter.
- Power the interface if it requires its own supply (many bus-powered interfaces work directly).
How to connect a Bluetooth MIDI keyboard to an iPhone
Bluetooth keyboards skip the cable, but they only pair inside a MIDI app, not in the iPhone’s Settings app. Open GarageBand (or any Core MIDI, compatible app) and go to the app’s Bluetooth MIDI settings. The exact path in GarageBand is: tap the Settings icon in the control bar, then Advanced, then Bluetooth MIDI Devices. Your keyboard should appear in that list; tap its name to pair. This in-app pairing is the only way the iPhone will recognize the keyboard for all music apps. Once paired, the keyboard stays connected for that session and reconnects automatically when you open the app again.
Set up your MIDI keyboard in iPhone apps
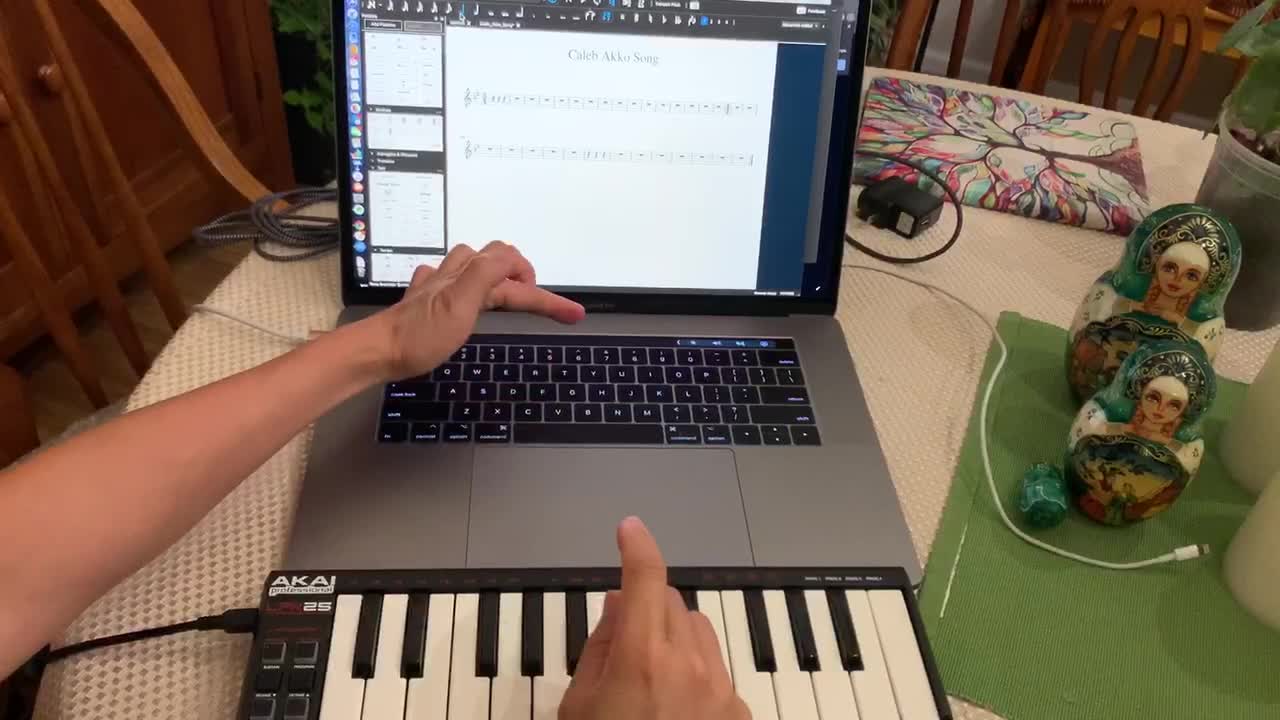
After the physical or Bluetooth connection is live, open your music production app, GarageBand, Cubasis, or any DAW. Go to the app’s settings or preferences and look for a “MIDI Input” or “Bluetooth” section. Select your keyboard from the list of available input devices. To test, play a note on the keyboard; the app’s virtual instrument should sound, or you should see a MIDI activity light flashing on the interface. Once the app recognizes your keyboard, you can assign it to control virtual synths, trigger drum pads, or record MIDI sequences.