Introduction
So, you've got yourself a MIDI keyboard and want to connect it to your computer to unleash its full potential? It's an excellent idea! By integrating your MIDI keyboard with your computer, you can access a myriad of virtual instruments, recording software, and digital audio workstations (DAWs) to compose, record, and produce music with ease. Whether you're a seasoned musician or a novice looking to dive into the world of music production, understanding how to hook up your MIDI keyboard to your computer is a crucial step in your creative journey.
In this guide, we'll walk you through the process of connecting your MIDI keyboard to your computer and setting it up to work seamlessly with your preferred music software. You'll learn about the basics of MIDI, the necessary connections, the software you'll need, and how to troubleshoot common issues that may arise along the way. By the end of this tutorial, you'll be well-equipped to harness the power of your MIDI keyboard and unleash your musical creativity in the digital realm.
Let's dive in and demystify the process of connecting your MIDI keyboard to your computer, opening up a world of musical possibilities right at your fingertips. Whether you're a solo artist, a producer, or a composer, this guide will equip you with the knowledge and skills to integrate your MIDI keyboard seamlessly into your digital music production workflow. So, grab your MIDI keyboard, fire up your computer, and let's embark on this exciting musical journey together!
Understanding MIDI
MIDI, which stands for Musical Instrument Digital Interface, serves as the universal language of digital music. It allows electronic musical instruments, including MIDI keyboards, synthesizers, and drum machines, to communicate with computers and other compatible devices. Unlike audio signals, MIDI does not transmit sound; instead, it transmits a series of digital messages that represent musical notes, control changes, and other performance data.
When you play a note on your MIDI keyboard, it generates MIDI data containing information such as the note’s pitch, duration, velocity (how hard the key was struck), and other performance nuances. This data is then transmitted to your computer via a MIDI cable or a USB connection, where it can be interpreted by music software or DAWs. This digital communication enables you to record, edit, and manipulate your performances with precision, opening up a world of creative possibilities.
One of the key advantages of MIDI is its versatility. It allows you to control a wide range of virtual instruments and software synthesizers directly from your MIDI keyboard, offering an expansive palette of sounds without the need for physical hardware. Additionally, MIDI enables you to create and edit musical arrangements with ease, providing a level of flexibility and control that traditional audio recording alone cannot match.
Understanding MIDI is essential for harnessing the full potential of your MIDI keyboard within a digital music production environment. By grasping the fundamentals of MIDI communication, you’ll be able to leverage the expressive capabilities of your MIDI keyboard to craft intricate musical compositions, experiment with diverse sounds, and unleash your creativity in ways that transcend the limitations of traditional acoustic instruments.
As we delve deeper into the process of connecting your MIDI keyboard to your computer, keep in mind that MIDI forms the backbone of this integration, serving as the conduit through which your musical ideas are translated into the digital realm. Embrace the power of MIDI, and you’ll embark on a transformative journey where your musical visions can take shape with unparalleled precision and artistry.
Connecting the MIDI Keyboard to the Computer
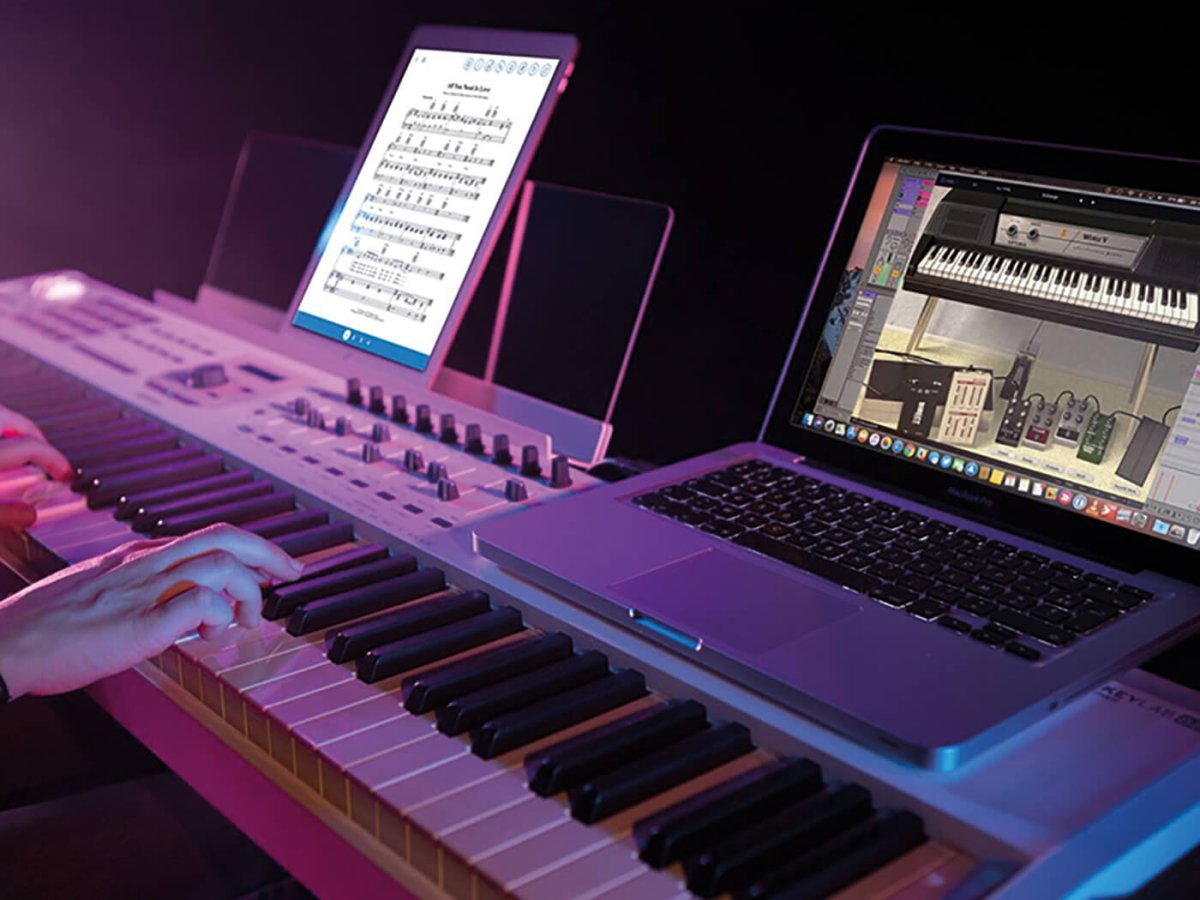
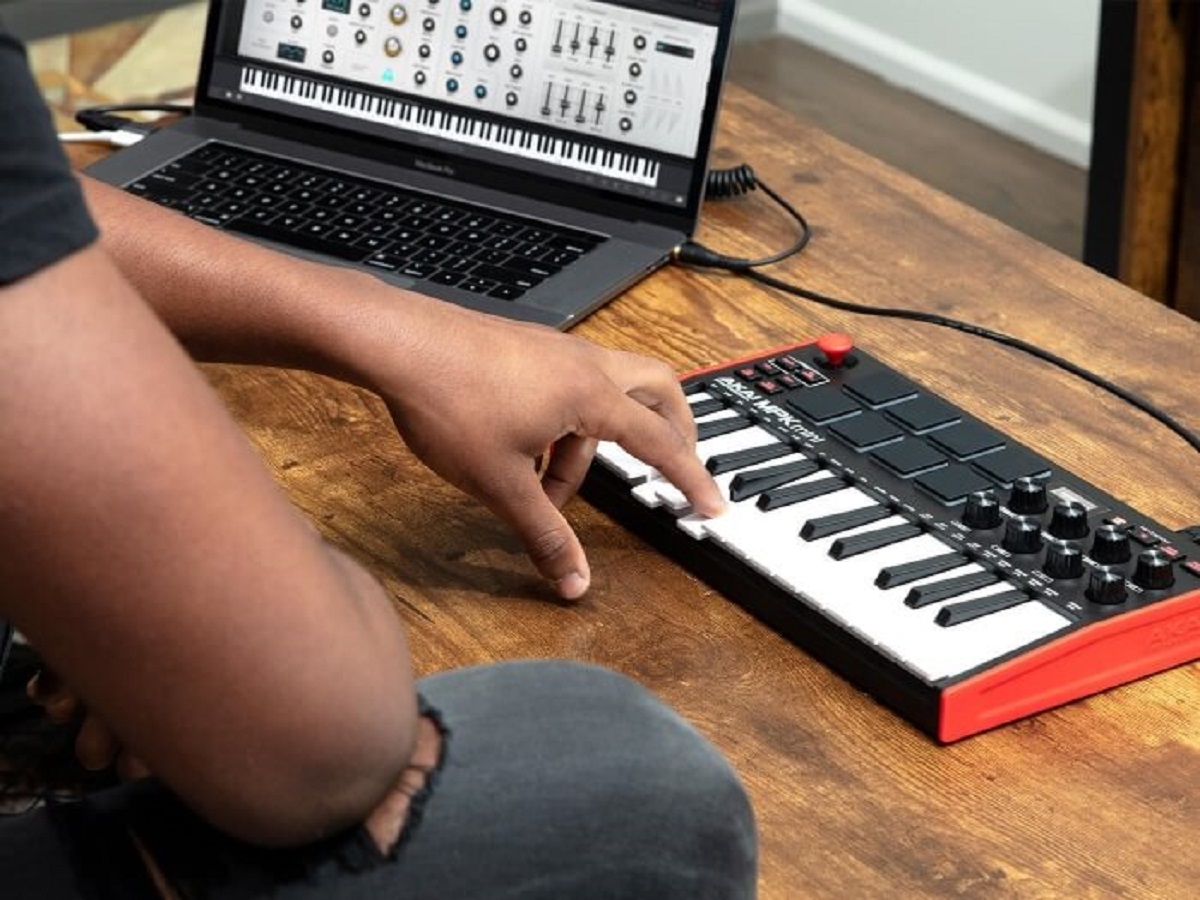
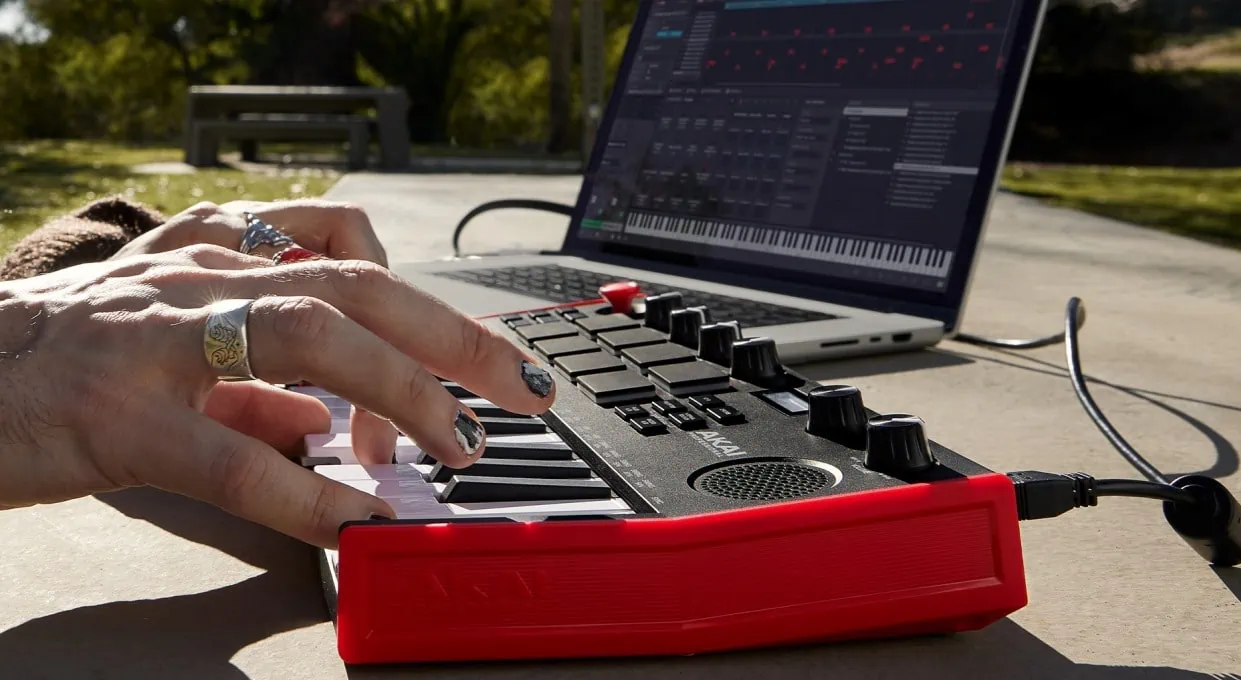
Before you can start creating music with your MIDI keyboard on your computer, you need to establish a physical connection between the two devices. The method of connecting your MIDI keyboard to your computer may vary depending on the type of MIDI keyboard you have and the available ports on your computer. Here are the primary methods for establishing this vital connection:
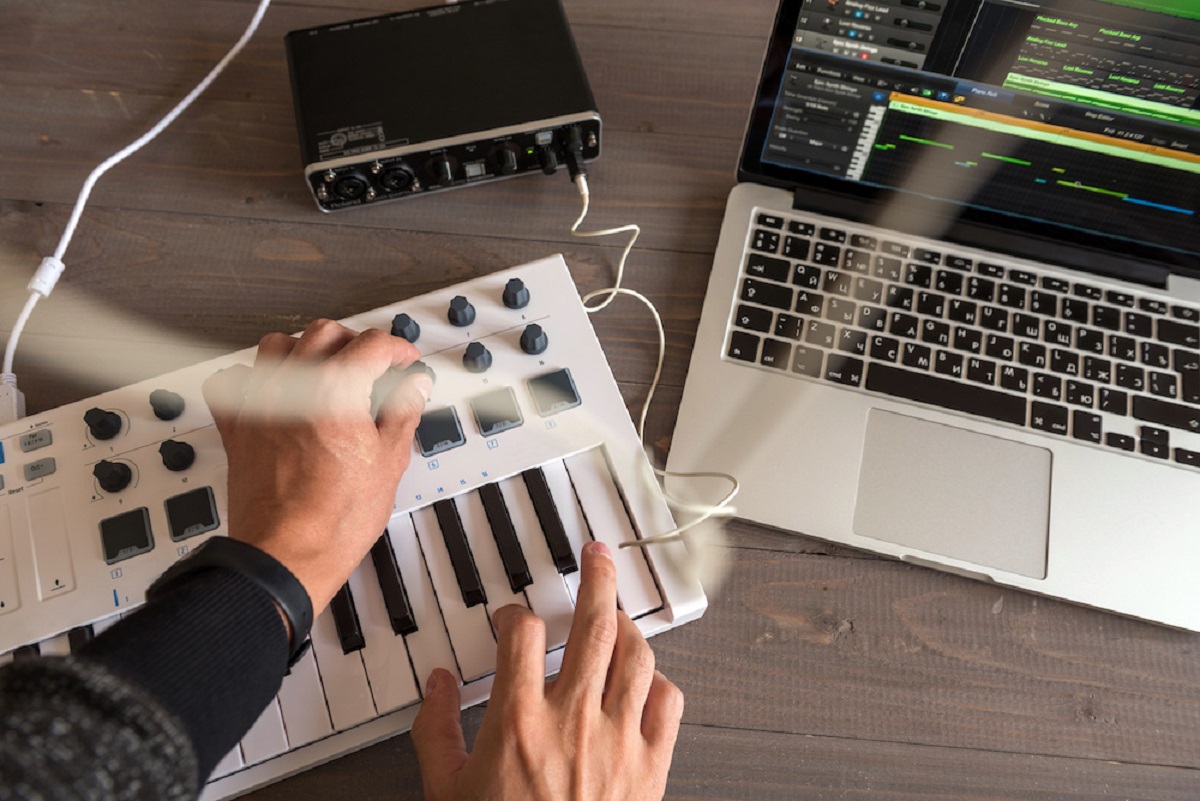
- MIDI to USB Connection: Many modern MIDI keyboards feature USB connectivity, allowing you to connect the keyboard directly to a USB port on your computer. This straightforward method eliminates the need for a separate MIDI interface and simplifies the setup process.
- Traditional MIDI Connection: If your MIDI keyboard does not have a USB port, you can use traditional MIDI connections. This involves connecting the MIDI OUT port on your keyboard to the MIDI IN port on a MIDI interface using a standard MIDI cable. The MIDI interface is then connected to your computer via USB or MIDI, depending on the interface’s connectivity options.
Once you’ve established the physical connection between your MIDI keyboard and your computer, you’re ready to move on to the next crucial step: installing the necessary software to facilitate communication between the two devices. This software will enable your computer to recognize and interpret the MIDI data transmitted by your keyboard, allowing you to harness its full potential within your digital music production environment.
With the physical connection in place, you’ve laid the groundwork for integrating your MIDI keyboard into your computer-based music setup. Whether you opted for a direct USB connection or a traditional MIDI interface, the seamless link between your keyboard and computer sets the stage for a harmonious collaboration between hardware and software, paving the way for a rich and immersive music-making experience.
Installing the Necessary Software
Once your MIDI keyboard is physically connected to your computer, the next step is to install the essential software that will enable your computer to recognize and communicate with the MIDI keyboard effectively. The required software typically includes MIDI drivers and a digital audio workstation (DAW) or music production software. Here’s a breakdown of the software components you’ll need:
- MIDI Drivers: If your MIDI keyboard uses a USB connection, you may need to install MIDI drivers provided by the keyboard’s manufacturer. These drivers allow your computer’s operating system to recognize the MIDI keyboard as a valid input device, ensuring seamless communication between the two.
- Digital Audio Workstation (DAW): A DAW is the central hub of your music production setup. It serves as the environment where you can record, edit, and arrange musical ideas, as well as control virtual instruments using your MIDI keyboard. Popular DAWs include Ableton Live, Logic Pro, FL Studio, Pro Tools, and others. Install the DAW of your choice and configure it to recognize your MIDI keyboard as a controller.
After installing the necessary software components, it’s important to configure the MIDI settings within your DAW to ensure that your MIDI keyboard is recognized and ready for use. This typically involves selecting the MIDI input and output devices within the DAW’s preferences or settings menu. Once configured, your MIDI keyboard should be ready to control virtual instruments and trigger MIDI events within the DAW environment.
By installing the required software and configuring the MIDI settings within your chosen DAW, you’re effectively bridging the gap between your MIDI keyboard and your computer, creating a seamless integration that empowers you to harness the full creative potential of your musical ideas. With the software components in place, you’re poised to embark on a musical journey where your MIDI keyboard becomes a versatile and expressive tool for bringing your compositions to life.
Setting Up the MIDI Keyboard in DAW
With your MIDI keyboard physically connected to your computer and the necessary software installed, it’s time to integrate your MIDI keyboard into your digital audio workstation (DAW) or music production software. This process involves configuring the DAW to recognize and utilize your MIDI keyboard as a controller for virtual instruments and other MIDI-enabled functions. Here’s a step-by-step guide to setting up your MIDI keyboard within your DAW:
- Open Your DAW: Launch your preferred digital audio workstation on your computer.
- Access MIDI Preferences: Navigate to the MIDI or preferences settings within your DAW. This is where you’ll configure the MIDI input and output settings.
- Select MIDI Input Device: In the MIDI preferences, choose your MIDI keyboard as the input device. This allows the DAW to receive MIDI data from your keyboard when you play notes or trigger other MIDI events.
- Assign MIDI Channels: If your MIDI keyboard supports multiple MIDI channels, you can assign different channels to control various virtual instruments or parameters within your DAW. This flexibility allows you to switch between different sounds and control options seamlessly.
- Test MIDI Input: To ensure that your MIDI keyboard is set up correctly, play some notes on the keyboard and verify that the DAW is receiving the MIDI data. You can typically monitor MIDI input activity within the DAW’s interface to confirm that the connection is functioning as expected.
- Map MIDI Controls (Optional): Depending on your DAW, you may have the option to map specific MIDI controls, such as knobs, sliders, or buttons on your MIDI keyboard, to control various parameters within the software. This customization can enhance your workflow and creative expression.
By following these steps, you’ll effectively integrate your MIDI keyboard into your DAW, transforming it into a powerful controller for virtual instruments, software synthesizers, and other MIDI-enabled features. This seamless integration empowers you to explore a vast array of sounds and textures, perform expressive musical passages, and shape your compositions with precision and nuance.
As you embark on this process, remember that setting up your MIDI keyboard in your DAW is a pivotal step in unleashing its creative potential within your music production workflow. Embrace the seamless connection between hardware and software, and let your MIDI keyboard become an extension of your musical imagination, opening doors to boundless sonic possibilities.
Troubleshooting Common Issues
While connecting and setting up your MIDI keyboard with your computer can be a straightforward process, you may encounter common issues along the way. Understanding how to troubleshoot these issues can save you time and frustration, ensuring that your MIDI keyboard operates seamlessly within your music production environment. Here are some common issues and their potential solutions:
- Driver Installation Problems: If you encounter issues with MIDI keyboard recognition, particularly with USB-connected keyboards, ensure that you’ve installed the correct drivers for your specific operating system. Visit the manufacturer’s website to download the latest drivers and follow the installation instructions carefully.
- Incorrect MIDI Input/Output Selection: In your DAW’s settings, verify that the correct MIDI input and output devices are selected. Choosing the wrong devices can result in a lack of communication between your MIDI keyboard and the software.
- USB Port or Cable Issues: If you’re using a USB connection, try connecting your MIDI keyboard to different USB ports on your computer. Additionally, test the cable with other devices to rule out potential cable defects.
- Power Cycling the Devices: Sometimes, a simple power cycle can resolve connectivity issues. Turn off your MIDI keyboard and computer, then power them back on to reset the connection.
- Updating Firmware: If your MIDI keyboard has updatable firmware, ensure that it’s running the latest version. Firmware updates can address compatibility issues and improve overall performance.
- Latency and Performance Issues: If you experience latency or performance issues, adjust the buffer size and sample rate settings within your DAW to optimize real-time MIDI performance. Lowering the buffer size can reduce latency, while adjusting the sample rate can enhance audio quality.
By familiarizing yourself with these common troubleshooting techniques, you’ll be better equipped to address any issues that may arise when connecting and configuring your MIDI keyboard with your computer. Remember that patience and systematic troubleshooting are key to resolving technical challenges, and each solution you implement brings you closer to a seamless and reliable MIDI keyboard setup.
As you navigate the process of troubleshooting common issues, approach each challenge as an opportunity to deepen your understanding of MIDI technology and refine your technical skills. Embracing these troubleshooting experiences will ultimately empower you to maintain a robust and dependable MIDI keyboard setup, ensuring that your musical creativity flows unhindered within your digital music production environment.
Conclusion
Congratulations! You’ve successfully navigated the process of connecting and setting up your MIDI keyboard with your computer, paving the way for a harmonious collaboration between hardware and software in your music production endeavors. By understanding the fundamentals of MIDI, establishing the physical connection, installing essential software, and configuring your digital audio workstation (DAW), you’ve unlocked the full potential of your MIDI keyboard, transforming it into a versatile and expressive tool for musical creation.
As you embark on your musical journey with your MIDI keyboard, remember that this integration represents more than a technical feat—it signifies the convergence of artistry and technology, where your creative visions can manifest in the digital realm with unparalleled precision and flexibility. Whether you’re crafting intricate melodies, experimenting with diverse soundscapes, or shaping dynamic arrangements, your MIDI keyboard stands as a conduit for your musical imagination, empowering you to realize your artistic aspirations with ease.
Furthermore, the troubleshooting insights you’ve gained provide a valuable resource for maintaining a seamless MIDI keyboard setup, ensuring that technical challenges become opportunities for growth and refinement. Embrace each troubleshooting experience as a chance to deepen your understanding of MIDI technology and enhance your technical acumen, ultimately fortifying the stability and reliability of your MIDI keyboard integration.
As you continue to explore the boundless creative possibilities afforded by your MIDI keyboard and computer-based music production setup, let your journey be guided by a spirit of curiosity, experimentation, and artistic expression. Embrace the symbiotic relationship between your MIDI keyboard and your digital workspace, and let the seamless integration of hardware and software propel your musical endeavors to new heights.
With the knowledge and skills you’ve acquired, you’re poised to embark on a transformative musical odyssey, where your MIDI keyboard becomes a trusted ally in realizing your sonic visions. Embrace the fusion of art and technology, and let your MIDI keyboard serve as a conduit for boundless creativity, innovation, and musical discovery.