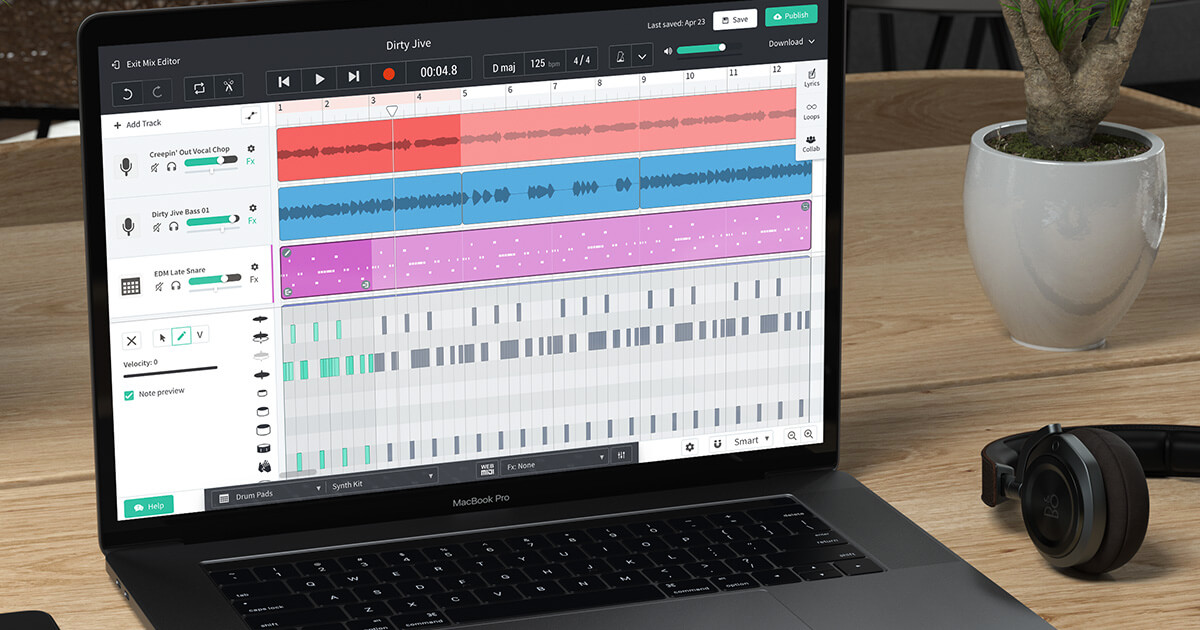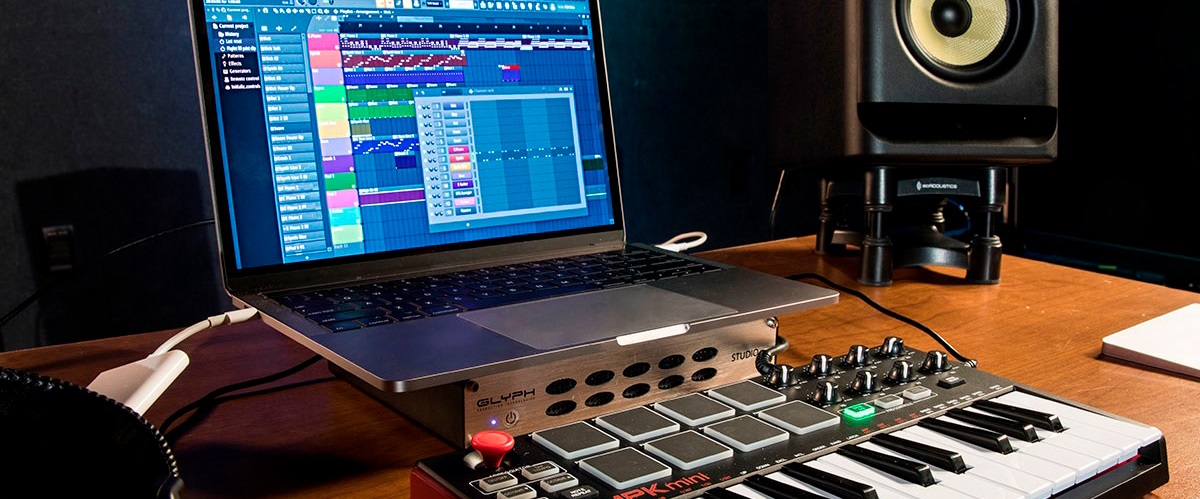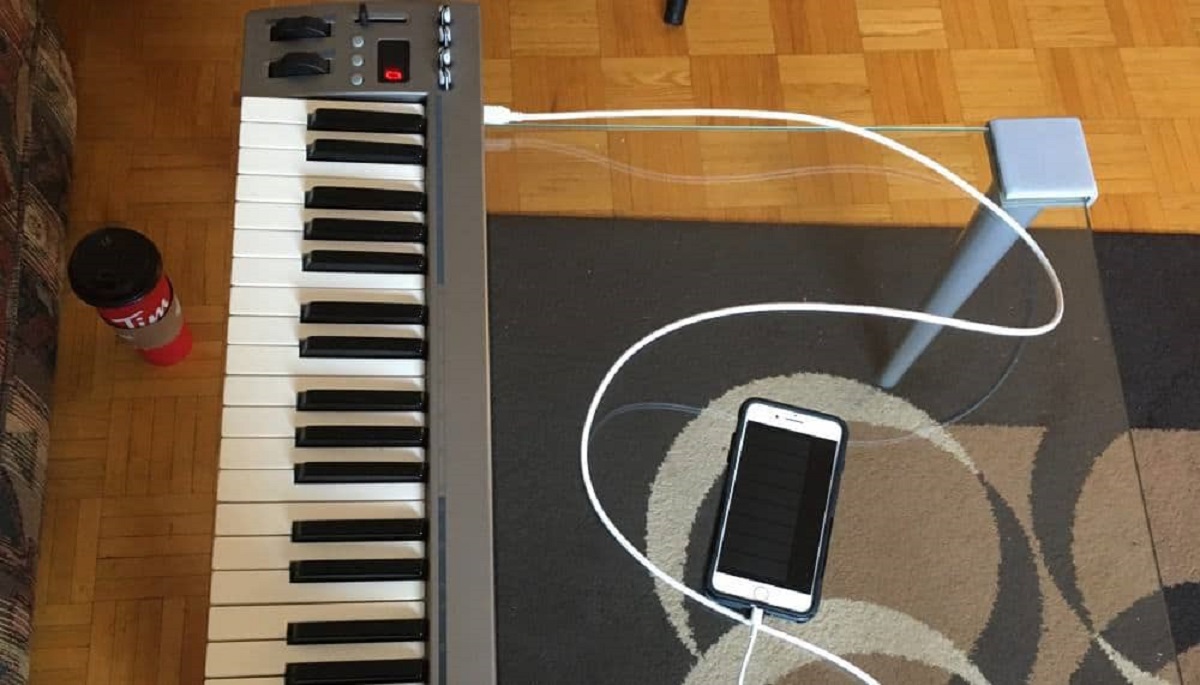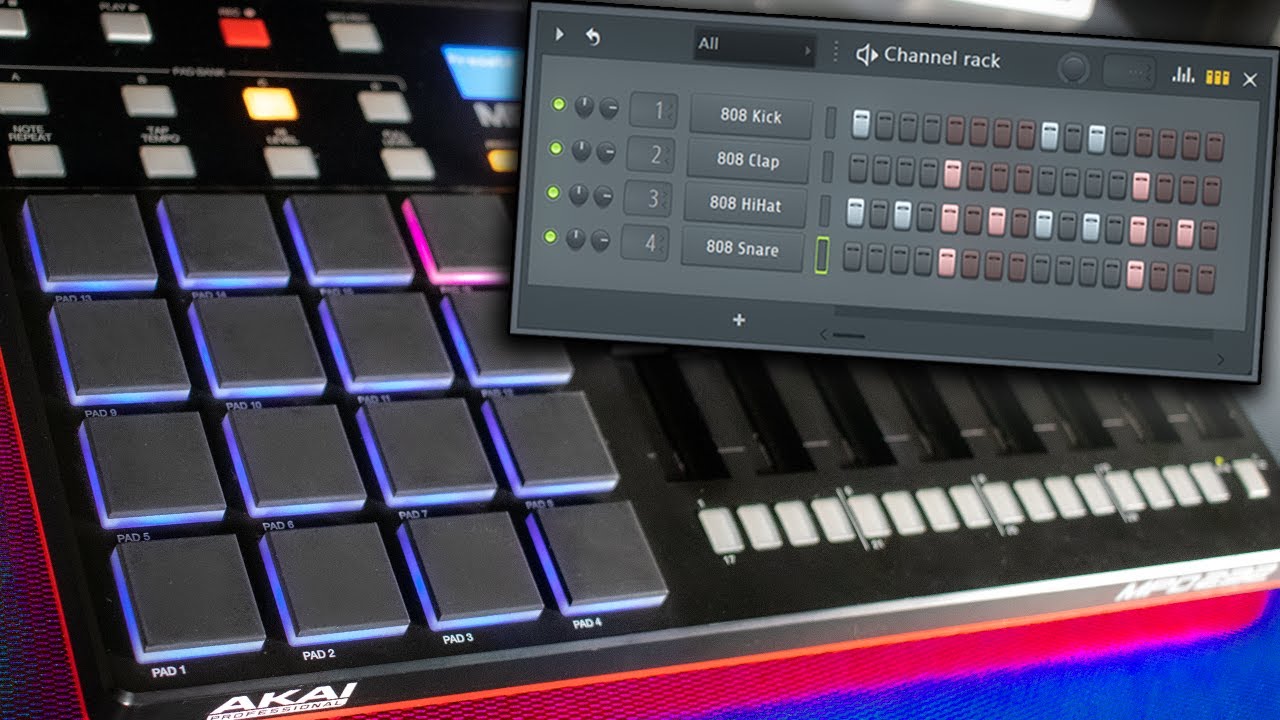
To use a MIDI keyboard as a drum pad in FL Studio, you need to map your keyboard's keys to trigger drum sounds instead of notes, and the two most effective ways to do this are with the FPC plugin or the Fruity Layer plugin. Both methods let you play drums from your existing MIDI keyboard, turning it into a tactile drum pad for creating rhythms without buying separate hardware. Before either method works, you must configure FL Studio to recognize your keyboard by opening Options > MIDI Settings (or pressing F10), then in the Input section, click your MIDI keyboard to highlight it and click the Enable switch.
Setting up your MIDI keyboard as a drum pad in fl studio
The initial MIDI setup is the foundation for everything else. After you connect your keyboard via USB or a MIDI interface and power it on, launch FL Studio and go to Options > MIDI Settings (F10). In the Input list, find your keyboard, click it once to select it, and then click the Enable switch so it turns on. Test the connection by pressing a few keys, you should see the MIDI activity indicator light up in FL Studio's toolbar, confirming that the software is receiving your keyboard's signals. With this done, your keyboard is ready to act as a drum pad, and you can move on to choosing a mapping method.
Method 1: using the FPC (Fruity Pad Controller) plugin
The FPC is the most common and recommended method for using a MIDI keyboard as a drum pad in FL Studio because it's built specifically for this purpose. FPC is an MPC-style sampler instrument that gives you 16 multi-layered pads across banks A and B, allowing for 32 total pads, plenty of room for kicks, snares, hi-hats, and more. To load it, open the Channel Rack, go to the Add menu, and select FPC. A new FPC channel will appear in the rack, and its interface will show a grid of pads labeled with drum names (e.g., Kick, Snare, HiHat).
Once FPC is loaded, the pads are automatically mapped to MIDI notes. Pressing those keys triggers the corresponding pads, so you can start playing drums immediately. To change which sound is on a pad, click the pad in FPC's interface, then load a sample into the pad's sampler section. The beauty of FPC is that it handles all the mapping for you, no manual note assignment required, so you can focus on playing rather than configuring.
Method 2: using the Fruity Layer plugin for custom mapping
If you prefer to use your own individual drum samples instead of FPC's built-in sounds, the Fruity Layer plugin offers a more custom approach. This method lets you assign each drum sample to a specific key on your MIDI keyboard, giving you full control over the layout. Start by adding several Fruity Sampler channels to the Channel Rack, one for each drum sound you want to use (e.g., one for kick, one for snare, one for closed hi-hat). Load your samples into each Fruity Sampler channel so each one contains a different drum sound.
Next, add a Fruity Layer channel to the Channel Rack. With the Fruity Layer selected, hold Ctrl and click on all the Fruity Sampler channels in the Channel Rack to select them together. Then, open the Fruity Layer plugin window, click Set children, and the selected Fruity Sampler channels will become its child layers. After that, click the drop-down arrow in Fruity Layer and select Split children. This command automatically distributes the child channels across consecutive MIDI notes, for example, if you have four drum samples, they'll be assigned to C2, D2, E2, and F2. Now, when you press those keys on your MIDI keyboard, each one triggers its corresponding drum sample. This method is ideal for producers who have a specific set of samples they want to use and prefer a straightforward, visual mapping that they can rearrange at any time by changing the order of the Fruity Sampler channels.
Playing and recording your drum patterns
Once your keyboard is mapped, you can start performing and recording drum patterns. Turn on the metronome in FL Studio (click the metronome icon in the transport bar) to establish a steady tempo reference. Then, enable record mode by clicking the record button (or pressing R on your computer keyboard) and choose "Record from MIDI input" if prompted. Play your drum pattern on the MIDI keyboard, striking the keys with the timing and feel you want, the touch-sensitive keys will capture your velocity, so harder hits produce louder drum sounds and softer hits produce quieter ones.
After recording, you can tighten up your performance using FL Studio's quantization tools. Select the recorded MIDI clip in the Playlist, open the Piano Roll, and use the quantize function (right-click the snap icon and choose a quantize strength) to align your hits to the grid. You can also manually edit individual drum hits in the Piano Roll by dragging them to adjust timing or changing their velocity bars for dynamic variation. For a polished result, consider looping your recorded pattern in the Playlist to create a seamless rhythmic foundation, then layer additional patterns on top to build complexity.
Tips for expressive drum performances
To get the most out of your MIDI keyboard as a drum pad, focus on velocity sensitivity, the force you use to press each key directly affects the volume of the drum hit, so practice varying your touch to create natural dynamics. Custom mapping layouts can also improve your workflow: experiment with placing your most-used sounds (like kick and snare) on the keys your fingers naturally rest on, and group similar sounds together for intuitive playing. Layering sounds is another powerful technique, in FPC, you can stack multiple samples on a single pad, or in Fruity Layer, you can assign multiple Fruity Sampler channels to the same note, allowing a single keypress to trigger a complex percussive combination. Finally, if your MIDI keyboard has assignable knobs or sliders, map them to parameters like filter cutoff, decay time, or pitch on your drum sounds. This lets you manipulate the sound in real time while you play, adding movement and spontaneity to your patterns. For extra flair, you can also use FL Studio's MIDI effects like arpeggiators or note repeaters on your drum channel to introduce rolls and rhythmic variations, but the core of expressive drumming comes from your hands and the velocity data they send.
\nRelated reading: How To Use A MIDI Keyboard In BandLab and How To Set Up A MIDI Keyboard On FL Studio With Akai MPK Mini.